Love this? Save it for later!
Share the inspiration with your friends
I was standing in line at the hardware store on a random Tuesday in November, holding a new showerhead I didn’t know how to install, when the cashier—a guy named Frank with a handlebar mustache and a nametag covered in stickers—started talking about cookies. Not small talk about the weather, but a full-blown, detailed explanation of how he makes peppermint brownie cookies every year for his grandkids. “They’re the only thing I bake,” he said, scanning my showerhead. “And they disappear before I can blink.”
Honestly, I almost laughed. Frank did not look like a cookie guy. He looked like a guy who fixed things and maybe watched a lot of hockey. But there was something about the way he described the texture—crispy on the outside, fudgy in the middle, with that cool little crunch of peppermint on top—that made me grab a notepad from my glove compartment and write down everything he said. He even drew a little diagram on a receipt. I mean, how could I not try it?
So I went home, made a batch that same night, and let me tell you—Frank wasn’t exaggerating. These kid-approved peppermint brownie cookies are everything you want in a holiday treat: easy, affordable, and absolutely irresistible. My kids stood by the oven, asking “are they done yet?” every two minutes. That’s when I knew this recipe was a keeper. Maybe you’ve been there, looking for something festive that doesn’t require a trip to three different stores or a degree in pastry arts. These cookies are exactly that. They’re the kind of thing you make on a busy December evening, and suddenly everyone’s in a better mood.
Why You’ll Love This Recipe
Let’s be real—finding a holiday cookie that checks all the boxes without breaking the bank can feel like a scavenger hunt. But these peppermint brownie cookies? They deliver on every front. Here’s why they’ve become a staple in my kitchen:
- Budget-Friendly Ingredients: You probably already have most of this stuff in your pantry. A box of brownie mix, some butter, an egg, and a candy cane or two. No fancy extracts or imported chocolate bars here.
- Kid-Approved & Parent-Approved: My kids go absolutely wild for these. They love the peppermint crunch, and I love that they’re made with simple, recognizable ingredients. No weird preservatives or artificial flavors.
- Quick & Easy: From start to finish, you’re looking at about 25 minutes. That’s faster than a trip to the bakery, and you get that amazing smell filling your house.
- Perfect for Holiday Baking: Whether it’s a classroom party, a neighbor gift, or just a cozy night in, these cookies scream “holiday” without screaming “I spent all day in the kitchen.”
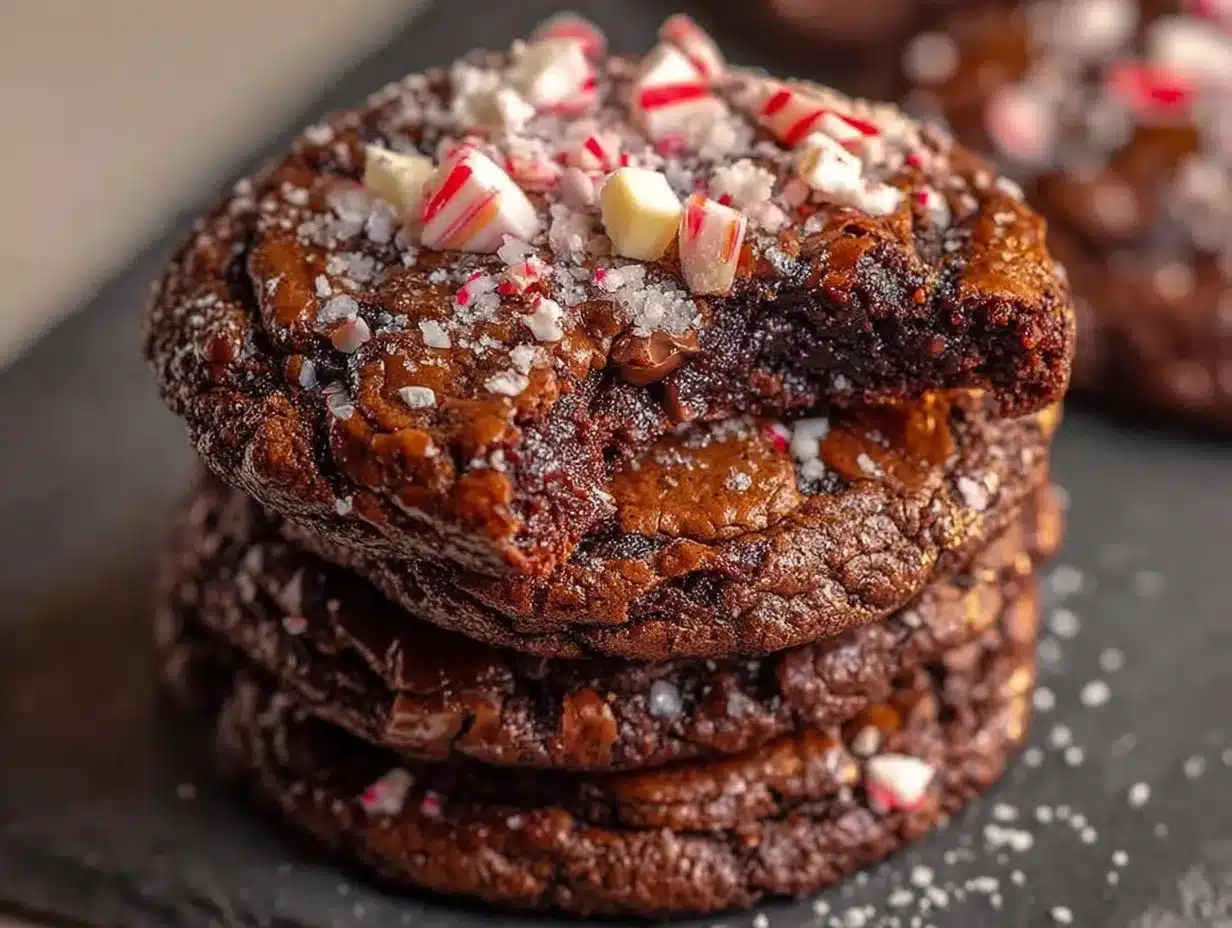
- Foolproof Texture: The edges are slightly crispy, the centers are soft and fudgy, and the peppermint adds this little burst of freshness that cuts through the richness. It’s basically a brownie and a cookie had a baby, and that baby is wearing a tiny Santa hat.
I’ve tested this recipe at least six times now—once with my niece who has a gluten intolerance (using a gluten-free brownie mix worked perfectly), and once when I accidentally used salted butter instead of unsalted. It still turned out great. That’s the kind of forgiveness you need in a holiday recipe, you know? It’s not fussy. It just works.
What Ingredients You Will Need
This recipe uses simple, everyday ingredients to create something that feels special without the special price tag. Most of these are pantry staples, and the few extras are easy to find at any grocery store.
- 1 box (18.4 oz) brownie mix – I prefer Duncan Hines or Betty Crocker for consistent results. The fudge kind works best, not the one with walnuts already mixed in.
- 1/2 cup unsalted butter, melted – If you only have salted butter, just skip adding any extra salt. Let it cool slightly after melting so it doesn’t cook the egg.
- 1 large egg, room temperature – Cold eggs can make the dough seize up a bit. Leave it on the counter for 15 minutes before starting.
- 1 teaspoon vanilla extract – Pure vanilla is nice, but imitation works fine here since the chocolate and peppermint are the stars.
- 1/4 cup all-purpose flour – This is my little trick to keep the cookies from spreading too thin. It gives them that perfect chewy texture.
- 1/2 cup semi-sweet chocolate chips – Optional, but highly recommended for extra fudgy pockets. Dark chocolate chips also work well if that’s your thing.
- 1/2 cup crushed peppermint candies or candy canes – About 4-5 standard candy canes. I put them in a zip-top bag and smash them with a rolling pin. It’s oddly satisfying.
- Optional: 1 tablespoon powdered sugar for dusting – Makes them look extra festive, like snow on a little brownie mountain.
One thing I learned the hard way: don’t try to crush the candy canes too finely. You want some small pieces and some tiny crumbs. If it turns into powder, you lose that satisfying crunch. Also, if you’re making these for a school event, check if anyone has a peppermint allergy—it’s rare, but better safe than sorry.
Equipment Needed
You don’t need a fancy kitchen to pull these off. Here’s what I use:
- Mixing bowls: One large, one medium. I’ve used everything from ceramic to stainless steel—doesn’t matter.
- Electric mixer or wooden spoon: A hand mixer makes it faster, but honestly, a sturdy spoon and a little elbow grease work just fine. I’ve done it both ways.
- Baking sheets: Two standard-sized ones. If you only have one, just let it cool completely between batches.
- Parchment paper or silicone baking mat: Silicone mats are a game-changer for cleanup, but parchment paper works perfectly too.
- Cooling rack: Helps the cookies set properly. If you don’t have one, you can transfer them to a plate after a few minutes.
- Rolling pin or hammer: For smashing the candy canes. A rolling pin is more controlled, but a hammer is more fun. Just wrap the candy in a kitchen towel first.
- Cookie scoop (about 1.5 tablespoons): Not essential, but it gives you evenly sized cookies. I use a #40 scoop.
Pro tip: if your baking sheets are dark or non-stick, reduce the oven temperature by 25°F. I learned this after my first batch came out a little too dark on the bottom. Live and learn, right?
Preparation Method
- Preheat your oven to 350°F (175°C). Line two baking sheets with parchment paper or silicone mats. This is non-negotiable—these cookies are sticky.
- In a large bowl, combine the brownie mix, melted butter, egg, and vanilla extract. Stir until just combined. Don’t overmix, or the cookies will be tough. You want a thick, fudgy batter that holds its shape.
- Add the flour and chocolate chips. Fold them in gently with a spatula or wooden spoon. The dough will be thick—almost like a soft brownie batter. If it seems too sticky, let it rest for 5 minutes. The flour will absorb some moisture.
- Chill the dough for 10 minutes. This is a quick step, but it makes a big difference. Chilled dough spreads less and gives you thicker, chewier cookies. Pop the bowl in the fridge while you crush the candy canes.
- Crush the peppermint candies. Place them in a zip-top bag, cover with a towel, and smash with a rolling pin until you have a mix of small pieces and fine crumbs. Set aside about 2 tablespoons for topping later.
- Scoop the dough into balls. Use a cookie scoop or a tablespoon to portion out about 1.5 tablespoons of dough per cookie. Roll them into smooth balls with your hands—they should be about the size of a walnut.
- Roll the dough balls in the crushed peppermint. Gently press the peppermint pieces into the outside of each ball. Don’t worry if some fall off; you’ll add more on top after baking.
- Place the dough balls on the prepared baking sheets. Space them about 2 inches apart. They will spread a little, but not too much thanks to the flour.
- Bake for 9-11 minutes. The edges should look set and slightly cracked, but the centers will still be soft. Don’t overbake! They continue to set as they cool. For a fudgier texture, pull them out at 9 minutes.
- Let the cookies cool on the baking sheet for 5 minutes. This is crucial—they’re fragile when hot. After 5 minutes, transfer them to a cooling rack.
- While still warm, sprinkle the reserved crushed peppermint on top. It sticks better when the cookies are warm. If you want, dust with powdered sugar after they’ve cooled completely.
One time I forgot to chill the dough, and the cookies spread into flat, crispy discs. Still tasted good, but they looked more like brownie lace than brownie cookies. The chill step really matters!
Cooking Tips & Techniques
Over the years, I’ve made plenty of mistakes so you don’t have to. Here’s what I’ve learned:
- Don’t skip the flour. I know it seems weird to add flour to a brownie mix, but it’s the secret to getting that cookie-like structure. Without it, you get flat, greasy puddles.
- Use room temperature egg. Cold egg can make the butter clump up, giving you uneven dough. Just set it out with the butter when you start.
- Chill the dough. Even 10 minutes makes a huge difference. If you have time, 30 minutes is even better. The colder the dough, the thicker the cookie.
- Watch the oven like a hawk. These cookies go from perfectly fudgy to overdone in about 60 seconds. Set a timer for 8 minutes and check. If the edges are set and the center still looks slightly underdone, pull them out.
- Crush candy canes strategically. I keep some larger pieces for texture and some fine crumbs for even distribution. If you only have powder, you lose the crunch.
- Double the batch. Trust me on this. These cookies disappear fast. I usually make a double batch and freeze half the dough balls for later. They bake straight from frozen—just add 2 minutes to the baking time.
I once tried to speed things up by skipping the chilling step and using a microwave to melt the butter. The result was a sticky, oily mess that I had to scrape into the trash. Slow down, follow the steps, and you’ll be rewarded.
Variations & Adaptations
One of the best things about this recipe is how flexible it is. Here are some ways I’ve changed it up:
- Gluten-Free Version: Use a gluten-free brownie mix and substitute the all-purpose flour with a 1:1 gluten-free flour blend. I’ve tried this with King Arthur’s mix, and nobody could tell the difference.
- Dairy-Free Option: Swap the butter with melted coconut oil or a plant-based butter. Use dairy-free chocolate chips. The texture will be slightly different—a little more cake-like—but still delicious.
- Double Chocolate Peppermint: Add 1/4 cup cocoa powder to the dough along with the flour. It makes them extra rich and dark, like a brownie’s brownie.
- Mint Chocolate Chip Twist: Use mint chocolate chips instead of semi-sweet. And add a drop of peppermint extract to the dough for an extra minty kick.
- No-Candy Version: If you don’t have candy canes, use crushed chocolate mints or even a sprinkle of coarse sugar mixed with a drop of peppermint oil. Not quite the same, but still festive.
- Stuffed Cookies: Press a small marshmallow or a chocolate truffle into the center of each dough ball before baking. It creates a gooey surprise in the middle. My kids lose their minds over these.
I tried a version with crushed Oreos mixed in once, and honestly, it was a little over the top. Sometimes simple is better.
Serving & Storage Suggestions
These cookies are best served slightly warm, when the chocolate chips are still melty and the edges are just a little crisp. I like to arrange them on a festive plate with a light dusting of powdered sugar—it looks like snow, and it makes me happy.
For storage, here’s what works:
- Room Temperature: Store in an airtight container for up to 5 days. Layer them with parchment paper between stacks so the peppermint doesn’t stick. They actually get a little softer and more fudgy on day two.
- Freezer: These freeze beautifully. Place cooled cookies in a single layer in a freezer-safe container, with parchment between layers. They’ll keep for up to 3 months. Thaw at room temperature for about 20 minutes.
- Freezing Dough: Scoop the dough into balls, place them on a baking sheet, and freeze until solid. Then transfer to a freezer bag. Bake from frozen, adding 2-3 minutes to the baking time. Perfect for spontaneous cookie emergencies.
- Reheating: Pop a cookie in the microwave for 10 seconds. It softens the chocolate and makes it taste fresh-baked. Or warm them in a 300°F oven for 5 minutes.
The flavors actually develop over time. By day three, the peppermint has mellowed and blended with the chocolate in a really lovely way. If you can resist eating them all, they’re even better the next day.
Nutritional Information & Benefits
Let’s be honest—these are a treat, not a health food. But here’s the breakdown if you’re curious:
- Per cookie (based on 24 cookies): Approximately 160 calories, 8g fat, 22g carbs, 2g protein, 12g sugar.
- Key ingredients: The brownie mix provides a quick base, but the real star is the peppermint, which can aid digestion and freshen breath. Chocolate contains antioxidants, and butter adds a touch of vitamin A.
- Dietary considerations: Easily made gluten-free or dairy-free with simple swaps. Not suitable for low-sugar diets unless you use a sugar-free brownie mix.
- Allergens: Contains wheat, dairy, and eggs. May contain traces of nuts depending on your brownie mix.
I’m not one to pretend cookies are health food, but I do feel better knowing exactly what’s in them. No artificial flavors, no preservatives—just good, real ingredients that come together in a way that makes everyone smile.
Conclusion
These kid-approved peppermint brownie cookies are proof that you don’t need a complicated recipe or a big budget to create something truly special. They’re the kind of cookie that makes people stop mid-conversation and say, “Wait, what’s in these?” And when you tell them it’s basically a boxed mix and some candy canes, they never believe you.
I’ve made these for holiday parties, school bake sales, and quiet nights at home with a cup of cocoa. Every single time, they disappear. That’s the magic of a recipe that’s simple, affordable, and absolutely delicious. So go ahead—grab that box of brownie mix, dig out the candy canes from the back of the pantry, and make a batch. Your family will thank you. And if you come up with your own twist, I’d love to hear about it. Drop a comment below or tag me in your photos—I’m always looking for new ideas!
Happy baking, and here’s to a holiday season full of warm kitchens and happy bellies.
Frequently Asked Questions
Can I use a different flavor of brownie mix?
Absolutely! Dark chocolate, triple fudge, or even milk chocolate brownie mixes all work well. Just avoid mixes that already have mix-ins like nuts or caramel swirls, as they can throw off the texture.
Why did my cookies spread too much?
This usually happens if the dough wasn’t chilled long enough, or if the butter was too warm. Next time, chill the dough for at least 10 minutes, and make sure your melted butter has cooled to room temperature before adding it.
Can I make these cookies ahead of time?
Yes! You can make the dough up to 3 days ahead and keep it in the fridge. Or freeze the baked cookies for up to 3 months. They’re perfect for holiday prep.
How do I crush candy canes without making a mess?
Put them in a sturdy zip-top bag, cover with a kitchen towel, and use a rolling pin or the bottom of a heavy pan. The towel keeps the bag from bursting. You can also pulse them in a food processor, but be careful not to turn them into powder.
Can I use peppermint extract instead of candy canes?
You can, but the texture won’t be the same. Add 1/4 teaspoon of peppermint extract to the dough, and top the cookies with crushed candy canes for the crunch. The extract adds flavor, but the candy gives that signature holiday sparkle.
Pin This Recipe!
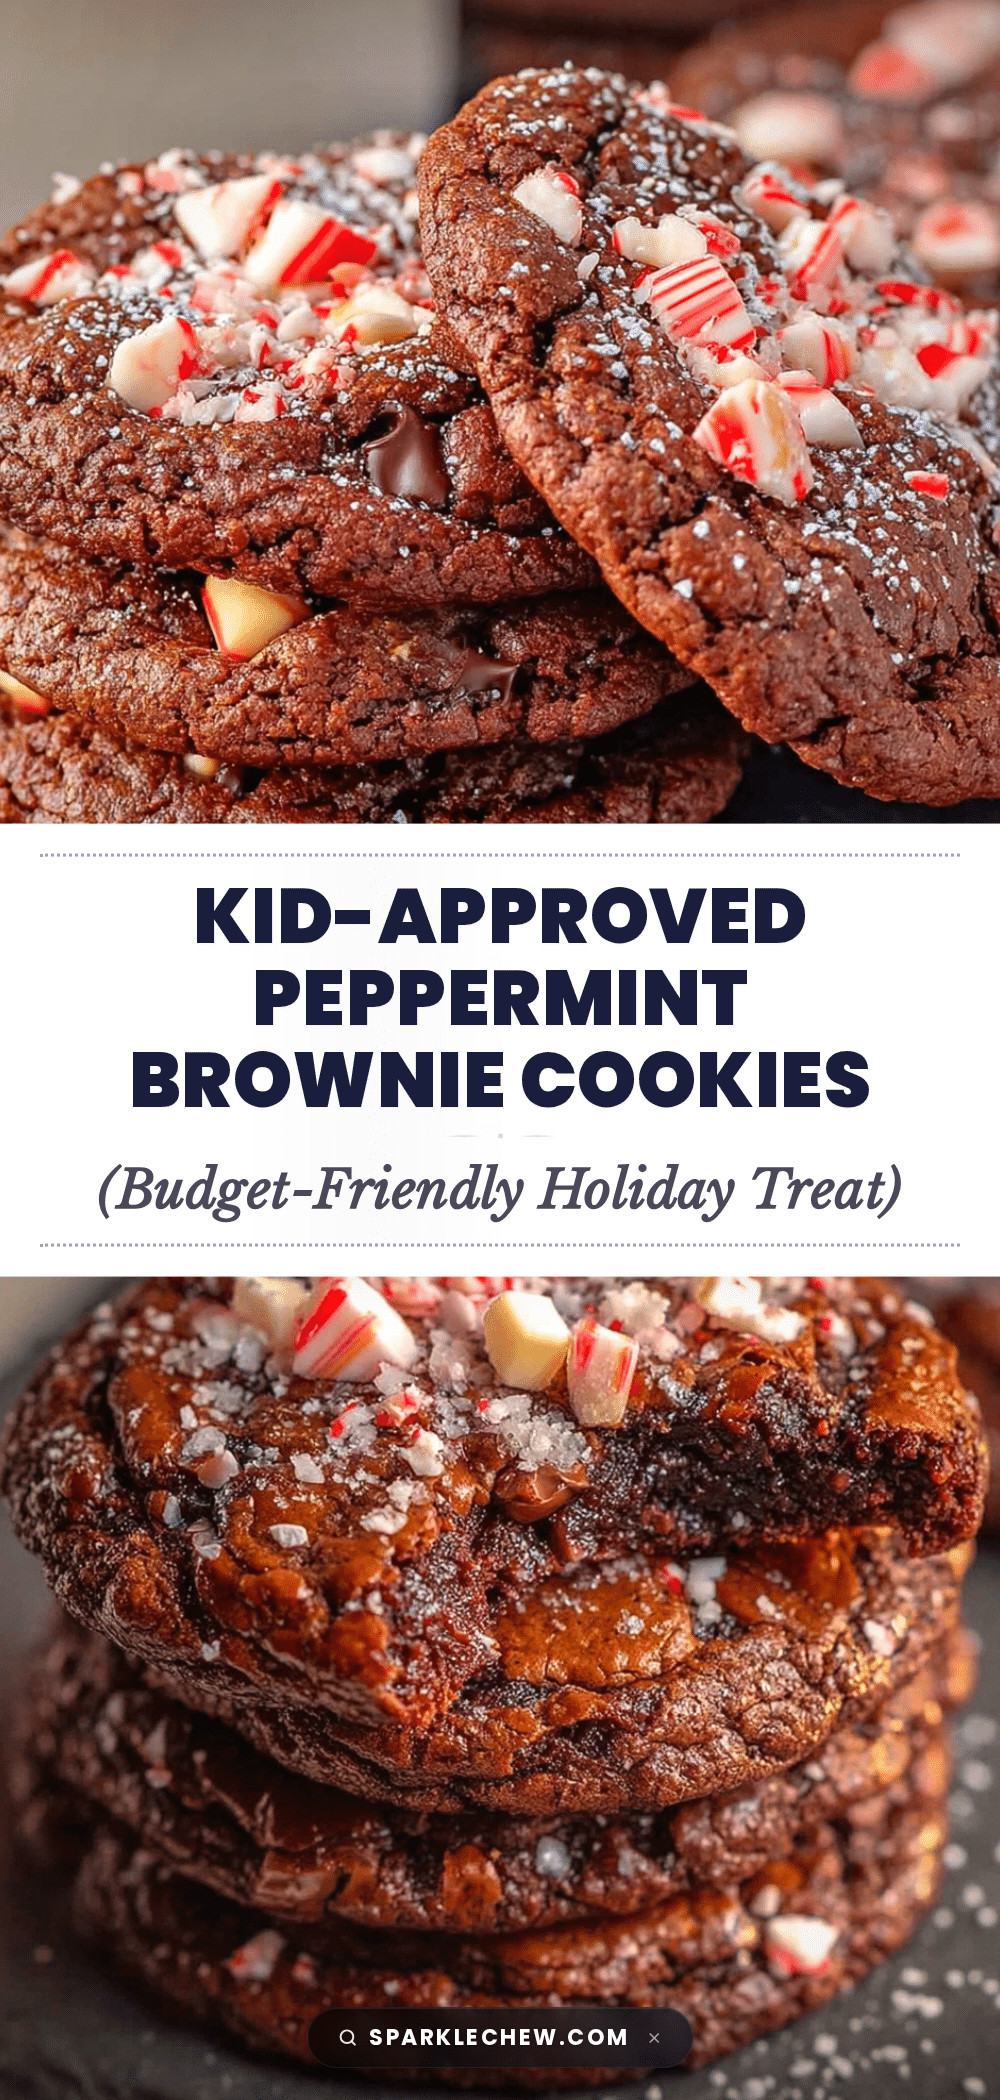
Easy Peppermint Brownie Cookies – Best Holiday Treat

These kid-approved peppermint brownie cookies are everything you want in a holiday treat: easy, affordable, and absolutely irresistible. Crispy on the outside, fudgy in the middle, with a cool crunch of peppermint on top.
- Prep Time: 15 minutes
- Cook Time: 10 minutes
- Total Time: 25 minutes
- Yield: 24 cookies 1x
- Category: Dessert
- Cuisine: American
Ingredients
- 1 box (18.4 oz) brownie mix
- 1/2 cup unsalted butter, melted
- 1 large egg, room temperature
- 1 teaspoon vanilla extract
- 1/4 cup all-purpose flour
- 1/2 cup semi-sweet chocolate chips
- 1/2 cup crushed peppermint candies or candy canes (about 4–5 standard candy canes)
- Optional: 1 tablespoon powdered sugar for dusting
Instructions
- Preheat your oven to 350°F (175°C). Line two baking sheets with parchment paper or silicone mats.
- In a large bowl, combine the brownie mix, melted butter, egg, and vanilla extract. Stir until just combined. Don’t overmix.
- Add the flour and chocolate chips. Fold them in gently with a spatula or wooden spoon. The dough will be thick.
- Chill the dough for 10 minutes.
- Crush the peppermint candies. Place them in a zip-top bag, cover with a towel, and smash with a rolling pin until you have a mix of small pieces and fine crumbs. Set aside about 2 tablespoons for topping later.
- Scoop the dough into balls. Use a cookie scoop or a tablespoon to portion out about 1.5 tablespoons of dough per cookie. Roll them into smooth balls.
- Roll the dough balls in the crushed peppermint. Gently press the peppermint pieces into the outside of each ball.
- Place the dough balls on the prepared baking sheets. Space them about 2 inches apart.
- Bake for 9-11 minutes. The edges should look set and slightly cracked, but the centers will still be soft.
- Let the cookies cool on the baking sheet for 5 minutes. After 5 minutes, transfer them to a cooling rack.
- While still warm, sprinkle the reserved crushed peppermint on top. If you want, dust with powdered sugar after they’ve cooled completely.
Notes
Don’t skip the flour—it keeps cookies from spreading too thin. Chill dough for at least 10 minutes for thicker cookies. Watch the oven closely as cookies go from fudgy to overdone quickly. For gluten-free version, use gluten-free brownie mix and 1:1 gluten-free flour blend. For dairy-free, swap butter with melted coconut oil or plant-based butter and use dairy-free chocolate chips. Cookies can be stored at room temperature for up to 5 days or frozen for up to 3 months.
Nutrition
- Serving Size: 1 cookie
- Calories: 160
- Sugar: 12
- Sodium: 95
- Fat: 8
- Saturated Fat: 4
- Carbohydrates: 22
- Fiber: 1
- Protein: 2
Keywords: peppermint brownie cookies, holiday cookies, easy cookies, kid-friendly, brownie mix cookies, Christmas cookies