Love this? Save it for later!
Share the inspiration with your friends
“Can you believe we made Easter treats without turning on the oven?” my neighbor chuckled last Saturday as we gathered around her tiny kitchen island. It was one of those rare spring afternoons when the sun was just warm enough to sit outside, and the kids were buzzing with excitement for the upcoming holiday. Honestly, I wasn’t expecting much from her “no-bake” idea, but as she pulled out trays of these charming little nests filled with colorful Mini Eggs, I was instantly hooked.
She told me this recipe came from a potluck mishap—her oven had died the day before Easter, and instead of panicking, she improvised with pantry staples and a bit of chocolate magic. The result? These adorable Easy No-Bake Easter Egg Nests with Mini Eggs that looked festive, tasted delightful, and, best of all, were incredibly simple to whip up even with a dozen little helpers underfoot.
If you’ve ever felt the pressure of hosting Easter and wanted something quick, kid-friendly, and crowd-pleasing, this recipe might just become your new go-to. I mean, maybe you’ve been there—scrambling for a last-minute dessert that’s fun, festive, and doesn’t require a culinary degree or hours in the kitchen. Let me tell you, these nests hit all those marks and add a little nostalgic charm too.
Plus, there’s something so satisfying about crafting these tiny nests with crunchy cereal and melty chocolate, then nestling those pastel Mini Eggs on top. It’s comfort food meets childhood joy, no oven needed, and no stress involved. I keep making them every Easter now—and honestly, it’s the first thing my guests ask for when they see those bright little eggs peeking out.
Why You’ll Love This Recipe
Let me share why this Easy No-Bake Easter Egg Nests with Mini Eggs recipe has quickly become a staple in my springtime celebrations and why you’ll want to try it ASAP.
- Quick & Easy: These nests come together in under 20 minutes, making them perfect for busy parents or last-minute party preps.
- Simple Ingredients: No fancy shopping trips needed. Most ingredients are pantry staples like cereal, chocolate, and Mini Eggs you can find at any grocery store.
- Perfect for Parties & Kids: The nests are cute, colorful, and super fun for kids to help assemble, turning baking time into quality family moments.
- Crowd-Pleaser: I’ve tested this recipe at multiple gatherings, and it’s always a hit with adults and children alike—those Mini Eggs steal the show every time.
- Unbelievably Delicious: The contrast between the crunchy cereal and rich chocolate makes for a delightful texture combo that’s hard to resist.
What makes these nests stand out? The magic lies in how the melted chocolate binds the cereal just enough to create a nest shape without sogginess. Plus, the Mini Eggs add that perfect pop of color and sweetness, making each bite a little celebration. Unlike other no-bake treats that can be messy or bland, this recipe strikes a balance of ease, flavor, and festive appeal.
Honestly, it’s the kind of recipe that makes you close your eyes after the first bite and smile. Whether you’re preparing for an Easter brunch or a spring party, these nests bring a bit of whimsy and joy without any fuss. They’re a simple way to impress your guests without breaking a sweat—trust me, I’ve been there!
What Ingredients You Will Need
This recipe uses straightforward, wholesome ingredients that come together to create those charming Easter nests filled with Mini Eggs. Most of these are pantry staples, and substitutions are easy if you want to tweak the recipe to your taste or dietary needs.
- Rice Cereal: About 4 cups (100g) of crispy rice cereal works best for a crunchy base. I prefer Kellogg’s Rice Krispies for the classic texture.
- White Chocolate Chips: 1 ½ cups (270g) for binding and sweetness. You can swap for dairy-free chips if needed.
- Butter: 3 tablespoons (45g), unsalted and softened, to add richness and help the chocolate melt smoothly.
- Golden Syrup or Light Corn Syrup: 2 tablespoons (30ml) provide extra stickiness and shine. If you don’t have these, honey works as a substitute with a slightly different flavor.
- Mini Chocolate Eggs: Approximately 30-40 mini eggs (like Cadbury Mini Eggs), for decorating the nests. Fresh or seasonal colors add a festive touch.
- Vanilla Extract: 1 teaspoon (5ml) to enhance the chocolate flavor.
Optional but fun:
- Colored Sprinkles or Edible Glitter: For adding an extra festive sparkle on top.
Remember, the key is using quality chocolate and fresh cereal for the best result. If you want a gluten-free version, be sure to pick certified gluten-free rice cereal. The Mini Eggs are the star decoration, but if you want to switch things up, little jellybeans or pastel candies work great too.
Equipment Needed
Luckily, this recipe doesn’t require anything fancy. Here’s what you’ll need:
- Large Mixing Bowl: For combining cereal and melted chocolate. A heatproof glass or metal bowl works well.
- Microwave-Safe Bowl or Double Boiler: To melt the white chocolate and butter gently. I usually use the microwave in 20-second bursts to avoid burning.
- Baking Tray or Plate: To place the nests while they set. Line it with parchment paper for easy removal.
- Spoons or Silicone Spatula: For mixing and shaping the nests.
- Mini Muffin Tin (Optional): Helps shape the nests perfectly, but you can also form them by hand on parchment paper.
If you don’t have a double boiler, the microwave method is super convenient. Just be careful to stir frequently to avoid overheating the chocolate. For shaping, using a mini muffin tin saves time and gives consistent nest sizes, but if you prefer a rustic look, freehand shaping is charming too.
Preparation Method

- Melt the Chocolate Mixture (5-7 minutes): Place the white chocolate chips, softened butter, and golden syrup in your microwave-safe bowl. Microwave in 20-second intervals, stirring well between each, until smooth and glossy. Alternatively, melt over a double boiler on low heat. Add the vanilla extract and stir.
- Combine with Cereal (3 minutes): Pour the melted chocolate mixture over the rice cereal in your large mixing bowl. Use a silicone spatula or wooden spoon to gently fold and coat all the cereal evenly. Be careful not to crush the cereal; you want to keep that lovely crunch.
- Shape the Nests (10-15 minutes): If using a mini muffin tin, lightly grease each cup. Spoon cereal mixture into each cup, pressing gently to form a nest shape with a small well in the center for the Mini Eggs. If freehanding, scoop out small mounds on parchment paper and use the back of a spoon to create the nest indentation.
- Add Mini Eggs (5 minutes): Carefully place 3-4 Mini Eggs into the center of each nest. Press lightly so they stick but don’t get crushed.
- Chill to Set (30 minutes to 1 hour): Transfer the tray or parchment paper to the refrigerator. Let the nests chill until firm and set. This step is key for the chocolate to harden and hold the shape.
- Serve or Store: Once set, gently remove the nests from the tin or parchment paper. They’re ready to enjoy or package as Easter gifts!
Pro tip: Don’t rush the chilling process or the nests might fall apart when you try to move them. If your kitchen is warm, keep the nests refrigerated until just before serving for best results.
Also, if the chocolate mixture cools too much and firms up before shaping, gently warm it again for a few seconds so it’s pliable.
Cooking Tips & Techniques
Honestly, making these Easter nests is pretty straightforward, but a few tricks make a big difference:
- Melting Chocolate: Go slow and steady. White chocolate burns easily, so stirring often in short microwave bursts or using a double boiler can save your batch.
- Coating the Cereal: Stir gently to keep the rice cereal from breaking. You want each flake coated but still intact for that satisfying crunch.
- Shaping Tips: If you find the mixture too sticky, lightly wet your hands or the spoon to make shaping easier. Using a mini muffin tin helps keep nests uniform and saves cleanup time.
- Chilling Time: Don’t skip or shorten this step. Patience here ensures the nests hold their shape and don’t crumble when handled.
- Storage: Keep the nests in an airtight container in the fridge if you’re not serving immediately. They can soften at room temperature, especially on warm days.
Once, I tried using milk chocolate instead of white and forgot the syrup—big mistake! The nests were too crumbly and lacked that shiny finish. Lesson learned: the syrup is a small ingredient that makes a huge difference in texture and appearance.
Also, multitasking works great here—while the chocolate melts, you can prep your Mini Eggs or line your trays. Makes the whole process feel quicker and less messy.
Variations & Adaptations
Feel free to customize these no-bake Easter nests to suit your taste, dietary needs, or whatever you have on hand.
- Chocolate Swap: Use milk or dark chocolate chips instead of white for a richer flavor. Just remember these may darken the nests’ color.
- Gluten-Free Version: Choose certified gluten-free rice cereal to accommodate gluten sensitivities.
- Nutty Twist: Add chopped toasted almonds or hazelnuts to the cereal mix for extra crunch and flavor.
- Seasonal Fruit: For a springtime flair, add dried cranberries or chopped dried apricots into the mix.
- Dairy-Free Adaptation: Use dairy-free chocolate chips and coconut oil instead of butter for a vegan-friendly version.
Personally, I once made a batch with peanut butter mixed into the melted chocolate for a slightly savory, nutty flavor that got rave reviews. Just be cautious with allergies if you’re serving a crowd.
Serving & Storage Suggestions
These Easter egg nests are best served chilled or at room temperature. The chocolate firms up beautifully in the fridge but softens slightly at room temp, making for a melt-in-your-mouth experience.
For a festive presentation, arrange the nests on a pastel-colored platter or nestle them in shredded paper grass for an authentic Easter basket feel. Pairing with a cup of warm tea or a cold glass of milk is a classic combo that kids and adults both appreciate.
To store, place the nests in an airtight container lined with parchment paper between layers to prevent sticking. They keep well in the refrigerator for up to 5 days. I wouldn’t recommend freezing—chocolate and cereal textures don’t always love that.
If you want to reheat slightly (say, if you prefer them softer), leave them at room temperature for about 15 minutes before serving. Flavors tend to deepen and the chocolate becomes creamier after a day or two, so they actually get better if you make them ahead.
Nutritional Information & Benefits
Each nest is a small treat, roughly 150-180 calories depending on size and chocolate used. The recipe leans on simple ingredients, mainly sugar and fat from chocolate and butter, so it’s definitely an indulgence best enjoyed in moderation.
That said, the cereal provides some light crunch and texture without being overly dense. Choosing white chocolate with a higher cocoa butter content helps keep the flavor rich without excessive additives.
If you opt for nut additions, you get a bit of protein and healthy fats, but keep allergen concerns in mind. This recipe is naturally gluten-free when made with certified gluten-free cereal.
From a wellness perspective, these nests are a fun, occasional treat—perfect for sharing joy and creating memories rather than daily snacking. I find the process of making them with kids just as rewarding as eating them!
Conclusion
So, there you have it—a simple, charming, and downright fun way to celebrate Easter with Easy No-Bake Easter Egg Nests with Mini Eggs. Whether you’re a seasoned baker or a kitchen newbie, this recipe invites you to create something festive without the usual fuss.
Feel free to make it your own—add your favorite mix-ins, swap chocolates, or shape those nests a bit differently. I love how this recipe brings a little sparkle to holiday kitchens and is always a hit with family and friends.
Give it a try this Easter (or anytime you want a sweet, crunchy treat) and share how you made it yours. I’d love to hear your adaptations or stories in the comments below—let’s keep the joyful tradition going!
Happy nesting and happy Easter!
FAQs
Can I use other cereals besides Rice Krispies?
Yes! You can try cornflakes or puffed wheat, but keep in mind the texture and taste will vary slightly. Rice Krispies are the classic choice for that light crunch.
How long can I store the Easter egg nests?
Store them in an airtight container in the refrigerator for up to 5 days. They’re best enjoyed fresh but will hold up well chilled.
Can kids help make these nests?
Absolutely! This recipe is perfect for little hands to mix, shape, and decorate with Mini Eggs. Just supervise when handling melted chocolate.
What if I don’t have Mini Eggs?
Other small candies like jellybeans, chocolate chips, or pastel M&Ms work great too. Get creative with what you have on hand!
Is it possible to make these nests vegan?
Yes! Use dairy-free chocolate chips, coconut oil instead of butter, and check your cereal is vegan-friendly. The syrup or honey can be swapped with maple syrup for a vegan option.
Pin This Recipe!
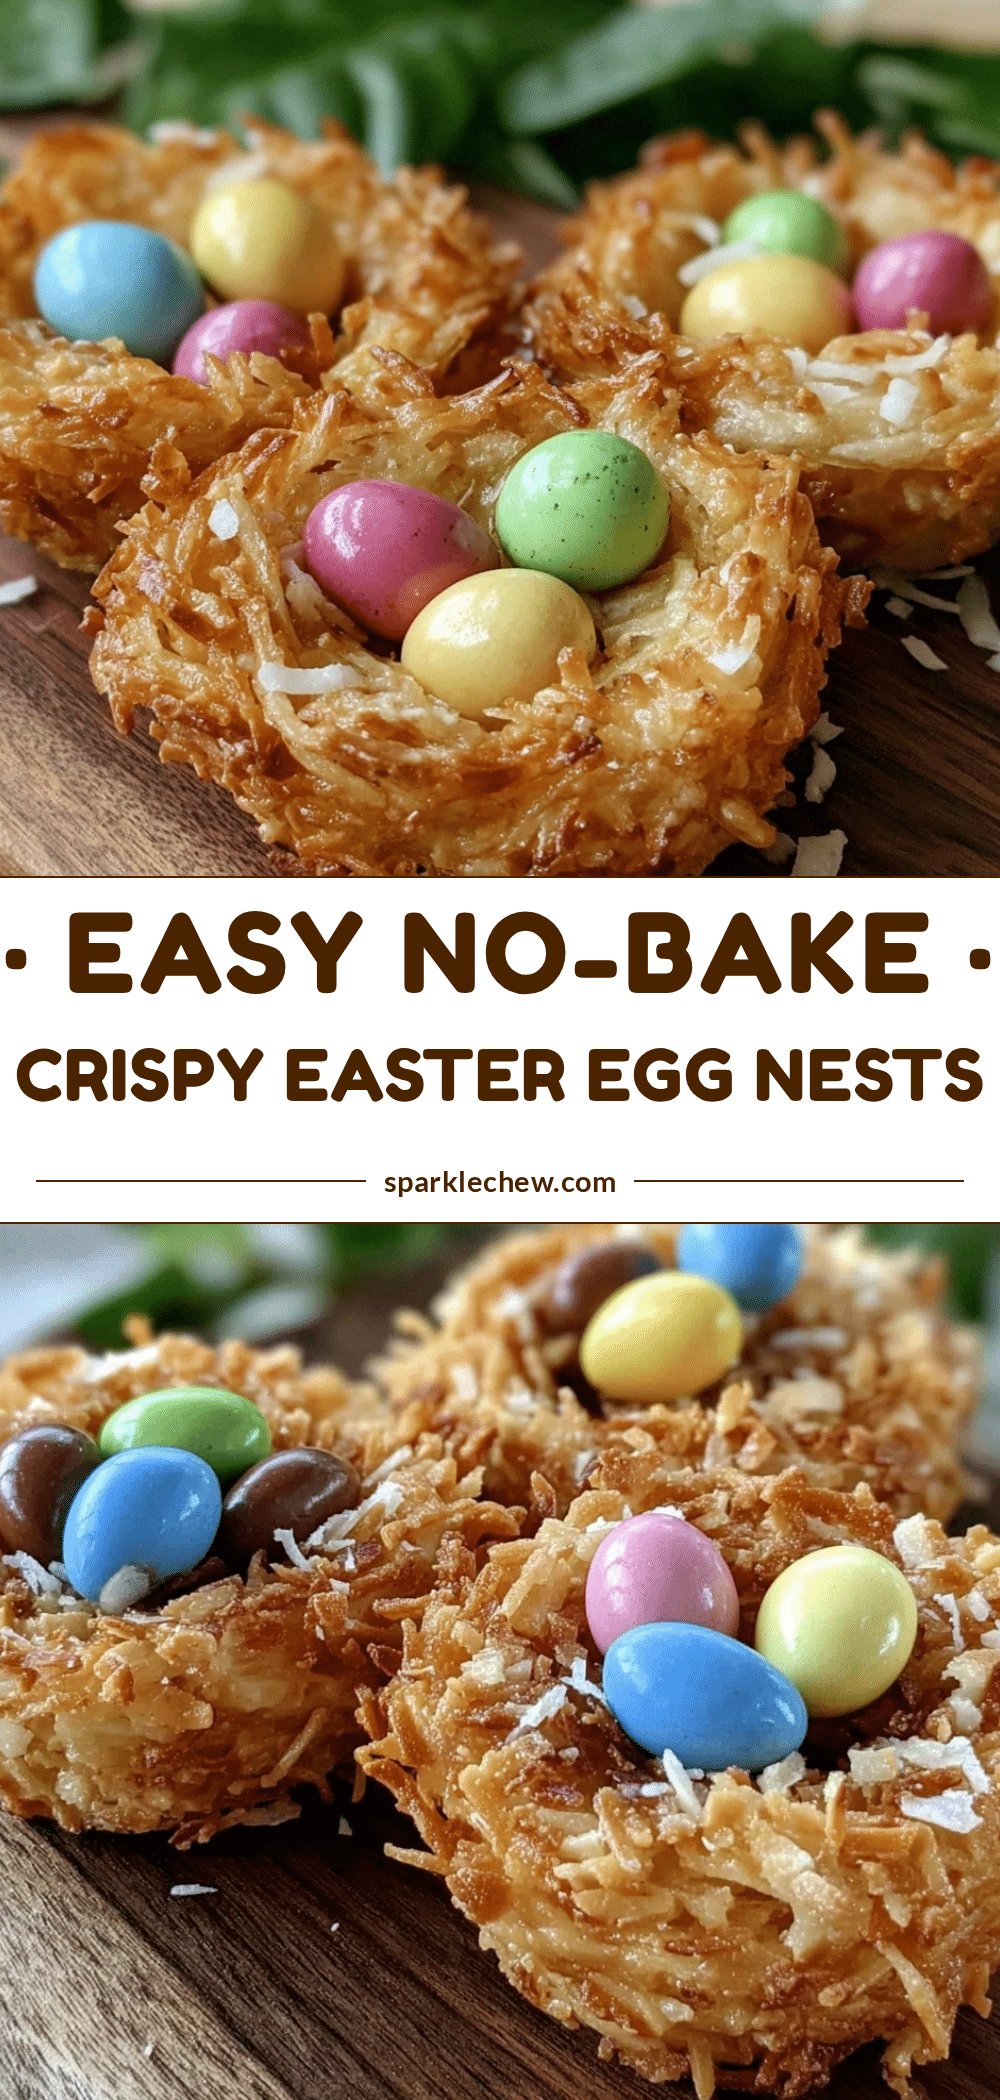
Easy No-Bake Easter Egg Nests Recipe Perfect for Kids and Parties

A quick, kid-friendly no-bake treat combining crunchy rice cereal and melted white chocolate, decorated with colorful Mini Eggs. Perfect for Easter celebrations and parties.
- Prep Time: 15 minutes
- Cook Time: 10 minutes
- Total Time: 1 hour 25 minutes
- Yield: 12-15 nests 1x
- Category: Dessert
- Cuisine: American
Ingredients
- 4 cups (100g) crispy rice cereal (e.g., Kellogg’s Rice Krispies)
- 1 ½ cups (270g) white chocolate chips (dairy-free chips can be used as substitute)
- 3 tablespoons (45g) unsalted butter, softened
- 2 tablespoons (30ml) golden syrup or light corn syrup (honey can be used as substitute)
- 1 teaspoon (5ml) vanilla extract
- 30–40 mini chocolate eggs (e.g., Cadbury Mini Eggs)
- Optional: colored sprinkles or edible glitter for decoration
Instructions
- Melt the white chocolate chips, softened butter, and golden syrup in a microwave-safe bowl in 20-second intervals, stirring well between each, until smooth and glossy. Alternatively, melt over a double boiler on low heat. Stir in vanilla extract.
- Pour the melted chocolate mixture over the rice cereal in a large mixing bowl. Gently fold and coat all the cereal evenly using a silicone spatula or wooden spoon, being careful not to crush the cereal.
- If using a mini muffin tin, lightly grease each cup. Spoon the cereal mixture into each cup, pressing gently to form a nest shape with a small well in the center. If freehanding, scoop small mounds onto parchment paper and use the back of a spoon to create nest indentations.
- Place 3-4 Mini Eggs into the center of each nest, pressing lightly so they stick but do not crush.
- Transfer the nests to the refrigerator and chill for 30 minutes to 1 hour until firm and set.
- Once set, gently remove the nests from the tin or parchment paper. Serve immediately or store in an airtight container in the refrigerator.
Notes
Melt chocolate slowly to avoid burning. Stir gently to keep cereal crunchy. Use mini muffin tins for uniform nests or shape freehand for a rustic look. Chill nests thoroughly to set. Store in airtight container in fridge up to 5 days. For dairy-free, use dairy-free chocolate chips and coconut oil instead of butter. Syrup can be substituted with honey or maple syrup for vegan option.
Nutrition
- Serving Size: 1 nest
- Calories: 165
- Sugar: 15
- Sodium: 50
- Fat: 9
- Saturated Fat: 5
- Carbohydrates: 20
- Fiber: 0.5
- Protein: 1.5
Keywords: no-bake, Easter, Easter egg nests, kids recipe, party dessert, white chocolate, rice cereal, Mini Eggs, quick dessert