Love this? Save it for later!
Share the inspiration with your friends
“You know,” my neighbor Tom said one afternoon as his two kids zoomed around the backyard, “sometimes the simplest snacks are the ones that make the biggest mess—except when they don’t!” I was intrigued, especially since his kids were unusually calm, sitting at the picnic table with sticky fingers but big smiles. Tom leaned in and whispered about his secret weapon: easy no-bake s’mores bars. I wasn’t expecting much—no-bake usually means bland or messy—but honestly, that first bite changed my mind completely.
It all began on a lazy Saturday when the power flickered out just as I was about to start baking cookies. No oven, no problem, right? I rummaged through the pantry and stumbled on some graham crackers, marshmallows, and chocolate chips—classic s’mores ingredients, but I wanted something less messy for the kids. After a bit of fiddling and a few spilled marshmallows (typical kitchen chaos), this no-bake s’mores bars recipe came to life.
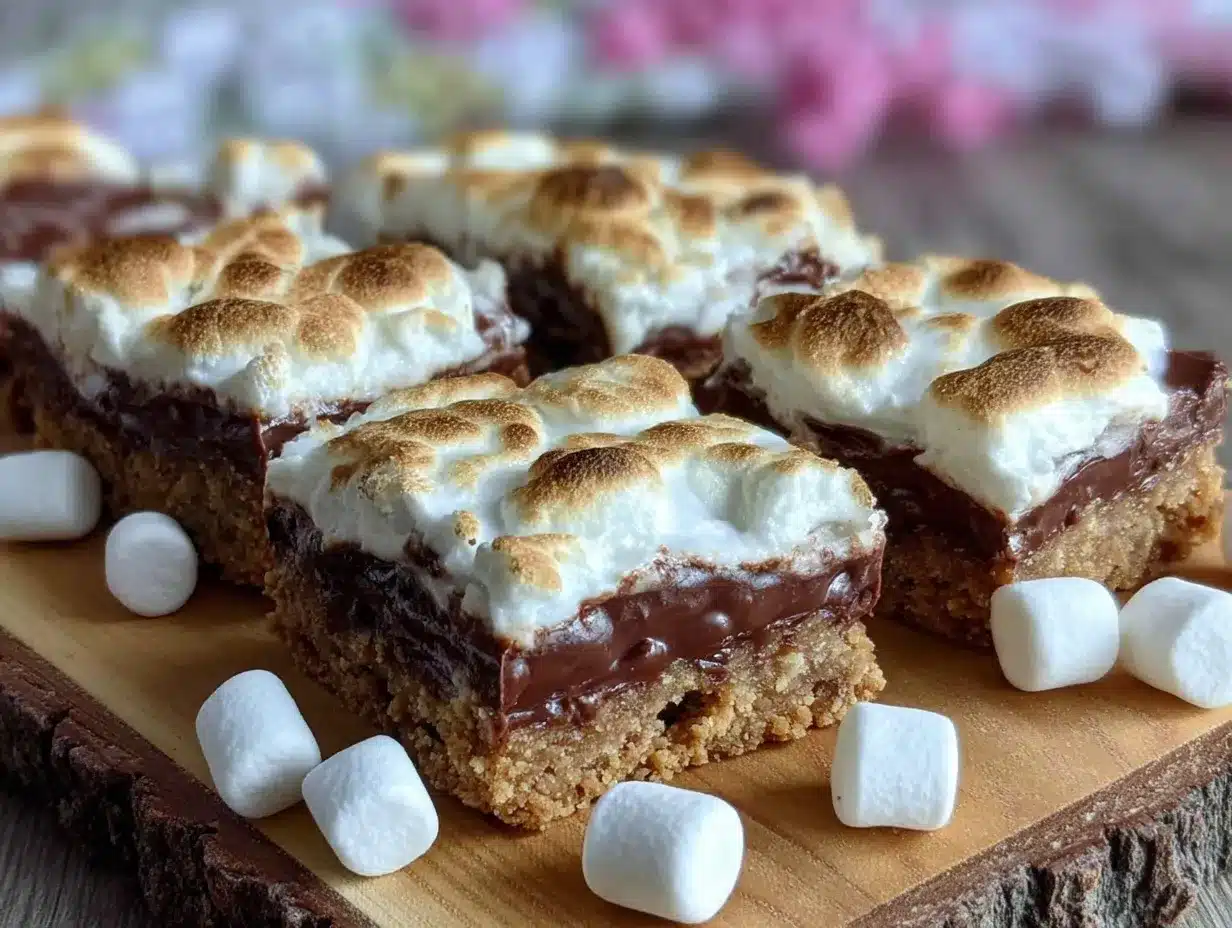
Maybe you’ve been there—craving that campfire treat but stuck indoors or just needing a quick snack that won’t send you hunting for the fire pit. These bars are the answer, combining that gooey, chocolatey goodness with a crispy, buttery base, all without heating up the kitchen. And, let me tell you, Tom’s kids are still asking for seconds whenever they visit. This recipe stuck with me because it’s just so darn easy and fun—perfect for little hands and busy days alike.
Why You’ll Love This Recipe
Let me tell you, after testing this easy no-bake s’mores bars recipe a dozen times (yes, a dozen!), I’m confident it’s one of the best kid-friendly treats you can whip up without breaking a sweat. It’s not just about the taste; it’s about the joy of making something simple that kids absolutely adore.
- Quick & Easy: Comes together in under 20 minutes, making it perfect for those last-minute snack emergencies or spontaneous playdate treats.
- Simple Ingredients: Uses classic pantry staples like graham crackers, marshmallows, and chocolate chips—no fancy ingredients or special trips required.
- Perfect for Kids’ Parties & Lunchboxes: These bars travel well and are mess-free compared to traditional s’mores, making them ideal for school snacks or birthday celebrations.
- Crowd-Pleaser: The combination of crispy, gooey, and chocolatey textures is a guaranteed winner with both kids and adults.
- Unbelievably Delicious: The buttery graham cracker crust balances perfectly with melty marshmallow and rich chocolate, creating that nostalgic campfire flavor without the campfire fuss.
What really sets this recipe apart is the way the marshmallows and chocolate meld together just right, thanks to a little melting magic and the perfect press of the graham cracker base. I’ve tried other no-bake versions before, but none of them have that smooth, velvety texture that makes you close your eyes with the first bite. You’re not just making a snack—you’re making a moment, whether it’s a quiet afternoon treat or part of a festive gathering.
What Ingredients You Will Need
This recipe uses simple, wholesome ingredients that come together to create a classic s’mores flavor with none of the hassle. Most of these are pantry staples, and they’re easy to swap if you need to accommodate dietary preferences.
- Graham crackers (about 2 cups, crushed) – I prefer the honey-flavored kind for a touch of sweetness.
- Unsalted butter (6 tablespoons, melted) – adds richness and helps bind the crust.
- Mini marshmallows (3 cups) – these melt beautifully and create that gooey texture.
- Chocolate chips (1 ½ cups) – semi-sweet works best; I usually grab Ghirardelli for that silky melt.
- Vanilla extract (1 teaspoon) – lifts the flavors with a subtle warmth.
- Salt (a pinch) – balances the sweetness and enhances the chocolate.
If you want to make it gluten-free, just swap the graham crackers for gluten-free alternatives or crushed gluten-free cookies. For dairy-free, you can use coconut oil instead of butter and dairy-free chocolate chips. I’ve even tried adding a handful of chopped nuts into the crust for a nice crunch—totally optional but delicious.
Equipment Needed
- 8×8 inch baking pan – I use a non-stick glass pan for even cooling and easy bar cutting.
- Mixing bowls – one for crushing crackers and mixing the crust, another for melting marshmallows and chocolate.
- Microwave-safe bowl or double boiler – for melting marshmallows and chocolate smoothly.
- Spatula or wooden spoon – handy for mixing and spreading layers evenly.
- Measuring cups and spoons – to keep proportions just right.
If you don’t have a microwave, a double boiler works great to melt the chocolate and marshmallows without burning. And if you’re on a budget, crushing graham crackers in a zip-top bag with a rolling pin works just as well as a food processor, though it takes a little elbow grease. Just be sure to wipe the pan well before pressing the crust to avoid sticking.
Preparation Method
- Prepare the crust: Crush about 2 cups of graham crackers into fine crumbs. You can do this by placing them in a sealed plastic bag and smashing gently with a rolling pin or pulse a few times in a food processor. Pour the crumbs into a mixing bowl.
- Mix the crust: Add 6 tablespoons of melted unsalted butter and a pinch of salt to the graham cracker crumbs. Stir well until the mixture looks like wet sand and holds together when pressed.
- Press the crust: Lightly grease your 8×8 inch pan. Press the graham cracker mixture firmly and evenly into the bottom of the pan. Use the bottom of a glass or a spatula to compact it tightly. This step is key for a sturdy base.
- Prepare the marshmallow-chocolate topping: In a microwave-safe bowl, combine 3 cups of mini marshmallows and 1 ½ cups of chocolate chips. Microwave in 30-second increments, stirring between each, until smooth and melted. Stir in 1 teaspoon of vanilla extract.
- Assemble the bars: Immediately pour the marshmallow-chocolate mixture over the pressed crust. Use a spatula to spread it evenly, making sure it covers the entire surface.
- Chill and set: Place the pan in the refrigerator for at least 2 hours, or until the bars are firm enough to cut cleanly.
- Cut and serve: Once set, remove from the fridge and slice into squares. For cleaner cuts, warm your knife under hot water and dry it before slicing.
A quick tip: if the marshmallow mixture starts to thicken before spreading, give it a brief 10-second microwave zap to loosen it up. Also, I once forgot to grease my pan and learned the hard way—bars stuck like glue! Don’t skip that step.
Cooking Tips & Techniques
When making these easy no-bake s’mores bars, timing and texture really matter. Here are some tried-and-true tips from my kitchen experiments:
- Use room temperature butter: Melting cold butter straight from the fridge can cause uneven mixing. I usually melt it gently on the stove or microwave and let it cool a bit before combining.
- Don’t over-melt the marshmallows: They can seize or burn quickly. Microwave in short bursts and stir often to keep everything smooth and glossy.
- Press the crust firmly: A loosely packed crust falls apart when cutting. Firm pressure creates a solid base that holds up well.
- Chill thoroughly: This isn’t a grab-and-go snack. Letting the bars set completely in the fridge ensures neat slices and easy handling for little hands.
- Multitask smartly: While your crust chills, you can prep other snacks or clean up the kitchen. I find this saves time and keeps the process stress-free.
One time, I tried using large marshmallows instead of minis, and it was a sticky, gooey mess. Mini marshmallows melt more evenly and give that perfect marshmallow layer without clumps. Honestly, the small details make all the difference here.
Variations & Adaptations
This recipe is super flexible and welcomes your creativity. Here are some fun ways I’ve tweaked it, or you can try:
- Peanut Butter Swirl: Add dollops of peanut butter to the melted marshmallow-chocolate layer before spreading. Swirl lightly with a knife for a nutty twist that kids love.
- Berry Boost: Mix in some freeze-dried strawberries or raspberries into the crust or topping for a fruity pop. Fresh berries on top after chilling add a fresh contrast too.
- Vegan/Dairy-Free: Use coconut oil instead of butter and dairy-free chocolate chips. Swap marshmallows for vegan marshmallows (like Dandies) to keep it plant-based.
- Crunchy Upgrade: Sprinkle crushed nuts or pretzels on top before chilling for added texture and salty contrast.
- Classic Campfire Version: Toast the marshmallows on a skewer over a gas stove flame before melting with chocolate for that smoky flavor—if you want to get fancy.
I once made a batch with almond butter and dark chocolate for a grown-up version—still a hit, but the kids definitely prefer the classic sweet style. Feel free to experiment and make it your own!
Serving & Storage Suggestions
These easy no-bake s’mores bars are best served chilled or at room temperature. They hold their shape nicely, so they’re perfect for packing in lunchboxes or bringing to picnics.
Pair them with a cold glass of milk or hot chocolate to complete the nostalgic feel. They also go surprisingly well alongside fresh fruit or a simple vanilla yogurt dip for a balanced snack.
To store, keep them covered in an airtight container in the refrigerator for up to 5 days. You can also freeze the bars wrapped tightly in plastic wrap and foil for up to 2 months—just thaw overnight in the fridge before serving.
Reheating isn’t necessary, but if you prefer a softer texture, a few seconds in the microwave (10-15 seconds) will make them gooey again. Just watch carefully so they don’t melt into a puddle.
Over time, the flavors meld and the crust softens slightly, making the bars even more tender. Personally, I love them fresh from the fridge for that satisfying crispness.
Nutritional Information & Benefits
Each serving of these no-bake s’mores bars (about 1 bar if cut into 12 pieces) contains approximately:
| Nutrient | Amount |
|---|---|
| Calories | 210 |
| Fat | 11g |
| Saturated Fat | 7g |
| Carbohydrates | 27g |
| Sugar | 18g |
| Protein | 2g |
The recipe provides a comforting energy boost, and the graham crackers add a bit of fiber. Using unsalted butter and quality chocolate chips means you control the salt and sugar levels better than store-bought alternatives.
If you swap ingredients for gluten-free or vegan options, you can tailor this to various dietary needs. Just keep an eye on marshmallow ingredients, as some contain gelatin.
From my nutritionist friend’s perspective, balancing treats like these with wholesome meals and active play makes for happy, healthy kids—and happy parents too.
Conclusion
Honestly, this easy no-bake s’mores bars recipe is a keeper. It’s the kind of snack you’ll find yourself making over and over because it’s quick, fuss-free, and irresistibly delicious. Whether you’re looking to satisfy a last-minute craving or impress a crowd of little ones (or big ones!), these bars deliver every time.
Don’t hesitate to tweak it to your taste—maybe a little extra chocolate or a sprinkle of sea salt on top. I love how this recipe brings a bit of campfire magic indoors, no fire pit required. I hope you enjoy making and sharing it as much as I do.
If you try it, I’d love to hear how your family liked it or what fun twists you added. Drop a comment below or share your version—there’s nothing better than swapping recipe stories with fellow snack lovers!
Remember, sometimes the simplest recipes create the sweetest memories. Happy snacking!
FAQs
Can I make these s’mores bars ahead of time?
Yes! They keep well in the refrigerator for up to 5 days and can be frozen for longer storage. Just thaw in the fridge before serving.
What’s the best way to cut the bars without them falling apart?
Make sure the bars are fully chilled and firm. Warm your knife slightly under hot water and dry it before slicing for cleaner cuts.
Can I use regular-sized marshmallows instead of mini ones?
Mini marshmallows melt more evenly, which helps create a smooth topping. Using large marshmallows might result in uneven melting and a stickier texture.
Are these bars gluten-free?
Not as written, since graham crackers contain gluten. You can use gluten-free graham cracker substitutes or crushed gluten-free cookies to make the recipe gluten-free.
Can I add nuts or other mix-ins to the bars?
Absolutely! Chopped nuts, pretzels, or even dried fruit can be mixed into the crust or sprinkled on top before chilling for extra texture and flavor.
For more simple and delicious treats, you might enjoy my crispy garlic chicken recipe, which is also quick and family-friendly. And if you love sweet snacks, don’t miss my classic chocolate chip cookies that bake up chewy and irresistible every time.
Pin This Recipe!
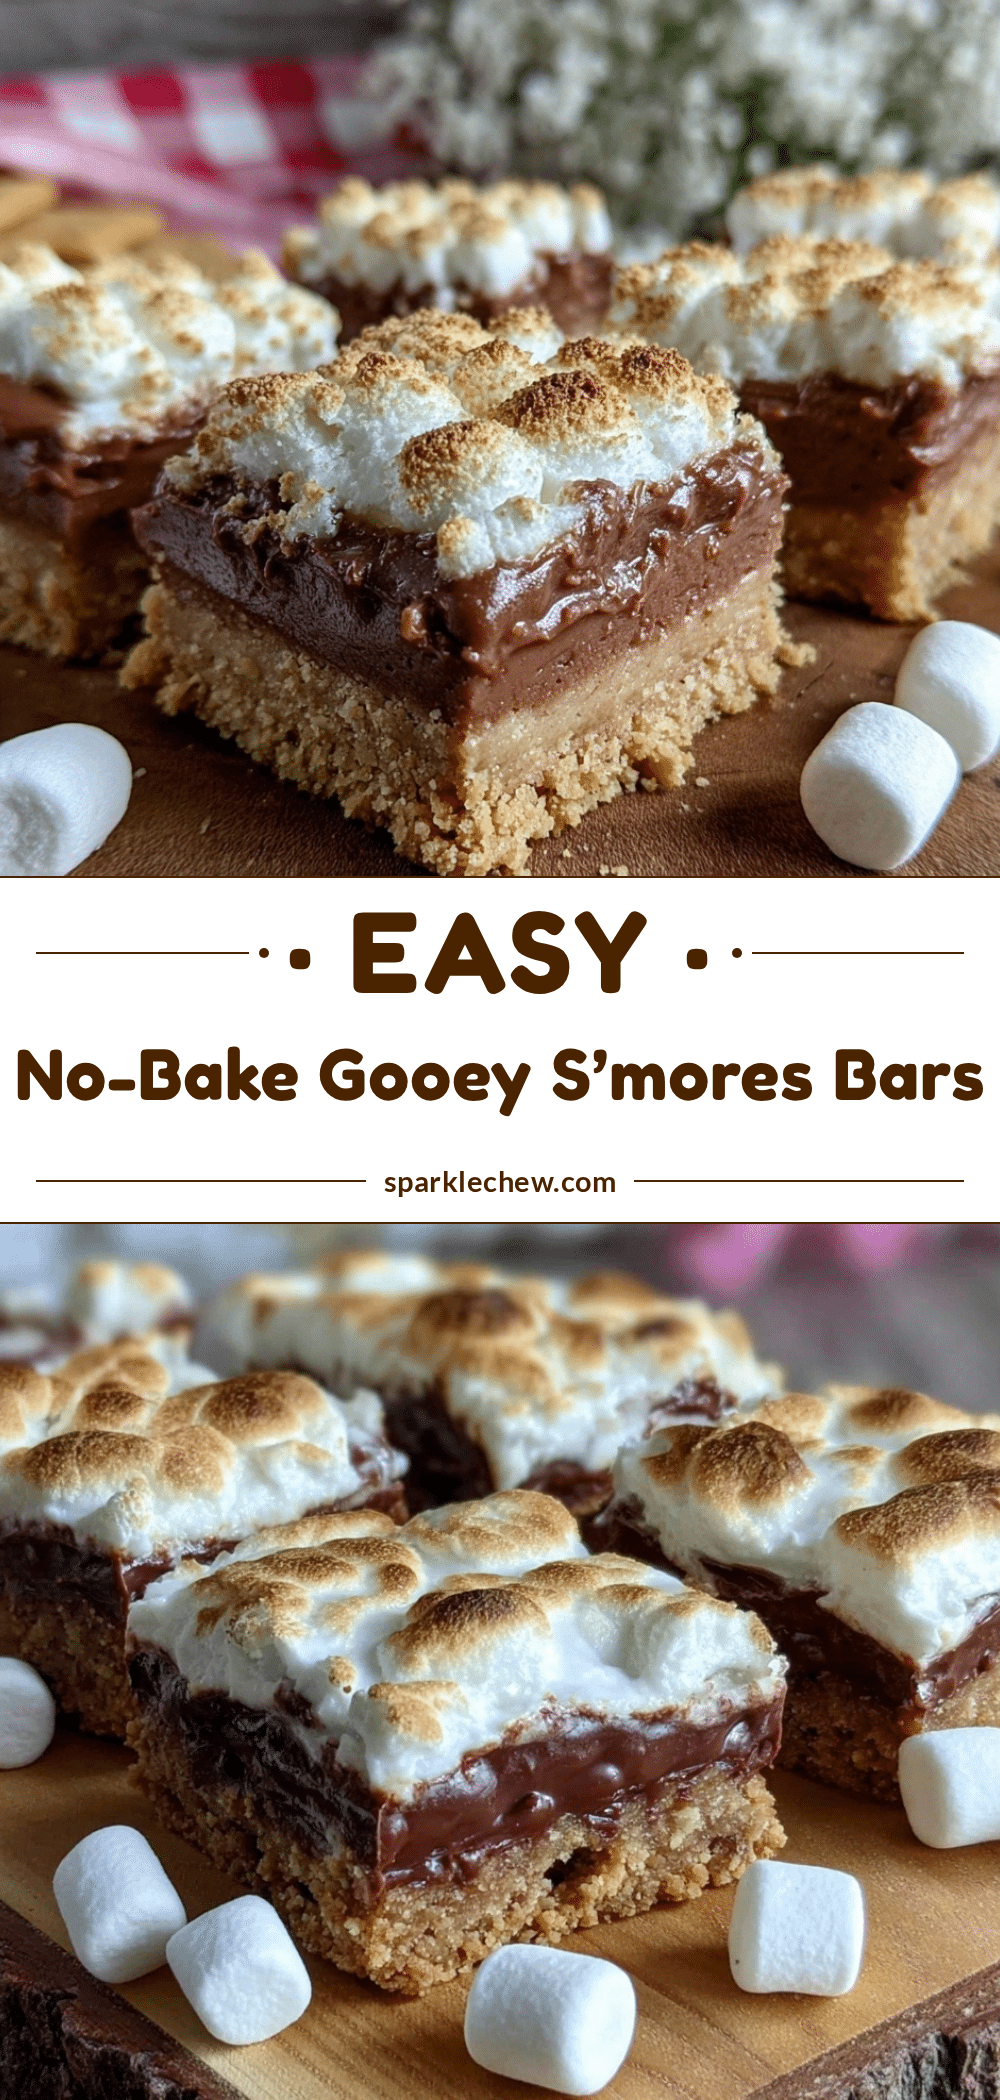
Easy No-Bake S’mores Bars Recipe Kids Will Love

A quick and easy no-bake s’mores bars recipe that combines a crispy graham cracker crust with gooey marshmallows and melted chocolate, perfect for kids and snack time.
- Prep Time: 10 minutes
- Cook Time: 0 minutes
- Total Time: 2 hours 10 minutes
- Yield: 12 servings 1x
- Category: Snack
- Cuisine: American
Ingredients
- 2 cups graham crackers, crushed (preferably honey-flavored)
- 6 tablespoons unsalted butter, melted
- 3 cups mini marshmallows
- 1 ½ cups semi-sweet chocolate chips
- 1 teaspoon vanilla extract
- Pinch of salt
Instructions
- Crush about 2 cups of graham crackers into fine crumbs using a rolling pin or food processor and place in a mixing bowl.
- Add 6 tablespoons of melted unsalted butter and a pinch of salt to the graham cracker crumbs. Stir until the mixture resembles wet sand and holds together when pressed.
- Lightly grease an 8×8 inch baking pan. Press the graham cracker mixture firmly and evenly into the bottom of the pan using a spatula or the bottom of a glass.
- In a microwave-safe bowl, combine 3 cups of mini marshmallows and 1 ½ cups of chocolate chips. Microwave in 30-second increments, stirring between each, until smooth and melted.
- Stir in 1 teaspoon of vanilla extract into the melted marshmallow-chocolate mixture.
- Pour the marshmallow-chocolate mixture over the pressed crust and spread evenly with a spatula.
- Refrigerate the pan for at least 2 hours or until the bars are firm enough to cut cleanly.
- Remove from the refrigerator and slice into 12 squares. For cleaner cuts, warm your knife under hot water and dry it before slicing.
Notes
Use room temperature butter for even mixing. Microwave marshmallows in short bursts to avoid burning. Press crust firmly for a sturdy base. Chill bars thoroughly for clean slicing. Warm knife under hot water for cleaner cuts. For gluten-free, substitute graham crackers with gluten-free alternatives. For dairy-free, use coconut oil and dairy-free chocolate chips and marshmallows.
Nutrition
- Serving Size: 1 bar (if cut into 1
- Calories: 210
- Sugar: 18
- Sodium: 50
- Fat: 11
- Saturated Fat: 7
- Carbohydrates: 27
- Fiber: 1
- Protein: 2
Keywords: no-bake, s'mores bars, kids snack, easy recipe, marshmallow, chocolate, graham cracker, quick snack