Love this? Save it for later!
Share the inspiration with your friends
“You know that moment when the smell of vanilla and fresh sugar hits your kitchen, and suddenly the whole neighborhood feels like summer?” That’s exactly what happened last Fourth of July. I was at my friend Mike’s place—he’s not much of a baker, honestly, more of a grill master—but he somehow convinced me to help with dessert. What followed was a messy, laughter-filled afternoon of creating these perfect soft-baked sugar cookies decorated as American flags. The best part? Mike had never iced a cookie before.
It all started with a cracked mixing bowl and a playlist of classic rock blaring from the speakers. Between the flour spills and the blue and red icing smudges on the counter, we ended up with cookies that looked a little imperfect but tasted absolutely incredible. I mean, soft, melt-in-your-mouth sugar cookies with just the right balance of sweetness and that nostalgic buttery flavor. The flag decorations? Simple, fun, and totally kid-friendly.
Maybe you’ve been there—trying to find a dessert that’s festive yet easy enough to make with a handful of helpers with varying skill levels. These cookies stuck with me because they’re not just pretty; they bring people around the kitchen, sharing stories, sneaking bites, and making memories. If you want to impress at your next summer party or just crave a sweet treat that’s soft, flavorful, and patriotic, let me tell you why this recipe will become your go-to.
Why You’ll Love This Recipe
After baking and tweaking this soft-baked sugar cookie recipe countless times, I can honestly say it hits all the right notes. Here’s why it’s a winner in my kitchen and why you’ll want it in yours too:
- Quick & Easy: Ready in about 30 minutes from start to finish—perfect for those last-minute celebrations or when you’re craving something sweet but don’t want to fuss.
- Simple Ingredients: No need for specialty stores. You likely have everything on hand, from all-purpose flour to classic vanilla extract.
- Perfect for Patriotic Occasions: Great for Fourth of July, Memorial Day, or any time you want to add a festive red, white, and blue touch to your dessert table.
- Crowd-Pleaser: Soft texture means these cookies are loved by kids and adults alike, and the fun decorations make them irresistible.
- Unbelievably Delicious: This isn’t your average sugar cookie—the soft, buttery crumb with just the right chew is something you’ll want to make again and again.
What sets this recipe apart is the balance between softness and structure. The secret is in the mixing method and a little patience letting the dough chill. Also, the decorating approach keeps things fun but approachable—no piping master skills needed here! Honestly, these cookies are like a nostalgic hug, perfect for impressing guests without any stress.
What Ingredients You Will Need
This recipe uses simple, wholesome ingredients to create soft cookies with a tender crumb and a sweet, buttery flavor. Most are pantry staples, so you probably won’t have to run anywhere last minute.
- All-purpose flour (2 ¾ cups / 345 g) – the base that gives the cookies structure
- Baking powder (1 teaspoon) – for a gentle lift
- Salt (½ teaspoon) – balances sweetness and enhances flavor
- Unsalted butter (1 cup / 227 g, softened) – provides richness and tenderness (I recommend using Land O Lakes for best creaminess)
- Granulated sugar (1 ½ cups / 300 g) – for sweetness and a slight crisp edge
- Large eggs (2, room temperature) – bind everything together and add moisture
- Pure vanilla extract (2 teaspoons) – the soul of any good sugar cookie
- Milk (2 tablespoons) – adds a touch of moisture for softness (whole milk preferred, but any milk works)
For the decorations:
- Royal icing or store-bought white icing – for the white stripes and stars (I like to use a simple homemade royal icing for better texture)
- Red gel food coloring – to paint the stripes
- Blue gel food coloring – for the field of stars
- Small star-shaped sprinkles or white nonpareils – to replicate stars on the flag
You can swap out all-purpose flour for a gluten-free blend if needed (Bob’s Red Mill works well). For a dairy-free version, replace butter with coconut oil and milk with almond milk. I’ve found the texture stays soft and satisfying either way.
Equipment Needed
- Mixing bowls: At least two—one for dry ingredients, one for wet
- Electric mixer or stand mixer: For creaming the butter and sugar smoothly (a hand mixer works fine too)
- Measuring cups and spoons: Accurate measurements matter for soft, tender cookies
- Baking sheets: Heavy-duty, rimmed cookie sheets to prevent warping
- Parchment paper or silicone baking mats: To prevent sticking and help cookies bake evenly
- Rolling pin: For rolling out dough evenly (a smooth, weighted rolling pin is best)
- Cookie cutters: Rectangular or square to mimic flag shapes (or circle cutter if preferred)
- Small offset spatula or butter knife: For spreading icing neatly
If you don’t have a stand mixer, hand mixing works well, just take a little extra time creaming the butter and sugar until fluffy. For icing, a plastic sandwich bag with a tiny corner snipped can be a budget-friendly piping bag alternative. Keeping your baking sheets cool between batches prevents spreading, so rotating them in the fridge is a neat trick I picked up from a pastry class once.
Preparation Method
- Preheat your oven to 350°F (175°C). Line two baking sheets with parchment paper or silicone mats. This keeps cookies from sticking and helps with even baking.
- Mix dry ingredients: In a medium bowl, whisk together 2 ¾ cups (345 g) all-purpose flour, 1 teaspoon baking powder, and ½ teaspoon salt. Set aside.
- Cream butter and sugar: In a large bowl, beat 1 cup (227 g) softened unsalted butter with 1 ½ cups (300 g) granulated sugar using an electric mixer on medium speed until light and fluffy—about 3-4 minutes. This is key for soft, airy cookies.
- Add eggs and vanilla: Beat in 2 large eggs, one at a time, then stir in 2 teaspoons pure vanilla extract. Mix until fully combined but don’t overbeat.
- Incorporate dry ingredients: Gradually add the flour mixture in three parts, alternating with 2 tablespoons of milk. Start and end with flour. Mix on low speed until just combined. The dough should be soft but not sticky.
- Chill the dough: Shape the dough into a disc, wrap in plastic wrap, and refrigerate for at least 30 minutes. This prevents spreading and makes rolling easier.
- Roll and cut: On a lightly floured surface, roll the dough to about ¼ inch (6 mm) thickness. Use rectangular or square cookie cutters to create flag shapes. Place them about 2 inches (5 cm) apart on prepared baking sheets.
- Bake: Bake for 9-11 minutes, until edges are just starting to turn golden but centers remain soft. Rotate pans halfway through for even baking. Don’t overbake—cookies should be soft and tender!
- Cool: Let cookies cool on the baking sheets for 5 minutes before transferring to wire racks to cool completely. This helps maintain their soft texture.
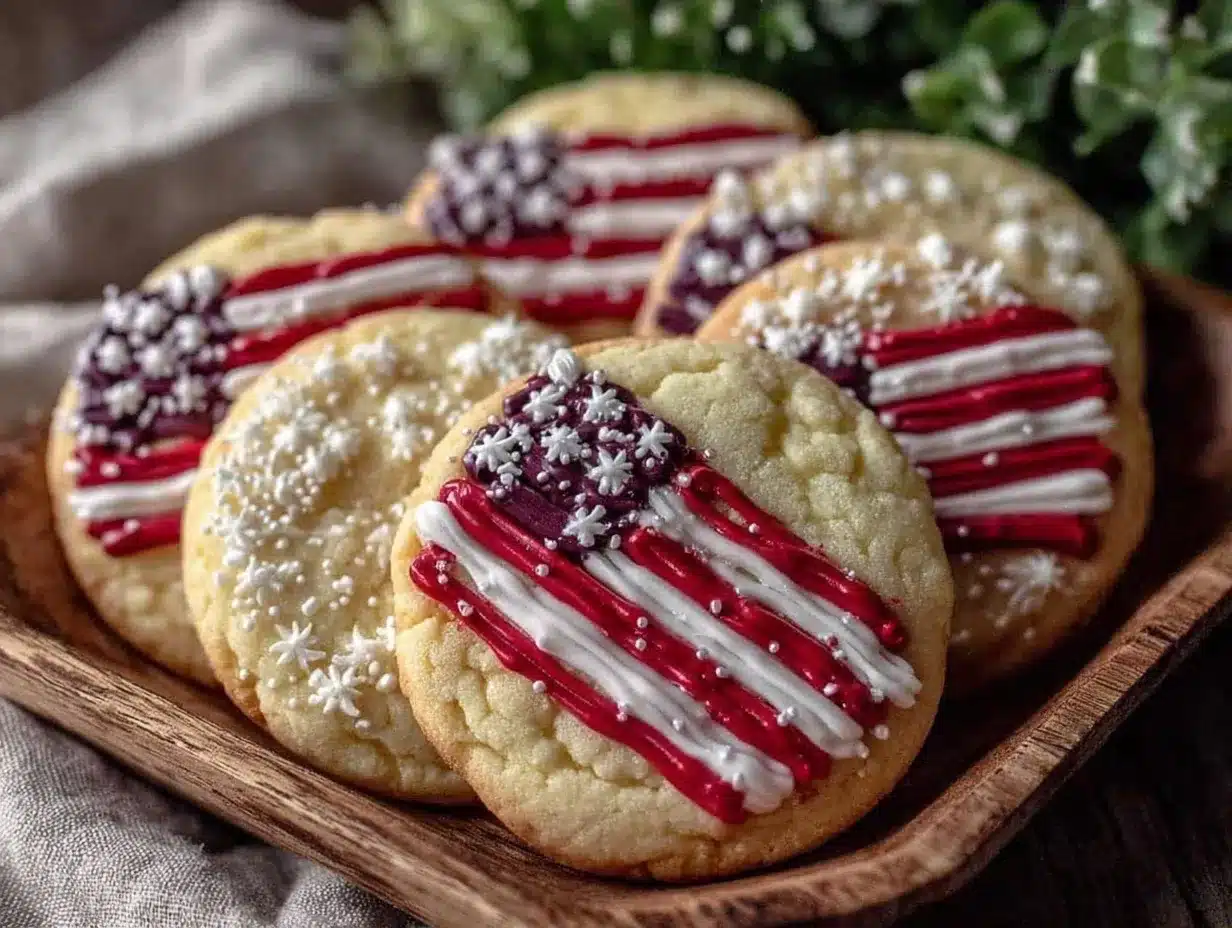
- Decorate: Use royal icing or store-bought white icing as the base for your flag stripes. Tint small portions with red and blue gel food coloring. Spread blue in the top left corner, add red and white stripes with a small offset spatula or butter knife, and finish with star sprinkles or white nonpareils over the blue area. Let icing set at room temperature for at least 2 hours.
Pro tip: If your dough feels sticky while rolling, lightly flour your surface and rolling pin, but avoid adding too much flour or the cookies risk becoming tough. Also, I learned the hard way that chilling the dough longer than an hour makes cutting cleaner and baking neater—no misshapen flags here!
Cooking Tips & Techniques
Soft-baked sugar cookies can be tricky, but a few tricks make all the difference:
- Don’t overmix: Once you add the dry ingredients, mix only until combined. Overworking the dough develops gluten, which can make cookies tough instead of tender.
- Chill the dough: Essential for controlling spread and making the dough easier to handle. I usually chill mine an hour, but 30 minutes works in a pinch.
- Watch the baking time: Pull them out when edges are barely golden. They might look underdone but will firm up as they cool, keeping that soft texture.
- Use room temperature ingredients: Butter and eggs blend better, resulting in a creamier dough and lighter crumb.
- Decorate after cooling: Icing melts and slides off if applied on warm cookies. Patience here pays off, trust me.
- Practice makes perfect: My first attempt had uneven stripes and smudged blue icing (thanks, curious toddler). Now I use a small brush or toothpick to tidy edges.
Multitasking tip: While dough chills, prep your icing colors and set up your decorating station. Saves loads of time and keeps the momentum going.
Variations & Adaptations
These sugar cookies are a great base for creative spins:
- Gluten-Free Version: Substitute all-purpose flour with a 1-to-1 gluten-free blend like King Arthur’s. The texture stays soft but slightly more delicate.
- Vegan Adaptation: Replace butter with vegan margarine or coconut oil, use flax eggs (1 tbsp ground flax + 3 tbsp water per egg), and swap milk for almond or oat milk.
- Flavor Twists: Add a teaspoon of lemon zest or almond extract to the dough for a subtle flavor boost that pairs beautifully with the icing.
- Decorating Variations: Instead of royal icing, try a cream cheese glaze tinted with natural food coloring for a tangy contrast.
- Seasonal Swaps: For winter holidays, swap red and blue for green and red to make festive Christmas sugar cookies using the same soft base.
I once made these with a batch of homemade natural food colorings from beet juice and spirulina powder. The colors were less vibrant but surprisingly gorgeous and totally natural—a fun experiment worth trying!
Serving & Storage Suggestions
Serve these soft-baked sugar cookies at room temperature to enjoy their tender crumb and melt-in-your-mouth feel. They make a charming centerpiece for patriotic picnics or summer barbecues and pair beautifully with cold lemonade, iced tea, or even a scoop of vanilla ice cream for an indulgent twist.
To store, place cooled cookies in an airtight container layered with parchment paper to prevent sticking. They keep well at room temperature for up to 3 days. For longer storage, freeze undecorated cookies in a single layer, then stack with parchment between layers in a freezer-safe container for up to 3 months. Thaw at room temperature before decorating.
Reheat cookies gently in a microwave for 5-7 seconds to revive softness if they’ve dried out slightly. The icing might soften but won’t lose its charm. Over time, the flavors meld and deepen, making these cookies even more comforting the next day.
Nutritional Information & Benefits
Each soft-baked sugar cookie (without icing) contains roughly 150-180 calories, with about 7 grams of fat, 22 grams of carbohydrates, and 2 grams of protein. The butter provides a source of fat that helps keep the cookies tender, while eggs add protein and moisture.
This recipe is free from nuts and soy, making it suitable for many common allergen restrictions. For gluten-free or dairy-free needs, simple substitutions keep the cookies friendly for those diets.
While these cookies are definitely a treat, the use of real butter and eggs means they’re made with wholesome ingredients rather than artificial additives. I always say, enjoying a homemade cookie now and then is part of a balanced approach to eating—and these soft-baked sugar cookies fit that philosophy perfectly.
Conclusion
These perfect soft-baked sugar cookies decorated as American flags are more than just a dessert—they’re a celebration on a plate. They bring together simplicity, flavor, and festivity in a way that’s approachable for any home baker. Whether you’re baking for a party, a family gathering, or just because, this recipe is flexible and forgiving enough to make your kitchen feel warm and welcoming.
I love making these cookies because of the smiles they bring—both the messy decorating moments and the satisfied sighs after the first bite. Don’t hesitate to make them your own with your favorite flavors or decorating styles. And hey, if you try the recipe, I’d love to hear how your cookie flag turned out!
Ready to create some sweet memories? Grab your mixing bowl, and let’s get baking!
FAQs
How do I keep my sugar cookies soft and not crunchy?
Make sure not to overbake the cookies; pull them out when the edges just start to turn golden but centers remain soft. Also, chilling the dough before baking helps maintain softness.
Can I make the dough ahead of time?
Absolutely! You can prepare the dough and refrigerate it for up to 24 hours before rolling and baking. This can even improve flavor and texture.
What’s the easiest way to decorate the American flag on cookies?
Use royal icing or store-bought white icing as a base, tint small amounts with gel food coloring for red and blue sections, then spread with a small spatula. Add star sprinkles or white nonpareils for the stars.
Can I freeze these sugar cookies?
Yes! Freeze undecorated cookies in a single layer, then stack with parchment paper in an airtight container. Thaw completely before decorating.
What if I don’t have cookie cutters shaped like flags?
No worries! Use rectangular or square cutters, or even circles. You can still create the flag design on any shape by adjusting your icing layout.
By the way, if you enjoy festive baking, these soft sugar cookies pair wonderfully with crispy garlic chicken for a full summer feast or a light fresh berry salad to balance the sweetness. Just saying!
Pin This Recipe!
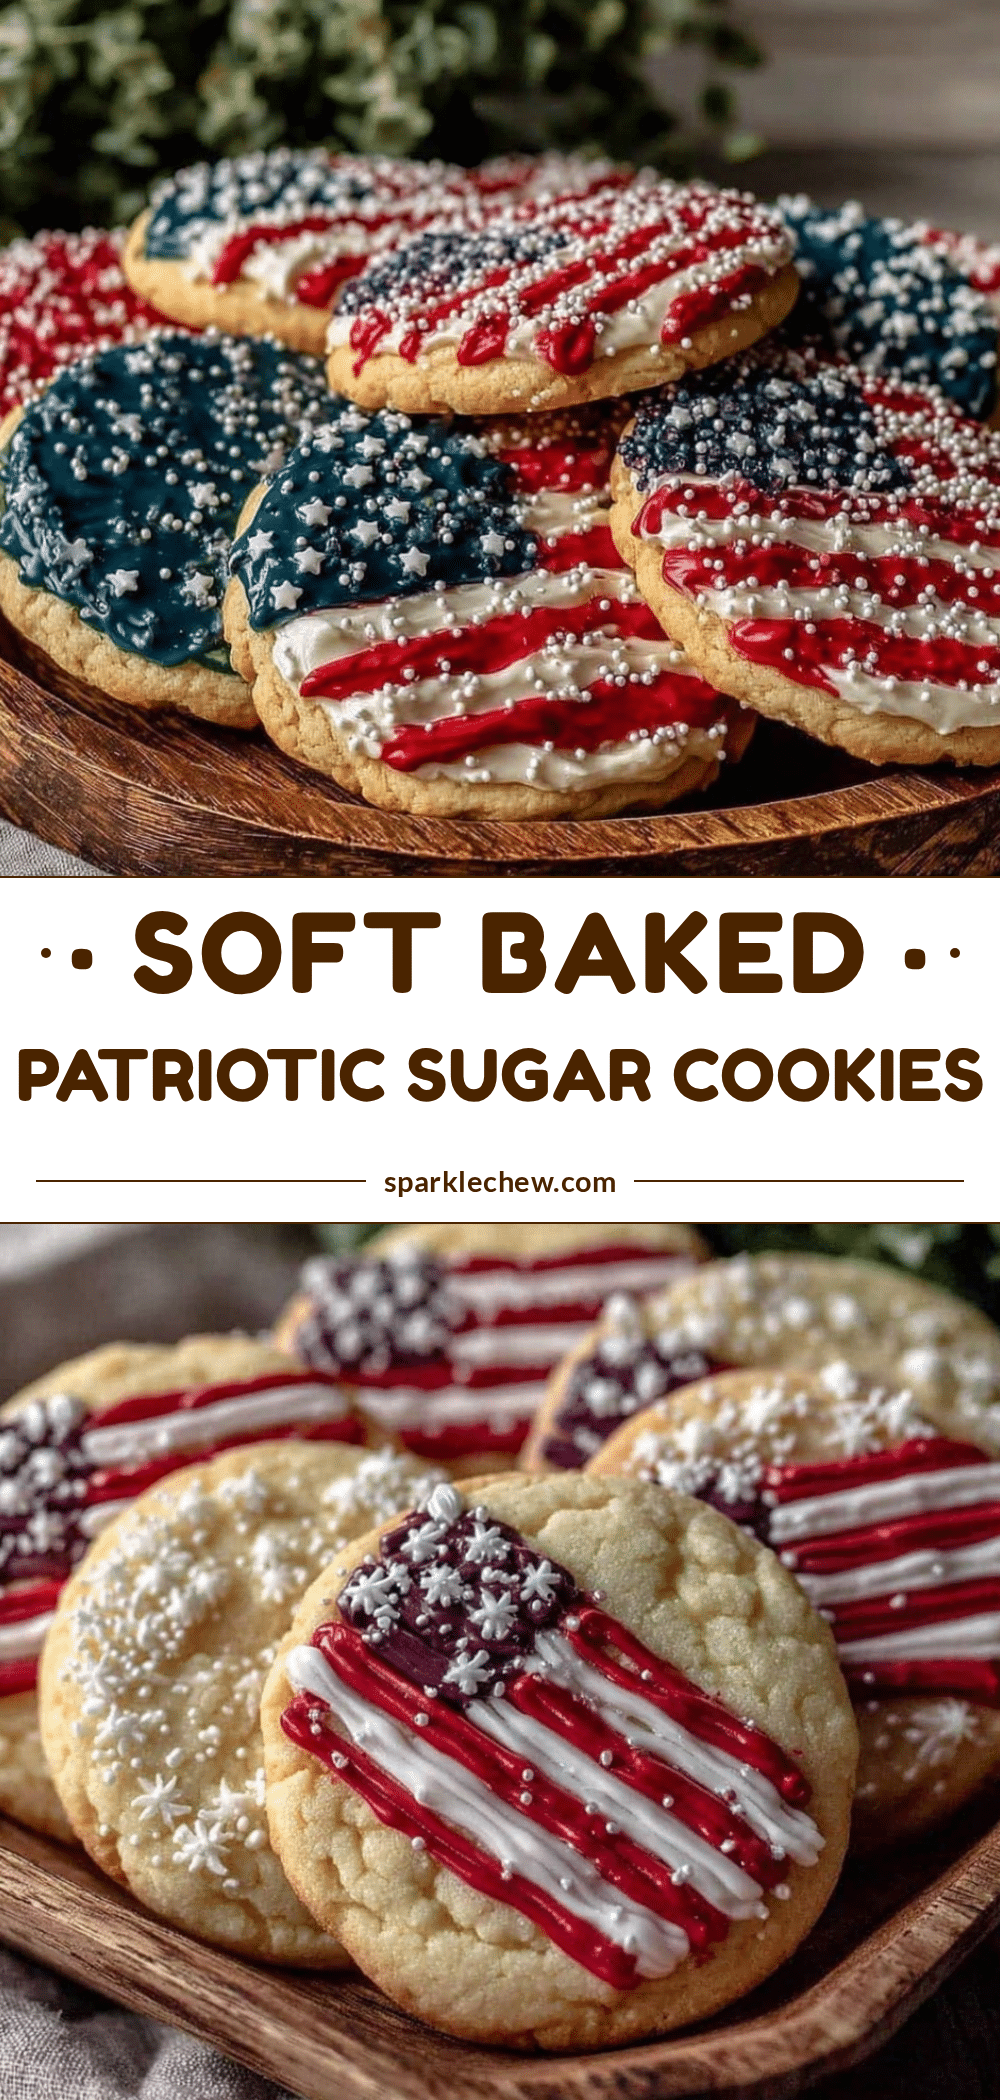
Perfect Soft-Baked Sugar Cookies Recipe Easy American Flag Decorations

Soft, melt-in-your-mouth sugar cookies with a tender crumb and buttery flavor, decorated as American flags. Perfect for patriotic occasions and easy enough for bakers of all skill levels.
- Prep Time: 15 minutes
- Cook Time: 11 minutes
- Total Time: 30 minutes
- Yield: 24 cookies 1x
- Category: Dessert
- Cuisine: American
Ingredients
- 2 ¾ cups (345 g) all-purpose flour
- 1 teaspoon baking powder
- ½ teaspoon salt
- 1 cup (227 g) unsalted butter, softened
- 1 ½ cups (300 g) granulated sugar
- 2 large eggs, room temperature
- 2 teaspoons pure vanilla extract
- 2 tablespoons milk (whole milk preferred)
- Royal icing or store-bought white icing (for decoration)
- Red gel food coloring (for decoration)
- Blue gel food coloring (for decoration)
- Small star-shaped sprinkles or white nonpareils (for decoration)
Instructions
- Preheat your oven to 350°F (175°C). Line two baking sheets with parchment paper or silicone mats.
- In a medium bowl, whisk together the flour, baking powder, and salt. Set aside.
- In a large bowl, beat the softened butter and granulated sugar using an electric mixer on medium speed until light and fluffy, about 3-4 minutes.
- Beat in the eggs one at a time, then stir in the vanilla extract until fully combined.
- Gradually add the flour mixture in three parts, alternating with the milk, starting and ending with flour. Mix on low speed until just combined; dough should be soft but not sticky.
- Shape the dough into a disc, wrap in plastic wrap, and refrigerate for at least 30 minutes.
- On a lightly floured surface, roll the dough to about ¼ inch (6 mm) thickness. Use rectangular or square cookie cutters to create flag shapes. Place cookies about 2 inches (5 cm) apart on prepared baking sheets.
- Bake for 9-11 minutes, until edges just start to turn golden but centers remain soft. Rotate pans halfway through baking.
- Let cookies cool on baking sheets for 5 minutes, then transfer to wire racks to cool completely.
- Decorate cooled cookies using royal or store-bought white icing as a base. Tint small portions with red and blue gel food coloring. Spread blue in the top left corner, add red and white stripes with a small offset spatula or butter knife, and finish with star sprinkles or white nonpareils over the blue area. Let icing set at room temperature for at least 2 hours.
Notes
Do not overmix after adding dry ingredients to avoid tough cookies. Chill dough for at least 30 minutes (preferably 1 hour) to prevent spreading and make rolling easier. Pull cookies out when edges are barely golden to keep them soft. Decorate only after cookies have completely cooled to prevent icing from melting. Use a plastic sandwich bag with a snipped corner as a budget-friendly piping bag alternative. Keep baking sheets cool between batches to prevent spreading.
Nutrition
- Serving Size: 1 cookie
- Calories: 165
- Sugar: 12
- Sodium: 90
- Fat: 7
- Saturated Fat: 4
- Carbohydrates: 22
- Fiber: 0.5
- Protein: 2
Keywords: soft sugar cookies, patriotic cookies, American flag cookies, Fourth of July dessert, easy sugar cookies, soft-baked cookies, kid-friendly cookies