Love this? Save it for later!
Share the inspiration with your friends
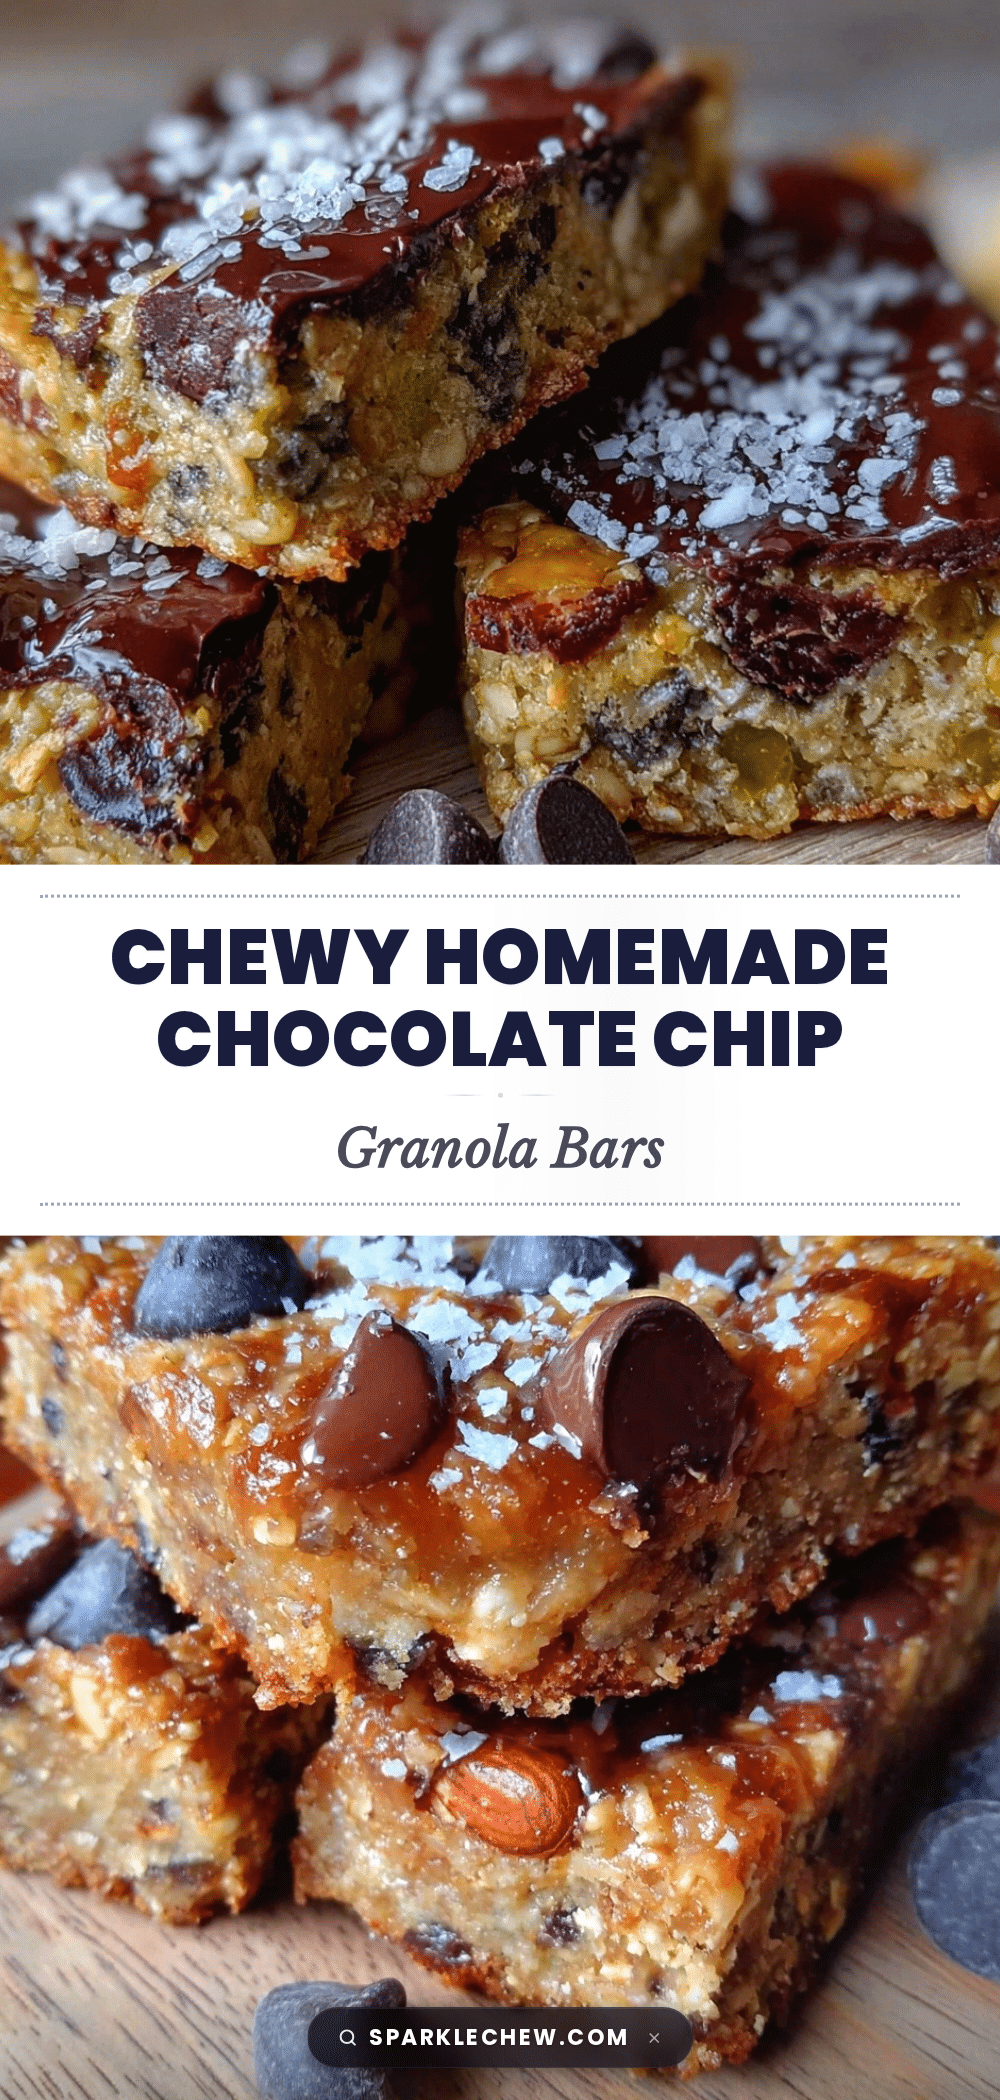
There used to be a tiny bakery tucked away in a cozy corner of Portland’s Alberta Street that made the most unforgettable chewy homemade chocolate chip granola bars. When they closed their doors unexpectedly one chilly November afternoon, I was honestly heartbroken. I’m not even kidding — I had developed a serious habit of stopping by after work for one of those bars that somehow felt like a warm hug and a little bit of sunshine rolled into a perfect chewy bite. After about a dozen attempts — some more crumbly than chewy, some too sweet or too dry — I finally got it just right. It took a lot of trial and error, a kitchen mess or two (one time I even forgot the baking powder, which was a disaster), and a few interruptions from my curious cat, but now I have a recipe that brings that exact magic back to my kitchen.
Honestly, this recipe has stuck with me because it’s not just about the ingredients or the chocolate chips — it’s about that comforting texture and the way the bars hold together just right, chewy without being sticky, sweet but not overpowering. Maybe you’ve been there, craving that perfect snack that’s both wholesome and indulgent. Let me tell you, these chewy homemade chocolate chip granola bars might just be the answer you didn’t know you were looking for.
Why You’ll Love This Recipe
After countless batches and tweaks, this chewy homemade chocolate chip granola bars recipe has become my go-to snack for so many reasons. Let me share why I think you’ll love it as much as I do:
- Quick & Easy: You can whip these bars up in under 30 minutes, making them perfect for busy mornings or those last-minute snack cravings.
- Simple Ingredients: No need to hunt for fancy stuff. You probably already have oats, honey, and chocolate chips hanging out in your pantry.
- Perfect for On-the-Go: These bars are ideal for school lunches, hiking trips, or whenever you need a little pick-me-up.
- Crowd-Pleaser: Kids, adults, even picky eaters love them — the chocolate chips are a universal win.
- Unbelievably Delicious: The texture balances chewy and soft with just the right hint of sweetness, giving you that satisfying bite every time.
What sets this recipe apart is the little trick I learned to get the perfect chewiness — blending the oats with a touch of nut butter before mixing everything together. It locks in moisture and gives the bars a tender bite that you just don’t find in your average granola bar. Plus, the chocolate chips are folded in at the end to keep their shape and melty goodness intact. Honestly, it’s the kind of recipe that makes you close your eyes after the first bite and smile. It’s my comfort food snack with a twist — wholesome, quick, and totally addictive.
What Ingredients You Will Need
This chewy homemade chocolate chip granola bars recipe uses simple, wholesome ingredients to deliver bold flavor and satisfying texture without the fuss. Most of what you need are pantry staples, and there’s room for easy swaps if you want to adapt it.
- Old-fashioned rolled oats: 2 cups (about 180g) — I prefer Bob’s Red Mill for the best chewiness.
- Nut butter: 1/2 cup (smooth peanut butter or almond butter work great) — adds richness and chew.
- Honey or maple syrup: 1/3 cup (120ml) — natural sweetener to bind and sweeten.
- Brown sugar: 1/4 cup (50g) — for a deep caramel flavor and extra chewiness.
- Vanilla extract: 1 teaspoon — brings out the warm flavors.
- Baking powder: 1/2 teaspoon — helps with a slight lift and tenderness.
- Salt: 1/4 teaspoon — balances sweetness.
- Mini chocolate chips: 3/4 cup (135g) — fold in gently so they don’t melt completely.
- Optional mix-ins: 1/4 cup chopped nuts or dried fruit — great for texture and flavor variety.
If you want a gluten-free option, just make sure to grab certified gluten-free oats. For a vegan tweak, swap out honey with pure maple syrup and use dairy-free chocolate chips. I once tried swapping in sunflower seed butter for a friend with nut allergies, and it came out surprisingly tasty!
Equipment Needed
To make these chewy homemade chocolate chip granola bars, you’ll need a few basic kitchen tools that you probably already own:
- Mixing bowls: One large for all the ingredients, and a smaller one if you want to mix wet and dry separately.
- Measuring cups and spoons: Accurate measurements make a big difference here.
- Wooden spoon or silicone spatula: For mixing the sticky batter without scratching your bowls.
- Baking pan: An 8×8 inch (20×20 cm) square pan works best to get the right thickness.
- Parchment paper: To line the pan — trust me, it saves a world of trouble when removing the bars.
- Oven: For baking the bars to chewy perfection.
If you don’t have parchment paper, lightly greasing the pan works but can make cleanup trickier. I once tried using a silicone baking mat instead, which was fine but made the bars a little thicker than I liked. For those who want to speed things up, a food processor can pulse the oats to a finer texture, but it’s not necessary.
Preparation Method

- Preheat your oven to 350°F (175°C). Line your 8×8 inch (20×20 cm) baking pan with parchment paper, leaving an overhang for easy removal later. This step is a lifesaver when it comes to getting bars out in one piece. (5 minutes)
- Mix the dry ingredients. In a large bowl, combine 2 cups (180g) rolled oats, 1/4 cup (50g) brown sugar, 1/2 teaspoon baking powder, and 1/4 teaspoon salt. Stir these together well to distribute everything evenly. This helps ensure every bite has consistent flavor and texture. (3 minutes)
- Blend the nut butter and honey. In a separate bowl, whisk 1/2 cup smooth peanut or almond butter with 1/3 cup (120ml) honey (or maple syrup) and 1 teaspoon vanilla extract until smooth and combined. The mixture might look thick but keep going until creamy. (4 minutes)
- Combine wet and dry ingredients. Pour the nut butter mixture into the oats mixture and stir well until everything is coated and sticky. You want all the oats to be evenly moistened — this is key for chewiness. If it feels too dry, add a teaspoon or two more honey. (4 minutes)
- Fold in the chocolate chips. Gently stir 3/4 cup (135g) mini chocolate chips into the batter. Be careful not to overmix or the chips might start melting. This step is where the magic happens — those melty pockets of chocolate are what make these bars irresistible. (2 minutes)
- Press the mixture firmly into the prepared pan. Use a spatula or your hands (lightly greased) to press evenly, making sure it’s compacted well. This prevents crumbly bars and ensures they hold together when sliced. (5 minutes)
- Bake for 15-18 minutes. You’re aiming for golden edges but still soft in the center. The smell at this point? Honestly, it’s like a little kitchen celebration. Keep an eye so they don’t overbake and dry out. (15-18 minutes)
- Cool completely before slicing. This is the hardest part, I know. Let the bars cool in the pan for at least 30 minutes to firm up properly. Use the parchment paper overhang to lift the whole slab out, then slice into bars or squares. (30+ minutes)
If your first batch isn’t perfect, don’t worry! You can adjust baking time slightly or experiment with nut butters to find your ideal chew. I learned patience the hard way here — rushing the cooling step led to crumbly bars more than once.
Cooking Tips & Techniques
Getting these chewy homemade chocolate chip granola bars just right is all about knowing a few tricks I picked up over many batches. Here’s what helped me nail the texture and flavor every time:
- Don’t skip the pressing: Firmly pressing the mixture into the pan before baking helps the bars hold together. I use the bottom of a glass or a spatula for even pressure.
- Watch the oven closely: Baking a minute too long can turn chewy bars into dry, hard ones. Set a timer at 15 minutes and check frequently after that.
- Use mini chocolate chips: Regular size chips tend to melt too much and make the bars greasy. Minis distribute chocolate throughout without overpowering.
- Let bars cool completely: This step is critical — bars firm up as they cool and slicing too early means crumbly pieces.
- Experiment with nut butters: Smooth peanut butter gives classic flavor, but almond or cashew butter add a subtle twist. Just avoid chunky unless you want a very different texture.
- Don’t overmix: Once you add the dry to the wet, stir just until combined. Overmixing can make bars tough.
I learned the hard way that skipping the cooling step leads to a crumbly mess. Also, if you want bars less sweet, try reducing brown sugar slightly. Baking these bars is honestly a little like a science experiment — but a tasty one.
Variations & Adaptations
One of the best things about this chewy homemade chocolate chip granola bars recipe is how easy it is to personalize. Here are some ways I’ve switched things up:
- Nut-Free Version: Use sunflower seed butter instead of peanut or almond butter and swap chocolate chips for dairy-free carob chips to avoid nuts and dairy.
- Seasonal Flavors: Add 1/2 teaspoon pumpkin pie spice in fall or a sprinkle of cinnamon and dried cranberries for a festive touch.
- Protein Boost: Stir in a scoop of your favorite protein powder or add chopped nuts like walnuts or almonds for extra crunch and nutrition.
- No-Bake Option: Press the mixture into the pan and refrigerate for 2 hours instead of baking for a softer, no-bake bar.
I once swapped half the oats for quinoa flakes and added shredded coconut, which was a fun tropical twist — definitely worth trying if you want something different. Adjusting the sweeteners or nut butter lets you tailor the bars to your dietary needs or flavor preferences without losing that chewy charm.
Serving & Storage Suggestions
These chewy homemade chocolate chip granola bars are best served at room temperature, but honestly, they’re great cold from the fridge too — especially on hot days. I like to pair them with a glass of cold milk or a cup of herbal tea for a cozy snack break.
To store, wrap bars individually in parchment or plastic wrap and keep them in an airtight container. They last about a week at room temperature, or up to two weeks in the fridge. For longer storage, freeze them in a zip-top bag for up to 3 months — just thaw at room temp before enjoying.
Reheating in the microwave for 10-15 seconds brings back that fresh-baked softness. Over time, the flavors meld and deepen, so leftovers can be even more delicious the next day. I always make a batch big enough to have some set aside for “emergencies” — trust me, you’ll want them on hand!
Nutritional Information & Benefits
Each chewy homemade chocolate chip granola bar provides approximately 180-220 calories, depending on size, with a balanced mix of carbohydrates, healthy fats, and some protein. The oats offer fiber which helps keep you full, while the nut butter adds heart-healthy fats and protein for sustained energy.
This recipe is naturally free from artificial preservatives and dyes, making it a wholesome snack choice. Using real honey or maple syrup as sweeteners keeps it on the more natural side compared to processed bars. Plus, the dark chocolate chips supply antioxidants, adding a little nutritional bonus to your treat.
If you’re watching gluten intake, just be sure to use certified gluten-free oats. The bars can be made vegan by swapping honey with maple syrup and using dairy-free chocolate chips. It’s a great way to enjoy a snack that tastes indulgent while still fitting into a balanced diet.
Conclusion
If you’ve been hunting for that perfect chewy homemade chocolate chip granola bars recipe, this one’s worth trying. It’s simple, satisfying, and just sticky enough to hit that snack spot without turning into a crumbly mess. The best part? You can tweak it to match your taste or dietary needs, so it’s really your own.
I keep coming back to this recipe because it reminds me of that little Portland bakery and the joy of discovering a snack that feels both nostalgic and fresh. I hope you enjoy making it — and eating it — as much as I do.
Feel free to share your twists or questions below! I’d love to hear how your batch turns out or what mix-ins you tried. Happy snacking!
FAQs About Chewy Homemade Chocolate Chip Granola Bars
Can I use quick oats instead of rolled oats?
Quick oats can work but may make the bars a bit less chewy and more crumbly. Rolled oats are best for that classic chewy texture.
How do I keep the bars from sticking to the pan?
Lining your pan with parchment paper and leaving an overhang is the easiest way to remove the bars cleanly. Lightly greasing the pan works too but can be messier.
Can I add other mix-ins like nuts or dried fruit?
Absolutely! Chopped nuts, seeds, or dried fruit can add great texture and flavor. Just keep the total volume similar so the bars hold together well.
How long do homemade granola bars last?
Stored in an airtight container, they keep well for about a week at room temperature, two weeks in the fridge, and up to 3 months frozen.
Is there a way to make these bars vegan?
Yes! Swap honey for maple syrup and use dairy-free chocolate chips to make this recipe vegan-friendly without losing flavor or texture.
Pin This Recipe!
Chewy Homemade Chocolate Chip Granola Bars
These chewy homemade chocolate chip granola bars are easy to make, perfect for snacks, and have a comforting texture that balances chewy and soft with just the right hint of sweetness.
- Prep Time: 15 minutes
- Cook Time: 15-18 minutes
- Total Time: 45-50 minutes
- Yield: 12 bars 1x
- Category: Snack
- Cuisine: American
Ingredients
- 2 cups old-fashioned rolled oats (about 180g)
- 1/2 cup nut butter (smooth peanut butter or almond butter)
- 1/3 cup honey or maple syrup (120ml)
- 1/4 cup brown sugar (50g)
- 1 teaspoon vanilla extract
- 1/2 teaspoon baking powder
- 1/4 teaspoon salt
- 3/4 cup mini chocolate chips (135g)
- Optional: 1/4 cup chopped nuts or dried fruit
Instructions
- Preheat your oven to 350°F (175°C). Line an 8×8 inch (20×20 cm) baking pan with parchment paper, leaving an overhang for easy removal.
- In a large bowl, combine rolled oats, brown sugar, baking powder, and salt. Stir well to distribute evenly.
- In a separate bowl, whisk nut butter with honey (or maple syrup) and vanilla extract until smooth and combined.
- Pour the nut butter mixture into the oats mixture and stir until everything is coated and sticky. Add a teaspoon or two more honey if too dry.
- Gently fold in the mini chocolate chips, being careful not to overmix.
- Press the mixture firmly and evenly into the prepared pan using a spatula or lightly greased hands.
- Bake for 15-18 minutes until edges are golden but center is still soft. Watch closely to avoid overbaking.
- Cool completely in the pan for at least 30 minutes before lifting out using the parchment paper overhang and slicing into bars.
Notes
Firmly pressing the mixture into the pan before baking helps the bars hold together. Use mini chocolate chips to avoid melting too much. Let bars cool completely before slicing to prevent crumbling. Adjust baking time slightly to achieve desired chewiness. For vegan version, swap honey with maple syrup and use dairy-free chocolate chips. Gluten-free option requires certified gluten-free oats.
Nutrition
- Serving Size: 1 bar
- Calories: 200
- Sugar: 14
- Sodium: 90
- Fat: 9
- Saturated Fat: 2
- Carbohydrates: 27
- Fiber: 3
- Protein: 5
Keywords: granola bars, chocolate chip, chewy granola bars, homemade snacks, easy granola bars, healthy snacks, peanut butter bars, vegan option