Love this? Save it for later!
Share the inspiration with your friends
My friend Maria asked why I couldn’t just skip the pectin and let the figs do their own thing. I started to explain why that wouldn’t work—then stopped. Honestly, I had no good reason. I’d been following recipes for years that treated pectin like a non-negotiable, and I’d never questioned it. But Maria’s a gardener, not a cook, and she figured if fruit could turn into jam on its own in nature, why did we need the boxed stuff? She had a point. A really annoying one, actually.
So I tried it. I chopped up a basket of ripe figs, drizzled in some local honey, and let them simmer on the stove with a splash of lemon juice. I stirred, I waited, I held my breath. And you know what? It worked. The jam set up beautifully, with this deep, caramelized sweetness that no store-bought version has ever matched. I felt a little silly for being so sure it wouldn’t work—but mostly, I felt grateful that Maria called me out.
This small-batch fig and honey jam has become my late-summer ritual. It’s the kind of thing you make when you have more figs than you know what to do with, or when you just want to feel like you’ve captured a little bit of sunshine in a jar. Maybe you’ve been there—standing over a pot of bubbling fruit, wondering if you’re doing it right. Trust me, if a stubborn gardener can convince me to ditch the pectin, you can absolutely pull this off too.
Why You’ll Love This Recipe
This isn’t just another jam recipe. It’s the one that made me stop buying jam altogether. Here’s why I think you’ll feel the same way:
- No Pectin Needed : Figs have natural pectin, so you don’t need the boxed stuff. It’s simpler, and honestly, the texture is better—softer, more spreadable, less jelly-like.
- Small Batch, Big Flavor : This recipe makes just about 2 cups of jam. Perfect for trying out without committing to a canning marathon. You won’t be stuck with a dozen jars you’re not sure you like.
- Just 4 Ingredients : Figs, honey, lemon juice, and a pinch of salt. That’s it. No weird additives, no corn syrup, nothing you can’t pronounce.
- Honey-Sweetened : Instead of refined sugar, this jam uses honey for sweetness. It adds a floral, complex flavor that pairs beautifully with the figs.
- Perfect for Gifting : Tie a ribbon around a jar and you’ve got a thoughtful, homemade gift that looks like you spent hours on it. (You’ll only spend about 40 minutes, but I won’t tell.)
- Foolproof Method : I’ve tested this at least a dozen times. Even if you’ve never made jam before, you can nail this on your first try. The visual cues are clear, and I’ll walk you through every step.
This recipe is the kind that makes you close your eyes after that first bite on a warm piece of toast. It’s comfort in a jar—simple, honest, and deeply satisfying.
What Ingredients You Will Need
This recipe uses simple, wholesome ingredients to deliver bold flavor and satisfying texture without any fuss. Most of these are probably already in your kitchen, or easy to find at the farmer’s market.
- Fresh Figs (2 pounds, about 8-10 medium figs) – Look for figs that are soft to the touch but not mushy. Black Mission or Brown Turkey figs work great. If they’re slightly underripe, that’s actually fine—they have more natural pectin. I like to get mine from the local farm stand when they’re in season, usually late August through September.
- Honey (1/2 cup) – Use a mild honey so it doesn’t overpower the figs. Orange blossom or wildflower honey are my go-to choices. Avoid strong-flavored honeys like buckwheat, which can make the jam taste a bit funky. Local honey is always a bonus—it supports bees in your area and adds a unique regional flavor.
- Fresh Lemon Juice (2 tablespoons) – This isn’t just for flavor. The acid helps balance the sweetness and activates the natural pectin in the figs. Always use fresh lemon juice—the bottled stuff has a flat, metallic taste that can throw off your jam.
- Pinch of Salt (about 1/8 teaspoon) – A tiny amount of salt enhances all the other flavors. Don’t skip it. I use fine sea salt, but any salt works.
Optional additions: A split vanilla bean or a sprig of fresh rosemary can add an extra layer of flavor. I’ve tried both, and the vanilla version is my favorite—it makes the jam taste almost like a dessert topping.
Substitution notes: If you can’t find fresh figs, frozen figs work in a pinch. Thaw them first and drain off any excess liquid. For a vegan version, swap the honey with maple syrup or agave nectar—just note that the flavor will be different and the jam might be a bit thinner.
Equipment Needed
You don’t need a fancy canning setup for this small-batch recipe. Here’s what you’ll actually use:
- Medium Heavy-Bottomed Saucepan (3-quart) – A heavy-bottomed pan distributes heat evenly and prevents scorching. I use my trusty Le Creuset, but any good-quality stainless steel or enameled pot works.
- Wooden Spoon or Silicone Spatula – For stirring. Wooden spoons are great because they don’t conduct heat and won’t scratch your pot.
- Sharp Knife and Cutting Board – For chopping the figs. A serrated knife works best for cutting through the soft skin without squishing them.
- Measuring Cups and Spoons – For accuracy. Jam-making is forgiving, but consistent measurements help.
- Fine-Mesh Strainer (optional) – If you want seedless jam. I usually skip this step because I like the texture, but it’s your call.
- Glass Jars with Lids (2 half-pint jars) – For storing your jam. Make sure they’re clean and sterilized. I run mine through the dishwasher or boil them for 10 minutes.
- Small Plate or Spoon (for the freezer test) – This is how you’ll check if your jam is set without a thermometer. Pop a small plate in the freezer before you start cooking.
Budget-friendly tip: You don’t need a special jam pot or a candy thermometer. A regular saucepan and your eyes and ears are all you really need. I’ve made this recipe in a $15 pot from the discount store, and it turned out just as good.
Preparation Method
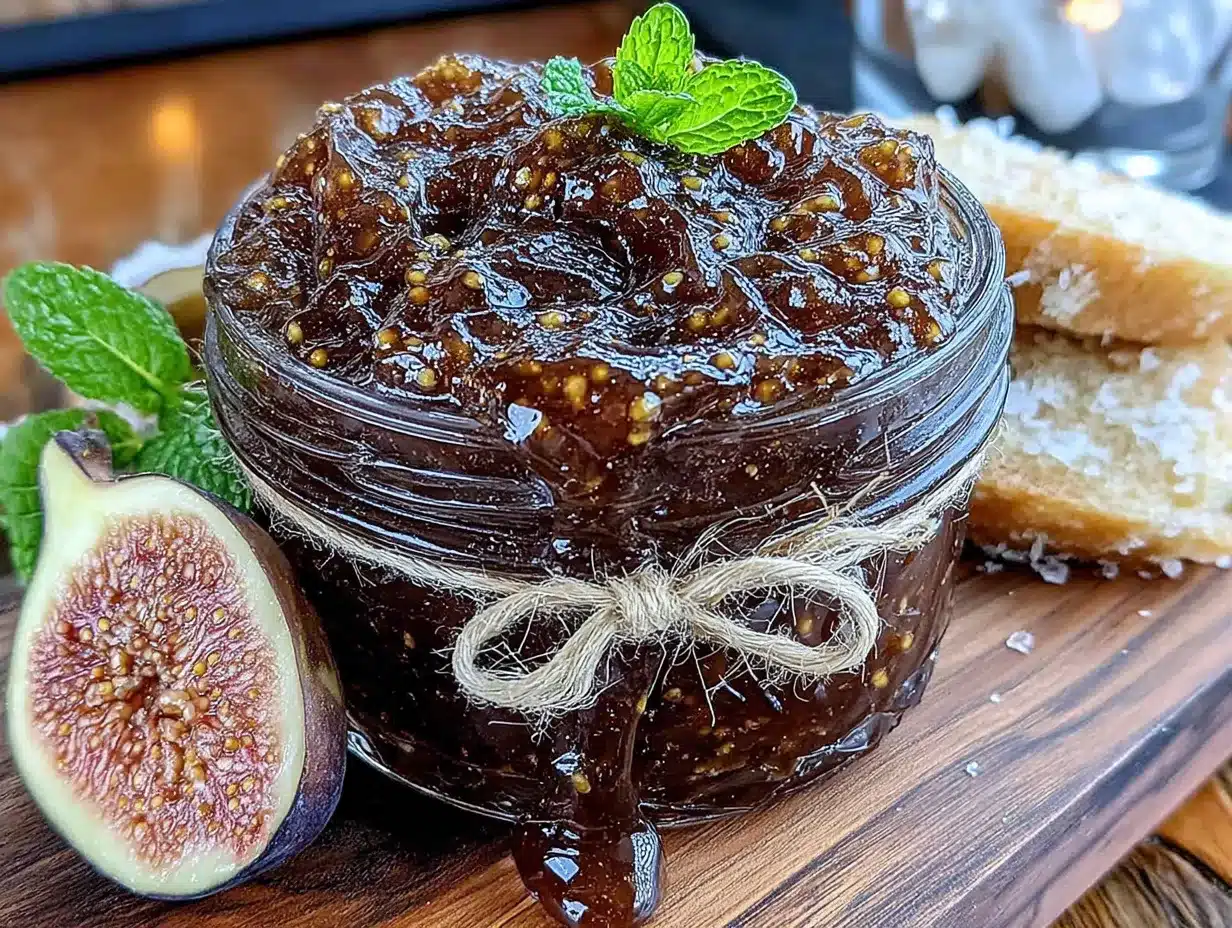
- Prepare the figs (5 minutes) – Wash the figs gently under cool water and pat them dry. Cut off the hard stem ends, then chop the figs into quarters or smaller pieces depending on their size. Don’t worry about being too precise—they’ll break down as they cook. I like to leave some chunks for texture.
- Combine ingredients in the pot (2 minutes) – Add the chopped figs, honey, lemon juice, and salt to your saucepan. Stir everything together until the figs are coated. If you’re using a vanilla bean, split it lengthwise and scrape the seeds into the pot, then toss the pod in too.
- Let the figs macerate (15-20 minutes) – This is a step I never used to do, but it makes a real difference. Let the fig mixture sit at room temperature for 15-20 minutes. The sugar in the honey and the acid in the lemon juice will draw out the figs’ natural juices, creating a syrupy base before you even turn on the heat. This helps prevent scorching later.
- Bring to a boil (5-7 minutes) – Place the pot over medium heat. Stir occasionally as the mixture warms up. You’ll see the figs start to soften and release more liquid. Once it reaches a full, rolling boil (bubbles that don’t stop when you stir), let it boil for 1 minute.
- Reduce to a simmer (20-25 minutes) – Lower the heat to medium-low so the jam is at a gentle simmer, not a vigorous boil. Stir every 2-3 minutes to prevent sticking. The jam will start to thicken and darken in color. You’ll notice the bubbles getting larger and slower—that’s a good sign.
- Test for doneness (2 minutes) – This is the part that used to make me nervous, but it’s actually really simple. Take your cold plate out of the freezer. Drop a small spoonful of jam onto it and let it sit for 30 seconds. Run your finger through the middle—if the jam wrinkles and doesn’t flow back together, it’s done. If it’s still runny, cook for another 3-5 minutes and test again.
- Remove from heat and cool slightly (5 minutes) – Once the jam passes the freezer test, take the pot off the heat. Let it cool for about 5 minutes. If you added a vanilla bean pod, fish it out now and rinse it off (you can reuse it in sugar or vanilla extract).
- Transfer to jars (5 minutes) – Ladle the hot jam into your clean jars, leaving about 1/4 inch of headspace at the top. Wipe the rims with a clean, damp cloth, then screw on the lids. Let the jars cool completely at room temperature—you’ll hear the lids pop as they seal.
My personal tip: Don’t walk away during the simmering phase. I did that once, and let’s just say I ended up with fig-scented charcoal. Stay close, stir often, and trust your senses. The smell alone will tell you when it’s getting close—it goes from fruity to deep and caramel-like.
Cooking Tips & Techniques
I’ve made this jam enough times to collect a few battle scars—and a few hard-won lessons. Here’s what I wish someone had told me:
- The freezer test is your best friend. I used to guess and ended up with jam that was either runny like syrup or thick enough to spread on a wall. Now I always do the plate test. It takes 30 seconds and saves you from disappointment.
- Don’t double the batch. I know it’s tempting, but this recipe is designed for small batches. Doubling it means longer cooking time and a higher chance of scorching. If you want more, make two separate batches. Trust me on this—I learned the hard way.
- Stir from the bottom. Jam likes to stick to the bottom of the pot, especially as it thickens. Use a wooden spoon and scrape the bottom with every stir. You’ll hear a slight scraping sound—that’s good. Silence means it’s sticking.
- Use a splatter guard. Jam bubbles up and can spit hot liquid. I’ve got a small scar on my wrist from a particularly enthusiastic bubble. A splatter guard or a long-sleeved shirt helps.
- Let it cool before tasting. Hot jam is molten lava. I’ve burned my tongue more times than I care to admit. Let it cool on the plate for a minute before you taste it. Plus, the flavor changes as it cools—it’ll taste sweeter and more balanced.
- If it’s too thick, add a splash of water. Overcooked jam happens. If yours is too thick, stir in a tablespoon of water while it’s still warm. It won’t ruin the flavor.
Variations & Adaptations
One of the best things about this recipe is how flexible it is. Here are a few ways I’ve played with it:
- Spiced Fig Jam – Add 1/2 teaspoon of cinnamon and 1/4 teaspoon of cardamom along with the figs. It gives the jam a warm, almost holiday-like flavor. I made this version for a Christmas gift basket last year, and it was the first jar to disappear.
- Fig and Rosemary Jam – Toss in a 4-inch sprig of fresh rosemary during the simmering stage. Remove it before jarring. The herbaceous note cuts through the sweetness beautifully. Great paired with soft cheeses like brie or goat cheese.
- Low-Sugar Version – Reduce the honey to 1/3 cup. The jam will be a bit tarter and less thick, but still delicious. You might need to cook it a few minutes longer to get the right consistency.
- Vegan Option – Replace honey with maple syrup. The flavor will be more earthy, and the color will be slightly darker. It’s still fantastic—just different.
- Balsamic Fig Jam – Stir in 1 tablespoon of good balsamic vinegar right before you take the pot off the heat. The acidity and slight sweetness of the vinegar add a whole new dimension. This version is incredible on a cheese board.
I’ve tried all of these, and my personal favorite is the spiced version. It reminds me of the fig newtons my grandmother used to buy, but about a thousand times better.
Serving & Storage Suggestions
This jam is versatile in ways that might surprise you. Here’s how I like to use it:
- On Toast or Biscuits – The classic. Spread it thick on warm, buttered sourdough or a flaky buttermilk biscuit. It’s breakfast perfection.
- With Cheese – Fig jam and cheese is a match made in heaven. Try it with brie, goat cheese, or an aged cheddar. I serve it on a cheese board with crackers and some sliced apples.
- Over Yogurt or Oatmeal – Swirl a spoonful into plain Greek yogurt or warm oatmeal. It adds sweetness without being cloying.
- As a Glaze for Meats – Brush it over roasted pork tenderloin or chicken thighs during the last 10 minutes of cooking. The honey caramelizes and creates a gorgeous, sticky glaze.
- In Salad Dressings – Whisk a tablespoon of jam with olive oil, vinegar, and a pinch of salt for a quick, flavorful vinaigrette.
Storage: Keep the jam in the refrigerator once opened. It will stay good for up to 3 weeks—if it lasts that long. Unopened jars can be stored in a cool, dark pantry for up to 6 months. The flavor actually deepens over the first week or two, so don’t be afraid to let it sit.
Freezing: You can freeze this jam for up to 6 months. Use freezer-safe jars or plastic containers, leaving about 1/2 inch of headspace for expansion. Thaw in the refrigerator overnight before using.
Nutritional Information & Benefits
This jam is a little indulgence, but it also brings some surprising nutritional perks. Here’s a rough estimate per tablespoon serving:
- Calories: 35-40
- Carbohydrates: 9-10g (mostly natural sugars from figs and honey)
- Fiber: 1g
- Vitamin C: 2% of daily value
- Potassium: 50mg
Health highlights: Figs are a good source of dietary fiber, which supports digestive health. They also contain antioxidants like polyphenols, which help fight inflammation. Honey provides trace amounts of vitamins and minerals, plus antimicrobial properties. Compared to store-bought jams that are loaded with high-fructose corn syrup and artificial pectin, this version is a much cleaner choice.
Dietary considerations: This jam is naturally gluten-free, dairy-free, and vegetarian. If you use maple syrup instead of honey, it’s also vegan. It’s lower in sugar than most commercial jams, but still sweet enough to satisfy a craving.
I’m no nutritionist, but I feel good about spreading this on my morning toast. It’s real food, made with real ingredients, and that counts for a lot.
Conclusion
This small-batch fig and honey jam is proof that you don’t need fancy equipment or a chemistry degree to make something beautiful. It’s just four ingredients, a little patience, and the willingness to trust that figs know what they’re doing. I’ve made this jam for myself, for friends, for holiday gifts, and for no reason at all except that I had figs and wanted to see what happened. Every time, it delivers.
I’d love for you to try this recipe and make it your own. Maybe you’ll add a pinch of cinnamon or a splash of bourbon. Maybe you’ll spread it on a warm croissant and call it breakfast. Whatever you do, let me know how it turns out. Drop a comment below, share a photo, or tell me about your own jam-making adventures. Honestly, the best part of sharing recipes is hearing how they come to life in other people’s kitchens.
Go ahead—grab those figs and get cooking. You’ve got this.
Frequently Asked Questions
Can I use dried figs instead of fresh?
You can, but the results will be different. Dried figs have less moisture and more concentrated sugar, so you’ll need to rehydrate them first. Soak them in warm water for about 30 minutes, then drain and chop. You’ll also need to add about 1/4 cup of water to the pot to help them break down. The flavor will be richer and more intense, almost like a fruit paste.
How do I know when the jam is done without a thermometer?
The freezer test is your best bet. Pop a small plate in the freezer before you start cooking. When you think the jam might be ready, drop a spoonful onto the cold plate and let it sit for 30 seconds. Push your finger through the middle—if it wrinkles and holds its shape, it’s done. If it runs back together, cook it a few more minutes and test again.
Why did my jam turn out too runny?
There are a few reasons this could happen. You might not have cooked it long enough—figs need time to release their natural pectin. Or, your figs might have been very ripe and low in pectin. Try cooking the jam a bit longer next time, or add a tablespoon of lemon juice to help with setting. You can also re-cook runny jam; just bring it back to a simmer and test again.
Can I reduce the honey to make it less sweet?
Absolutely. You can cut the honey down to 1/3 cup without any issues. The jam will be tarter and slightly less thick, but still delicious. If you reduce it further, you might need to cook the jam a little longer to get the right consistency. I’ve made it with as little as 1/4 cup, and it worked fine—just don’t expect it to be as sweet as store-bought jam.
How long does homemade jam last in the fridge?
Once opened, this jam will stay good in the refrigerator for up to 3 weeks. Unopened jars stored in a cool, dark pantry can last up to 6 months. Always use clean utensils when scooping out jam to avoid introducing bacteria. If you see any mold or the jam smells off, toss it. But honestly, in my house, it never lasts long enough to go bad.
Pin This Recipe!
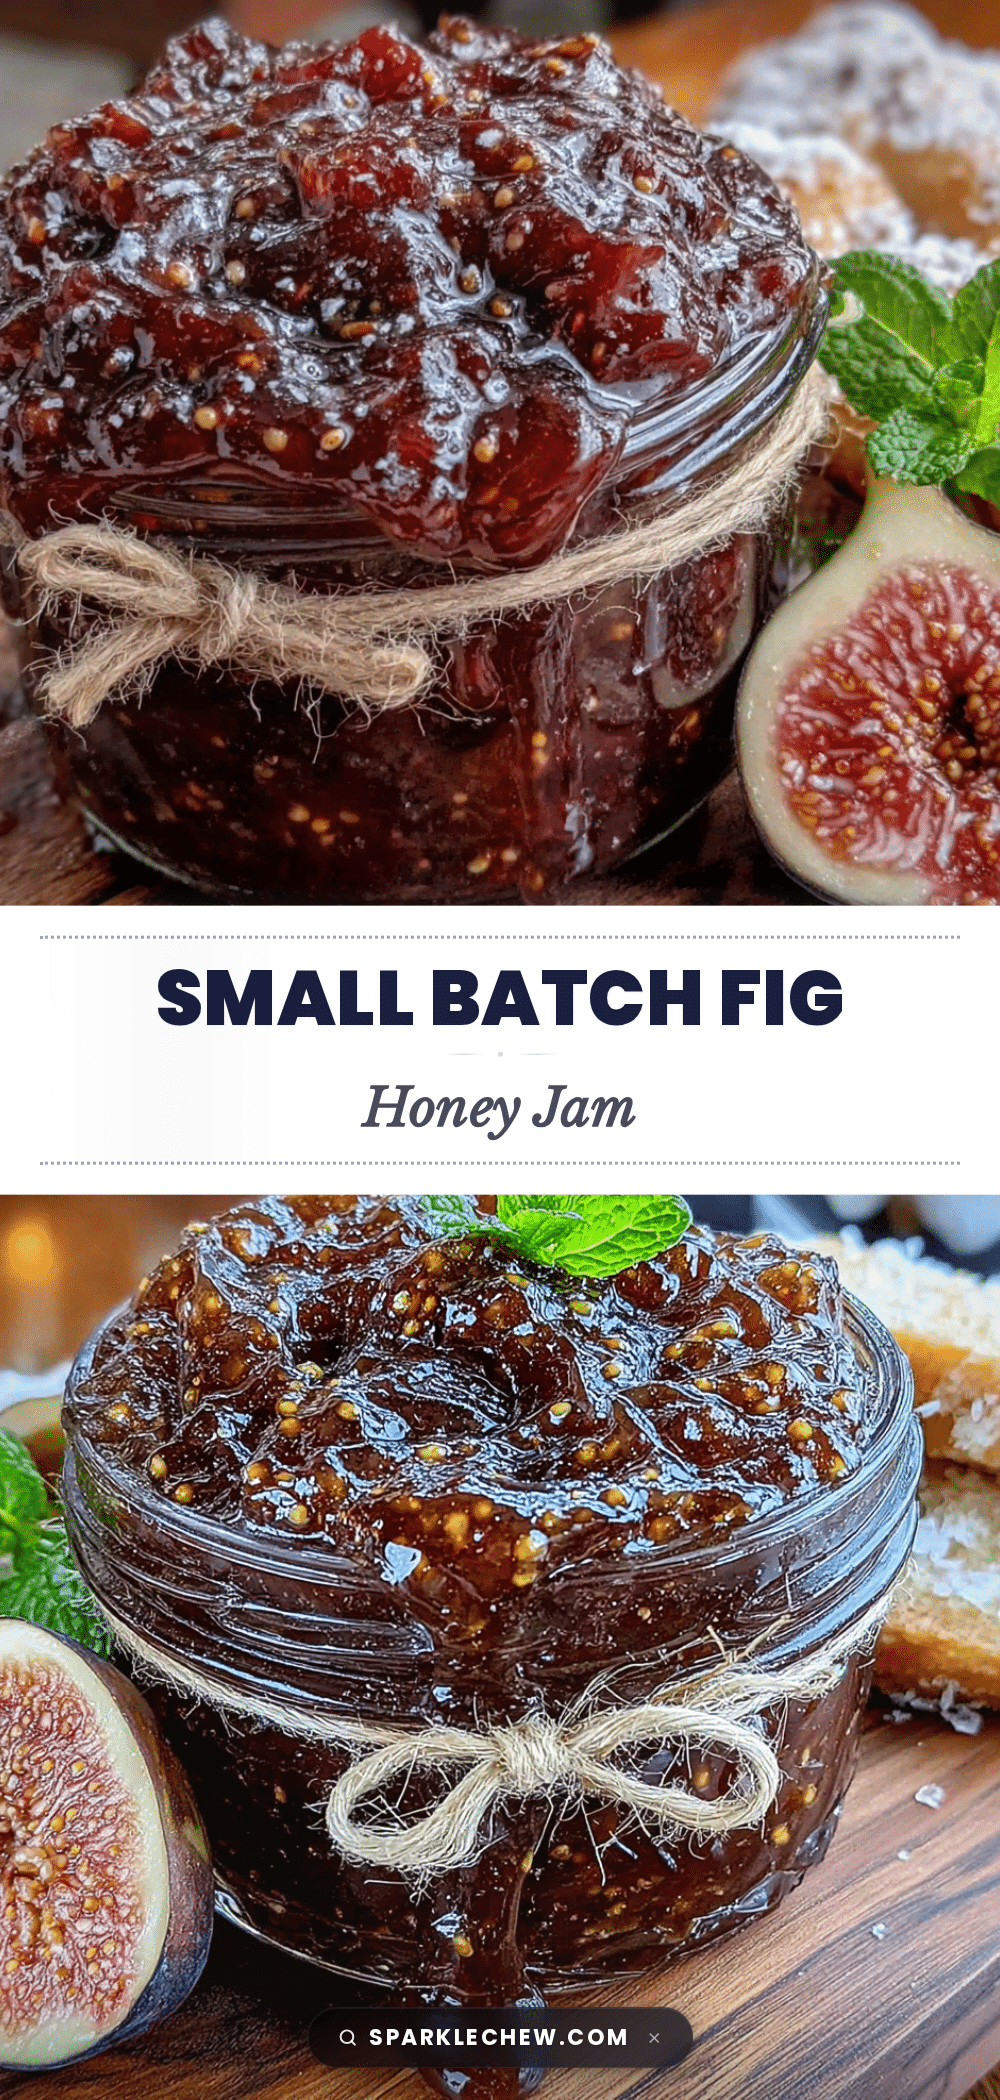
Small-Batch Fig & Honey Jam: Easy No-Pectin Recipe
This small-batch fig and honey jam is made without pectin, using just four ingredients: fresh figs, honey, lemon juice, and a pinch of salt. It’s a simple, foolproof recipe that yields about 2 cups of deeply flavorful, spreadable jam perfect for toast, cheese boards, or gifting.
- Prep Time: 20 minutes
- Cook Time: 30 minutes
- Total Time: 50 minutes
- Yield: 2 cups (about 16 servings) 1x
- Category: Condiment
- Cuisine: American
Ingredients
- 2 pounds fresh figs (about 8–10 medium figs), stemmed and chopped
- 1/2 cup honey (mild, such as orange blossom or wildflower)
- 2 tablespoons fresh lemon juice
- 1/8 teaspoon fine sea salt
Instructions
- Prepare the figs: Wash figs gently, pat dry, cut off hard stem ends, and chop into quarters or smaller pieces.
- Combine ingredients: In a medium heavy-bottomed saucepan, combine chopped figs, honey, lemon juice, and salt. Stir to coat.
- Let figs macerate: Let the mixture sit at room temperature for 15-20 minutes to draw out juices.
- Bring to a boil: Place pot over medium heat, stirring occasionally, until mixture reaches a full rolling boil. Boil for 1 minute.
- Reduce to a simmer: Lower heat to medium-low and simmer gently for 20-25 minutes, stirring every 2-3 minutes, until jam thickens and darkens.
- Test for doneness: Place a small plate in the freezer before starting. Drop a spoonful of jam onto the cold plate and let sit for 30 seconds. Run your finger through the middle; if it wrinkles and doesn’t flow back, it’s done. If still runny, cook 3-5 minutes more and test again.
- Remove from heat and cool slightly: Take pot off heat and let cool for about 5 minutes. Remove any added vanilla bean pod if used.
- Transfer to jars: Ladle hot jam into clean, sterilized half-pint jars, leaving 1/4 inch headspace. Wipe rims, screw on lids, and let cool completely at room temperature.
Notes
Don’t double the batch; make two separate batches if you need more. Use the freezer test to check doneness. Stir from the bottom to prevent sticking. If jam is too thick, stir in a tablespoon of water while warm. Let jam cool before tasting to avoid burns.
Nutrition
- Serving Size: 1 tablespoon
- Calories: 3540
- Sugar: 89
- Sodium: 10
- Carbohydrates: 910
- Fiber: 1
Keywords: fig jam, honey jam, no pectin jam, small batch jam, homemade jam, fig recipe, honey sweetened jam


