Love this? Save it for later!
Share the inspiration with your friends
My friend Jen asked me why I couldn’t just stick a whole turkey sub on a skewer instead of wrestling with soggy bread and falling-apart layers in her kids’ lunchboxes. I started to explain why that wouldn’t work — then stopped. I mean, honestly, why couldn’t I?
It was a Tuesday morning, and I was standing in her chaotic kitchen with mayo on my elbow and a half-made sandwich in front of me. The bread was already getting that sad, damp look from the tomato slices. Jen’s logic was simple: kids eat things on sticks. They eat subs. Why not combine them? I almost laughed it off, but something about her stubborn confidence made me grab a bamboo skewer from her drawer instead. Let me tell you, I was fully prepared for it to be a disaster.
Twenty minutes later, I was eating my words — and a surprisingly perfect turkey sub skewer. The bread was crispy, the fillings stayed put, and Jen’s kids devoured them without a single complaint about squished sandwich syndrome. That moment stuck with me. It wasn’t just a win for lunch prep; it was a reminder that sometimes the simplest ideas are the ones we overthink the most.
These Easy Bento Box Turkey Sub Skewers have become my go-to for busy mornings, picnic lunches, and even lazy weekend snacks. They’re exactly what a good lunch should be: fun to eat, ridiculously simple to make, and way more satisfying than the sum of their parts. If you’ve ever stared at a sad, soggy sandwich and wished for something better, this one’s for you.
Why You’ll Love This Recipe
Let me be real with you — I’ve tested a lot of lunch ideas over the years, and most of them fall into one of two camps: they’re either too complicated to actually make on a Tuesday morning, or they’re so boring nobody wants to eat them. These skewers? They’re the sweet spot.
- Quick & Easy: We’re talking 15 minutes from start to finish. No cooking required, just assembly. That’s faster than waiting for takeout.
- Simple Ingredients: You probably have everything in your fridge right now. Turkey, cheese, bread, veggies — nothing fancy, nothing hard to find.
- Perfect for Lunchboxes: No more soggy bread complaints. The skewer format keeps everything intact, and kids actually think it’s fun.
- Crowd-Pleaser: I’ve served these at playdates, potlucks, and even a casual work meeting. Adults love them just as much as kids do.
- Unbelievably Delicious: There’s something about food on a stick that makes it taste better. The cheese gets perfectly cool, the turkey stays tender, and that first bite of crunchy bread with creamy mayo is pure comfort.
What makes this recipe different from every other turkey sub out there is the method. By skewering everything separately instead of stacking it into a sandwich, you get perfect bite-to-bite control. No more biting into a mouthful of just bread or losing your tomato slice after the first crunch. Each skewer is a complete, balanced bite — and honestly, that changes everything.
This is the kind of lunch that makes you feel like you’ve got your life together, even if you’re running on three hours of sleep and cold coffee. It’s simple, it works, and it never fails to make people smile.
What Ingredients You Will Need
This recipe uses simple, deli-counter staples that come together to create something genuinely satisfying. No fancy grocery trips needed — just good, honest ingredients that work together beautifully.
For the Skewers
- 8 ounces sliced oven-roasted turkey breast (I prefer Boar’s Head or your local deli’s roasted turkey for the best flavor; avoid honey-roasted unless you want a sweet sub)
- 8 slices provolone cheese (or mozzarella if you want a milder flavor; sliced Swiss also works great)
- 8 slices Italian bread (about 1/2-inch thick; a crusty ciabatta or sourdough holds up best on the skewer)
- 1 cup cherry tomatoes (halved if large; grape tomatoes work too)
- 1 cup romaine lettuce (torn into bite-sized pieces; iceberg gives extra crunch if that’s your thing)
- 1/4 cup sliced pepperoncini (optional but highly recommended for that tangy kick)
- 8-10 wooden or bamboo skewers (6-inch length works perfectly; soak them in water for 10 minutes if you’re worried about splinters)
For the Spread
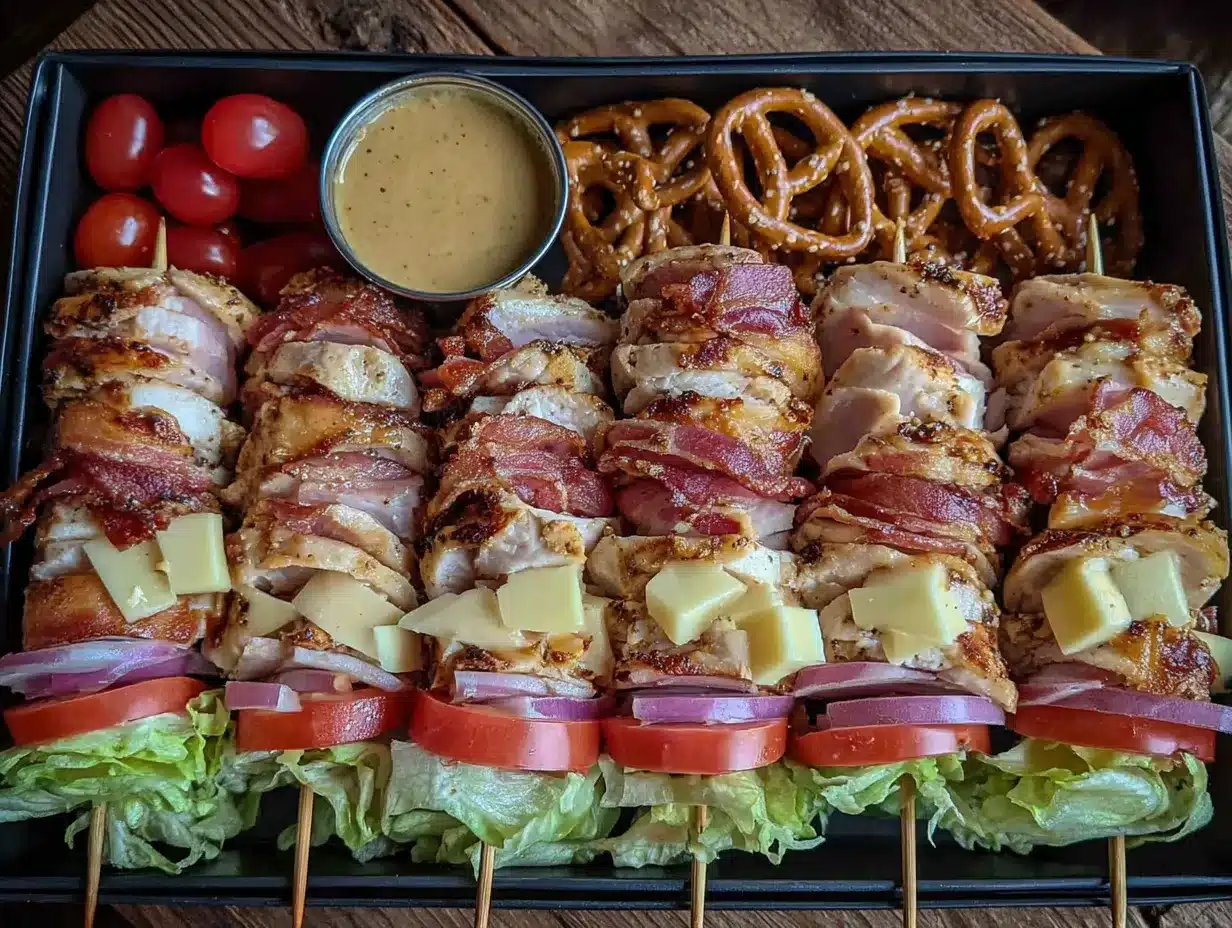
- 1/4 cup mayonnaise (Duke’s is my go-to for its tangy richness; use avocado oil mayo for a lighter option)
- 1 tablespoon Dijon mustard (whole grain mustard adds a nice texture if you have it)
- 1/2 teaspoon dried oregano (Italian seasoning works in a pinch)
- 1/4 teaspoon garlic powder (fresh minced garlic is too intense here — trust me, I tried)
- Salt and black pepper to taste
Ingredient Selection Tips: Look for turkey breast that’s sliced thick enough to hold its shape on the skewer — paper-thin deli slices will tear. For the bread, day-old bread is actually better here because it’s firmer and won’t crumble as easily. If you’re using fresh bread, toast the slices lightly before assembling to give them extra structure.
Substitution Guidance: For a gluten-free version, use gluten-free bread or sturdy rice cakes cut into squares. Dairy-free? Swap the provolone for your favorite plant-based cheese slices or omit the cheese entirely — the turkey and veggies still make a satisfying skewer. Vegetarians can replace turkey with grilled halloumi or extra-firm tofu marinated in soy sauce and smoked paprika.
Equipment Needed
You don’t need much to pull these together, which is honestly my favorite part. Here’s what you’ll want on hand:
- Wooden or bamboo skewers (6-inch size is ideal; longer ones work but might be awkward for lunchboxes)
- Cutting board (a wooden or plastic board with a juice groove helps keep things tidy)
- Sharp knife (a serrated bread knife makes clean cuts through the bread without crushing it)
- Small bowl for mixing the spread (any small prep bowl works)
- Bento box or container with compartments (optional but great for keeping skewers organized in a lunch)
I’ve made these with nothing but a butter knife and a fork before — it’s not ideal, but it works. If you don’t have skewers, short cocktail picks or even toothpicks can work for smaller, snack-sized versions. Just be careful with kids and pointy ends; I always snip the sharp tips off with kitchen shears before packing them in lunchboxes.
One tip I learned the hard way: don’t use plastic skewers from the party aisle. They’re too flimsy and snap when you try to push them through cheese. Bamboo skewers are cheap, sturdy, and you can buy a pack of 100 for a few bucks at any grocery store.
Preparation Method
This comes together in about 15 minutes, and most of that time is just assembly. Here’s exactly how I do it:
- Make the spread. In a small bowl, whisk together the mayonnaise, Dijon mustard, dried oregano, garlic powder, and a pinch of salt and pepper. Taste it — it should be tangy and creamy with a subtle herbiness. Set aside. (This makes about 1/4 cup, enough for 8 skewers with a little extra for dipping.)
- Prep the bread. Lay the 8 bread slices on your cutting board. If you’re using fresh bread, toast them lightly in a toaster or under the broiler for about 1 minute per side — you want them firm but not crunchy. Let them cool completely before assembling. (Hot bread + cold turkey = sad condensation, I learned that one the messy way.)
- Assemble the spread layer. Spread a thin, even layer of the mayo-mustard mixture onto one side of each bread slice. Don’t go overboard — about 1 teaspoon per slice is plenty. You want flavor, not a soggy mess.
- Layer the fillings. On 4 of the bread slices (the ones that will be the bottom of each skewer stack), layer: one slice of turkey (folded to fit), one slice of provolone (folded in half), a few pieces of torn lettuce, 2-3 cherry tomato halves, and a few pepperoncini slices if using. Top with the remaining bread slices, spread-side down, to make 4 sandwiches.
- Cut the sandwiches. Using a sharp serrated knife, cut each sandwich in half diagonally. You’ll end up with 8 triangular halves. (Pro tip: cut them with a gentle sawing motion — pressing straight down squishes everything out the sides.)
- Skewer each half. Take one sandwich triangle and gently push a skewer through the center, going through all the layers. Start from the crust side and push toward the point — this keeps everything together better. Repeat with all 8 triangles.
- Optional: Add extra veggie skewers. If you want more color or crunch, thread a few extra cherry tomatoes, cucumber rounds, or bell pepper chunks onto separate skewers. This makes the bento box look gorgeous and adds more veggie variety.
- Chill before packing. Place the assembled skewers on a plate and refrigerate for at least 10 minutes (up to 2 hours). This helps the cheese firm up and the flavors meld together. If you’re in a rush, skip this step — they’re still delicious, just slightly less tidy.
Sensory cues: When you push the skewer through, you should feel a slight resistance from the cheese and bread, then a clean pop through the turkey. The bread should feel firm but not hard. If it crumbles, your bread was too fresh or too thin. The finished skewer should look like a neat little flag of colors — golden bread, white cheese, red tomato, green lettuce, and that pop of yellow-green from the pepperoncini.
Cooking Tips & Techniques
I’ve made about a hundred versions of these skewers (not exaggerating), and here’s what I’ve learned the hard way so you don’t have to:
Don’t overskewer. One skewer per sandwich half is plenty. I tried using two skewers once, thinking it would be more stable, and ended up with a crumbly mess. The sandwich needs to be able to rotate slightly on the skewer for easy eating.
Toast the bread, always. Even if you’re using day-old bread, a quick toast makes a huge difference. Untoasted bread gets soft and tears when you push the skewer through. Toasted bread holds its shape and adds that satisfying crunch that makes these feel like a real sub.
Layer strategically. Put the cheese in the middle of the stack, not on top. The cheese acts as a glue that holds everything together. When it’s cold, it creates a slight seal between the bread and the turkey. Trust me on this one — I learned it after watching my first few skewers fall apart in my kids’ lunchboxes.
Cut diagonally. There’s a reason sub shops cut sandwiches on the diagonal — it creates more surface area for the fillings and makes each bite more balanced. Plus, triangular skewers look way more appealing in a bento box than rectangular ones.
Soak your skewers. If you’re using wooden skewers, soak them in water for 10-15 minutes before assembling. This prevents them from absorbing moisture from the ingredients and keeps the bread from getting dry around the skewer hole. It’s a small step that makes a big difference.
Variations & Adaptations
One of the best things about this recipe is how flexible it is. Here are some variations I’ve tried and loved:
Italian Sub Skewers: Swap the turkey for sliced salami and capicola, use provolone, and add a drizzle of red wine vinaigrette before skewering. The tangy dressing takes these to a whole new level. I made these for a picnic last summer, and they disappeared in five minutes.
Veggie Lover’s Skewers: Skip the meat entirely and layer roasted red peppers, grilled zucchini, marinated artichoke hearts, and fresh mozzarella. Use a basil pesto spread instead of the mayo-mustard mix. These are so good, even my carnivore husband asks for them.
Breakfast Bento Skewers: Use toasted croissant pieces instead of bread, layer with ham, Swiss cheese, and a thin smear of honey mustard. It’s like a breakfast sandwich on a stick — perfect for brunch or road trips.
Low-Carb Option: Replace the bread with large lettuce leaves (romaine or butter lettuce work best) and roll the fillings into tight little bundles before skewering. You lose a bit of the crunch, but the flavor is still spot-on.
Spicy Turkey Skewers: Add a thin layer of sriracha or chipotle mayo to the spread, and throw in some pickled jalapeños along with the pepperoncini. The heat cuts through the richness of the cheese beautifully.
Serving & Storage Suggestions
These skewers are best served cold or at room temperature — that’s part of their charm. If you’re packing them for lunch, I recommend placing them in a bento box or compartmentalized container with the skewers lying flat. Add a small container of extra dipping sauce (the mayo-mustard mix doubles perfectly for this) and some fresh fruit or veggie sticks on the side.
For picnics and parties: Arrange the skewers standing up in a tall cup or jar filled with rice or beans to keep them upright. It makes a gorgeous presentation and keeps everything easy to grab. I did this for a backyard gathering last month, and people couldn’t stop talking about how clever it looked.
Storage: These keep well in the refrigerator for up to 24 hours. Store them in an airtight container with the skewers in place. The bread will soften slightly overnight, but the flavors actually get better as they meld together. I don’t recommend freezing them — the texture of the lettuce and tomatoes suffers too much.
Reheating: Honestly, I prefer these cold. But if you want a warm version, remove the skewers, microwave the sandwich halves for 15-20 seconds, then re-skewer. The cheese gets melty and the bread softens — it’s a completely different experience, but still delicious.
Flavor development: If you can make these an hour ahead of time, do it. The bread absorbs just a hint of the mayo-mustard spread, the cheese softens slightly, and everything melds into one cohesive bite. They’re good fresh, but they’re amazing after a little rest in the fridge.
Nutritional Information & Benefits
Here’s the approximate nutritional breakdown for one skewer (based on using standard ingredients):
| Nutrient | Amount per Skewer |
|---|---|
| Calories | 185 |
| Protein | 14g |
| Carbohydrates | 12g |
| Fat | 9g |
| Fiber | 2g |
| Sodium | 480mg |
These skewers are a solid source of lean protein from the turkey, which helps keep you full and focused through the afternoon. The provolone adds calcium for bone health, and the tomatoes provide a good dose of vitamin C and lycopene — an antioxidant linked to heart health. The lettuce adds hydration and a bit of fiber, while the olive oil in the mayo provides healthy monounsaturated fats.
Dietary considerations: This recipe is naturally nut-free and egg-free (if you use egg-free mayo). For a lower-sodium version, look for low-sodium turkey breast and skip the pepperoncini. If you’re watching your carbs, the low-carb lettuce wrap version above works beautifully and cuts the carbs to under 5g per serving.
FAQs
Can I make these ahead of time for the whole week?
Yes, but I recommend making them no more than 2 days in advance. The bread will soften over time, so they’re best within 24 hours. Store them in an airtight container in the fridge with the skewers in place.
What can I use instead of wooden skewers?
Cocktail picks, short metal skewers, or even sturdy toothpicks work great. For kids, I recommend snipping the sharp ends off with kitchen shears before packing in lunchboxes.
My bread keeps crumbling when I push the skewer through. What am I doing wrong?
Your bread might be too fresh or too thin. Try using day-old bread or toasting it lightly first. Also, make sure you’re pushing the skewer straight through, not at an angle — angled pressure causes more crumbling.
Can I use a different type of cheese?
Absolutely. Mozzarella, Swiss, cheddar, or even pepper jack all work beautifully. Just make sure the cheese is sliced thick enough to hold its shape on the skewer — about 1/8 inch thick is ideal.
How do I keep the lettuce from getting soggy?
Pat the lettuce completely dry after washing, and place it in the middle of the stack, away from the tomato slices. You can also use romaine hearts, which are naturally crunchier and hold up better than softer lettuces.
Conclusion
These Easy Bento Box Turkey Sub Skewers are proof that sometimes the best ideas come from questioning the way we’ve always done things. Jen’s simple suggestion — just put it on a stick — turned a frustrating lunch routine into something genuinely fun and delicious. Every time I make these, I think about that Tuesday morning, the mayo on my elbow, and how good it felt to be wrong.
I hope you give these a try and make them your own. Swap in your favorite meats and cheeses, play with the veggies, or go wild with different spreads. The beauty of this recipe is its flexibility — it’s more of a method than a rigid set of rules. And honestly, that’s what makes it work so well for real life.
I’d love to hear how yours turn out. Drop a comment below and let me know what combinations you tried, or tag me in your photos — nothing makes my day like seeing these skewers in someone else’s kitchen. Happy lunch prepping, friends!
Pin This Recipe!
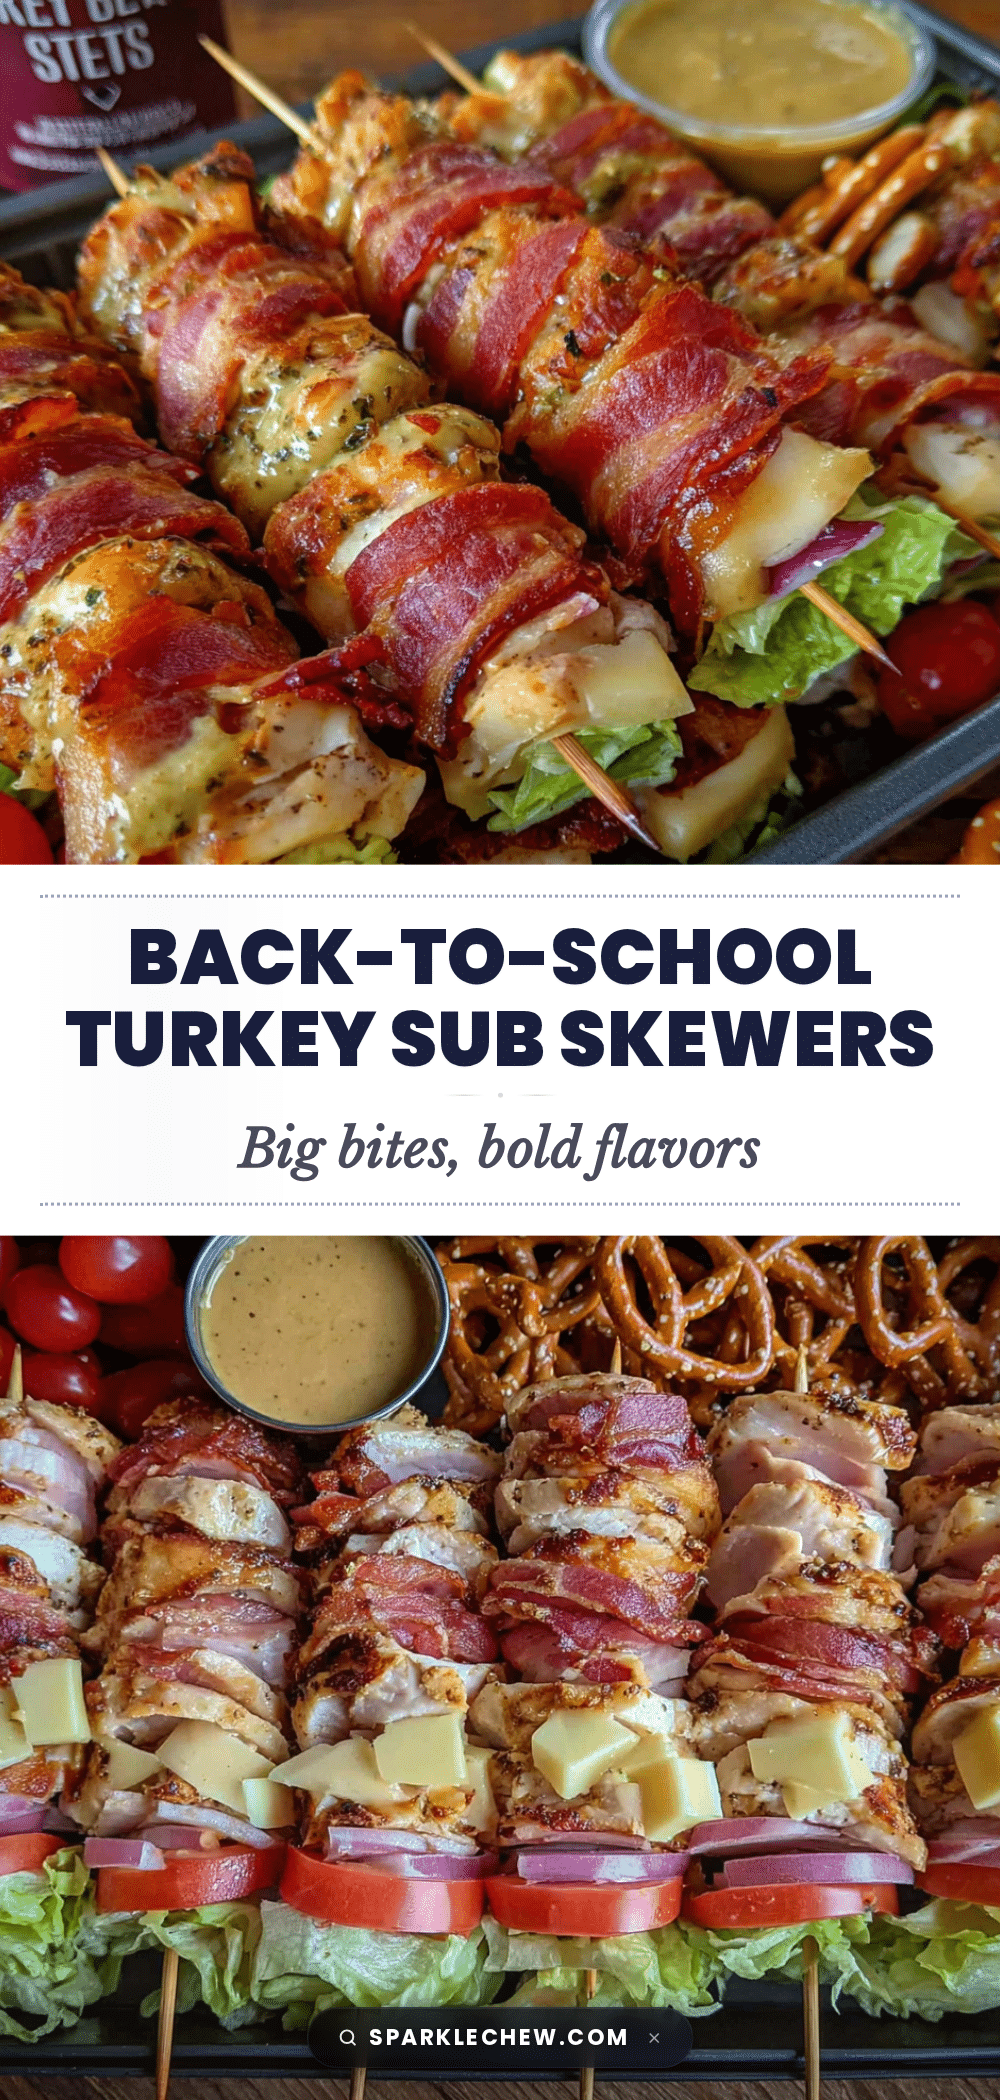
Easy Bento Box Turkey Sub Skewers: Best 15-Minute Lunch

These Easy Bento Box Turkey Sub Skewers are a fun, quick, and delicious lunch solution that solves the soggy sandwich problem. Ready in just 15 minutes, they’re perfect for lunchboxes, picnics, and busy mornings.
- Prep Time: 15 minutes
- Cook Time: 0 minutes
- Total Time: 15 minutes
- Yield: 4 servings 1x
- Category: Lunch
- Cuisine: American
Ingredients
- 8 ounces sliced oven-roasted turkey breast
- 8 slices provolone cheese
- 8 slices Italian bread (about 1/2-inch thick)
- 1 cup cherry tomatoes (halved if large)
- 1 cup romaine lettuce (torn into bite-sized pieces)
- 1/4 cup sliced pepperoncini (optional)
- 8–10 wooden or bamboo skewers (6-inch length)
- 1/4 cup mayonnaise
- 1 tablespoon Dijon mustard
- 1/2 teaspoon dried oregano
- 1/4 teaspoon garlic powder
- Salt and black pepper to taste
Instructions
- Make the spread: In a small bowl, whisk together the mayonnaise, Dijon mustard, dried oregano, garlic powder, and a pinch of salt and pepper. Set aside.
- Prep the bread: Lay the 8 bread slices on your cutting board. If using fresh bread, toast them lightly in a toaster or under the broiler for about 1 minute per side. Let cool completely.
- Assemble the spread layer: Spread a thin, even layer of the mayo-mustard mixture onto one side of each bread slice (about 1 teaspoon per slice).
- Layer the fillings: On 4 of the bread slices (the bottoms), layer: one slice of turkey (folded to fit), one slice of provolone (folded in half), a few pieces of torn lettuce, 2-3 cherry tomato halves, and a few pepperoncini slices if using. Top with the remaining bread slices, spread-side down, to make 4 sandwiches.
- Cut the sandwiches: Using a sharp serrated knife, cut each sandwich in half diagonally to make 8 triangular halves.
- Skewer each half: Take one sandwich triangle and gently push a skewer through the center, starting from the crust side and pushing toward the point. Repeat with all 8 triangles.
- Optional: Add extra veggie skewers: Thread extra cherry tomatoes, cucumber rounds, or bell pepper chunks onto separate skewers for more color and crunch.
- Chill before packing: Place the assembled skewers on a plate and refrigerate for at least 10 minutes (up to 2 hours) to firm up the cheese and meld flavors.
Notes
Soak wooden skewers in water for 10-15 minutes before assembling to prevent them from absorbing moisture. For best results, use day-old bread or toast fresh bread lightly. Layer cheese in the middle of the stack to act as a glue. Cut sandwiches diagonally for better balance and presentation. These keep well in the refrigerator for up to 24 hours.
Nutrition
- Serving Size: 2 skewers
- Calories: 370
- Sugar: 4
- Sodium: 960
- Fat: 18
- Saturated Fat: 6
- Carbohydrates: 24
- Fiber: 4
- Protein: 28
Keywords: turkey sub skewers, bento box lunch, easy lunch, 15-minute lunch, kid-friendly lunch, no-cook lunch, picnic food


