Love this? Save it for later!
Share the inspiration with your friends
I was in the middle of a truly chaotic Tuesday night—homework spread across the kitchen table, a half-eaten apple sitting next to my laptop, and the distinct smell of desperation in the air. I had exactly zero energy left to cook anything complicated, but my stomach was making its usual dramatic demands. That’s when my phone buzzed. It was my younger brother, who was somehow surviving his first year of college on a diet that seemed to consist mostly of energy drinks and sheer willpower. He sent me a voice note—something he rarely does—and in it, he described, with surprising detail, how he’d been making these chicken burrito bowls every Sunday to get him through the week. I honestly wasn’t expecting cooking advice from a guy who once set a microwave on fire making popcorn, but there I was, listening to him explain exactly how to layer rice, beans, chicken, and toppings into containers that would actually stay good for days. He sounded proud, maybe for the first time since he left home. I scribbled his method on a napkin, made a mess of my kitchen trying to follow his instructions, and ended up with the best meal-prep chicken burrito bowls I’d ever tasted. Let me tell you, if a college kid can pull this off between exams and laundry disasters, you definitely can too. Maybe you’ve been in that same spot—standing in front of an open fridge, hungry and tired, wishing dinner would just appear. This recipe is the answer to that exact feeling, and it’s stayed in my rotation ever since because it just works.
Why You’ll Love This Recipe
These Easy High School Meal-Prep Chicken Burrito Bowls aren’t just another recipe I threw together. They’ve been tested through late-night study sessions, hectic mornings, and those days when you just need something reliable. I’ve tweaked the seasoning, adjusted the cooking times, and figured out the best way to keep everything fresh so you don’t have to guess. Here’s why this recipe stands out from the crowd:
- Quick & Easy: You can have everything prepped and assembled in about 30 minutes. That’s less time than scrolling through your phone deciding what to order for delivery.
- Simple Ingredients: No fancy grocery trips needed. You likely already have most of these items in your pantry and fridge. I’m talking basic stuff—chicken, rice, beans, spices you probably own.
- Perfect for Busy Weeks: Whether you’re a high school student juggling classes and activities, a parent trying to feed everyone, or just someone who hates cooking every single night, these bowls are your new best friend.
- Crowd-Pleaser: I’ve made these for picky eaters and adventurous foodies alike, and they always disappear. The combination of flavors is just that good.
- Unbelievably Delicious: The secret is in the seasoning blend and the way the chicken stays juicy even after a few days in the fridge. It’s comfort food that actually works for real life.
What makes this different from every other burrito bowl recipe out there? It’s the balance. The rice stays fluffy, the chicken stays tender, and everything comes together without needing a dozen pots and pans. This isn’t just another version—it’s the one that makes you wonder why you ever bothered with takeout. Honestly, it’s the kind of meal that makes you close your eyes after the first bite, even if you’re eating it over the kitchen sink between classes.
What Ingredients You Will Need
This recipe uses simple, wholesome ingredients that come together to deliver bold, satisfying flavor without any fuss. Most of these are pantry staples you probably already have, which makes this perfect for those weeks when you don’t want to make a special trip to the store.
For the Chicken
- 1 ½ pounds boneless, skinless chicken breasts (about 2-3 breasts; you can also use chicken thighs for extra juiciness)
- 2 tablespoons olive oil (for searing; avocado oil works great too)
- 1 teaspoon chili powder (I prefer the spice level of McCormick for consistent heat)
- 1 teaspoon cumin (adds that warm, earthy flavor)
- ½ teaspoon smoked paprika (trust me on this one—it makes a difference)
- ½ teaspoon garlic powder (not granulated garlic, the powder blends better)
- ½ teaspoon onion powder
- ½ teaspoon salt (adjust to taste)
- ¼ teaspoon black pepper
- Juice of 1 lime (fresh is best, but bottled works in a pinch)
For the Rice
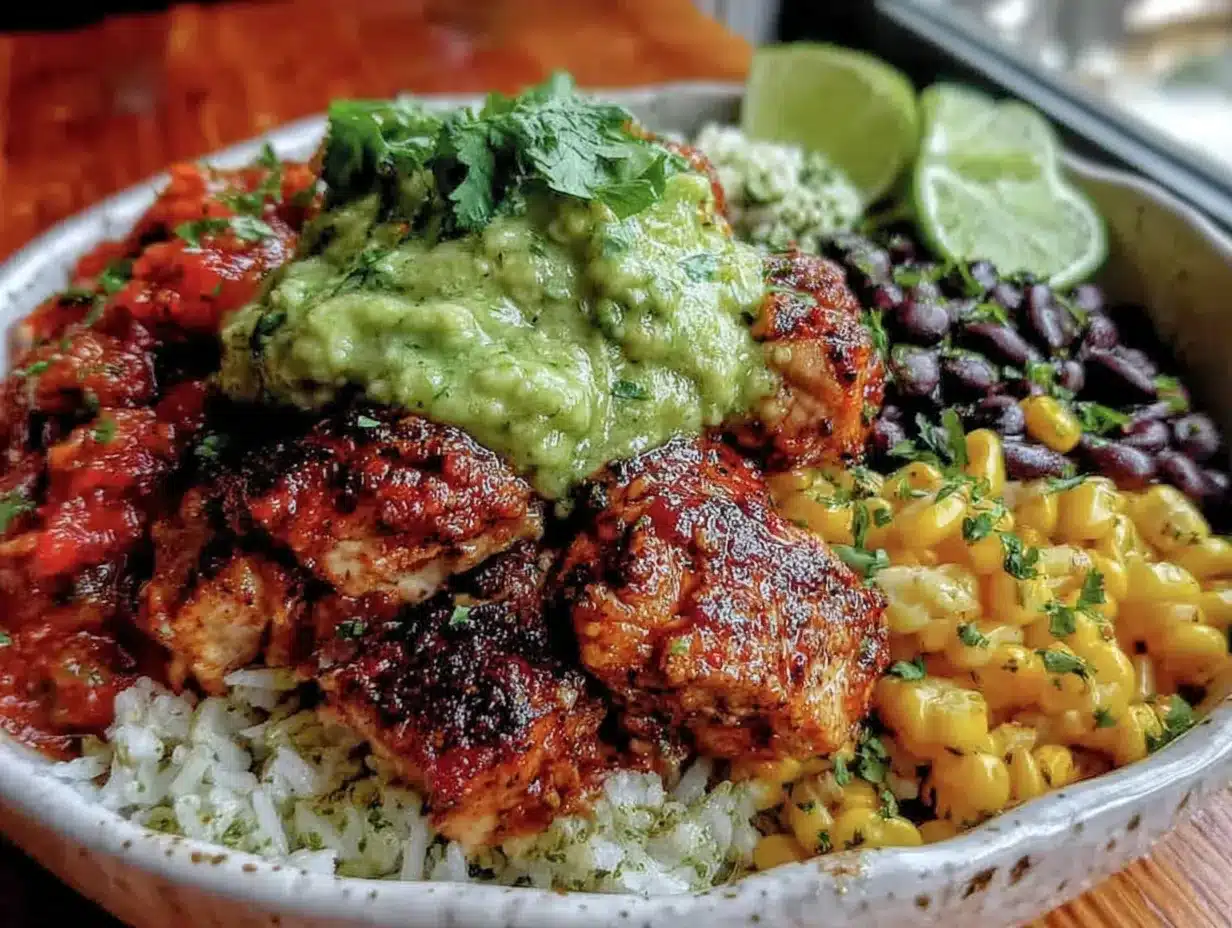
- 1 cup long-grain white rice (jasmine or basmati work beautifully)
- 1 ¾ cups water or low-sodium chicken broth (broth adds flavor, but water is fine)
- ½ teaspoon salt
- 1 tablespoon butter or olive oil (optional, for fluffier rice)
- ¼ cup chopped fresh cilantro (if you’re one of those people who hates cilantro, leave it out or use parsley)
- Juice of ½ lime
For the Beans
- 1 can (15 ounces) black beans, drained and rinsed (I like Goya or Bush’s—they hold their shape well)
- ½ teaspoon cumin
- ¼ teaspoon garlic powder
- Pinch of salt
For the Toppings
- 1 cup corn kernels (frozen, canned, or fresh—whatever you have)
- 1 cup cherry tomatoes, halved
- 1 avocado, diced (add just before eating to prevent browning)
- ½ cup shredded Mexican blend cheese (or cheddar, Monterey Jack, or a dairy-free alternative)
- ¼ cup sour cream or Greek yogurt (Greek yogurt adds protein and tanginess)
- Hot sauce or salsa (optional, for serving)
If you’re looking to swap things up, you can use brown rice or quinoa instead of white rice—just adjust the cooking time and liquid accordingly. For a gluten-free option, everything here is naturally gluten-free as long as you check your spice blends. And if you want to make it dairy-free, skip the cheese and sour cream or use plant-based versions.
Equipment Needed
You don’t need a fancy kitchen to make these burrito bowls, which is part of the beauty. Here’s what you’ll need:
- Large skillet or frying pan (12-inch works best for even cooking; if you don’t have one, a cast-iron skillet is amazing for getting that nice sear on the chicken)
- Medium saucepan with a lid (for cooking the rice—any pot with a tight-fitting lid will do)
- Cutting board (preferably one with a groove to catch juices)
- Sharp knife (a chef’s knife or a good utility knife makes dicing the chicken and veggies much easier)
- Measuring cups and spoons (I’ve learned the hard way that eyeballing spices leads to inconsistent results)
- Mixing bowls (a couple of small ones for holding prepped ingredients)
- Spatula or wooden spoon (for stirring and flipping the chicken)
- Meat thermometer (optional but highly recommended—chicken is safe at 165°F, and this takes the guesswork out)
- Meal-prep containers (4-5 airtight containers, glass or BPA-free plastic, with dividers if possible)
If you don’t have a meat thermometer, you can check doneness by cutting into the thickest part of the chicken—it should be white all the way through with clear juices. And if you’re using a nonstick skillet, be careful not to use metal utensils that could scratch the surface. I’ve ruined a few pans that way, and let me tell you, it’s annoying.
Preparation Method
Let’s get cooking! This method is designed to be efficient, so you’re not running around your kitchen like a headless chicken. I’ve broken it down into clear steps with time estimates and sensory cues so you know exactly what to look for.
Step 1: Cook the Rice (20 minutes)
Start with the rice because it takes the longest. In a medium saucepan, combine 1 cup of rice, 1 ¾ cups of water or chicken broth, and ½ teaspoon of salt. Bring it to a boil over medium-high heat—you’ll see bubbles breaking the surface and steam rising. Once it’s boiling, reduce the heat to low, cover the pot with a tight-fitting lid, and let it simmer for 15 minutes. Don’t peek! I know it’s tempting, but lifting the lid lets out steam and leads to gummy rice. After 15 minutes, turn off the heat and let it sit, still covered, for another 5 minutes. Fluff it with a fork, then stir in the butter (if using), lime juice, and chopped cilantro. Set it aside.
Step 2: Season and Cook the Chicken (15 minutes)
While the rice is cooking, pat the chicken breasts dry with paper towels. This is important—dry chicken sears better and gets that golden-brown crust. In a small bowl, mix together the chili powder, cumin, smoked paprika, garlic powder, onion powder, salt, and pepper. Sprinkle this seasoning evenly over both sides of the chicken, rubbing it in gently. Heat 2 tablespoons of olive oil in a large skillet over medium-high heat. When the oil is shimmering (you’ll see thin waves moving across the surface), carefully place the chicken in the pan. Cook for 5-6 minutes on the first side without moving it. You’ll know it’s ready to flip when it releases easily from the pan—if it sticks, it needs more time. Flip and cook for another 5-6 minutes, or until the internal temperature reaches 165°F. I’ve had my share of dry chicken from overcooking, so I always use a thermometer now. Once done, transfer the chicken to a cutting board and let it rest for 5 minutes. This resting time is non-negotiable—it lets the juices redistribute so your chicken stays moist. Then, dice it into bite-sized pieces and squeeze the lime juice over it.
Step 3: Prepare the Beans and Corn (5 minutes)
In the same skillet you used for the chicken (don’t wash it—there’s flavor left behind), reduce the heat to medium. Add the drained and rinsed black beans, cumin, and garlic powder. Stir and cook for 2-3 minutes until the beans are heated through. If they seem dry, add a tablespoon of water. For the corn, you can either toss it into the pan with the beans for the last minute or heat it separately in the microwave. I usually just stir it into the beans because it saves a dish.
Step 4: Prep the Toppings (10 minutes)
While the chicken rests, chop your veggies. Halve the cherry tomatoes, dice the avocado (squeeze a little lime juice over it to keep it green), and shred the cheese if you bought a block. This is also a good time to grab your sour cream or Greek yogurt and hot sauce. I like to arrange everything in little bowls so assembly goes faster.
Step 5: Assemble the Bowls (5 minutes)
Now for the fun part. Grab your meal-prep containers and divide the rice evenly among them—about ¾ cup per bowl. Top with a portion of the seasoned black beans and corn, then add the diced chicken. Arrange the cherry tomatoes and avocado on the side, and sprinkle cheese over everything. Add a dollop of sour cream or Greek yogurt and a drizzle of hot sauce if you like heat. If you’re eating one right away, you can mix everything together. For the ones you’re storing, keep the avocado separate and add it fresh when you’re ready to eat.
Cooking Tips & Techniques
I’ve made these burrito bowls more times than I can count, and I’ve definitely learned a few things the hard way. Here are my best tips to make sure yours turn out perfect every time.
Don’t overcrowd the pan. If you’re doubling the recipe, cook the chicken in batches. When too much chicken is in the pan at once, it steams instead of searing, and you lose that beautiful golden crust. I learned this after making a sad, gray batch of chicken that tasted fine but looked depressing.
Season in layers. Don’t just rely on the spice rub for the chicken. Season the rice with salt and lime, season the beans with cumin and garlic, and season the corn with a pinch of salt. Each component should taste good on its own, and when they come together, the flavors build on each other.
Let the chicken rest. I cannot stress this enough. If you cut into the chicken right away, all those delicious juices run out onto the cutting board, and you’re left with dry meat. Five minutes of patience makes a world of difference.
Toast your rice. Before adding the liquid, try sautéing the dry rice in a little butter or oil for 2-3 minutes until it smells nutty and starts to turn golden. This adds a subtle depth of flavor that makes the rice taste almost like it came from a restaurant.
Make extra spice blend. The seasoning mix for the chicken is so good that I always make a double batch and store it in a small jar. It’s perfect for tacos, fajitas, or even sprinkling on roasted vegetables. One less thing to measure next time.
Keep your knife sharp. Dull knives are not only frustrating but also dangerous—they slip more easily. A sharp knife makes dicing chicken and chopping veggies quick and safe. I sharpen mine every few weeks, and it’s made a huge difference in my prep time.
Variations & Adaptations
One of the best things about this recipe is how flexible it is. You can change it up based on what you have in your fridge, what you’re craving, or what your dietary needs are. Here are some variations I’ve tried and loved.
Vegetarian Option: Skip the chicken and double up on the black beans, or swap in a can of pinto beans. You can also add roasted sweet potatoes or sautéed bell peppers and onions for extra bulk and flavor. I’ve made this version for my vegetarian friends, and they always ask for the recipe.
Spicy Version: Add ½ teaspoon of cayenne pepper to the chicken seasoning, or use chipotle powder instead of smoked paprika. You can also mix some chopped jalapeños into the corn or drizzle everything with a spicy chipotle crema. I once made it so spicy that I couldn’t feel my tongue for an hour—so maybe start with a little and work your way up.
Low-Carb / Keto Adaptation: Replace the rice with cauliflower rice. Cook it in the same skillet after the chicken, adding a little butter and salt. It takes about 5 minutes and absorbs the flavors beautifully. You can also add extra cheese and avocado to make it more filling.
Change the Protein: Ground beef or turkey works great here. Just cook it in the skillet, breaking it up with a spatula, and season it the same way. Shredded pork or even tofu would also be delicious. I used leftover rotisserie chicken once, and it was ready in half the time.
Switch Up the Grains: Quinoa, farro, or even couscous can replace the rice. Quinoa needs about 15 minutes to cook, farro takes a bit longer (20-25 minutes), and couscous is ready in 5 minutes. Each one brings a different texture and nutritional profile.
Serving & Storage Suggestions
These burrito bowls are designed to be meal-prepped, but they’re also fantastic served fresh. Here’s how to make the most of them.
Serving: Serve the bowls warm or at room temperature. If you’re eating one right away, I recommend mixing everything together so the flavors meld. For a restaurant-style presentation, arrange the toppings in neat rows over the rice—it looks pretty and makes each bite slightly different.
What to Serve With: These bowls are a complete meal on their own, but if you want to round things out, try serving them with tortilla chips and salsa or a simple side salad. A cold Mexican beer or a lime-infused sparkling water makes a great drink pairing.
Storage: Store the assembled bowls (without the avocado) in airtight containers in the refrigerator for up to 4 days. Keep the avocado separate and add it fresh each day—otherwise, it will turn brown and mushy. I’ve found that the flavors actually get better on day two and three as the chicken and rice absorb the seasonings.
Reheating: Remove the lid and microwave the bowl for 2-3 minutes, stirring halfway through. If you have more time, reheat the chicken and rice in a skillet over medium heat with a splash of water or broth to add moisture. This method keeps the texture better than the microwave. Add the cold toppings (avocado, sour cream, fresh tomatoes) after reheating so they stay fresh.
Freezing: You can freeze the chicken, rice, and beans together in a freezer-safe container for up to 3 months. Thaw overnight in the refrigerator and reheat as directed. I wouldn’t recommend freezing the bowls fully assembled because the fresh toppings won’t hold up.
Nutritional Information & Benefits
These burrito bowls are not just delicious—they’re also packed with nutrients that will keep you energized throughout the day. Here’s a rough estimate per serving (based on one bowl with all the toppings):
- Calories: Approximately 550-600
- Protein: 40-45 grams (thanks to the chicken and beans)
- Carbohydrates: 55-60 grams (from rice, beans, and corn)
- Fiber: 10-12 grams (beans and veggies are fiber powerhouses)
- Fat: 18-22 grams (mostly healthy fats from avocado and olive oil)
The chicken provides lean protein that helps build and repair muscle—perfect for growing teenagers or active adults. Black beans are loaded with fiber and plant-based protein, which support digestion and keep you feeling full longer. Avocado offers heart-healthy monounsaturated fats and potassium, which is great for blood pressure regulation. And the lime juice adds a boost of vitamin C to help your body absorb the iron from the beans.
This recipe is naturally gluten-free and can be made dairy-free by skipping the cheese and sour cream. If you’re watching your sodium, use low-sodium broth and no-salt-added canned beans. I personally love that this meal gives me sustained energy without the crash that comes from processed foods.
Frequently Asked Questions
Can I use chicken thighs instead of breasts?
Absolutely! Chicken thighs are more forgiving because they have a higher fat content, which means they stay juicy even if you cook them a minute or two too long. Just adjust the cooking time slightly—thighs may need an extra 2-3 minutes per side. I actually prefer thighs for meal prep because they reheat better.
How do I keep the rice from getting mushy?
The key is not to overcook it and to let it steam properly after cooking. Use the exact ratio of 1 cup rice to 1 ¾ cups liquid, and don’t lift the lid while it’s simmering. After turning off the heat, let it sit covered for 5 minutes, then fluff it with a fork. If your rice still turns out mushy, you might be using too much water—try 1 ½ cups next time.
Can I make this recipe in a slow cooker or Instant Pot?
Yes! For the Instant Pot, cook the rice first using the rice setting, then cook the chicken on high pressure for 6-8 minutes with ½ cup of broth. For a slow cooker, add the seasoned chicken and ¼ cup of broth and cook on low for 4-5 hours. Shred the chicken and serve over the rice. The beans can be stirred in at the end to warm through.
What’s the best way to reheat these bowls without drying them out?
Add a splash of water or chicken broth to the bowl before microwaving—about a tablespoon per bowl. Cover it with a damp paper towel to create steam, which helps keep everything moist. If you’re reheating on the stove, add a little liquid and cover the pan with a lid. And remember to add cold toppings like avocado and sour cream after reheating.
How long do these burrito bowls last in the fridge?
Properly stored in airtight containers, they’ll stay fresh for 3-4 days. The chicken and rice will absorb the flavors over time, so day two and three are actually the tastiest. Just keep the avocado separate and add it fresh each day. If you notice any off smells or sliminess, toss it—better safe than sorry.
Conclusion
These Easy High School Meal-Prep Chicken Burrito Bowls have honestly become a staple in my kitchen, and I think they’ll become one in yours too. They’re the kind of recipe that makes you feel like you have your life together, even on the most chaotic days. Whether you’re packing lunches for the week, feeding a hungry family, or just trying to eat better without spending hours in the kitchen, these bowls deliver every single time. I love that I can customize them based on what I’m craving or what’s in my fridge, and they always turn out delicious. The best part? You don’t have to be a seasoned cook to pull them off. So go ahead, give them a try, and don’t be afraid to make them your own. Swap in your favorite ingredients, adjust the spice level, and let me know how they turn out. Drop a comment below or tag me in your photos—I genuinely love seeing your creations. Happy cooking, and remember: you’ve got this!
Pin This Recipe!
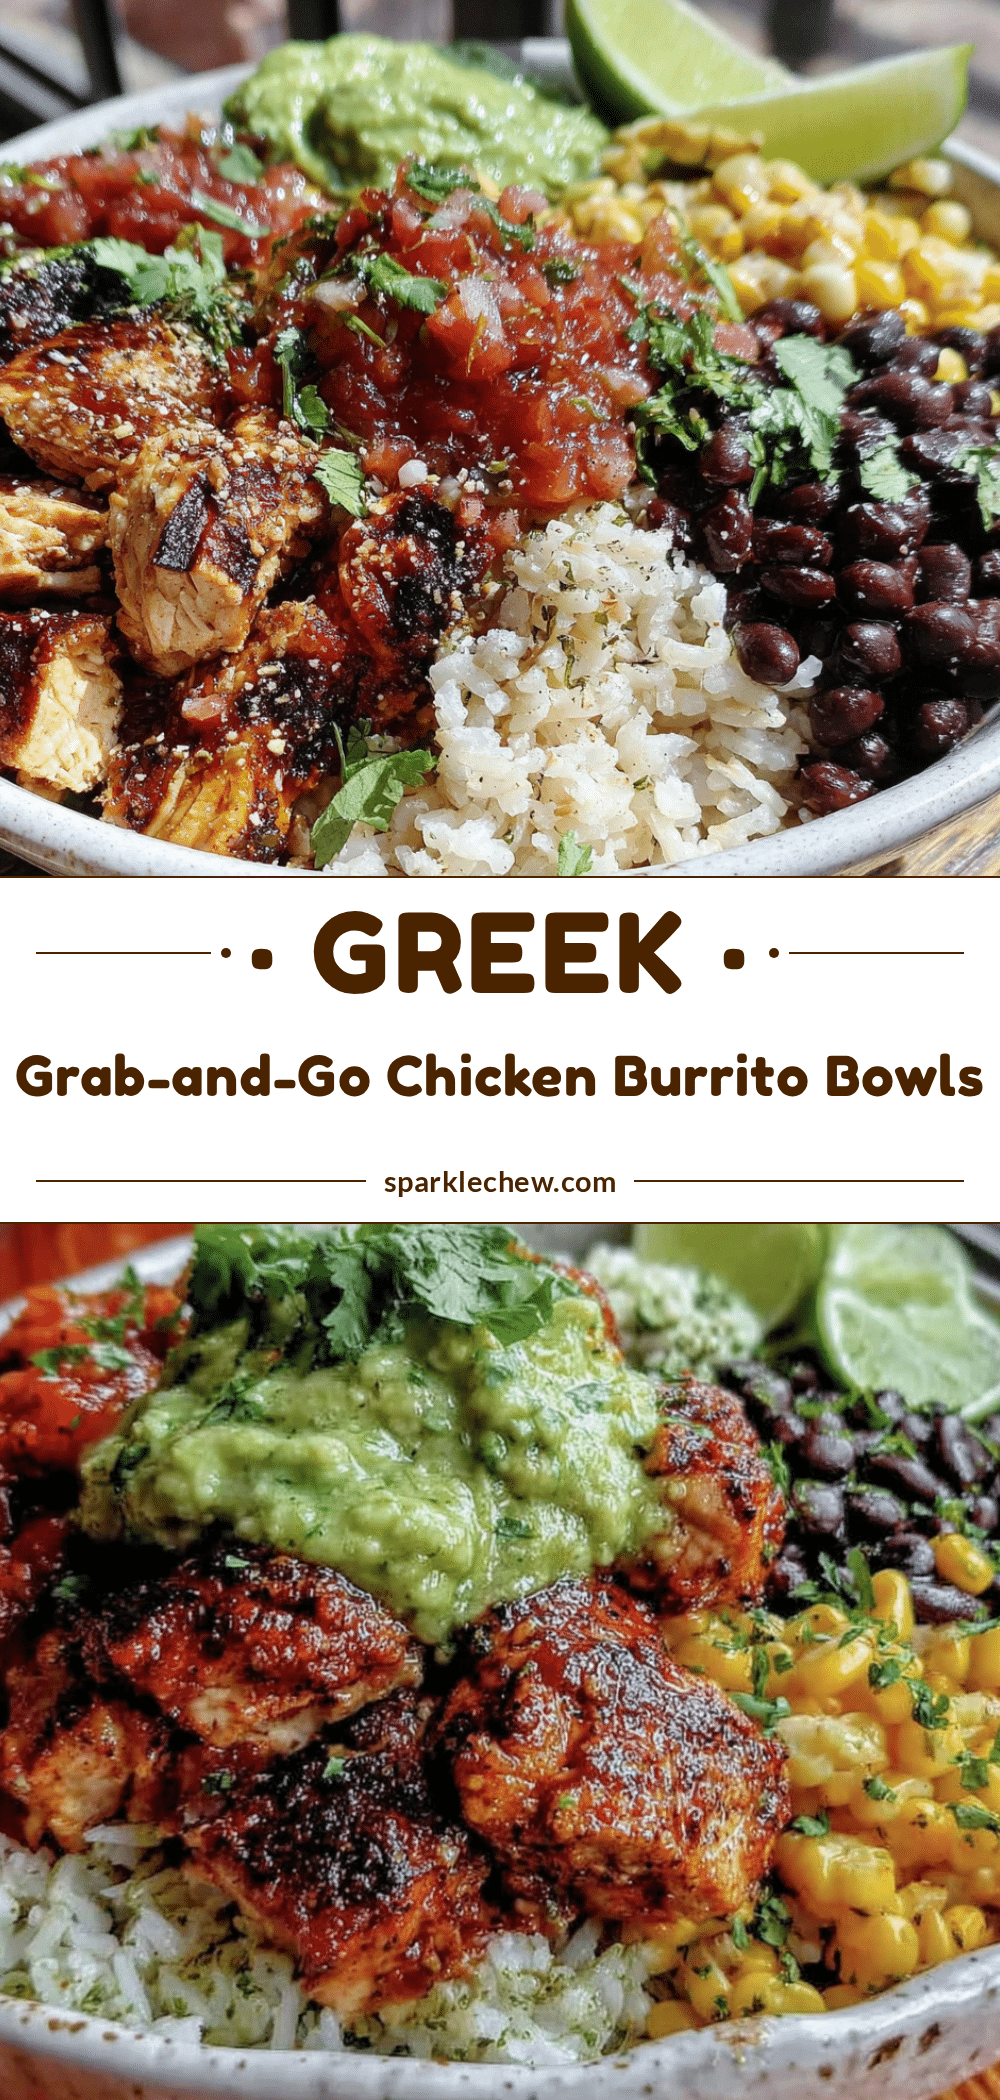
Easy High School Meal-Prep Chicken Burrito Bowls
These Easy High School Meal-Prep Chicken Burrito Bowls are perfect for busy weeks. With simple ingredients and quick prep, you can have delicious, customizable bowls ready in about 30 minutes.
- Prep Time: 15 minutes
- Cook Time: 20 minutes
- Total Time: 35 minutes
- Yield: 4 servings 1x
- Category: Main Course
- Cuisine: Mexican
Ingredients
- 1 ½ pounds boneless, skinless chicken breasts (about 2–3 breasts)
- 2 tablespoons olive oil
- 1 teaspoon chili powder
- 1 teaspoon cumin
- ½ teaspoon smoked paprika
- ½ teaspoon garlic powder
- ½ teaspoon onion powder
- ½ teaspoon salt
- ¼ teaspoon black pepper
- Juice of 1 lime
- 1 cup long-grain white rice
- 1 ¾ cups water or low-sodium chicken broth
- ½ teaspoon salt (for rice)
- 1 tablespoon butter or olive oil (optional, for rice)
- ¼ cup chopped fresh cilantro
- Juice of ½ lime (for rice)
- 1 can (15 ounces) black beans, drained and rinsed
- ½ teaspoon cumin (for beans)
- ¼ teaspoon garlic powder (for beans)
- Pinch of salt (for beans)
- 1 cup corn kernels (frozen, canned, or fresh)
- 1 cup cherry tomatoes, halved
- 1 avocado, diced
- ½ cup shredded Mexican blend cheese
- ¼ cup sour cream or Greek yogurt
- Hot sauce or salsa (optional, for serving)
Instructions
- Cook the rice: In a medium saucepan, combine 1 cup rice, 1 ¾ cups water or broth, and ½ teaspoon salt. Bring to a boil over medium-high heat. Reduce heat to low, cover, and simmer for 15 minutes. Remove from heat and let sit covered for 5 minutes. Fluff with a fork, then stir in butter (if using), lime juice, and cilantro. Set aside.
- Season and cook the chicken: Pat chicken breasts dry. Mix chili powder, cumin, smoked paprika, garlic powder, onion powder, salt, and pepper in a small bowl. Sprinkle seasoning evenly over both sides of chicken. Heat 2 tablespoons olive oil in a large skillet over medium-high heat. Cook chicken for 5-6 minutes per side, until internal temperature reaches 165°F. Let rest for 5 minutes, then dice and squeeze lime juice over it.
- Prepare the beans and corn: In the same skillet over medium heat, add black beans, cumin, and garlic powder. Cook for 2-3 minutes until heated through. Stir in corn for the last minute if desired.
- Prep the toppings: Halve cherry tomatoes, dice avocado (squeeze lime juice over to prevent browning), and shred cheese if needed.
- Assemble the bowls: Divide rice evenly among meal-prep containers (about ¾ cup each). Top with black beans and corn, diced chicken, cherry tomatoes, avocado, and cheese. Add a dollop of sour cream or Greek yogurt and hot sauce if desired. For storage, keep avocado separate and add fresh when eating.
Notes
For best results, don’t overcrowd the pan when cooking chicken. Season each component separately for layered flavor. Let chicken rest before cutting to keep it juicy. Toast rice in butter or oil before adding liquid for extra flavor. Make extra spice blend for future use. Keep avocado separate when storing to prevent browning.
Nutrition
- Serving Size: 1 bowl
- Calories: 575
- Sugar: 4
- Sodium: 800
- Fat: 20
- Saturated Fat: 5
- Carbohydrates: 58
- Fiber: 11
- Protein: 43
Keywords: chicken burrito bowls, meal prep, high school, easy, healthy, gluten-free, dairy-free option


