Love this? Save it for later!
Share the inspiration with your friends
My neighbor Jen wasn’t trying to impress anyone that Tuesday afternoon. I’d stopped by to borrow a ladder—mine had mysteriously vanished after the garage sale—and the smell of peanut butter and something warm and toasty hit me before I even got through her screen door. She was standing at her kitchen counter, rolling these little brown balls between her palms like it was absolutely nothing. Just another Tuesday. Meanwhile, I’m standing there practically drooling, trying to remember why I’d come over in the first place.
“Oh, these?” she said when I asked, barely looking up. “Just some protein balls. My kids inhale them after practice.” She handed me one without ceremony, and I mean, let me tell you—that first bite stopped me mid-sentence. It was soft and chewy, with little bursts of peanut butter flavor and just enough sweetness to feel like a treat. I asked for the recipe and she just shrugged and pointed to a crumpled sticky note on her fridge. That’s it. That’s how this whole thing started.
I’ve made these easy peanut butter banana protein balls at least a dozen times since that day. Maybe you’ve been there—you find one recipe that just works, and suddenly it’s your go-to for everything. Busy mornings, post-workout hunger, that 3 PM slump where you’d eat anything that isn’t glued to a screen. These little guys have saved me more times than I can count. Honestly, I don’t think Jen even remembers giving me that recipe, but it’s become a staple in my kitchen. And now, I’m passing it along to you.
Why You’ll Love This Recipe
Let’s be real for a second—how many snack recipes promise to be quick and actually take forty-five minutes? Not these. These easy peanut butter banana protein balls come together in about five minutes flat. Five. Minutes. I’ve tested this timing myself, including the time I dropped a banana on the floor and had to start over. Still under five minutes.
- Quick & Easy: From start to finish, you’re looking at five minutes of hands-on work. No baking, no cooking, no waiting around.
- Simple Ingredients: You probably have everything already. Peanut butter, bananas, oats, honey—these are pantry staples, not some exotic grocery list.
- Perfect for Busy Days: Great for breakfast on the go, post-workout refueling, or keeping the kids quiet during homework time.
- Crowd-Pleaser: I’ve brought these to potlucks, playdates, and even a book club meeting (we were discussing a thriller, but everyone was talking about the protein balls). Kids and adults go crazy for them.
- Unbelievably Delicious: The texture is soft and chewy, the banana adds natural sweetness, and the peanut butter? It’s pure comfort.
What makes this recipe different from all the other protein ball recipes out there? It’s the ratio. I’ve tweaked it endlessly—too dry, too sticky, too bland—until I landed on this perfect balance. The banana adds moisture without making things mushy, and the peanut butter binds everything together like a dream. This isn’t just another version. It’s the version. The one you’ll come back to again and again.
And honestly? This recipe makes you feel good. Not just because it’s healthier than grabbing a granola bar from the gas station, but because it’s the kind of snack that makes you close your eyes after the first bite. Comfort food, reimagined. Faster, simpler, but with all the soul-soothing satisfaction you’re craving.
What Ingredients You Will Need
This recipe uses simple, wholesome ingredients that work together to create something genuinely delicious. No weird powders, no obscure superfoods—just real food that happens to taste amazing. Here’s what you’ll need:
For the Protein Balls
- 1 cup creamy peanut butter (I prefer Skippy Natural or Jif Natural—avoid the stuff that separates too much, it makes the balls greasy)
- 2 ripe bananas, mashed (the riper, the better—those spotty bananas you were about to toss are perfect here)
- 1 ½ cups old-fashioned rolled oats (quick oats work too, but old-fashioned give better texture)
- ⅓ cup honey or maple syrup (honey adds floral sweetness, maple syrup gives it a warmer, almost caramel note)
- ¼ cup vanilla protein powder (I like Orgain Simple or Vega—chocolate flavor works too if you’re feeling adventurous)
- ¼ cup ground flaxseed or chia seeds (optional but adds fiber and omega-3s—you won’t even taste them)
- ¼ cup dark chocolate chips (mini chips distribute better, but regular ones are fine—use dairy-free if needed)
- Pinch of salt (just a tiny pinch—it makes the peanut butter pop)
Ingredient Tips and Substitutions
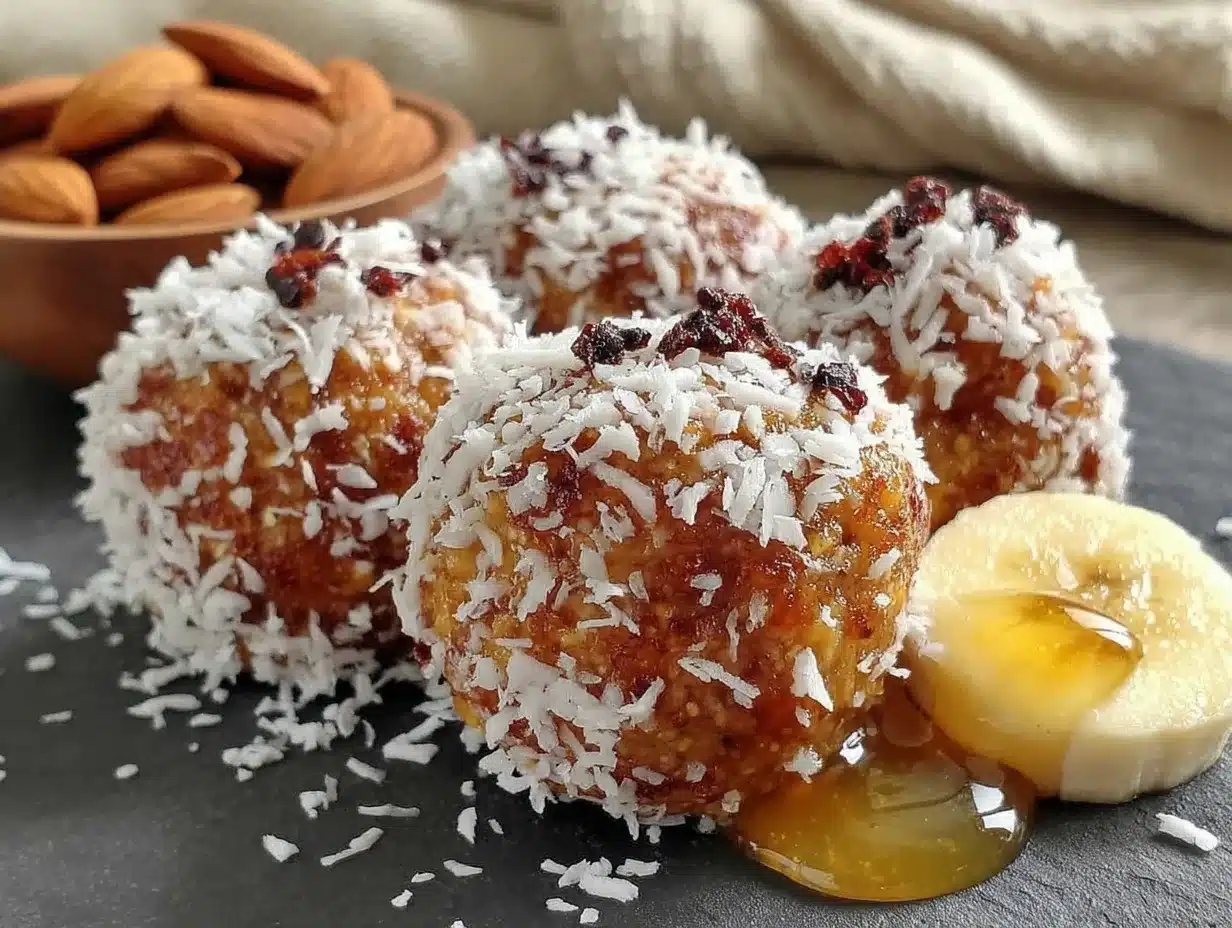
If you’re out of peanut butter, almond butter or sunflower seed butter work beautifully. Just know that sunflower butter can turn baked goods a weird green color—it’s harmless, but it looks strange. For a nut-free version, use sunflower seed butter and skip the chocolate chips unless they’re certified nut-free.
For a gluten-free option, make sure your oats are certified gluten-free. Oats themselves are gluten-free, but they’re often processed in facilities that handle wheat. Also, if you’re watching your sugar intake, you can swap the honey for a sugar-free maple syrup alternative or use just one banana and add an extra tablespoon of peanut butter.
I always use the spotty bananas for this recipe. You know the ones—they’re sitting on your counter looking sad, and you’re wondering if you should make banana bread. Use them here instead. They’re sweeter and mash easier, which means you get better flavor and texture without needing extra sweetener.
Equipment Needed
You don’t need much for this recipe, which is honestly one of my favorite things about it. Here’s what you’ll need:
- Large mixing bowl (any size works, but bigger is better for mixing without making a mess)
- Fork or potato masher (for mashing the bananas—a fork works fine, but a masher is faster)
- Spatula or wooden spoon (for mixing everything together)
- Measuring cups and spoons (eyeballing works if you’re experienced, but measuring gives consistent results)
- Baking sheet or large plate (for holding the rolled balls while you finish—lined with parchment paper makes cleanup easier)
- Cookie scoop or tablespoon (for portioning evenly—I use a 1.5 tablespoon scoop for uniform balls)
- Plastic wrap or airtight container (for storage—these need to be kept chilled)
If you don’t have a cookie scoop, just use a regular tablespoon and your hands. I’ve done it both ways, and honestly, hand-rolling gives you more control over the shape. Just make sure your hands are slightly damp—it keeps the mixture from sticking to your fingers. That’s a little trick I learned after my first batch turned into sticky blobs.
One more thing—if you’re making a double batch (and you will, trust me), a stand mixer with the paddle attachment can speed things up. But honestly, a bowl and a spatula work perfectly fine. I’ve made these in hotel rooms with a plastic bowl and a fork. Desperate times, delicious results.
Preparation Method
- Mash the bananas. In your large mixing bowl, add the two ripe bananas. Mash them thoroughly with a fork or potato masher until they’re smooth with no large chunks. You want a consistent, almost liquid-like texture. This should take about 30 seconds. If your bananas aren’t super ripe, you might have some lumps—that’s okay, just mash a little longer.
- Add the peanut butter and honey. Spoon in the peanut butter and drizzle the honey (or maple syrup) over the mashed bananas. Stir everything together with your spatula until it’s well combined. The mixture will look a bit glossy and smell amazing—that’s the peanut butter doing its thing. If you’re using natural peanut butter that’s separated, stir it well before adding. Nobody wants oily protein balls.
- Mix in the dry ingredients. Add the rolled oats, protein powder, ground flaxseed (if using), and that pinch of salt. Stir until everything is evenly distributed. The mixture will start to look like a thick, slightly sticky cookie dough. If it seems too dry, add another tablespoon of peanut butter or a splash of milk. Too wet? Add another tablespoon of oats. Trust your instincts here—different brands of peanut butter and protein powder absorb moisture differently.
- Fold in the chocolate chips. Gently stir in the dark chocolate chips until they’re evenly distributed throughout the mixture. Don’t overmix—you want little pockets of chocolate in every bite, not chocolate-flavored dough. If you’re using mini chips, they’ll distribute more evenly. Regular chips work fine, just be gentle so they don’t break apart.
- Chill the mixture (optional but recommended). Pop the bowl in the fridge for 15-20 minutes. This step isn’t strictly necessary, but it makes the mixture much easier to handle. The peanut butter firms up, the oats absorb some moisture, and the result is perfectly rollable dough. I skip this when I’m in a hurry, and the balls still turn out great—they’re just a little stickier to work with.
- Roll into balls. Using your cookie scoop or a tablespoon, portion out the mixture. Roll each portion between your palms to form a smooth ball. Aim for about 1 to 1.5 inches in diameter—big enough to feel satisfying, small enough to pop in your mouth in two bites. If the mixture sticks to your hands, dampen your palms slightly with water. This trick works like magic.
- Place on prepared baking sheet. As you roll each ball, place it on your parchment-lined baking sheet or plate. Leave a little space between them so they don’t stick together. You should get about 18-20 balls from this recipe, depending on how big you roll them.
- Refrigerate to set. Place the baking sheet in the refrigerator for at least 30 minutes. This allows the balls to firm up and hold their shape. If you can’t wait that long (I’ve been there), they’re still delicious at room temperature—just a bit softer and more delicate.
- Transfer to storage container. Once the balls are firm, transfer them to an airtight container. Layer them between sheets of parchment paper if you’re stacking them. They’ll keep in the fridge for up to a week, or in the freezer for up to three months (if they last that long).
A quick note—the first time I made these, I forgot the chocolate chips until after I’d rolled all the balls. I had to unroll each one, mix in the chips, and re-roll them. It was a mess. So learn from my mistake—add those chips before you start rolling!
Cooking Tips & Techniques
After making these easy peanut butter banana protein balls more times than I can count, I’ve picked up a few tricks that make a real difference. Here’s what I’ve learned:
The banana ripeness matters more than you think. I used to think any banana would work, but under-ripe bananas make the mixture grainy and less sweet. You want bananas with brown spots—the ones that feel soft when you squeeze them gently. They mash smoother and add natural sweetness that lets you use less honey. If your bananas aren’t ripe enough, you can speed things up by roasting them in a 300°F oven for 15 minutes. Let them cool before mashing.
Don’t overmix the dough. Once you add the oats, stir just until everything is combined. Overmixing can break down the oats too much, resulting in mushy protein balls instead of pleasantly chewy ones. You want some texture, you know? Little bits of oat that give each bite something to work with.
Use a cookie scoop for consistent sizing. This isn’t just about looking pretty—uniform balls chill at the same rate and have the same texture. If some are bigger than others, the small ones get rock-hard while the big ones stay too soft. A cookie scoop takes the guesswork out. I use a 1.5-tablespoon scoop, and it’s perfect every time.
Wet hands are your best friend. The mixture can get sticky, especially if you skipped the chilling step. Keep a small bowl of water nearby and dip your fingers between rolling each ball. The water creates a barrier that prevents sticking without adding moisture to the dough. This was a game-changer for me—I used to fight with sticky dough for way too long before figuring this out.
Let them rest overnight if you can. I know, I know—waiting is hard. But if you make these the night before you need them, the flavors meld together beautifully. The oats soften slightly, the banana and peanut butter marry into something greater than the sum of their parts, and the texture becomes perfectly uniform. It’s like they need a little sleep too.
Variations & Adaptations
One of the best things about this recipe is how flexible it is. Here are some variations I’ve tried and loved:
Chocolate Peanut Butter Dream: Swap the vanilla protein powder for chocolate protein powder and use milk chocolate chips instead of dark. The result tastes like a Reese’s cup in ball form—dangerously delicious. I made these for a party once, and someone asked if they were actually healthy. I just smiled.
Tropical Twist: Replace the chocolate chips with dried pineapple or mango pieces, and add ¼ cup shredded coconut. The banana and coconut combination is ridiculously good, and the dried fruit adds little chewy bursts of sweetness. This version is perfect for summer or when you’re craving something bright and fruity.
Vegan Option: Use maple syrup instead of honey, and make sure your chocolate chips are dairy-free. The texture is slightly different—maple syrup is thinner than honey—so you might need to add an extra tablespoon of oats to compensate. But it works beautifully, and no one will know the difference.
Nut-Free School-Safe Version: Substitute the peanut butter with sunflower seed butter or WowButter (a soy-based peanut butter alternative). Skip the chocolate chips unless they’re certified nut-free. These are perfect for lunchboxes or classrooms with nut restrictions. Just be aware that sunflower seed butter can turn slightly green when combined with baking soda—but since there’s no baking soda here, you’re safe.
Low-Carb/Keto Adaptation: Replace the oats with almond flour or finely chopped nuts, and use a sugar-free sweetener like monk fruit or stevia. The texture will be denser and more like a truffle than a chewy ball, but they’re still delicious. I’d recommend chilling them longer—at least an hour—to help them hold together.
I once tried a matcha version by adding a tablespoon of matcha powder and swapping the chocolate chips for white chocolate chips. It was… interesting. Not bad, but definitely an acquired taste. My kids called them “green balls” and refused to try them. So maybe stick with the classics unless you’re feeling adventurous.
Serving & Storage Suggestions
These easy peanut butter banana protein balls are incredibly versatile when it comes to serving. Here’s how I like to enjoy them:
Straight from the fridge: This is how I eat them 90% of the time. Cold protein balls have a firm, satisfying texture that feels substantial. Grab one on your way out the door, or pack a few in a small container for a mid-afternoon snack. They’re perfect for road trips, hiking, or just surviving a busy Tuesday.
At room temperature: If you let them sit out for 10-15 minutes, they soften up and become almost cookie-dough-like. This is my preferred texture for dessert—they feel more decadent, even though they’re still healthy. I like to serve them this way after dinner with a cup of herbal tea.
Pairing suggestions: These protein balls go beautifully with a glass of cold milk, a smoothie, or even a cup of coffee (the peanut butter and coffee combination is underrated). For a more substantial snack, pair two or three balls with an apple or a handful of baby carrots. The contrast of crunchy and chewy is lovely.
For parties and gatherings: Arrange them on a platter with other bite-sized treats like energy bars or fruit skewers. They’re always a hit because they look fancy but took almost no effort. I brought them to a potluck once and someone asked for the recipe before they’d even finished their first one.
Storage instructions: Keep these protein balls in an airtight container in the refrigerator. They’ll stay fresh for up to a week—though in my house, they’re usually gone within three days. For longer storage, freeze them on a baking sheet until solid, then transfer to a freezer-safe bag or container. They’ll keep for up to three months. To thaw, just leave them in the fridge overnight or let them sit at room temperature for 15-20 minutes.
One thing I’ve noticed—the flavors actually get better after a day or two in the fridge. The oats absorb more moisture, the banana flavor mellows out, and everything comes into balance. So don’t be discouraged if they taste a little strong on day one. Give them time. They’re worth the wait.
Nutritional Information & Benefits
Let’s talk about what makes these easy peanut butter banana protein balls actually good for you—not just in a “well, it’s not a bag of chips” way, but genuinely nutritious.
Per ball (based on 18 balls per batch):
- Calories: ~150
- Protein: 7g
- Carbohydrates: 18g
- Fiber: 3g
- Fat: 8g
- Sugar: 9g (mostly natural from banana and honey)
Health benefits at a glance: The peanut butter provides healthy fats and plant-based protein that keeps you full and satisfied. Bananas are packed with potassium, which supports muscle function and heart health. Oats offer soluble fiber that helps lower cholesterol and keeps your digestion running smoothly. The flaxseed (if you added it) delivers omega-3 fatty acids, which are great for brain health and reducing inflammation. And the dark chocolate? It’s rich in antioxidants—plus, it makes you happy. That counts, right?
Dietary considerations: This recipe is naturally vegetarian and can easily be made vegan, gluten-free, or dairy-free with simple substitutions (noted above). It’s not low-carb due to the oats and bananas, but it’s made with whole foods and no refined sugar (assuming you use honey or maple syrup). If you have nut allergies, the sunflower seed butter version is a safe alternative.
Potential allergens: Peanuts, tree nuts (if using almond butter), oats (may contain gluten depending on processing), and dairy (in chocolate chips). Always check labels if you’re serving someone with allergies.
I’m not a nutritionist, but I’ve done enough research to feel good about feeding these to my family. They’re a snack that actually fuels your body instead of just filling your stomach. And honestly? Knowing I’m eating something nutritious makes them taste even better.
Conclusion
So there you have it—my take on the easy peanut butter banana protein balls that started with a borrowed ladder and a crumpled sticky note. These little guys have become a staple in my kitchen, and I have a feeling they’ll become one in yours too. They’re quick, they’re simple, and they’re genuinely delicious. What more could you ask for from a snack?
I’d love to hear how yours turn out. Did you add anything fun? Change up the flavors? Forget the chocolate chips and have to start over like I did? Drop a comment below and let me know. And if you share a photo on Pinterest or Instagram, tag me—I always love seeing your creations. Seriously, it makes my whole day.
Thanks for stopping by, and happy rolling. You’ve got this.
Frequently Asked Questions
Can I make these without protein powder?
Absolutely. The protein powder adds extra protein and helps bind the mixture, but you can leave it out. Just add an extra ¼ cup of oats to compensate for the dry ingredient. The texture will be slightly less firm, but they’ll still taste great.
Why are my protein balls too sticky?
This usually happens when the bananas are very ripe or the peanut butter is on the runny side. Try chilling the mixture for 20-30 minutes before rolling—it firms up the fats and makes everything more manageable. If they’re still sticky after chilling, add another tablespoon of oats or protein powder.
Can I use quick oats instead of rolled oats?
Yes, you can. Quick oats are just rolled oats that have been chopped into smaller pieces, so they’ll work fine. The texture will be slightly less chewy and more uniform, but the flavor is the same. I actually prefer rolled oats for the texture contrast, but use what you have.
How long do these protein balls last at room temperature?
I don’t recommend leaving them out for more than a few hours, especially if they contain fresh banana. The banana can spoil, and the texture gets soft and unappealing. If you’re taking them on the go, pack them in a cooler or eat them within 2-3 hours of leaving the fridge.
Can I freeze these protein balls?
Yes, they freeze beautifully. Place the rolled balls on a baking sheet and freeze until solid (about 1-2 hours). Transfer them to a freezer-safe bag or container, and they’ll keep for up to three months. Thaw in the fridge overnight or at room temperature for 15-20 minutes before eating.
Pin This Recipe!
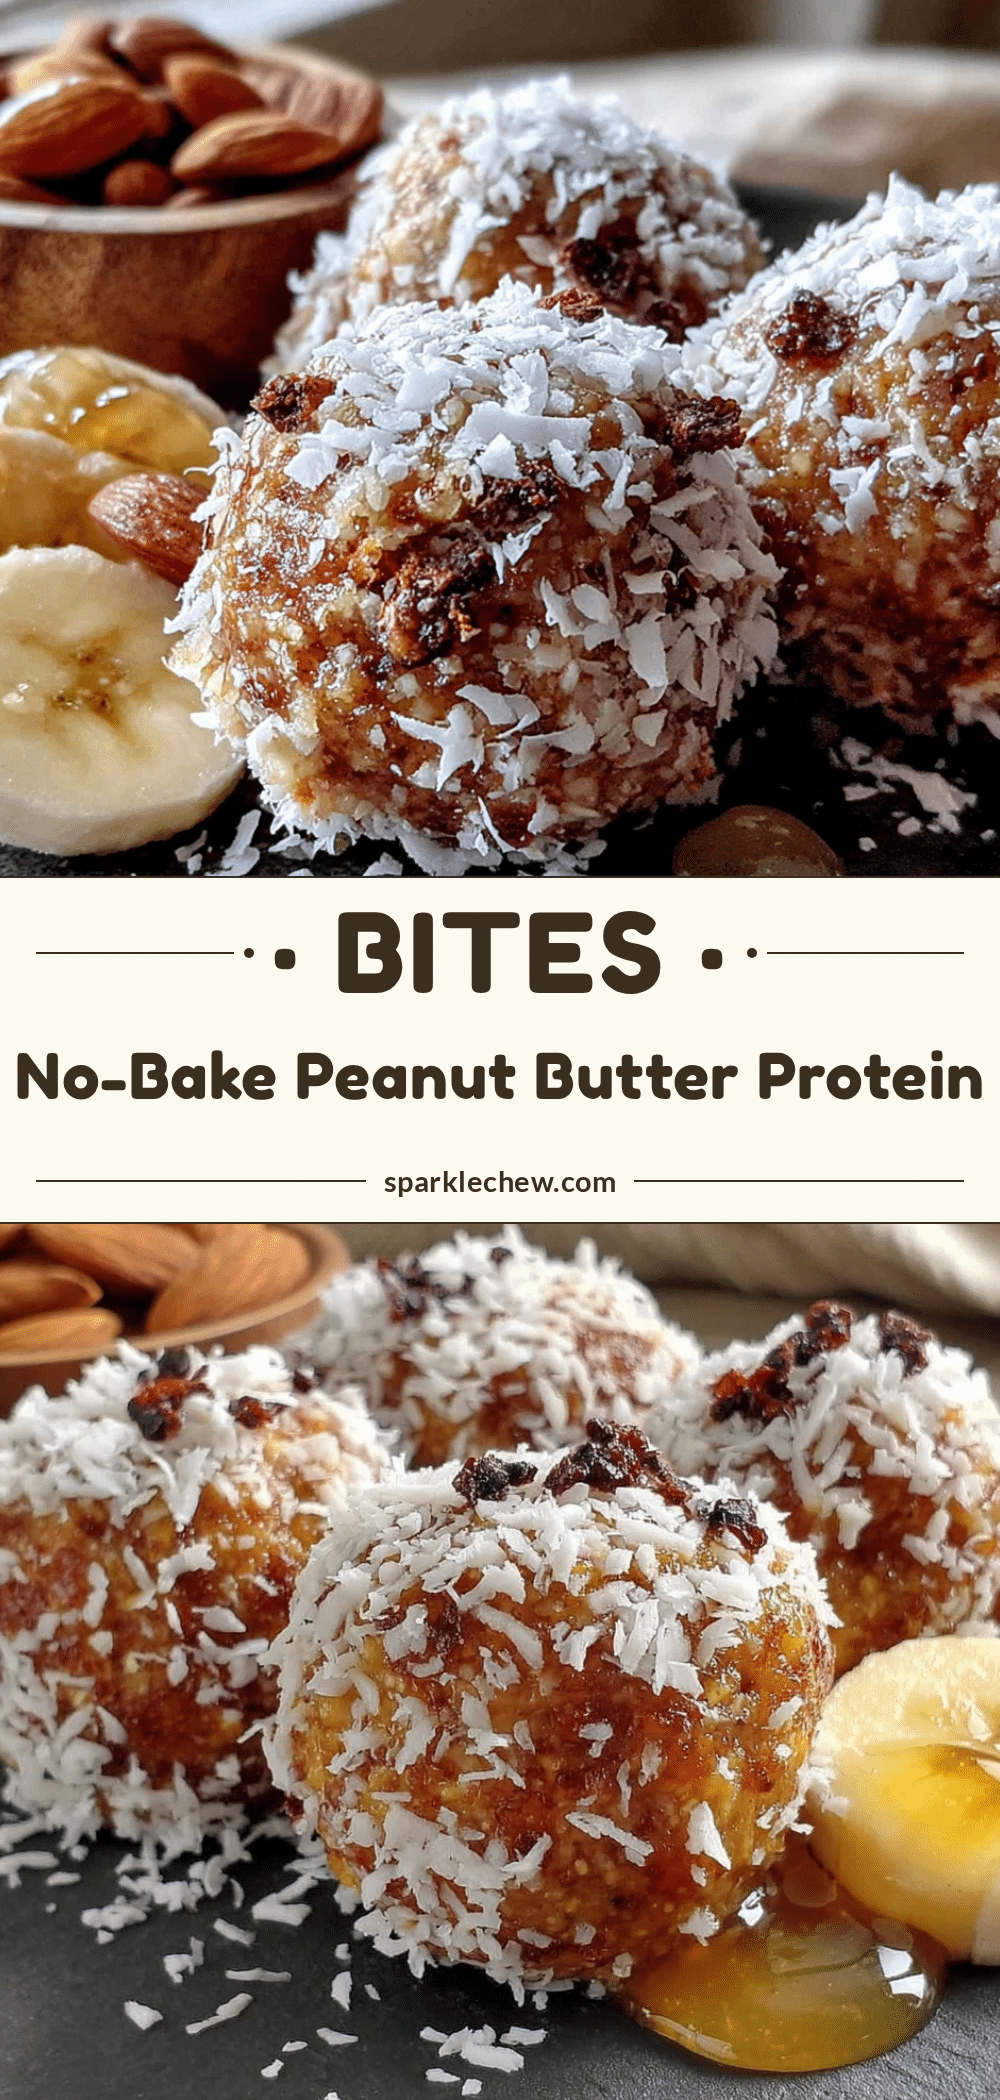
Easy Peanut Butter Banana Protein Balls: Best 5-Minute Snack
These easy peanut butter banana protein balls come together in about five minutes flat. Made with simple pantry staples like peanut butter, bananas, oats, and honey, they’re perfect for busy mornings, post-workout refueling, or a quick snack.
- Prep Time: 5 minutes
- Cook Time: 0 minutes
- Total Time: 5 minutes
- Yield: 18-20 balls 1x
- Category: Snack
- Cuisine: American
Ingredients
- 1 cup creamy peanut butter
- 2 ripe bananas, mashed
- 1 ½ cups old-fashioned rolled oats
- ⅓ cup honey or maple syrup
- ¼ cup vanilla protein powder
- ¼ cup ground flaxseed or chia seeds (optional)
- ¼ cup dark chocolate chips
- Pinch of salt
Instructions
- Mash the bananas thoroughly in a large mixing bowl until smooth.
- Add the peanut butter and honey (or maple syrup) and stir until well combined.
- Mix in the rolled oats, protein powder, ground flaxseed (if using), and salt until evenly distributed. If too dry, add another tablespoon of peanut butter or a splash of milk; if too wet, add another tablespoon of oats.
- Gently fold in the dark chocolate chips until evenly distributed.
- Chill the mixture in the fridge for 15-20 minutes (optional but recommended for easier handling).
- Using a cookie scoop or tablespoon, portion out the mixture and roll into 1 to 1.5-inch balls. Dampen hands slightly if sticky.
- Place the balls on a parchment-lined baking sheet or plate.
- Refrigerate for at least 30 minutes to firm up.
- Transfer to an airtight container and store in the fridge for up to a week, or freeze for up to three months.
Notes
For best results, use very ripe bananas with brown spots. If the mixture is too sticky, chill it before rolling. Wet hands slightly to prevent sticking. The flavors meld and improve after a day in the fridge.
Nutrition
- Serving Size: 1 ball
- Calories: 150
- Sugar: 9
- Sodium: 80
- Fat: 8
- Saturated Fat: 2
- Carbohydrates: 18
- Fiber: 3
- Protein: 7
Keywords: peanut butter banana protein balls, no-bake protein balls, healthy snack, easy protein balls, 5-minute snack


