Love this? Save it for later!
Share the inspiration with your friends
I swore I’d never keep a sourdough starter. For years, actually. The idea of a living thing taking up space in my kitchen—needing to be fed, burped, and coddled like a needy houseplant—felt like too much. I bake to relax, not to babysit. Then my neighbor Marco knocked on my door last October holding a mason jar full of something that looked like bubbling gray porridge. “Just take it,” he said. “Feed it once a day. You’ll thank me.” I took the jar out of politeness, set it in the back of my fridge, and forgot about it for two weeks. When I finally pulled it out, expecting a science experiment gone wrong, it had developed a hoppy, almost fruity smell that made me pause. I mean, I had to try it at that point, right? That first loaf of bread—crackling crust, airy crumb, that unmistakable tang—honestly changed my mind about the whole process. Now I’m the one pressing jars into people’s hands. Maybe you’ve been there, thinking sourdough is fussy or intimidating. Let me show you how simple it really is. This 7-day method works like a charm, and I keep coming back to it because it’s practically foolproof.
Why You’ll Love This Recipe
This isn’t just another sourdough starter guide. I’ve tested this method through humid summers, dry winters, and everything in between. It works because it respects the natural rhythm of wild yeast without overcomplicating things.
- Simple Ingredients: You only need two things—flour and water. No fancy starter cultures, no special packets. Your kitchen already has everything required.
- Foolproof Process: The 7-day schedule builds in forgiveness. Missed a feeding by a few hours? No problem. This method accounts for real life.
- Budget-Friendly: A bag of flour costs less than a loaf of artisan bread at the bakery. Once your starter is active, you’ll save money for years.
- Incredibly Rewarding: There’s something magical about watching bubbles form and smelling that signature sour aroma develop. It feels like science and art combined.
- Perfect for Beginners: I’ve walked dozens of friends through this process over text messages. If they can do it, so can you.
What makes this starter different from others is the feeding ratio. Most guides tell you to use equal parts flour and water by volume, which creates a thin, sluggish starter. I use a slightly stiffer mix—about 25% less water—which encourages stronger yeast activity and a more predictable rise. It’s a small tweak that makes a huge difference, especially for first-timers.
This starter isn’t just good—it’s the kind that makes you peek into the jar multiple times a day just to watch it bubble. It’s kitchen alchemy at its most accessible, turning flour and water into something alive and useful. Perfect for weekend baking projects, impressing dinner guests, or simply enjoying the best toast of your life.
What Ingredients You Will Need
This recipe relies on two simple ingredients, but choosing the right ones matters more than you’d think. Here’s what you need and why each choice makes a difference.
- Unbleached all-purpose flour: This is your workhorse. Unbleached flour retains more of the natural yeast and bacteria that live on wheat, giving your starter a head start. I prefer King Arthur Flour for consistent results, but any unbleached brand works. Avoid bleached flour—the chemicals used in bleaching can slow down or kill wild yeast.
- Whole wheat flour or rye flour: You’ll use this for the first feeding only. Whole grain flours are packed with nutrients and yeast that white flour lacks. A single feeding with rye or whole wheat jumpstarts fermentation like nothing else. I keep a small bag of dark rye flour in my pantry just for starter maintenance.
- Filtered or bottled water: Tap water often contains chlorine or chloramine, which can inhibit yeast growth. Let tap water sit out overnight to allow chlorine to evaporate, or use filtered water. The water should be lukewarm—around 70°F to 75°F. Too hot will kill your yeast; too cold will slow everything down.
- Unbleached bread flour (optional): Once your starter is established, switching to bread flour for feedings creates a stronger, more elastic starter. It’s not necessary for the first week, but it’s a nice upgrade once you’re comfortable.
- Organic flour (optional): Organic flours often have higher microbial activity since they’re processed without harsh chemicals. If you can find it, organic whole wheat makes an excellent first feeding.
A quick note on flour storage: keep your flour in a cool, dark place. I use a sealed container in my pantry. Flour can absorb odors and moisture, which affects how your starter behaves. Fresh flour makes a happy starter.
Equipment Needed
You don’t need fancy gear for this. Here’s what I use, along with some alternatives if you’re working with what you’ve got.
- Glass jar or plastic container: A quart-sized mason jar works perfectly. I prefer wide-mouth jars because they’re easier to clean and stir in. Avoid metal containers—the acidity of the fermenting starter can react with certain metals. A plastic deli container with a loose lid also works great.
- Kitchen scale: This is non-negotiable for consistent results. Measuring by weight is far more accurate than cups. A basic digital scale costs around $15 and will transform your baking. I’ve been using the same OXO scale for five years.
- Wooden or silicone spatula: Metal utensils can scratch glass jars and might react with the starter. A simple wooden chopstick or silicone spatula works beautifully.
- Rubber band or marker: You’ll want to mark the height of your starter after feeding so you can track how much it rises. A rubber band around the jar works perfectly.
- Clean kitchen towel or coffee filter: Cover your jar loosely to keep out dust and bugs while allowing airflow. Paper towels work in a pinch.
- Thermometer (optional): If your kitchen runs cold, a thermometer helps you find the warmest spot. The top of the fridge or near the stove works well.
I learned the hard way that a narrow jar makes stirring a nightmare. Stick with wide-mouth jars—your future self will thank you every single feeding.
Preparation Method
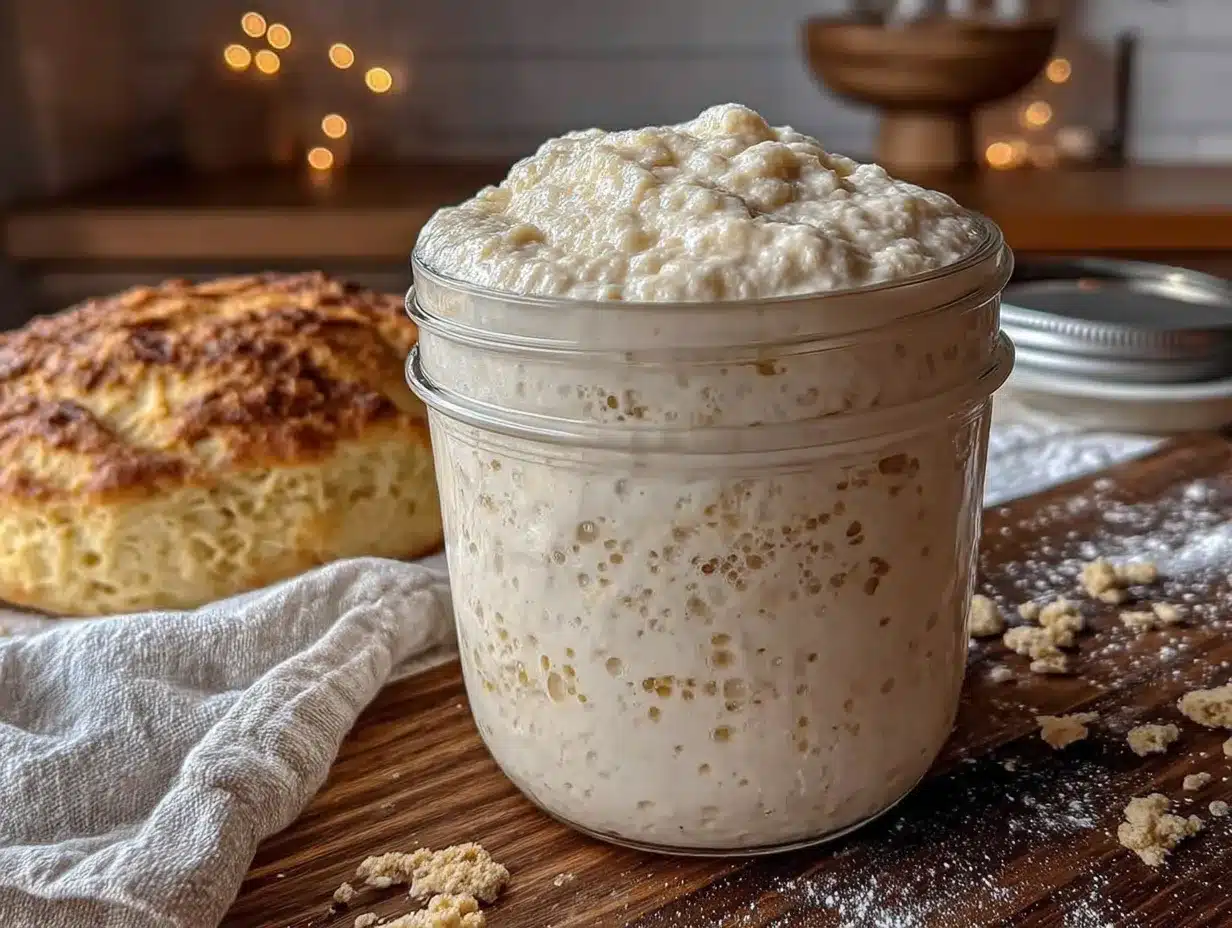
This 7-day process builds your starter from scratch. Follow these steps daily, and by day seven, you’ll have a bubbly, active starter ready for baking.
Day 1: The Beginning
Combine 100 grams of whole wheat or rye flour with 120 grams of lukewarm filtered water in your jar. Stir vigorously until no dry flour remains. The mixture should look like thick pancake batter. Cover loosely with a towel or lid placed on top without sealing. Place in a warm spot (70°F to 75°F is ideal). Mark the height with a rubber band. Now you wait. You probably won’t see much activity today, and that’s normal. The flour and water are just getting acquainted.
Day 2: First Signs
Check your jar. You might see a few tiny bubbles or a slight increase in volume. If nothing happens, don’t panic. Discard half the mixture (about 100 grams) and feed it with 100 grams of unbleached all-purpose flour and 100 grams of lukewarm water. Stir well, mark the height, and cover again. I remember staring at my first starter on day two, convinced I’d done something wrong. Trust the process.
Day 3: The Smell Test
Your starter should smell a bit funky by now—think overripe fruit or even a little like nail polish remover. That’s the good bacteria working. You’ll see more bubbles and possibly a layer of liquid on top (called hooch). Discard half, feed with 100 grams flour and 100 grams water, stir, mark, and cover. If your starter smells truly rotten or develops mold, toss it and start over. But a sharp, sour smell is perfectly normal.
Day 4: Doubling Time
This is where things get exciting. Your starter should be doubling in volume within 12 hours of feeding. If it’s not, move it to a slightly warmer spot. Discard half, feed with 100 grams flour and 100 grams water, and watch closely. You’ll notice the texture changing—more bubbles, a domed top, and a pleasant yeasty smell. I love this stage because it finally feels alive.
Day 5: Predictable Rising
Your starter should now rise and fall on a regular schedule. Feed it twice today—once in the morning and once in the evening. Use 100 grams flour and 100 grams water each feeding, discarding half beforehand. The increased feeding schedule strengthens the yeast population. Your starter should peak within 6 to 8 hours after feeding.
Day 6: Peak Performance
Continue feeding twice daily. Your starter should double or triple in volume within 4 to 6 hours. It should smell sour but pleasant—like yogurt or sourdough bread. The surface should be covered in bubbles, and it should feel light and airy when stirred. If it passes these tests, you’re almost there.
Day 7: Ready to Bake
Feed your starter one last time in the morning. Within 4 to 6 hours, it should be bubbly, doubled, and pass the float test—drop a small spoonful into a glass of water; if it floats, it’s ready. Congratulations! You now have an active sourdough starter. Use it immediately for baking, or store it in the fridge and feed it once a week.
Cooking Tips & Techniques
I’ve made every mistake in the book so you don’t have to. Here’s what I’ve learned the hard way.
Temperature matters more than anything. My first starter took two weeks because my kitchen was too cold—around 60°F. If your house runs cool, place your jar on top of the refrigerator or near the stove while you cook. The warmth from appliances makes a huge difference. Conversely, if your kitchen is above 80°F, your starter might ferment too quickly and develop off flavors. Find that sweet spot between 70°F and 75°F.
Don’t skip the discard step. I know it feels wasteful to throw away half your starter each day. But this step is crucial for maintaining the right balance of yeast and bacteria. If you don’t discard, your starter becomes too acidic and sluggish. Save your discard for pancakes, crackers, or waffles—there are plenty of discard recipes out there.
Watch for the hooch. That brownish liquid on top of your starter means it’s hungry. If you see hooch, your starter has used up all its food. Pour it off or stir it back in (stirring adds a tangier flavor), then feed immediately. A well-fed starter shouldn’t develop hooch between feedings.
Feed by weight, not volume. A cup of flour can vary by 30 grams depending on how you scoop it. Using a kitchen scale eliminates this variability and gives you consistent results every time. Trust me on this one—I wasted a week of feedings before I bought a scale.
Be patient with the first few days. Your starter might seem dead or inactive for the first 48 hours. That’s normal. The bacteria are establishing themselves before the yeast population explodes. Don’t give up on day three. I almost did, and I would have missed out on years of amazing bread.
Variations & Adaptations
Once you’ve mastered the basic starter, you can customize it to fit your needs and preferences.
Gluten-Free Starter: Substitute brown rice flour or sorghum flour for the wheat flour. The process is identical, though gluten-free starters tend to be thinner and more liquid. Feed twice daily for the first week to build strength. The resulting starter works beautifully for gluten-free sourdough bread.
Whole Grain Starter: Use 100% whole wheat or rye flour for all feedings. Whole grain starters ferment faster and develop a deeper, more complex flavor. They also require slightly more water since whole grains absorb more liquid. Add an extra 10 to 20 grams of water per feeding to maintain the right consistency.
Stiff Starter: Reduce the water to 60 grams per 100 grams of flour. A stiff starter (also called a firm starter) produces a milder, less tangy flavor and is often used in Italian breads. It’s also more forgiving if you miss a feeding, since the lower hydration slows down fermentation.
Herb or Spice Infusion: Add a sprig of fresh rosemary or a cinnamon stick to your jar during feedings. The flavors infuse into the starter and carry through to your bread. Remove the herbs after 24 hours to prevent mold. I’ve made a rosemary-infused starter that turned focaccia into something unforgettable.
Dried Starter: Once your starter is established, spread a thin layer on parchment paper and let it dry completely. Break it into flakes and store in an airtight jar. This creates a backup that lasts for years. To revive it, crumble a few flakes into flour and water and feed as usual for a few days.
Serving & Storage Suggestions
Your finished starter is a living thing. How you store it affects how it behaves for future bakes.
Room Temperature Storage: If you bake daily or every other day, keep your starter on the counter. Feed it once daily with equal parts flour and water. I use 50 grams of starter, 50 grams of flour, and 50 grams of water for maintenance. This keeps it active and ready to use at a moment’s notice.
Refrigerator Storage: For weekly baking, store your starter in the fridge. Feed it once a week—take it out, discard half, feed, let it sit at room temperature for a few hours, then return to the fridge. Your starter will go dormant in the cold and wake up when you need it. I’ve kept starters in the fridge for months without issues.
Freezing Backup: Spread a thin layer of starter on parchment paper and freeze. Once frozen, break into pieces and store in a freezer bag. This is your insurance policy. If something happens to your main starter, you can revive a frozen piece in a few days.
Reheating and Reviving: To use refrigerated or frozen starter, take it out a day before baking. Feed it twice at room temperature to wake it up. It should be bubbly and doubled within 4 to 6 hours after the second feeding. If it seems sluggish, give it an extra feeding.
Flavor Development Over Time: Your starter will mellow and deepen in flavor over the first few weeks. Young starters produce milder bread; older starters develop more complexity. Some bakers swear starters get better after six months. I’ve noticed mine became more reliable and predictable after about two months of regular use.
Nutritional Information & Benefits
Sourdough bread made from an active starter offers several nutritional advantages over commercial yeast breads.
Estimated Nutritional Values (per 100g of sourdough bread):
- Calories: 250-270
- Carbohydrates: 45-50g
- Protein: 8-10g
- Fat: 1-2g
- Fiber: 2-4g
Health Benefits: The fermentation process in sourdough breaks down phytic acid, which makes minerals like iron, zinc, and magnesium more available for absorption. The lactic acid bacteria produced during fermentation also act as natural preservatives and may support gut health. Sourdough has a lower glycemic index than conventional bread, meaning it causes a slower rise in blood sugar. Some people with mild gluten sensitivities find sourdough easier to digest, though it’s not suitable for celiac disease unless made with gluten-free flour.
Dietary Considerations: This starter is naturally vegan and contains no added fats or sugars. For gluten-free versions, substitute gluten-free flour blends. The fermentation process reduces but doesn’t eliminate gluten, so those with celiac disease should stick with dedicated gluten-free starters.
Conclusion
Growing your own sourdough starter is one of those kitchen projects that feels intimidating until you actually do it. Then you wonder why you waited so long. This 7-day method strips away the complexity and leaves you with something genuinely useful—a living, bubbling starter that will produce incredible bread for years to come.
Don’t be afraid to make this starter your own. Name it, talk to it, adjust the feeding schedule to fit your life. The beauty of sourdough is that every starter develops its own unique personality based on your kitchen’s environment and your routine. Your starter will be different from mine, and that’s exactly how it should be.
I’d love to hear how your starter turns out. Drop a comment below with your experience, any questions you have, or the first loaf you bake. Share this guide with a friend who’s been thinking about trying sourdough—they’ll thank you later. Happy baking, and remember: even if day two looks like nothing’s happening, keep going. The magic is coming.
Frequently Asked Questions
Can I use tap water for my sourdough starter?
Tap water often contains chlorine or chloramine that can inhibit yeast growth. Let tap water sit out overnight to allow chlorine to evaporate, or use filtered water. If you must use tap water immediately, let it run for a minute to reduce chlorine content.
Why isn’t my starter bubbling after three days?
This is common, especially in cooler kitchens. Check the temperature of your starter environment—it should be between 70°F and 75°F. Move it to a warmer spot like the top of the refrigerator. Also ensure you’re using unbleached flour, as bleached flour lacks the natural yeast needed to kickstart fermentation.
How do I know when my starter is ready to use?
Your starter is ready when it doubles in volume within 4 to 6 hours of feeding, has a pleasant sour smell, and passes the float test. Drop a small spoonful into a glass of water—if it floats, it’s active enough for baking. This typically happens around day 7.
What should I do with the discard from feedings?
Don’t throw it away! Sourdough discard is perfect for pancakes, waffles, crackers, muffins, and quick breads. Store discard in a separate container in the fridge and use it within a week. There are hundreds of discard recipes that turn what would be waste into delicious treats.
Can I speed up the 7-day process?
You can accelerate fermentation by keeping your starter in a warmer spot (80°F to 85°F) and feeding twice daily from day one. Some bakers create an active starter in 5 days this way. However, rushing can produce a less stable starter with inconsistent results. I recommend sticking with the 7-day schedule for your first time.
Pin This Recipe!
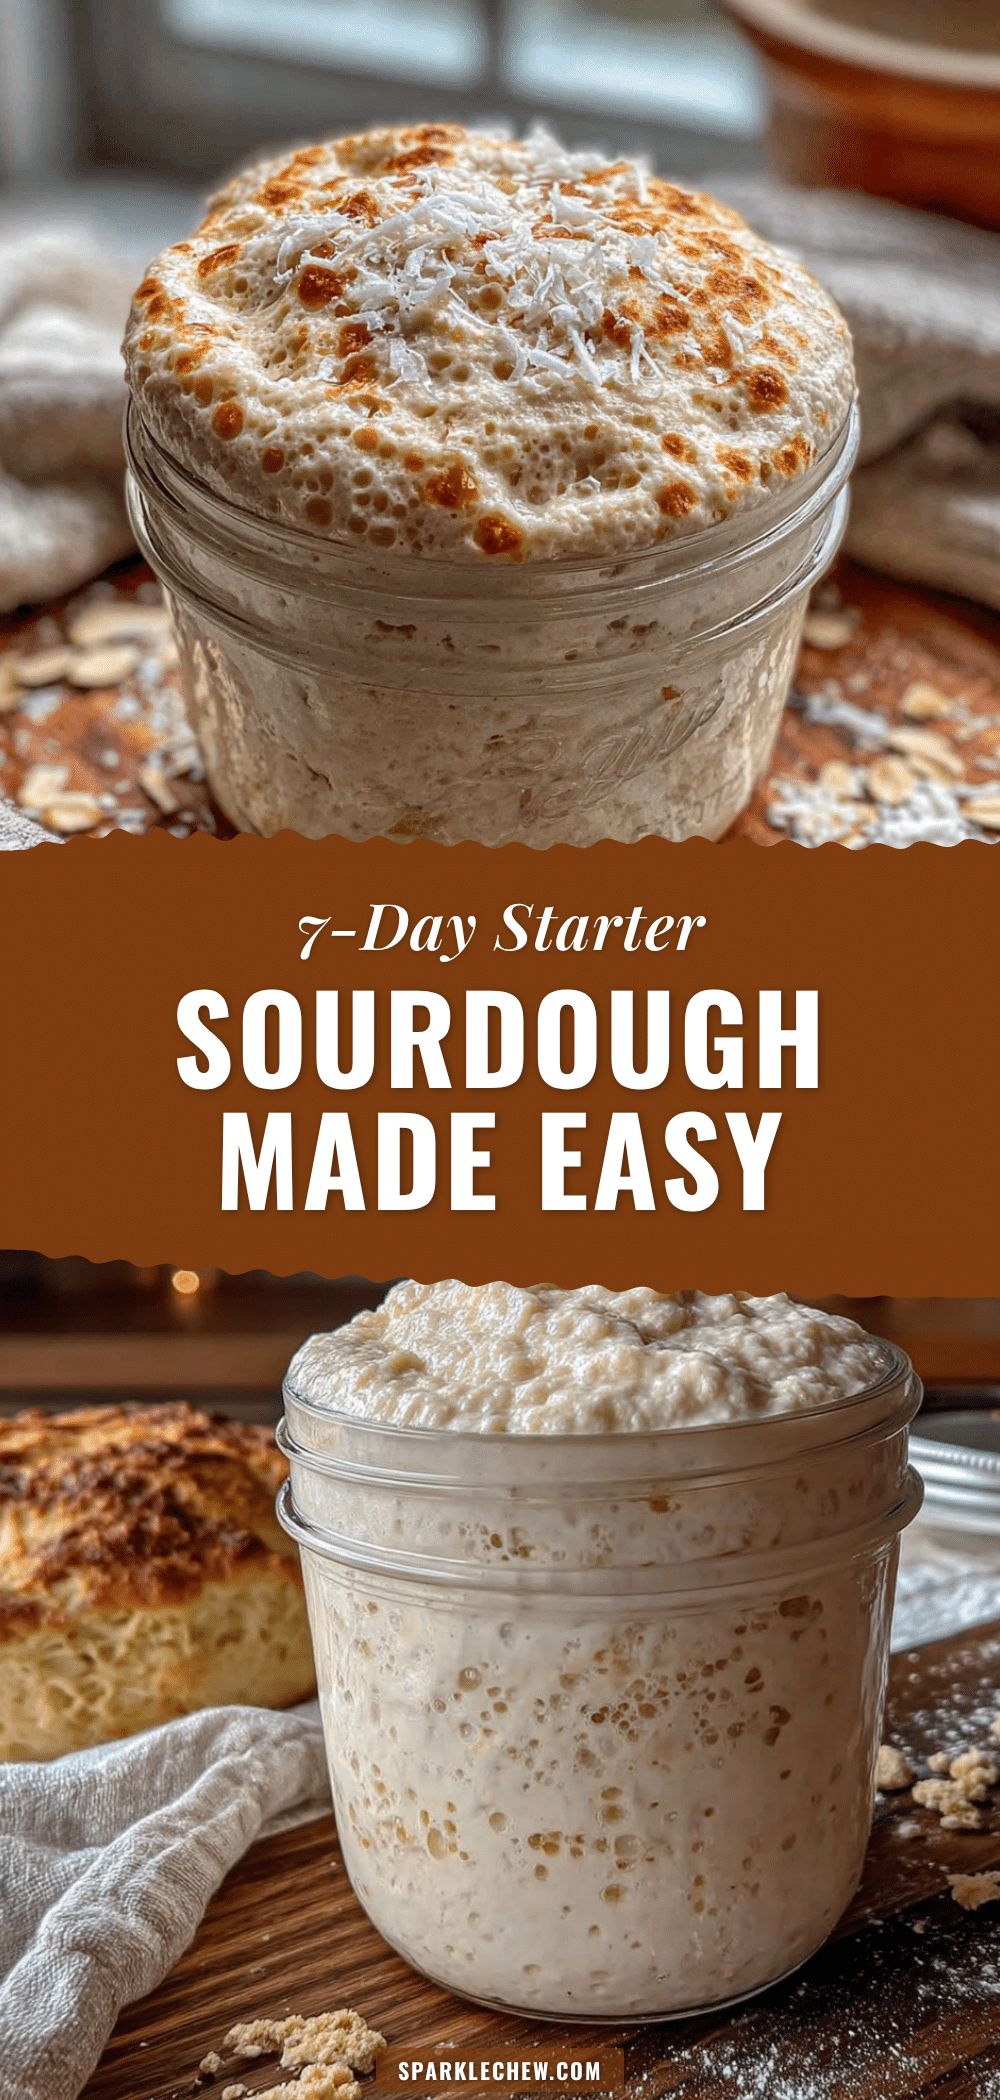
Easy 7-Day Homemade Sourdough Starter for Perfect Bread
A foolproof 7-day method to create a bubbly, active sourdough starter from scratch using just flour and water. Perfect for beginners, this guide walks you through each day with tips for success.
- Prep Time: 10 minutes
- Cook Time: 0 minutes
- Total Time: 7 days
- Yield: 1 active sourdough starter (about 200-300 grams) 1x
- Category: Starter
- Cuisine: American
Ingredients
- 100 grams whole wheat flour or rye flour (for first feeding)
- Unbleached all-purpose flour (for daily feedings)
- Filtered or bottled water, lukewarm (70°F to 75°F)
- Unbleached bread flour (optional, for later feedings)
- Organic flour (optional)
Instructions
- Day 1: Combine 100 grams whole wheat or rye flour with 120 grams lukewarm filtered water in a jar. Stir until no dry flour remains. Cover loosely and place in a warm spot (70°F to 75°F). Mark the height with a rubber band.
- Day 2: Discard half the mixture (about 100 grams). Feed with 100 grams unbleached all-purpose flour and 100 grams lukewarm water. Stir, mark height, and cover.
- Day 3: Discard half, feed with 100 grams flour and 100 grams water. Stir, mark, and cover. Expect a funky smell and bubbles.
- Day 4: Discard half, feed with 100 grams flour and 100 grams water. Starter should double in volume within 12 hours.
- Day 5: Feed twice daily (morning and evening). Each feeding: discard half, then add 100 grams flour and 100 grams water. Starter should peak within 6-8 hours.
- Day 6: Continue feeding twice daily. Starter should double or triple in volume within 4-6 hours and smell pleasantly sour.
- Day 7: Feed one last time in the morning. Within 4-6 hours, starter should be bubbly, doubled, and pass the float test (a spoonful floats in water). Ready to use or store.
Notes
Temperature is crucial: keep starter between 70°F and 75°F. Don’t skip the discard step—it maintains the right yeast-bacteria balance. Use filtered water to avoid chlorine inhibiting yeast. If hooch (brown liquid) appears, the starter is hungry; feed immediately. For gluten-free version, substitute brown rice or sorghum flour. Store in fridge for weekly baking, or freeze for long-term backup.
Nutrition
- Serving Size: 100 grams of sourdou
- Calories: 260
- Sugar: 1
- Sodium: 400
- Fat: 1.5
- Saturated Fat: 0.3
- Carbohydrates: 47
- Fiber: 3
- Protein: 9
Keywords: sourdough starter, homemade sourdough, 7-day starter, easy sourdough, beginner sourdough, wild yeast starter


