Love this? Save it for later!
Share the inspiration with your friends
I had sworn off homemade rolls for Thanksgiving. Three years running. The kind of firm, unshakable stance you take after watching a basket of beautiful, golden-brown beauties turn into hockey pucks by the time the turkey hit the table. It was a Tuesday afternoon in early November when my sister-in-law, Jen, called me from the grocery store parking lot, her voice carrying that particular panic reserved for holiday prep.
“I forgot to order the rolls from the bakery,” she said. “What do I do?”
Honestly, I almost told her to just buy the frozen ones. But something in her voice—that desperate, last-minute scramble we all know—made me pause. I had been testing a honey butter roll recipe for months, tweaking and failing and starting over. The kitchen was a mess of flour dust and sticky counters. My husband kept finding dough in weird places, like the back of the salt shaker. It was a disaster, really.
But that Tuesday, I made a batch just to see if I could. And when I pulled them out of the oven, golden-brown and glistening with honey butter, I knew something had changed. The smell alone—warm yeast, sweet honey, and that unmistakable scent of butter melting into bread—was enough to make my neighbor knock on the door asking what I was baking. I brought a basket over to Jen’s house that night, and she ate three before the kids could even grab one.
That was the year I stopped buying rolls. And honestly, if you’ve been burned by homemade bread before, I get it. Maybe you’ve had that moment where you followed every step perfectly and still ended up with something dense and sad. Let me tell you, these rolls are different. They’re soft, pillowy, and that honey butter glaze seeps into every crevice, making them almost too good to share. Almost.
Why You’ll Love This Recipe
These honey butter dinner rolls aren’t just a side dish—they’re the thing people reach for before the turkey. I’ve tested this recipe over a dozen times, tweaking the hydration levels and the proofing times until every single roll came out consistently soft and tender. Here’s why this version stands out from every other roll recipe you’ve tried:
- Foolproof Dough : This recipe uses a tangzhong method, which is basically a cooked flour-and-water paste that keeps the rolls incredibly soft for days. No more dry, crumbly rolls by the second day.
- Simple Ingredients : You probably have everything in your pantry right now. No weird bread improvers or specialty flours—just butter, honey, milk, flour, and yeast.
- Perfect for Thanksgiving : These rolls can be made ahead, frozen, and baked fresh on the big day. That’s a game-changer when you’re juggling a turkey, three sides, and a pie.
- Crowd-Pleaser : I’ve brought these to four different Thanksgiving dinners, and not a single roll has ever come home with me. Kids love the sweetness, adults love the texture.
- Unbelievably Delicious : The honey butter isn’t just brushed on top—it’s baked into the dough and slathered on again after baking. That double hit of honey butter is what makes these rolls absolutely irresistible.
What makes this recipe different from the dozens of others out there? It’s the combination of the tangzhong technique and the honey butter ratio. Most recipes either make rolls that are too sweet or too dense. This one hits that perfect middle ground—soft enough to pull apart, sweet enough to eat plain, but still sturdy enough to soak up gravy.
These rolls are the kind that make you close your eyes after the first bite. It’s comfort food reimagined—faster than you think, but with the same soul-soothing satisfaction that only homemade bread can bring. Perfect for impressing your mother-in-law without spending all day in the kitchen.
What Ingredients You Will Need
This recipe uses simple, wholesome ingredients to deliver that soft, buttery texture without any fuss. Most of these are pantry staples, but a few deserve a little extra attention to get the best results.
- Bread flour , 3 cups (360g) – Bread flour has a higher protein content than all-purpose flour, which gives these rolls their signature soft, chewy texture. I prefer King Arthur Flour for consistent results, but any brand works.
- Whole milk , 1 cup (240ml), warm – Whole milk adds richness that you just can’t get from skim or plant-based milks. Heat it to about 110°F—warm to the touch but not hot.
- Unsalted butter , 6 tablespoons (85g), softened – Using unsalted butter lets you control the salt level. I like Kerrygold for its rich flavor, but any good-quality butter works.
- Honey , ¼ cup (85g) – Use a mild, runny honey. Clover honey or wildflower honey work beautifully. Avoid strong-flavored honey like buckwheat, which can overpower the rolls.
- Granulated sugar , 2 tablespoons (25g) – Just a little to feed the yeast and add a touch of sweetness.
- Active dry yeast , 2 ¼ teaspoons (one packet) – Make sure your yeast is fresh. If you’re unsure, proof it in warm milk with a pinch of sugar first.
- Egg , 1 large, room temperature – Room temperature eggs incorporate better into the dough. Let yours sit out for 30 minutes before starting.
- Salt , 1 ½ teaspoons (9g) – Fine sea salt is best. It balances the sweetness and strengthens the dough structure.
- Tangzhong starter : 2 tablespoons bread flour + ¼ cup water (60ml) – This is the secret to soft rolls that stay fresh for days.
For the Honey Butter Glaze:
- Unsalted butter , 4 tablespoons (56g), melted
- Honey , 3 tablespoons (63g)
- Flaky sea salt , for sprinkling (optional, but highly recommended)
Ingredient Tips: If you don’t have bread flour, you can substitute all-purpose flour, but the rolls will be slightly less chewy and a bit more tender. For a dairy-free version, use oat milk and vegan butter—just know the texture will be slightly different. I’ve tried it with coconut oil instead of butter, and honestly, the flavor wasn’t as rich. Stick with butter if you can.
When it comes to honey, I’ve found that local honey adds a subtle floral note that’s lovely. But any good-quality honey will work. Just avoid the stuff that’s been sitting in your pantry for three years—it crystallizes and won’t incorporate as smoothly.
Equipment Needed
You don’t need a lot of fancy equipment to make these rolls, which is part of why I love this recipe. Here’s what you’ll need:
- Stand mixer with dough hook – While you can knead by hand, a stand mixer makes this process so much easier. I use my KitchenAid Artisan, and it handles the dough beautifully. If you don’t have one, a large bowl and a wooden spoon will work—you’ll just need to knead for about 12 minutes by hand.
- 9×13-inch baking pan – Glass or metal both work. I prefer a metal pan because it conducts heat more evenly, but glass is fine too. Just reduce the oven temperature by 25°F if using glass.
- Instant-read thermometer – Not strictly necessary, but it takes the guesswork out of checking water temperature and dough doneness. I’ve ruined plenty of batches by killing the yeast with water that was too hot.
- Pastry brush – For that gorgeous honey butter glaze. A silicone brush is easier to clean, but a natural bristle brush works just fine.
- Plastic wrap or a clean kitchen towel – For covering the dough while it rises.
- Rolling pin – Optional, but helpful if you want perfectly uniform rolls.
Budget-friendly alternatives: No stand mixer? No problem. A large bowl and a sturdy spatula will work. You can also use a food processor with a dough blade, but be careful not to overwork the dough. I once used a hand mixer with dough hooks, and it worked surprisingly well—just took a little longer.
Maintenance tip: If you’re using a stand mixer, wipe the dough hook with a bit of oil after cleaning to prevent rust. And please, for the love of all things baked, don’t put your wooden spoons in the dishwasher. Hand wash them and let them air dry.
Preparation Method
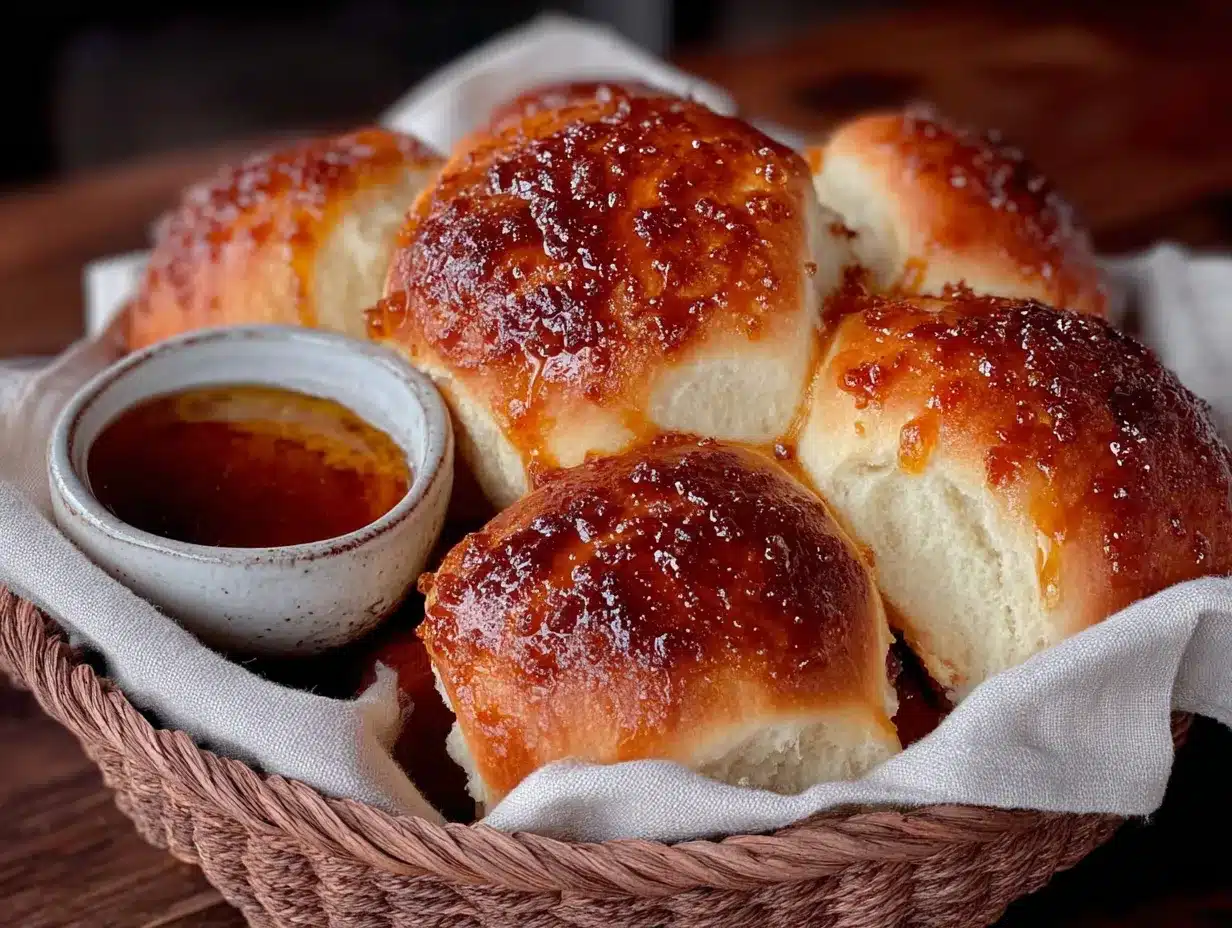
Let me walk you through this step by step. I’ve made these rolls enough times to know exactly where things can go wrong, so I’ll point out the pitfalls along the way.
- Make the tangzhong starter. In a small saucepan, whisk together 2 tablespoons of bread flour and ¼ cup of water. Cook over medium heat, stirring constantly, until it forms a thick paste—about 2 minutes. It should look like glue. Honestly, it looks weird, but trust the process. Let it cool to room temperature while you prepare the rest.
- Proof the yeast. In the bowl of your stand mixer, combine the warm milk (about 110°F), 1 tablespoon of the honey, and the sugar. Sprinkle the yeast on top and let it sit for 5-7 minutes until it’s foamy. If it doesn’t foam, your yeast is dead. Don’t panic—just start over with fresh yeast. I’ve learned this lesson the hard way, and it’s better to know now than after you’ve mixed everything together.
- Mix the dough. Add the cooled tangzhong, the remaining honey, the egg, and the softened butter to the yeast mixture. Add the bread flour and salt. Mix on low speed with the dough hook until the flour is incorporated—about 2 minutes. The dough will look shaggy and messy. That’s normal.
- Knead the dough. Increase the speed to medium-low and knead for 8-10 minutes. The dough should pull away from the sides of the bowl and become smooth and elastic. If it’s too sticky, add flour one tablespoon at a time. Too dry, add milk one tablespoon at a time. You’re looking for a dough that’s soft and slightly tacky but not sticky. I always do the windowpane test—take a small piece of dough and stretch it between your fingers. If it stretches thin enough to see light through without tearing, you’re done.
- First rise. Shape the dough into a ball and place it in a lightly oiled bowl. Cover with plastic wrap or a clean kitchen towel and let it rise in a warm place for 1 to 1.5 hours, until doubled in size. I usually put it in my oven with the light on—it stays around 80°F, which is perfect. If your kitchen is cold, this could take closer to 2 hours. Don’t rush it.
- Shape the rolls. Punch down the dough to release the air. Turn it out onto a lightly floured surface. Divide the dough into 12 equal pieces—I use a kitchen scale for accuracy, but you can eyeball it. Each piece should be about 60-65 grams. Shape each piece into a smooth ball by pulling the edges into the center and pinching the seam at the bottom. Place them in a greased 9×13-inch baking pan, spacing them evenly. They should be touching but not squished.
- Second rise. Cover the pan with plastic wrap and let the rolls rise for 30-45 minutes, until they’ve puffed up and are touching each other. This is when the magic happens. Don’t skip this step—the second rise is what gives you those soft, pillowy rolls.
- Bake. Preheat your oven to 350°F (175°C). Bake the rolls for 20-25 minutes, until they’re golden brown on top and sound hollow when tapped. If the tops are browning too quickly, tent them with foil halfway through. My oven runs hot, so I usually check at 18 minutes.
- Glaze. While the rolls are baking, make the honey butter glaze. Melt the 4 tablespoons of butter and whisk in the 3 tablespoons of honey. As soon as the rolls come out of the oven, brush the glaze generously over the tops. Sprinkle with flaky sea salt if you’re using it. Let them cool in the pan for 5 minutes before serving.
Sensory cues: The dough should feel soft and pillowy, like a baby’s cheek, before baking. When you tap the baked rolls, they should sound hollow—that’s how you know they’re done. The smell of honey and butter filling your kitchen is the best indicator that you’ve done something right.
Cooking Tips & Techniques
I’ve made these rolls at least twenty times, and I’ve learned a few things the hard way. Here are the tips that make the difference between good rolls and unforgettable ones.
Don’t skip the tangzhong. I know it seems like an extra step, but it’s the reason these rolls stay soft for days. The cooked flour paste locks in moisture, so your rolls don’t dry out by the next morning. I once skipped it because I was in a hurry, and the rolls were noticeably denser and drier by day two.
Temperature matters more than you think. Your milk should be warm, not hot. If it’s above 120°F, it will kill the yeast. If it’s below 100°F, the yeast will be sluggish. I use my instant-read thermometer every time. It’s not obsessive—it’s just smart baking.
Butter temperature is crucial. The butter needs to be softened, not melted. Melted butter will make the dough greasy and hard to knead. I take mine out of the fridge an hour before I start baking. If I forget, I microwave it in 5-second bursts until it’s soft but not liquid.
Don’t over-knead. I used to think more kneading meant better bread. Not true. Over-kneaded dough becomes tough and dense. Stop as soon as the dough passes the windowpane test. If you see the dough starting to tear easily, you’ve gone too far.
The second rise is non-negotiable. I’ve had days where I was rushing and let the second rise go for only 20 minutes. The rolls were still good, but they were denser and didn’t have that signature softness. Give them the full 45 minutes. Your patience will be rewarded.
Brush the glaze while the rolls are hot. This is the most important tip. If you wait until they’ve cooled, the glaze won’t soak in as well. Brush it on the moment they come out of the oven, and you’ll get that beautiful glossy finish and honey-butter flavor in every bite.
Variations & Adaptations
These rolls are incredibly versatile, and I’ve tried several variations over the years. Here are some of my favorites:
- Garlic Herb Rolls : Add 2 minced garlic cloves and 1 tablespoon of mixed dried herbs (rosemary, thyme, oregano) to the dough. Brush with garlic herb butter instead of honey butter. Perfect for serving with pasta or roasted chicken.
- Cinnamon Honey Rolls : After the first rise, roll the dough out into a rectangle, spread with softened butter, and sprinkle with cinnamon sugar. Roll it up, slice, and bake in a round pan. Drizzle with honey butter after baking. These are dangerous—I’ve eaten four in one sitting.
- Whole Wheat Version : Substitute half the bread flour with whole wheat flour. Add an extra tablespoon of honey to balance the bitterness of whole wheat. The rolls will be denser but still delicious.
- Vegan Adaptation : Use oat milk instead of whole milk, vegan butter instead of regular butter, and a flax egg (1 tablespoon ground flaxseed + 3 tablespoons water) instead of the egg. The texture will be slightly different, but I’ve tested this, and it works surprisingly well.
- Make-Ahead Freezer Rolls : After shaping the rolls and placing them in the pan, cover tightly with plastic wrap and freeze. On Thanksgiving morning, take them out, let them thaw and rise in the pan for 3-4 hours, then bake as directed. This is my go-to for holiday hosting.
I once made a batch with orange zest and a splash of orange juice in the glaze. It was an experiment born from having an orange that was about to go bad, and honestly, it was incredible. The citrus cut through the richness of the butter perfectly. If you’re feeling adventurous, try it.
Serving & Storage Suggestions
These rolls are best served warm, straight from the oven, with the honey butter glaze still glistening. I like to arrange them in a bread basket lined with a clean kitchen towel to keep them warm. They’re perfect alongside roasted turkey, creamy mashed potatoes, and green bean casserole.
For a Thanksgiving spread, I also love serving them with a side of extra honey butter for spreading. Just mix equal parts softened butter and honey, and let people slather it on themselves. It’s a small touch that feels special.
Storage: Store leftover rolls in an airtight container at room temperature for up to 3 days. The tangzhong method keeps them soft, but they’re best within the first 24 hours. To refresh them, wrap in foil and warm in a 300°F oven for 5-7 minutes. Do not microwave—they’ll turn rubbery.
Freezing: Baked rolls freeze beautifully. Let them cool completely, then wrap tightly in plastic wrap and foil. Freeze for up to 3 months. To reheat, thaw overnight in the fridge, then warm in a 300°F oven for 10 minutes. Brush with a little extra honey butter before serving to bring back that fresh-baked flavor.
One thing I’ve noticed is that the flavors actually develop overnight. The honey butter soaks into the rolls, and by the next day, they’re even more flavorful. So don’t be afraid to make them a day ahead—just reheat before serving.
Nutritional Information & Benefits
Let’s be real—these are butter rolls, not health food. But here’s a rough estimate per roll (based on 12 servings):
- Calories: 280
- Fat: 12g
- Carbohydrates: 38g
- Protein: 6g
- Sugar: 10g
- Fiber: 1g
Health benefits: Honey contains antioxidants and has antibacterial properties. It’s also a natural energy source, which is why these rolls are perfect for a long Thanksgiving meal. The whole milk provides calcium and vitamin D, while the eggs add protein and B vitamins. Is it a superfood? No. But it’s comfort food made with real ingredients, and there’s something to be said for that.
Dietary considerations: This recipe contains gluten, dairy, and eggs. For a gluten-free version, use a good-quality gluten-free bread flour blend. I’ve tested this with Cup4Cup, and it worked reasonably well. For a dairy-free version, see the variation above.
Allergen note: If you’re serving guests with allergies, it’s always best to make a separate batch or clearly label these rolls. I learned this the hard way at a potluck when someone with a dairy allergy grabbed one without asking. Nobody was hurt, but it was an awkward situation.
FAQs
Can I make these rolls without a stand mixer?
Yes! Mix the dough with a wooden spoon until it comes together, then turn it out onto a floured surface and knead by hand for 10-12 minutes. It’s a great arm workout, and honestly, there’s something meditative about hand-kneading dough.
Why didn’t my rolls rise?
There are three common culprits: your yeast was dead (did it foam in the milk?), your milk was too hot and killed the yeast, or your kitchen was too cold. For cold kitchens, try placing the dough in the oven with just the light on. It creates a warm, draft-free environment.
Can I use all-purpose flour instead of bread flour?
You can, but the rolls will be slightly less chewy and a bit more tender. Bread flour has more protein, which creates more gluten and gives the rolls their signature structure. If you’re using all-purpose, you might need a little less flour since it absorbs liquid differently.
How do I get that beautiful golden-brown color on top?
The honey butter glaze is what gives the rolls that gorgeous color. Brush it on generously while the rolls are still hot. If you want an even deeper color, you can brush the rolls with an egg wash (1 egg beaten with 1 tablespoon water) before baking, then add the honey butter after.
Can I double this recipe?
Absolutely. I’ve made a double batch for large Thanksgiving gatherings. Just make sure your stand mixer can handle the extra dough—my 5-quart KitchenAid handles it fine, but if you have a smaller mixer, you might need to knead in batches. The baking time stays the same for a single pan, but if you’re baking two pans at once, rotate them halfway through for even browning.
Conclusion
These honey butter dinner rolls have become my signature Thanksgiving contribution, and for good reason. They’re soft, sweet, buttery, and they make everyone at the table feel special. There’s something about pulling apart a warm, homemade roll that just feels like celebration.
I love that this recipe is forgiving enough for beginners but impressive enough for seasoned bakers. Whether you’re hosting your first Thanksgiving or your fiftieth, these rolls will earn you compliments. And honestly, the best part is watching someone take that first bite and seeing their eyes widen in surprise. That never gets old.
So go ahead—give these a try. Customize them with your favorite herbs or spices, make them ahead, double the batch, whatever feels right. And when you do, I’d love to hear how they turned out. Drop a comment below, share your photos, or tell me about the variations you tried. Happy Thanksgiving, and happy baking!
Pin This Recipe!
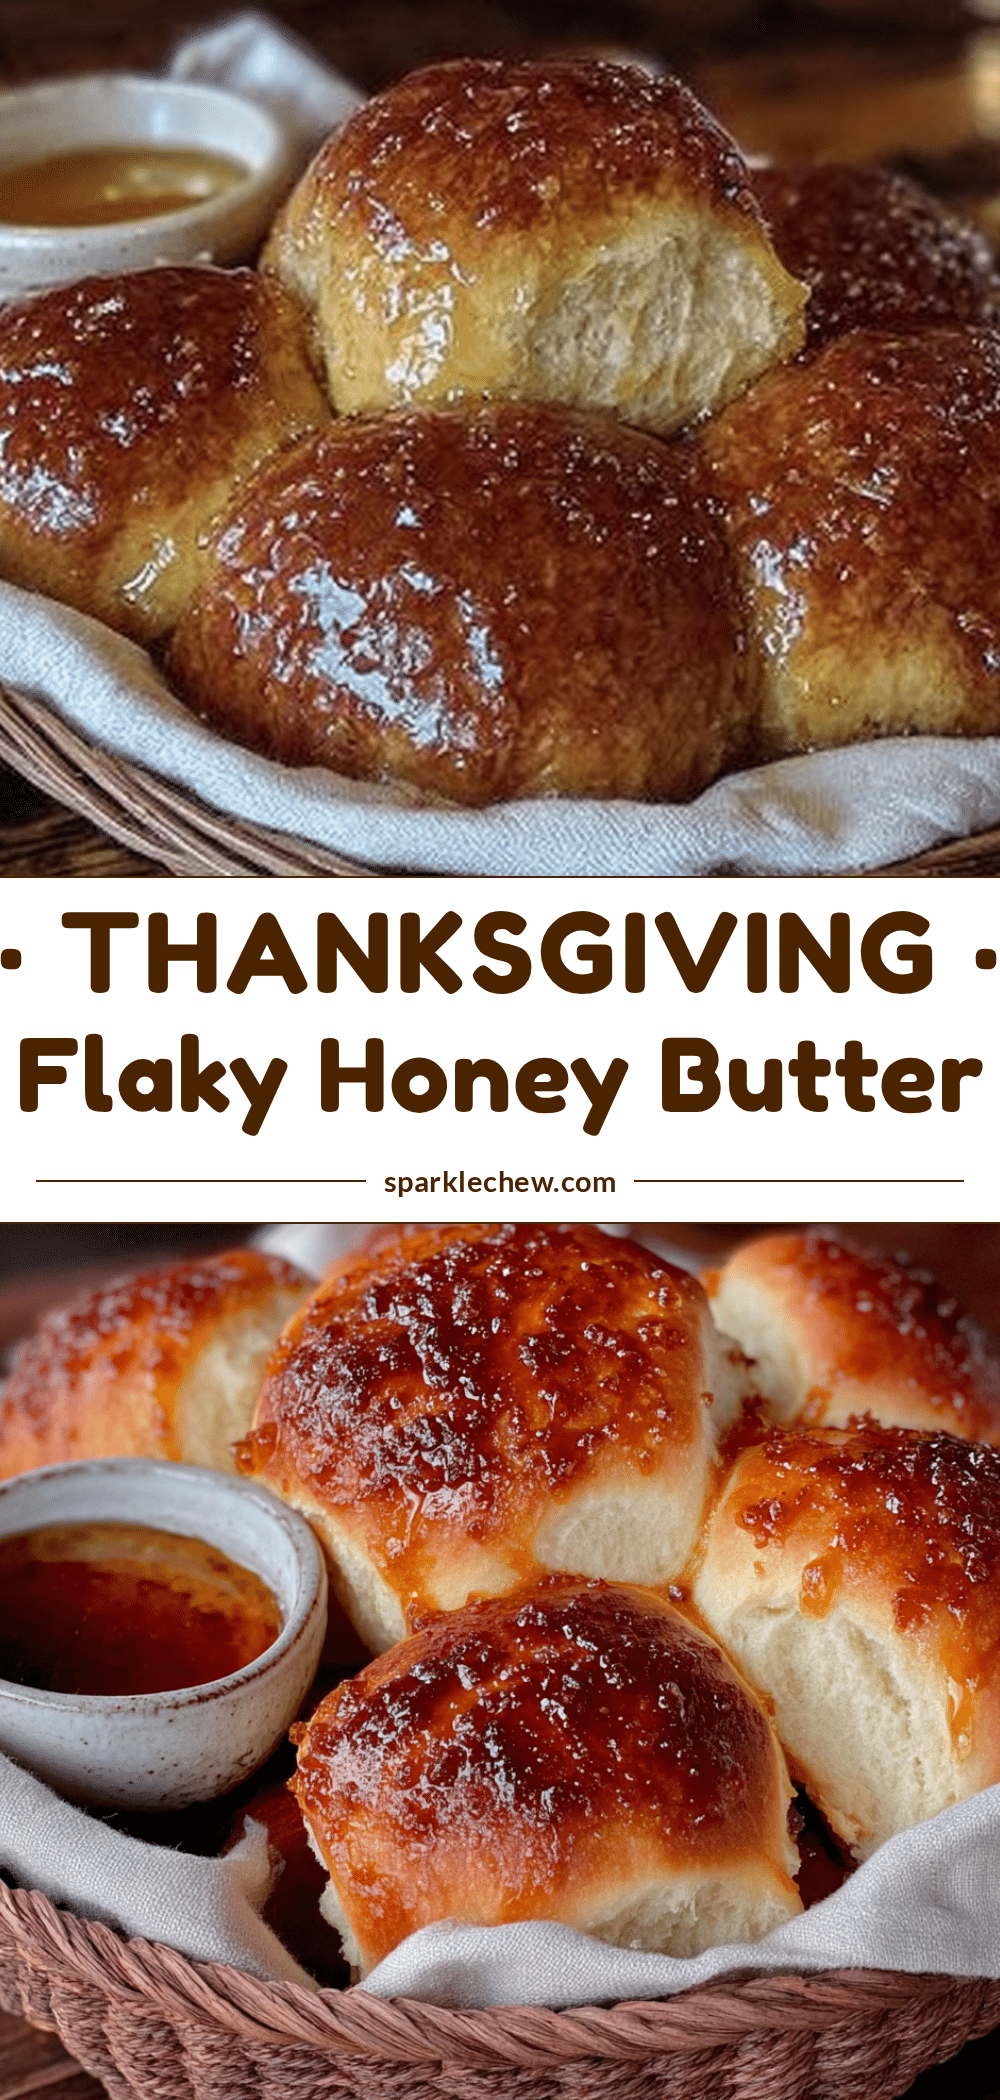
Perfect Honey Butter Dinner Rolls: Best Thanksgiving Recipe
These soft, pillowy honey butter dinner rolls are made with a tangzhong method for extra tenderness and a double honey butter glaze for irresistible flavor. Perfect for Thanksgiving or any special occasion.
- Prep Time: 30 minutes
- Cook Time: 25 minutes
- Total Time: 2 hours 40 minutes
- Yield: 12 servings 1x
- Category: Side Dish
- Cuisine: American
Ingredients
- 3 cups (360g) bread flour
- 1 cup (240ml) whole milk, warm (about 110°F)
- 6 tablespoons (85g) unsalted butter, softened
- ¼ cup (85g) honey
- 2 tablespoons (25g) granulated sugar
- 2 ¼ teaspoons (one packet) active dry yeast
- 1 large egg, room temperature
- 1 ½ teaspoons (9g) fine sea salt
- 2 tablespoons bread flour (for tangzhong)
- ¼ cup (60ml) water (for tangzhong)
- 4 tablespoons (56g) unsalted butter, melted (for glaze)
- 3 tablespoons (63g) honey (for glaze)
- Flaky sea salt, for sprinkling (optional)
Instructions
- Make the tangzhong starter: In a small saucepan, whisk together 2 tablespoons of bread flour and ¼ cup of water. Cook over medium heat, stirring constantly, until it forms a thick paste—about 2 minutes. Let cool to room temperature.
- Proof the yeast: In the bowl of a stand mixer, combine the warm milk, 1 tablespoon of the honey, and the sugar. Sprinkle the yeast on top and let it sit for 5-7 minutes until foamy.
- Mix the dough: Add the cooled tangzhong, remaining honey, egg, and softened butter to the yeast mixture. Add the bread flour and salt. Mix on low speed with the dough hook until the flour is incorporated—about 2 minutes.
- Knead the dough: Increase speed to medium-low and knead for 8-10 minutes until smooth and elastic. The dough should pass the windowpane test.
- First rise: Shape the dough into a ball and place in a lightly oiled bowl. Cover and let rise in a warm place for 1 to 1.5 hours until doubled in size.
- Shape the rolls: Punch down the dough. Divide into 12 equal pieces (about 60-65g each). Shape each into a smooth ball and place in a greased 9×13-inch baking pan.
- Second rise: Cover the pan and let rise for 30-45 minutes until puffed and touching.
- Bake: Preheat oven to 350°F (175°C). Bake for 20-25 minutes until golden brown and hollow when tapped. Tent with foil if browning too quickly.
- Glaze: While baking, make the glaze by melting 4 tablespoons butter and whisking in 3 tablespoons honey. Brush generously over hot rolls. Sprinkle with flaky sea salt if desired. Let cool in pan for 5 minutes before serving.
Notes
Don’t skip the tangzhong—it keeps rolls soft for days. Brush glaze while rolls are hot for best absorption. For make-ahead: shape rolls, freeze in pan, then thaw and rise for 3-4 hours before baking.
Nutrition
- Serving Size: 1 roll
- Calories: 280
- Sugar: 10
- Sodium: 290
- Fat: 12
- Saturated Fat: 7
- Carbohydrates: 38
- Fiber: 1
- Protein: 6
Keywords: honey butter dinner rolls, Thanksgiving rolls, soft dinner rolls, tangzhong rolls, homemade rolls


