Love this? Save it for later!
Share the inspiration with your friends
It was 10:47 PM on a random Tuesday in October, and I had a very specific craving for something warm, spiced, and bread-like. I didn’t have the energy for a full production, you know? The kind of recipe that takes over your kitchen for an hour and leaves every single bowl dirty. I wanted the payoff without the chaos. I had two sad, spotty bananas on the counter and a half-empty can of pumpkin puree in the fridge from a weekend project that never happened. That’s when the idea just arrived — what if I threw it all in one bowl, sweetened it with maple syrup, and called it a night?
Honestly, I wasn’t expecting much. I was tired, my kitchen was a mess from the day’s chaos, and I was operating on pure stubbornness and a deep love for carbs. But something about the late hour loosened the usual rules. I stopped overthinking. I stopped measuring perfectly. I just dumped, stirred, and hoped for the best. And let me tell you — that loaf that came out of the oven around midnight? It was the best accidental recipe I’ve made in years. The maple syrup did something magical with the pumpkin, and the bananas made it so moist it almost felt illegal.
Maybe you’ve been there — standing in your kitchen at a ridiculous hour, wanting something homemade but not having the patience for a complicated project. This Easy Maple Pumpkin Banana Bread (One Bowl) is for exactly those moments. It’s the recipe that proves you don’t need a dozen bowls, a stand mixer, or a perfectly planned afternoon to make something genuinely delicious. It’s forgiving, it’s fast, and it tastes like fall in the best possible way. I’ve made it at least eight times since that first late-night experiment, and it never gets old.
Why You’ll Love This Recipe
Let’s be real for a second — there are a lot of banana bread recipes out there. And a lot of pumpkin bread recipes too. But this one? It’s different. It’s the kind of recipe that makes you wonder why you ever bothered with the fussy versions. Here’s why this one-bowl wonder will become your new go-to:
- Quick & Easy: From start to oven in under 10 minutes. No joke. One bowl, a spatula, and you’re done mixing. Perfect for those “I need baked goods NOW” emergencies.
- Simple Ingredients: You probably have everything already. Bananas, pumpkin puree, maple syrup, flour, eggs, butter — all pantry staples. No weird specialty items.
- Perfect for Fall Baking: This bread screams autumn without being overly complicated. It’s great for Thanksgiving brunch, cozy Sunday mornings, or packing in lunchboxes.
- Crowd-Pleaser: I’ve brought this to work, to family dinners, and to neighborhood gatherings. It disappears every single time. Kids love it, adults love it, even my picky uncle loved it.
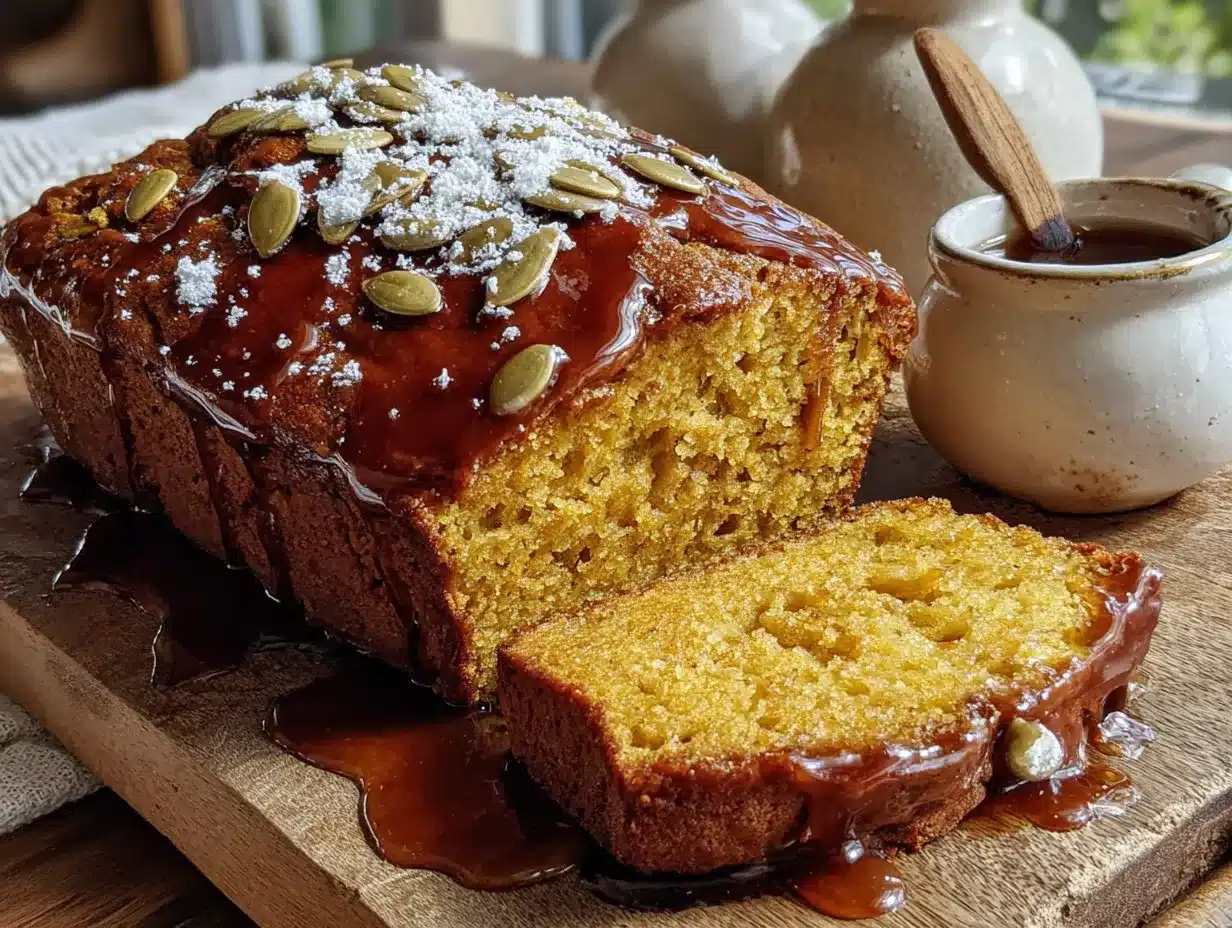
- Unbelievably Delicious: The texture is what gets people. It’s incredibly moist from the bananas and pumpkin, with a tender crumb that practically melts. The maple flavor is subtle but present — it’s not overpowering, just warm and sweet.
What makes this recipe different from the rest is the combination. Most pumpkin breads are dry. Most banana breads are boring. This one uses both to create something that’s perfectly balanced — the bananas keep it moist, the pumpkin adds richness, and the maple syrup ties it all together with a cozy sweetness. It’s not just another version of banana bread. It’s the best version I’ve ever made, and I’ve made a lot of banana bread in my life.
This recipe is the kind that makes you close your eyes after the first bite. It’s comfort food reimagined — faster, simpler, but with the same soul-soothing satisfaction. Perfect for impressing guests without stress, or turning a simple Tuesday night into something memorable.
What Ingredients You Will Need
This recipe uses simple, wholesome ingredients to deliver bold flavor and satisfying texture without the fuss. Most of these are pantry staples, so you can probably get started right now without a trip to the store.
For the Bread
- 3 ripe bananas, mashed (the spotter the better — they add natural sweetness and moisture)
- 1 cup pumpkin puree (not pumpkin pie filling — make sure it’s 100% pure pumpkin)
- 1/2 cup maple syrup (use the real stuff, not pancake syrup — it makes a difference in flavor)
- 1/3 cup melted butter (unsalted, cooled slightly — you can also use coconut oil for dairy-free)
- 2 large eggs (room temperature if you remember, but cold works too in a pinch)
- 1 teaspoon vanilla extract (adds warmth and depth)
- 1 3/4 cups all-purpose flour (spoon and level for accuracy — don’t scoop directly from the bag)
- 1 teaspoon baking soda (make sure it’s fresh for proper rise)
- 1/2 teaspoon baking powder (gives it a little extra lift)
- 1/2 teaspoon salt (balances the sweetness)
- 2 teaspoons pumpkin pie spice (or make your own with cinnamon, nutmeg, ginger, and cloves)
- 1 teaspoon cinnamon (because you can never have too much cinnamon)
Optional Add-Ins
- 1/2 cup chopped walnuts or pecans (adds a nice crunch — toast them first for extra flavor)
- 1/3 cup chocolate chips (dark chocolate or semi-sweet work beautifully with the pumpkin and maple)
- 2 tablespoons maple sugar for sprinkling on top (creates a lovely crunchy crust)
I personally recommend using King Arthur Flour for the best texture — it’s consistently reliable and gives a tender crumb every time. For the pumpkin puree, Libby’s is my go-to because it’s thick and not watery. If you’re using a store brand, just make sure to drain any excess liquid before adding it to the bowl. Nobody wants soggy bread!
For the maple syrup, I love Maple Grove Farms or any Grade A dark amber syrup. The darker the syrup, the more intense the maple flavor will be. And trust me, you want that maple flavor to shine through.
Equipment Needed
One of the best things about this recipe is how little equipment you need. Here’s what you’ll need:
- One large mixing bowl — that’s it for the mixing. Any large bowl works, but I prefer a wide, shallow one for easier stirring.
- A spatula or wooden spoon — I use a silicone spatula because it gets every last bit of batter. A wooden spoon works fine too.
- A 9×5-inch loaf pan — standard size works perfectly. If you only have an 8×4-inch pan, just bake a few minutes longer.
- Parchment paper — not strictly necessary, but it makes lifting the bread out so much easier. I always line my pan with a sling of parchment.
- Measuring cups and spoons — for accuracy. I’ve learned the hard way that eyeballing baking soda leads to sad, flat bread.
- A fork or potato masher — for mashing those bananas. A fork works great, but a masher is faster.
- Cooling rack — essential for even cooling. If you don’t have one, you can use the oven grate (turned off, obviously).
If you don’t have a loaf pan, you can actually bake this in a 9×9-inch square pan for about 25-30 minutes — it’ll be more like cake, but equally delicious. I’ve also made muffins with this batter (bake for 15-18 minutes at 350°F) and they turned out fantastic.
One tip: invest in a good quality loaf pan. I use a USA Pan because it’s heavy-duty and distributes heat evenly. Cheap thin pans can lead to burnt edges and undercooked centers. But honestly, any pan will work — just keep an eye on your bread and adjust baking time as needed.
Preparation Method
Alright, let’s get to it. This is the easiest bread you’ll ever make, I promise. Here’s how it goes:
- Preheat your oven to 350°F (175°C). Position the rack in the center of the oven. While it’s heating, line your loaf pan with parchment paper, leaving some overhang on the long sides — this creates handles for easy lifting later. If you don’t have parchment, just grease the pan well with butter or non-stick spray.
- Mash the bananas in your large mixing bowl. Use a fork or potato masher and mash until mostly smooth with a few small lumps remaining. You want some texture, not baby food. This should take about 30 seconds. The bananas should be very ripe — brown spots are your friend here.
- Add the wet ingredients. To the mashed bananas, add the pumpkin puree, maple syrup, melted butter, eggs, and vanilla extract. Stir everything together with your spatula until well combined. Don’t overmix — just until it looks uniform. The batter will be quite wet at this point, and that’s exactly what you want.
- Add the dry ingredients. Sprinkle the flour, baking soda, baking powder, salt, pumpkin pie spice, and cinnamon over the wet mixture. Here’s the trick — stir gently, just until the flour disappears. A few streaks of flour are fine. Overmixing at this stage will make your bread tough and dense. We want tender, not tough.
- Fold in any add-ins. If you’re using nuts, chocolate chips, or both, gently fold them in with a few strokes. Don’t overmix. Just distribute them evenly through the batter.
- Pour the batter into the prepared loaf pan. Use your spatula to scrape every last bit out of the bowl — waste not, want not. Spread the batter evenly in the pan. If you’re using the maple sugar topping, sprinkle it generously over the top now. It creates a beautiful crackly crust.
- Bake for 50-60 minutes. Start checking at 50 minutes. The bread is done when a toothpick inserted into the center comes out clean or with just a few moist crumbs. The top should be golden brown and spring back when lightly touched. If the top is browning too quickly but the center isn’t done yet, tent loosely with foil for the last 10-15 minutes.
- Cool in the pan for 10 minutes. This is important — don’t skip it. The bread needs time to set. After 10 minutes, lift it out using the parchment handles and transfer to a cooling rack. Let it cool completely before slicing, if you can wait that long. I know it’s hard — the smell is incredible — but slicing too early will give you crumbly, messy slices.
A few notes from my many trials: If your bananas are on the smaller side, use 4 instead of 3. If your pumpkin puree seems watery, pat it dry with a paper towel before adding. And if you’re at high altitude, add an extra tablespoon of flour and reduce the baking soda to 3/4 teaspoon. I learned that one the hard way after a few sunken loaves.
The batter should be thick but scoopable — like a very thick pancake batter. If it seems too thin, add a tablespoon of flour. If too thick, add a splash of milk. But honestly, this recipe is pretty forgiving. I’ve made it with slightly different proportions and it always turns out great.
Cooking Tips & Techniques
After making this bread more times than I care to count, I’ve picked up a few tricks that make a real difference. Here are my best tips:
Don’t overmix the batter. This is the number one mistake people make with quick breads. Mix until the flour just disappears — a few lumps are totally fine. Overmixing develops gluten, which makes the bread tough and rubbery. You want tender, not tough. I learned this after making a brick-like loaf that could have been used as a doorstop.
Use room temperature ingredients. I know, I know, nobody plans ahead. But if you can, let your eggs and butter sit out for 20 minutes before starting. Room temperature ingredients emulsify better, creating a smoother batter and more even texture. If you’re in a hurry, you can warm your eggs in a bowl of warm water for 5 minutes.
Check for doneness the right way. A toothpick test is reliable, but also look for visual cues. The bread should pull away slightly from the edges of the pan. The top should be golden brown and feel springy when you press it gently. If it feels squishy or leaves an indent, it needs more time.
Let it cool completely. I know the temptation is strong to cut into it while it’s still warm. But trust me — letting it cool completely on a rack (at least an hour) allows the crumb to set properly. Warm bread is gummy and falls apart. Cold bread slices cleanly and holds its shape. If you absolutely must have warm bread, pop individual slices in the microwave for 10 seconds after it’s fully cooled.
Toast it for extra deliciousness. This bread is amazing fresh, but it’s absolutely transcendent toasted. A slice in the toaster or under the broiler for a minute brings out the maple flavor and creates a crispy exterior. Slather on some butter and you’ve got heaven.
One more thing — if your bananas aren’t ripe enough, you can speed-ripen them in the oven. Place unpeeled bananas on a baking sheet at 300°F for 15-20 minutes until they turn black and soft. Let them cool, then use as directed. It’s a game changer when you’re craving banana bread but your bananas are still green.
Variations & Adaptations
This recipe is incredibly versatile. Here are some of my favorite variations:
Gluten-Free Version: Substitute the all-purpose flour with a good 1:1 gluten-free flour blend. I’ve used King Arthur Measure for Measure and it works perfectly. Add an extra tablespoon of milk or water if the batter seems too thick. The texture will be slightly more tender, but still delicious.
Dairy-Free Version: Swap the melted butter for coconut oil or a plant-based butter. I’ve used Miyoko’s vegan butter with great results. The coconut oil adds a subtle coconut flavor that actually pairs nicely with the pumpkin and maple.
Vegan Version: Use flax eggs (1 tablespoon ground flaxseed + 3 tablespoons water per egg, let sit for 5 minutes) and coconut oil instead of butter. The bread will be slightly denser but still incredibly moist and flavorful. I’ve made this for vegan friends and they couldn’t tell the difference.
Low-Sugar Version: Reduce the maple syrup to 1/4 cup and add an extra ripe banana or 1/4 cup unsweetened applesauce. The bread won’t be as sweet, but the pumpkin and banana provide enough natural sweetness to satisfy. You can also use a monk fruit sweetener blend that measures like maple syrup.
Spiced-Up Version: Add 1/4 teaspoon of cardamom and 1/4 teaspoon of ground ginger for an extra warming spice profile. I tried this on a whim one chilly November morning and it was incredible — like chai tea in bread form.
Chocolate Lover’s Version: Fold in 1/2 cup of dark chocolate chips and drizzle melted chocolate over the cooled loaf. The chocolate and pumpkin combination is surprisingly good — it’s like a healthier version of chocolate cake.
Muffin Version: Divide the batter into a 12-cup muffin tin lined with paper cups. Bake at 350°F for 15-18 minutes. Perfect for grab-and-go breakfasts or lunchbox treats. I make these all the time for my neighbor’s kids and they disappear instantly.
Serving & Storage Suggestions
This bread is delicious in so many ways. Here’s how to serve and store it:
Serving Suggestions: Serve at room temperature or slightly warm. Toast slices and spread with butter, cream cheese, or apple butter for an extra treat. For a decadent breakfast, top with a dollop of Greek yogurt and a drizzle of maple syrup. It’s also amazing with a scoop of vanilla ice cream for dessert — trust me on this one.
Perfect Pairings: This bread pairs beautifully with a hot cup of coffee, chai tea, or a spiced latte. For a fall brunch spread, serve it alongside easy pumpkin soup or a simple arugula salad with apple slices and candied pecans. It also works great as part of a Thanksgiving dessert table alongside classic apple crisp.
Storage Instructions: Store the bread wrapped tightly in plastic wrap or in an airtight container at room temperature for up to 4 days. The moisture from the bananas and pumpkin actually helps keep it fresh longer than regular banana bread. I’ve had slices still taste great on day 5.
Freezer Instructions: This bread freezes beautifully. Wrap the cooled loaf (or individual slices) tightly in plastic wrap, then in aluminum foil. Freeze for up to 3 months. To thaw, leave at room temperature for a few hours or microwave individual slices for 20-30 seconds. I always keep a loaf in the freezer for unexpected guests or lazy Sunday mornings.
Reheating Tips: For best results, toast slices in a toaster or under the broiler for 1-2 minutes. You can also warm slices in a 300°F oven for 5-7 minutes. The microwave works in a pinch, but it can make the bread slightly gummy, so use short bursts of 10-15 seconds.
Flavor Development: Here’s a secret — this bread actually tastes better on day 2. The flavors meld together overnight, and the texture becomes even more moist and tender. So if you can, make it a day ahead. I usually bake it in the evening and serve it the next morning — it’s always worth the wait.
Nutritional Information & Benefits
Here’s the nutritional breakdown per slice (based on 10 slices, without optional add-ins):
| Nutrient | Amount per Slice |
|---|---|
| Calories | 245 |
| Total Fat | 9g |
| Saturated Fat | 5g |
| Cholesterol | 45mg |
| Sodium | 280mg |
| Total Carbohydrates | 38g |
| Dietary Fiber | 3g |
| Sugars | 18g |
| Protein | 5g |
| Vitamin A | 80% DV |
| Vitamin C | 8% DV |
| Potassium | 300mg |
This bread is packed with nutrition from the pumpkin and bananas. Pumpkin is rich in vitamin A, which supports eye health and immune function. Bananas provide potassium, which helps regulate blood pressure and muscle function. The maple syrup offers antioxidants and minerals like zinc and manganese, though it’s still sugar, so enjoy in moderation.
For a healthier option, you can reduce the maple syrup to 1/3 cup or swap half the all-purpose flour for whole wheat flour. The bread will be slightly denser but still delicious and more fiber-rich. I’ve also made it with oat flour for a gluten-free option that adds extra fiber and protein.
This recipe is vegetarian-friendly and can easily be made vegan or dairy-free as mentioned in the variations section. It contains gluten, eggs, and dairy in the standard version, so adjust accordingly for allergies.
Frequently Asked Questions
Can I use frozen bananas?
Absolutely! Frozen bananas work great in this recipe. Thaw them completely first, then drain off any excess liquid before mashing. The texture might be slightly softer, but the flavor will be just as good. Frozen bananas are actually sweeter than fresh ones, so you might even get a more intense banana flavor.
Why did my bread sink in the middle?
A sunken center usually means the bread was underbaked or the oven temperature was too low. Make sure your oven is fully preheated to 350°F and bake until a toothpick comes out clean. Also, avoid opening the oven door during the first 40 minutes of baking — the sudden temperature change can cause the bread to collapse.
Can I make this without maple syrup?
Yes, you can substitute honey, agave nectar, or brown sugar mixed with a little water. If using honey, use the same amount (1/2 cup). For brown sugar, use 1/2 cup packed and add an extra 2 tablespoons of milk or water to maintain the moisture. The flavor will be different, but still delicious.
How do I know when my bananas are ripe enough?
The best bananas for this recipe are very ripe — mostly brown with some black spots. They should be soft to the touch and smell sweet. If your bananas are still yellow, you can speed-ripen them in the oven at 300°F for 15-20 minutes, or leave them in a paper bag with an apple overnight. Don’t use green bananas — they won’t provide enough sweetness or moisture.
Can I double this recipe?
Yes, this recipe doubles beautifully. Use two loaf pans and bake them side by side. You may need to rotate the pans halfway through baking for even browning. The baking time might be slightly longer — start checking at 55 minutes. You can also freeze one loaf for later, which is my favorite trick for busy weeks.
Conclusion
This Easy Maple Pumpkin Banana Bread (One Bowl) has become a staple in my kitchen for good reason. It’s the recipe I turn to when I want something homemade without the hassle. It’s the recipe I bring to gatherings and watch disappear in minutes. It’s the recipe that makes me feel like I’ve got my act together, even on the messiest of days.
I love how forgiving this recipe is — you can swap ingredients, adjust the sweetness, add whatever mix-ins you have on hand, and it still turns out perfectly. It’s the kind of recipe that builds confidence in the kitchen, because it’s so hard to mess up. And when you pull that golden loaf out of the oven and the smell fills your kitchen, you’ll feel like a baking genius.
I’d love to hear how yours turns out! Did you add chocolate chips? Try it with walnuts? Make it gluten-free? Drop a comment below and let me know. And if you’re looking for more easy baking recipes, check out my easy oatmeal raisin cookies or simple zucchini bread for more one-bowl magic.
Happy baking, friends. Go make a mess and enjoy every bite.
Pin This Recipe!
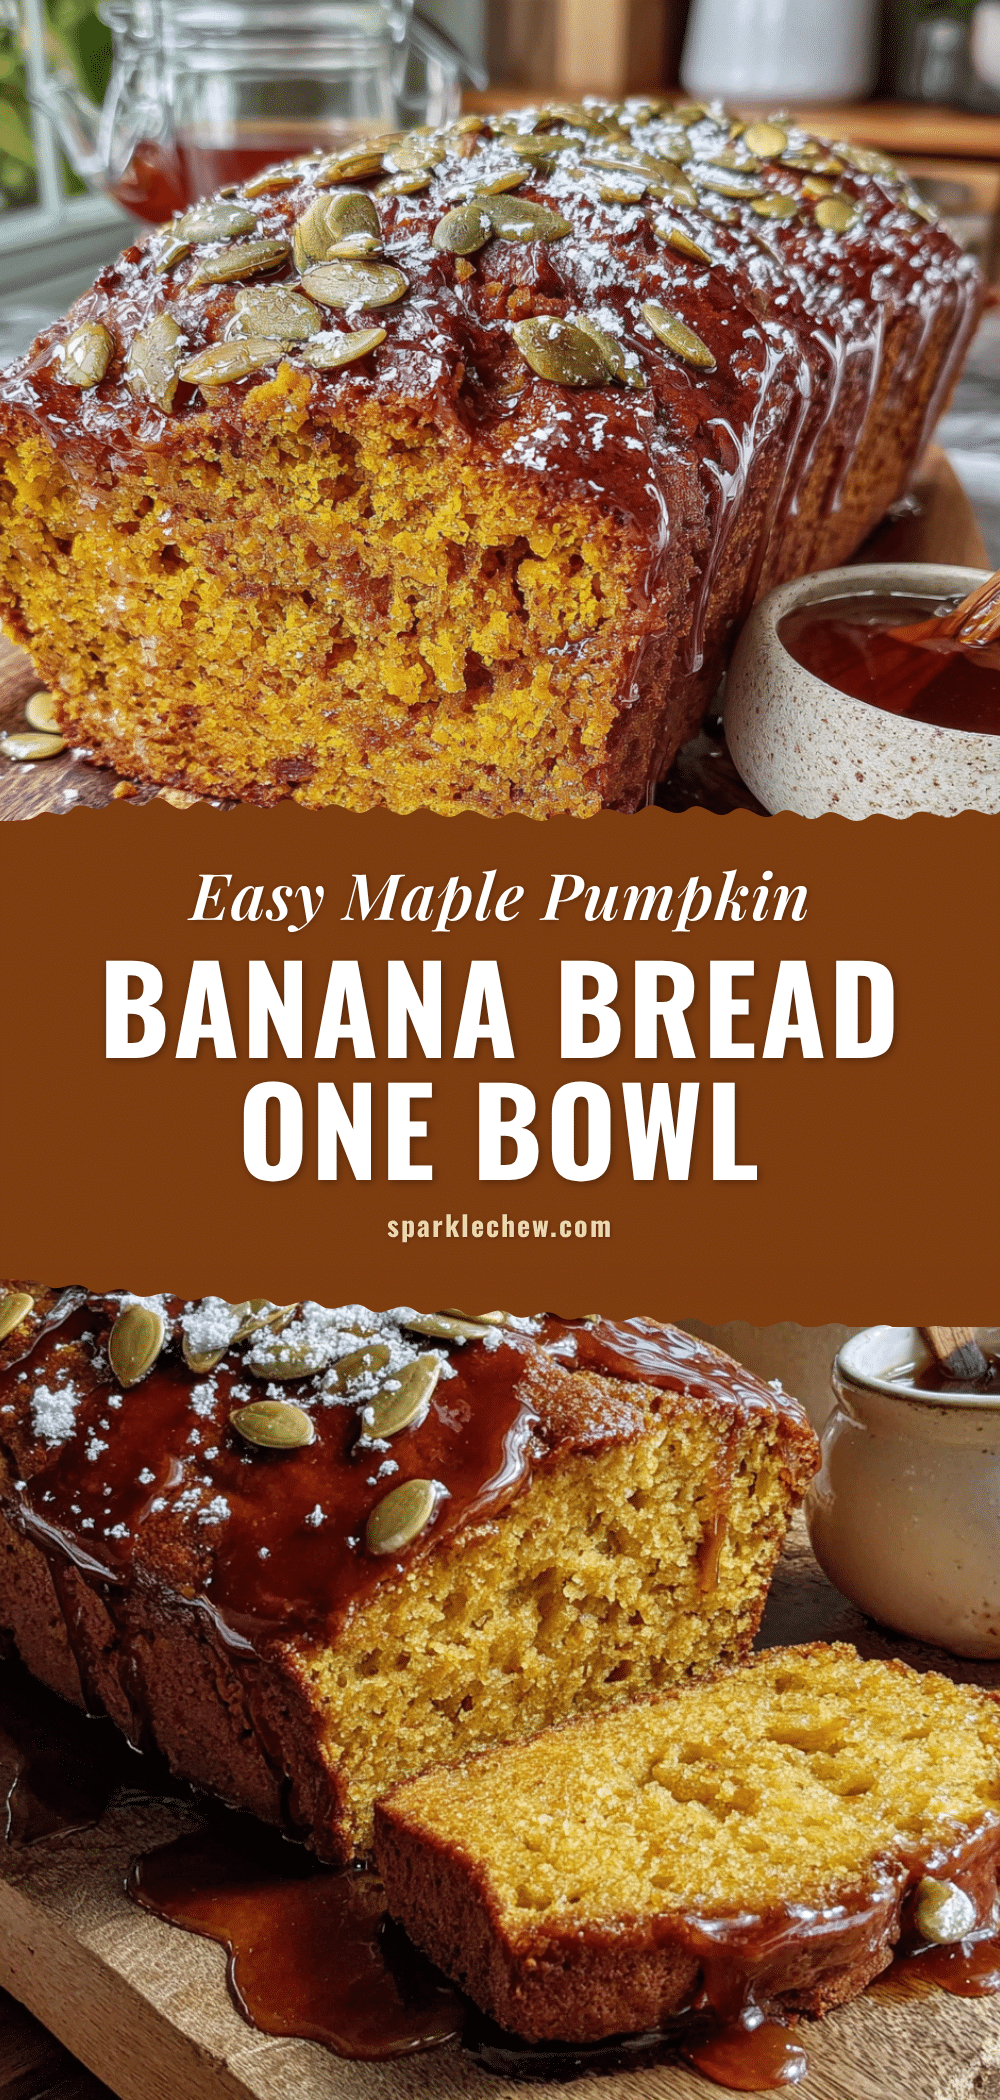
Easy Maple Pumpkin Banana Bread (One Bowl)
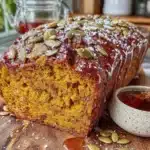
This one-bowl wonder combines ripe bananas, pumpkin puree, and maple syrup for an incredibly moist and flavorful quick bread. Perfect for fall baking, it comes together in under 10 minutes and is a guaranteed crowd-pleaser.
- Prep Time: 10 minutes
- Cook Time: 55 minutes
- Total Time: 1 hour 5 minutes
- Yield: 10 servings 1x
- Category: Quick Bread
- Cuisine: American
Ingredients
- 3 ripe bananas, mashed
- 1 cup pumpkin puree (100% pure pumpkin)
- 1/2 cup maple syrup (Grade A dark amber preferred)
- 1/3 cup unsalted butter, melted and cooled slightly
- 2 large eggs, room temperature preferred
- 1 teaspoon vanilla extract
- 1 3/4 cups all-purpose flour (spooned and leveled)
- 1 teaspoon baking soda
- 1/2 teaspoon baking powder
- 1/2 teaspoon salt
- 2 teaspoons pumpkin pie spice
- 1 teaspoon ground cinnamon
- 1/2 cup chopped walnuts or pecans (optional)
- 1/3 cup chocolate chips (optional)
- 2 tablespoons maple sugar for sprinkling (optional)
Instructions
- Preheat oven to 350°F (175°C). Line a 9×5-inch loaf pan with parchment paper, leaving overhang on long sides, or grease well.
- In a large mixing bowl, mash bananas with a fork or potato masher until mostly smooth with a few small lumps.
- Add pumpkin puree, maple syrup, melted butter, eggs, and vanilla extract. Stir with a spatula until well combined.
- Sprinkle flour, baking soda, baking powder, salt, pumpkin pie spice, and cinnamon over the wet mixture. Stir gently just until flour disappears; do not overmix.
- If using, fold in nuts and/or chocolate chips with a few strokes.
- Pour batter into prepared loaf pan and spread evenly. Sprinkle maple sugar on top if desired.
- Bake for 50-60 minutes, until a toothpick inserted in center comes out clean or with a few moist crumbs. If top browns too quickly, tent with foil for last 10-15 minutes.
- Cool in pan for 10 minutes, then lift out using parchment handles and transfer to a wire rack. Cool completely before slicing.
Notes
For best results, use very ripe bananas (brown spots). If pumpkin puree seems watery, pat dry with paper towel. For high altitude, add 1 extra tablespoon flour and reduce baking soda to 3/4 teaspoon. Bread tastes even better on day 2. Toast slices for extra deliciousness.
Nutrition
- Serving Size: 1 slice
- Calories: 245
- Sugar: 18
- Sodium: 280
- Fat: 9
- Saturated Fat: 5
- Carbohydrates: 38
- Fiber: 3
- Protein: 5
Keywords: pumpkin banana bread, maple pumpkin bread, one bowl banana bread, fall baking, easy quick bread