Love this? Save it for later!
Share the inspiration with your friends
My friend Marie asked why I couldn’t just roll the cake while it was still warm from the oven. I was mid-explanation about structural integrity and moisture content and the science of pumpkin cakes—when I stopped. I honestly had no good reason not to try it. I’d been so careful for years, waiting until the cake was completely cool, watching it crack every single time, thinking that was just how pumpkin rolls went. So I grabbed the kitchen towel, dusted it with powdered sugar, and flipped that warm cake onto it while Marie watched with that “I told you so” look already forming. And you know what? It rolled perfectly. No cracks. No crumbling. Just this beautiful spiral that made me feel like I’d been overcomplicating things for a decade. I mean, let’s be real—sometimes the people watching you cook have the best instincts. That was three Thanksgivings ago, and I haven’t cooled a pumpkin cake completely before rolling since. Maybe you’ve been there too, following some rule you heard once and never questioned. This recipe is what happens when you finally question it.
Why You’ll Love This Recipe
This pumpkin roll has become my most-requested dessert for fall gatherings, and for good reason. After testing this recipe more times than I care to admit (that first year, I brought pumpkin roll to every single event just to get feedback), I’ve nailed down the exact technique that works every single time.
- No Cracks Guaranteed : The warm-rolling method changes everything. You get a tight spiral without the stress.
- Simple Pantry Ingredients : You probably have most of this already—canned pumpkin, cream cheese, butter, and basic baking staples.
- Perfect for Fall Gatherings : Thanksgiving, Friendsgiving, Halloween parties, or just a cozy Sunday dessert.
- Crowd-Pleaser : I’ve served this to pumpkin skeptics who went back for seconds. The cream cheese filling balances the pumpkin perfectly.
- Make-Ahead Friendly : This actually tastes better after a day in the fridge. The filling sets up and the flavors meld together beautifully.
What makes this version different from the dozens of pumpkin roll recipes out there? It’s the combination of the warm-rolling technique and my specific spice blend. I spent months adjusting the ratio of cinnamon to ginger to nutmeg until the pumpkin flavor shone through without being overpowered. Plus, I use a slightly higher cream cheese to butter ratio in the filling, which gives it that tangy, creamy texture that doesn’t feel greasy. This isn’t just another pumpkin roll recipe—it’s the one that made my aunt, who’s been making pumpkin rolls since the 80s, ask for my recipe.
What Ingredients You Will Need
This recipe uses simple, wholesome ingredients to deliver that perfect pumpkin flavor and silky cream cheese filling. Most of these are fall baking staples you likely already have on hand.
For the Pumpkin Cake
- 3/4 cup all-purpose flour (100g) – Spoon and level for accuracy; too much flour makes the cake dense
- 1 teaspoon baking powder – Make sure it’s fresh for proper rise
- 1/2 teaspoon baking soda – Helps the cake brown and rise
- 1/2 teaspoon salt – Balances the sweetness
- 1 tablespoon pumpkin pie spice – I use McCormick brand; or make your own with 1 1/2 teaspoons cinnamon, 1/2 teaspoon ginger, 1/4 teaspoon nutmeg, 1/4 teaspoon cloves
- 1 teaspoon ground cinnamon – Adds extra warmth (adds depth to the spice profile)
- 3 large eggs, room temperature – Cold eggs don’t incorporate as smoothly
- 1 cup granulated sugar (200g) – White sugar gives the cake structure
- 2/3 cup canned pumpkin puree (160g) – Not pumpkin pie filling! Make sure it’s 100% pure pumpkin. I prefer Libby’s brand for consistent texture
- 1 teaspoon vanilla extract – Pure vanilla, not imitation
- Powdered sugar, for dusting the towel – You’ll need about 1/4 cup
For the Cream Cheese Filling
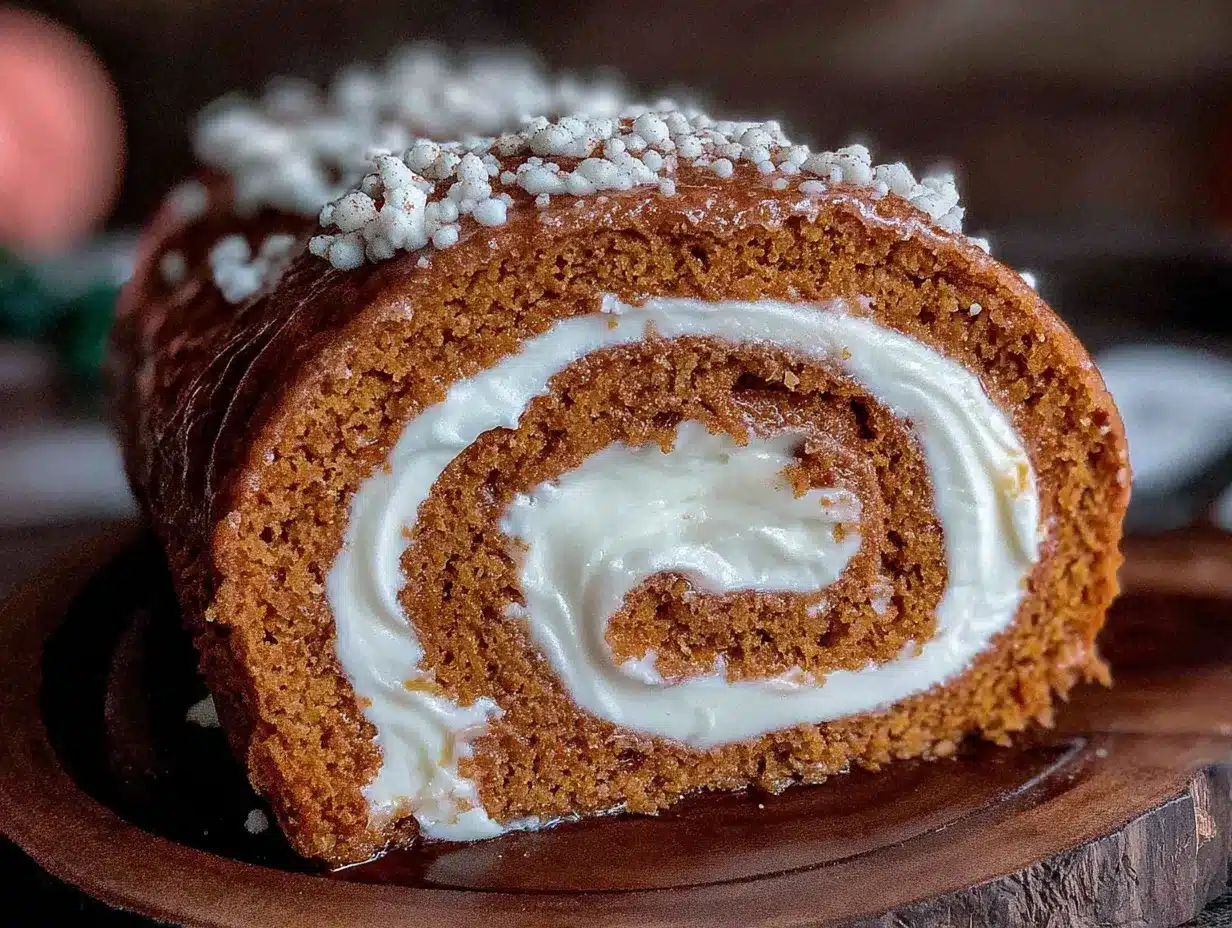
- 8 ounces cream cheese (226g), softened – Full-fat is best; Philadelphia brand gives the creamiest results
- 1/4 cup unsalted butter (57g), softened – Let it sit out for at least an hour
- 1 cup powdered sugar (120g), sifted – Sifting prevents lumps
- 1 teaspoon vanilla extract – Adds that classic cream cheese frosting flavor
For the best texture, make sure your cream cheese and butter are truly softened—not melted, but soft enough that your finger leaves an indent when pressed. I’ve made the mistake of rushing this step, and the filling ends up lumpy. If you’re dairy-free, you can substitute with dairy-free cream cheese and butter, but the texture won’t be quite as firm.
Equipment Needed
- 15×10-inch jelly roll pan (also called a half-sheet pan) – This specific size matters for the right cake thickness
- Parchment paper – Don’t skip this; it’s essential for easy removal
- Clean kitchen towel – A thin, lint-free towel works best. Avoid terry cloth or textured towels
- Electric mixer – Hand mixer or stand mixer both work; you’ll need it for the filling
- Large mixing bowls – At least two
- Rubber spatula – For folding and spreading
- Fine-mesh sieve – For sifting powdered sugar (a fork works in a pinch)
- Wire cooling rack – Not strictly necessary but helps cool faster
- Plastic wrap – For wrapping the finished roll
If you don’t have a jelly roll pan, you can use a 9×13 baking dish, but the cake will be thicker and harder to roll. I learned this the hard way when I was visiting my parents and had to improvise—it worked, but it wasn’t pretty. A jelly roll pan is worth the investment if you plan to make this more than once.
Preparation Method
Step 1: Preheat and Prepare the Pan
Preheat your oven to 350°F (175°C). Line your jelly roll pan with parchment paper, leaving a little overhang on the long sides—this helps you lift the cake out later. Lightly spray the parchment with non-stick cooking spray. Don’t skip the spray even if the pan is non-stick; the cake needs that extra insurance.
Step 2: Mix the Dry Ingredients
In a medium bowl, whisk together the flour, baking powder, baking soda, salt, pumpkin pie spice, and cinnamon. Whisking aerates the flour and distributes the spices evenly. Set this aside while you work on the wet ingredients.
Step 3: Beat the Eggs and Sugar
In a large bowl, beat the eggs and granulated sugar together with an electric mixer on medium-high speed for about 2-3 minutes. The mixture should become thick, pale, and fluffy—when you lift the beaters, the batter should fall in a ribbon that sits on top for a few seconds before disappearing. This step is crucial for structure, so don’t rush it.
Step 4: Add Pumpkin and Vanilla
Add the pumpkin puree and vanilla extract to the egg mixture. Beat on low speed until just combined. Scrape down the sides and bottom of the bowl with a rubber spatula. The batter will look a little thinner now, which is perfectly normal.
Step 5: Fold in the Dry Ingredients
Add the dry ingredients to the wet mixture in two additions, folding gently with a rubber spatula after each addition. Fold until you no longer see streaks of flour—overmixing will make the cake tough. A few small lumps are fine; they’ll bake out.
Step 6: Bake the Cake
Pour the batter into the prepared pan and spread it evenly with an offset spatula or the back of a spoon. The layer should be thin and even—about 1/4 inch thick. Bake for 12-15 minutes, or until the top springs back when lightly touched and the edges start to pull away from the pan. The center should look set, not jiggly. My oven runs hot, so I start checking at 12 minutes.
Step 7: The Warm Rolling Technique
While the cake bakes, lay your clean kitchen towel flat on the counter and dust it generously with powdered sugar. As soon as the cake comes out of the oven, run a knife around the edges to loosen it. Invert the cake onto the prepared towel—carefully, it’s hot! Peel off the parchment paper. Starting from a short end, roll the cake and towel together into a tight log. Let it cool completely on a wire rack, seam-side down. This takes about 45 minutes to an hour. Don’t rush this cooling time; the cake needs to set in its rolled shape.
Step 8: Make the Filling
In a medium bowl, beat the softened cream cheese and butter together until smooth and creamy, about 2 minutes. Add the sifted powdered sugar and vanilla extract, then beat on low speed until combined. Increase to medium speed and beat for another minute until fluffy. Scrape the bowl well. The filling should be spreadable but not runny—if it’s too soft, refrigerate it for 10 minutes.
Step 9: Assemble the Roll
Carefully unroll the cooled cake. It will want to stay curled, which is exactly what you want. Spread the cream cheese filling evenly over the cake, leaving a 1/2-inch border on all sides. Using the towel to help you, re-roll the cake tightly (without the towel this time). Wrap the finished roll tightly in plastic wrap and refrigerate for at least 2 hours, or overnight. The chilling time allows the filling to set and makes slicing much cleaner.
Step 10: Slice and Serve
When ready to serve, trim the ends for a clean look (the baker’s treat!). Slice into 1-inch rounds using a sharp serrated knife, wiping the blade clean between cuts. Dust with powdered sugar just before serving.
Cooking Tips & Techniques
The first time I made a pumpkin roll, I was so proud of how the cake looked coming out of the oven. Then I waited for it to cool completely before rolling, and it cracked right down the middle. I mean, I actually gasped. That’s when I started researching why some people roll warm and others don’t. Here’s what I’ve learned through trial and error.
Don’t overbake the cake. This is the number one cause of cracking. A dry cake won’t roll no matter what you do. The cake should be just set—if you see it starting to brown too much around the edges, pull it out. Every oven is different, so trust the touch test over the timer.
Use a thin kitchen towel. Thick, fluffy towels create ridges that press into the cake. I use a plain cotton flour sack towel, and it works perfectly. Also, make sure the towel is clean and free of fabric softener residue, which can affect the powdered sugar sticking.
Sift your powdered sugar. I know it’s an extra step, but lumps in the filling will show up when you slice the roll. I forgot to sift once and ended up with little white spots throughout the filling—still tasty, but not pretty.
Chill thoroughly before slicing. This is non-negotiable. If you try to cut the roll while it’s still warm or even room temperature, the filling will squish out and the slices will look messy. Two hours minimum in the fridge, but overnight is better. I’ve even frozen them successfully for up to a month.
Wipe your knife between cuts. This keeps each slice clean and presentable. I use a serrated knife and a gentle sawing motion rather than pressing down.
Variations & Adaptations
One Thanksgiving, my sister-in-law asked for a gluten-free version, and I was nervous to experiment on a holiday. But it turned out surprisingly well! Here are some variations I’ve tested.
Gluten-Free Version: Substitute the all-purpose flour with a 1:1 gluten-free baking flour blend that contains xanthan gum. I’ve had good results with Bob’s Red Mill 1:1 Baking Flour. The texture will be slightly more delicate, so handle the cake gently when rolling.
Dairy-Free Filling: Use dairy-free cream cheese (Kite Hill works well) and vegan butter. The filling will be a bit softer, so chill it longer before serving. I’d recommend at least 4 hours or overnight.
Spice Variations: If you don’t have pumpkin pie spice, you can use 1 teaspoon cinnamon, 1/2 teaspoon ginger, 1/4 teaspoon nutmeg, and 1/4 teaspoon allspice. I’ve also tried adding a pinch of cardamom, which gives it a slightly floral note that’s lovely.
Chocolate Pumpkin Roll: Replace 2 tablespoons of flour with unsweetened cocoa powder. The chocolate-pumpkin combo is surprisingly good, and it looks stunning with the white cream cheese filling.
Maple Cream Cheese Filling: Add 2 tablespoons of pure maple syrup to the filling and reduce the powdered sugar by 2 tablespoons. The maple flavor pairs beautifully with the pumpkin spices.
Serving & Storage Suggestions
This pumpkin roll is best served cold or at room temperature. I prefer it straight from the fridge—the filling is firmer and the flavors are more pronounced. If you’re serving it at a gathering, you can let it sit out for about 15-20 minutes before slicing to take the chill off.
For presentation, I dust the top with powdered sugar right before serving (if you do it too early, the sugar absorbs into the cake). Sometimes I add a few fresh cranberries or a sprig of rosemary for a festive look. It photographs beautifully on a wooden board or a simple white platter.
Storage: Wrap the pumpkin roll tightly in plastic wrap and store in the refrigerator for up to 5 days. The flavors actually improve after a day or two. I’ve never had one last longer than that in my house, but theoretically it’s fine for up to a week.
Freezing: This freezes beautifully! Wrap the assembled, un-sliced roll in plastic wrap, then a layer of aluminum foil. Freeze for up to 3 months. Thaw in the refrigerator overnight before serving. I usually make two at a time—one for now and one for later.
Reheating: Don’t! This is a cold dessert. If you want to serve it warm, you’d need to make a completely different recipe. The cream cheese filling doesn’t hold up to heat.
Nutritional Information & Benefits
Per slice (based on 10 servings): approximately 320 calories, 14g fat, 45g carbohydrates, 5g protein, 2g fiber, 32g sugar. These are estimates and will vary based on specific ingredients used.
Pumpkin is packed with vitamin A (over 200% of your daily needs per serving), vitamin C, and fiber. It’s also rich in antioxidants like beta-carotene, which supports eye health and immune function. The cream cheese filling adds calcium and protein, though let’s be honest—this is a treat, not a health food. I like to think of it as a dessert that happens to have some redeeming qualities.
This recipe contains gluten, dairy, and eggs. For allergen-friendly options, see the variations section above.
Conclusion
This pumpkin roll has become my signature fall dessert, and I think it’s because it strikes that perfect balance between impressive and achievable. It looks like something you’d buy at a fancy bakery, but it’s made with ingredients you already know and a technique that anyone can master. The warm-rolling trick changed everything for me, and I hope it saves you from the same cracked-cake frustration I went through.
I’d love to hear how yours turns out! Did you try any variations? Did the warm-rolling technique work for you? Drop a comment below and let me know—I read every single one and I’m always tweaking my recipes based on what you all share. And if you’re feeling generous, snap a photo and tag me on Pinterest. Nothing makes my day like seeing your beautiful pumpkin rolls.
Happy baking, friends. Fall is too short to spend it stressing over cracked cakes.
Frequently Asked Questions
Can I use fresh pumpkin instead of canned?
You can, but I don’t recommend it for this recipe. Fresh pumpkin puree has a higher water content, which can make the cake soggy and harder to roll. If you want to use fresh pumpkin, roast it, puree it, and then strain it through cheesecloth overnight to remove excess moisture. Even then, the texture won’t be quite the same as canned.
Why did my pumpkin roll crack?
Most likely, the cake was overbaked or you tried to roll it after it had cooled completely. The cake should be just set when you take it out of the oven, and you need to roll it while it’s still warm. If it’s cracking despite following these tips, you might need to add a tablespoon more pumpkin puree to the batter next time for extra moisture.
Can I make this ahead of time?
Absolutely! In fact, I prefer to make it a day ahead. The flavors meld together and the filling sets up perfectly overnight. Just wrap it tightly in plastic wrap and keep it refrigerated. You can also freeze it for up to 3 months—just thaw overnight in the fridge before serving.
How do I get clean slices without the filling squishing out?
Use a sharp serrated knife and wipe the blade clean between each cut. Make sure the roll has been refrigerated for at least 2 hours before slicing. A gentle sawing motion works better than pressing straight down. I also trim the very ends first for a clean look on the first few slices.
Can I use a different pan size?
A 15×10-inch jelly roll pan is ideal, but you can use a 9×13-inch pan in a pinch. The cake will be thicker, so you’ll need to bake it a few minutes longer (15-18 minutes) and it will be harder to roll. I’ve done it, and it works, but the spiral won’t be as tight and pretty. For best results, stick with the recommended pan size.
Pin This Recipe!
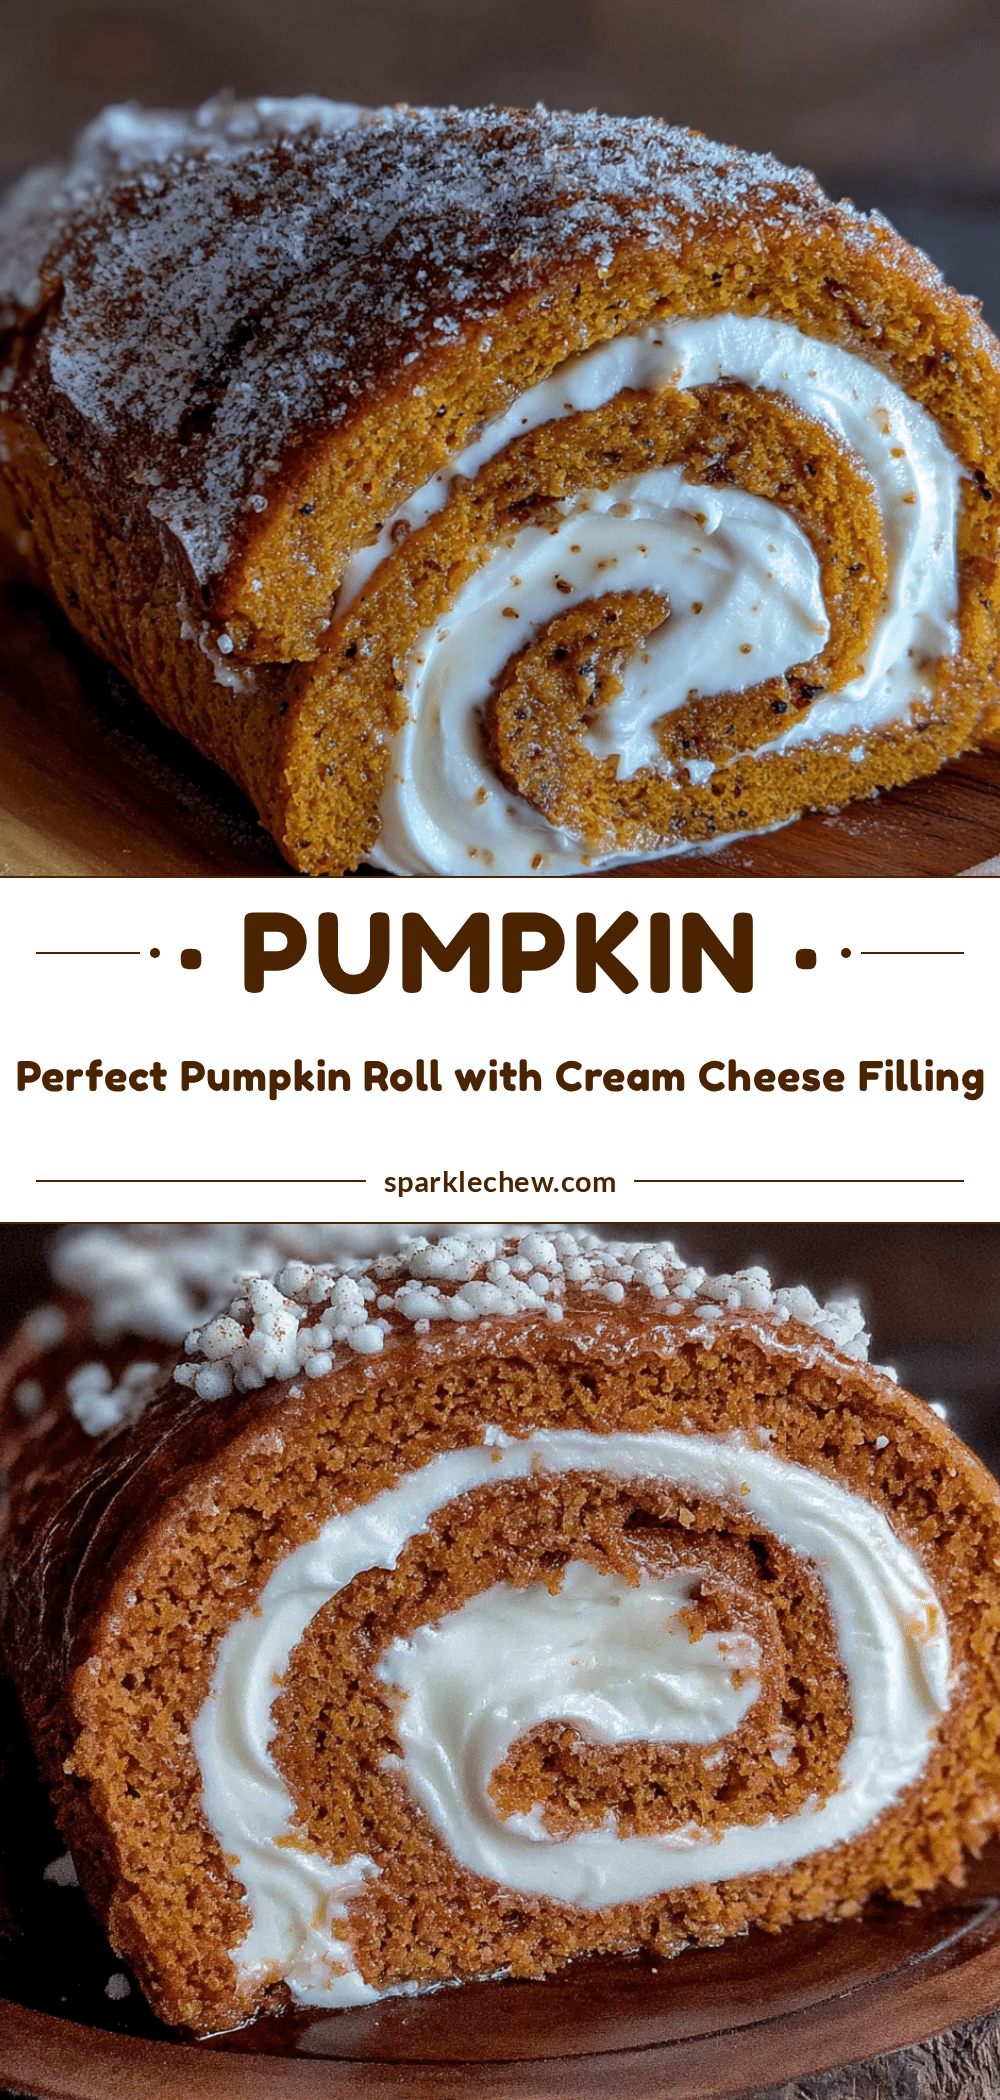
Perfect Pumpkin Roll: Easy Cream Cheese Filled Dessert
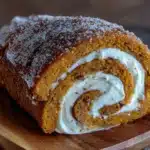
This pumpkin roll features a moist, spiced pumpkin cake rolled with a creamy, tangy cream cheese filling. The warm-rolling technique ensures no cracks, making it a foolproof dessert for fall gatherings.
- Prep Time: 20 minutes
- Cook Time: 15 minutes
- Total Time: 1 hour 35 minutes (includes cooling and chilling)
- Yield: 10 servings 1x
- Category: Dessert
- Cuisine: American
Ingredients
- 3/4 cup all-purpose flour (100g)
- 1 teaspoon baking powder
- 1/2 teaspoon baking soda
- 1/2 teaspoon salt
- 1 tablespoon pumpkin pie spice
- 1 teaspoon ground cinnamon
- 3 large eggs, room temperature
- 1 cup granulated sugar (200g)
- 2/3 cup canned pumpkin puree (160g)
- 1 teaspoon vanilla extract
- 1/4 cup powdered sugar, for dusting the towel
- 8 ounces cream cheese (226g), softened
- 1/4 cup unsalted butter (57g), softened
- 1 cup powdered sugar (120g), sifted
- 1 teaspoon vanilla extract
Instructions
- Preheat oven to 350°F (175°C). Line a 15×10-inch jelly roll pan with parchment paper, leaving overhang on the long sides. Lightly spray the parchment with non-stick cooking spray.
- In a medium bowl, whisk together flour, baking powder, baking soda, salt, pumpkin pie spice, and cinnamon.
- In a large bowl, beat eggs and granulated sugar with an electric mixer on medium-high speed for 2-3 minutes until thick, pale, and fluffy.
- Add pumpkin puree and vanilla extract to the egg mixture. Beat on low speed until just combined.
- Fold dry ingredients into wet mixture in two additions, using a rubber spatula, until no streaks of flour remain.
- Pour batter into prepared pan and spread evenly. Bake for 12-15 minutes, until top springs back when lightly touched and edges pull away from pan.
- While cake bakes, lay a clean kitchen towel flat on the counter and dust generously with powdered sugar. As soon as cake comes out of oven, loosen edges with a knife, invert onto the prepared towel, and peel off parchment paper. Starting from a short end, roll cake and towel together into a tight log. Cool completely on a wire rack, seam-side down (about 45 minutes to 1 hour).
- In a medium bowl, beat softened cream cheese and butter until smooth and creamy, about 2 minutes. Add sifted powdered sugar and vanilla extract, beat on low until combined, then increase to medium speed and beat for 1 minute until fluffy.
- Carefully unroll cooled cake. Spread cream cheese filling evenly over cake, leaving a 1/2-inch border on all sides. Using the towel to help, re-roll cake tightly (without the towel). Wrap in plastic wrap and refrigerate for at least 2 hours or overnight.
- When ready to serve, trim ends, slice into 1-inch rounds using a sharp serrated knife, wiping blade clean between cuts. Dust with powdered sugar just before serving.
Notes
Roll the cake while it is still warm to prevent cracking. Use full-fat cream cheese for the best texture. Chill the assembled roll for at least 2 hours before slicing for clean cuts. The roll can be frozen for up to 3 months.
Nutrition
- Serving Size: 1 slice
- Calories: 320
- Sugar: 32
- Sodium: 280
- Fat: 14
- Saturated Fat: 8
- Carbohydrates: 45
- Fiber: 2
- Protein: 5
Keywords: pumpkin roll, pumpkin dessert, cream cheese filling, fall dessert, Thanksgiving dessert, pumpkin cake roll