Love this? Save it for later!
Share the inspiration with your friends
My brother-in-law Mark had claimed to hate cream cheese for as long as I’d known him. Fifteen years. Every bagel breakfast, every cheesecake at a family gathering—he’d make a face and reach for something else. Then last Halloween, I made this spiderweb cheese ball for a party we were hosting together, and I caught him standing alone in the kitchen, dipping a cracker into it for the fifth time. He didn’t even try to hide it. He just looked at me, shrugged, and said, “Okay, this is different.” That was the moment I knew this recipe was special. It wasn’t just a pretty appetizer—it was a convert-maker. And honestly, that quiet win in the kitchen felt better than any compliment about the decorations.
This spiderweb cheese ball has become my go-to for every fall gathering, potluck, and holiday party I’ve hosted since. It looks impressive, like something you’d see on a catering platter, but the secret is how ridiculously simple it is to pull together. You don’t need any special skills, just a little patience for the decorating part. Let me tell you, there’s something deeply satisfying about watching guests’ faces light up when they see that web pattern. Maybe you’ve been there—the moment when a dish you made becomes the center of conversation before anyone even takes a bite. That’s exactly what this cheese ball does. It sets the tone for the whole evening, and it tastes even better than it looks.
Why You’ll Love This Recipe
I’ve tested this recipe through at least a dozen parties, and it never fails. Here is why it works so well for hosting:
- Deceptively Easy to Make : The whole thing comes together in about 20 minutes of active prep. The hardest part is waiting for the cream cheese to soften.
- Simple Ingredients : You probably have most of these in your fridge right now. No hunting down obscure cheeses or specialty stores.
- Perfect for Halloween and Fall Gatherings : The spiderweb design is a conversation starter. It fits right in with spooky decor without being too kitschy.
- Crowd-Pleaser : I’ve watched people who “don’t like cheese balls” go back for seconds. Mark is living proof.
- Make-Ahead Friendly : You can assemble it a day or two before your party. One less thing to stress about when guests arrive.
What sets this cheese ball apart from the standard versions is the texture. The combination of cream cheese and sharp cheddar creates a base that’s creamy but firm enough to hold its shape. The ranch seasoning mix adds this savory depth that makes people ask, “What’s in this?” I’ve tried other recipes that turn out too soft or too salty, but this one hits that perfect balance. It’s the kind of appetizer that makes you look like you spent hours in the kitchen when you really didn’t. Perfect for impressing guests without stress.
What Ingredients You Will Need
This recipe uses simple, everyday ingredients that come together to create something surprisingly elegant. Most of these are pantry or fridge staples, which makes it easy to whip up on short notice.
- 16 ounces cream cheese, softened (two 8-ounce blocks) — Let it sit on the counter for about 30 minutes before starting. Cold cream cheese creates lumps, and nobody wants that. I prefer Philadelphia brand for the smoothest texture.
- 2 cups sharp cheddar cheese, shredded — Buy a block and shred it yourself. The pre-shredded bags have anti-caking agents that affect the texture. It makes a real difference in how creamy the ball turns out.
- 1 packet ranch seasoning mix (about 1 ounce) — This is the secret weapon. It adds tanginess and all those savory herbs that make people keep dipping. Hidden Valley works great, but any brand will do.
- 1/2 cup pecans, finely chopped — These go on the outside for texture and flavor. Toast them lightly in a dry pan for 3-4 minutes first. It brings out their natural sweetness and adds a warm, nutty note.
- 1/4 cup black olives, finely chopped — These create the “spider” decoration on top. Make sure they’re well-drained and patted dry, or they’ll bleed into the cheese.
- 1 tablespoon milk (optional, for thinning) — If your mixture feels too stiff, a splash of milk helps it come together. I only need this when my cream cheese wasn’t quite soft enough.
- Assorted crackers for serving — Go with sturdy crackers that can handle a good scoop. I like buttery rounds, wheat crackers, or even pretzel crisps. The saltiness pairs beautifully with the creamy cheese.
For the spiderweb design, you’ll also need a small piping bag or a zip-top bag with a tiny corner snipped off. I’ll explain that in the method section. If you want to switch things up, you can substitute the pecans with walnuts or leave them out entirely for a nut-free version. The ranch seasoning can be swapped for a homemade blend of dried dill, garlic powder, onion powder, and parsley if you prefer controlling the salt level.
Equipment Needed
You don’t need much for this recipe, which is part of its charm. Here is what you’ll want on hand:
- Large mixing bowl — A standard-sized bowl for combining the cheeses and seasoning. Glass or stainless steel works best because they don’t hold onto odors.
- Hand mixer or stand mixer — You can mix by hand with a sturdy spatula, but a mixer makes it much easier to get that smooth, lump-free texture. I’ve done both, and the mixer saves about five minutes of elbow grease.
- Plastic wrap — Essential for shaping the cheese ball and keeping it tidy while it chills. Stretch it tight for the smoothest finish.
- Piping bag or small zip-top bag — For creating the spiderweb pattern. A zip-top bag works perfectly and costs nothing extra. Just snip a tiny corner off.
- Cutting board and sharp knife — For chopping the pecans and olives. A chef’s knife makes quick work of the nuts.
- Serving platter — Something wide enough to arrange crackers around the cheese ball. A wooden board or a simple white plate lets the spiderweb design stand out.
If you don’t have a hand mixer, you can use a food processor. Just pulse gently until combined, being careful not to over-process or the mixture can become too soft to shape. I’ve also used a sturdy fork in a pinch, but it takes more patience and a bit more arm strength.
Preparation Method
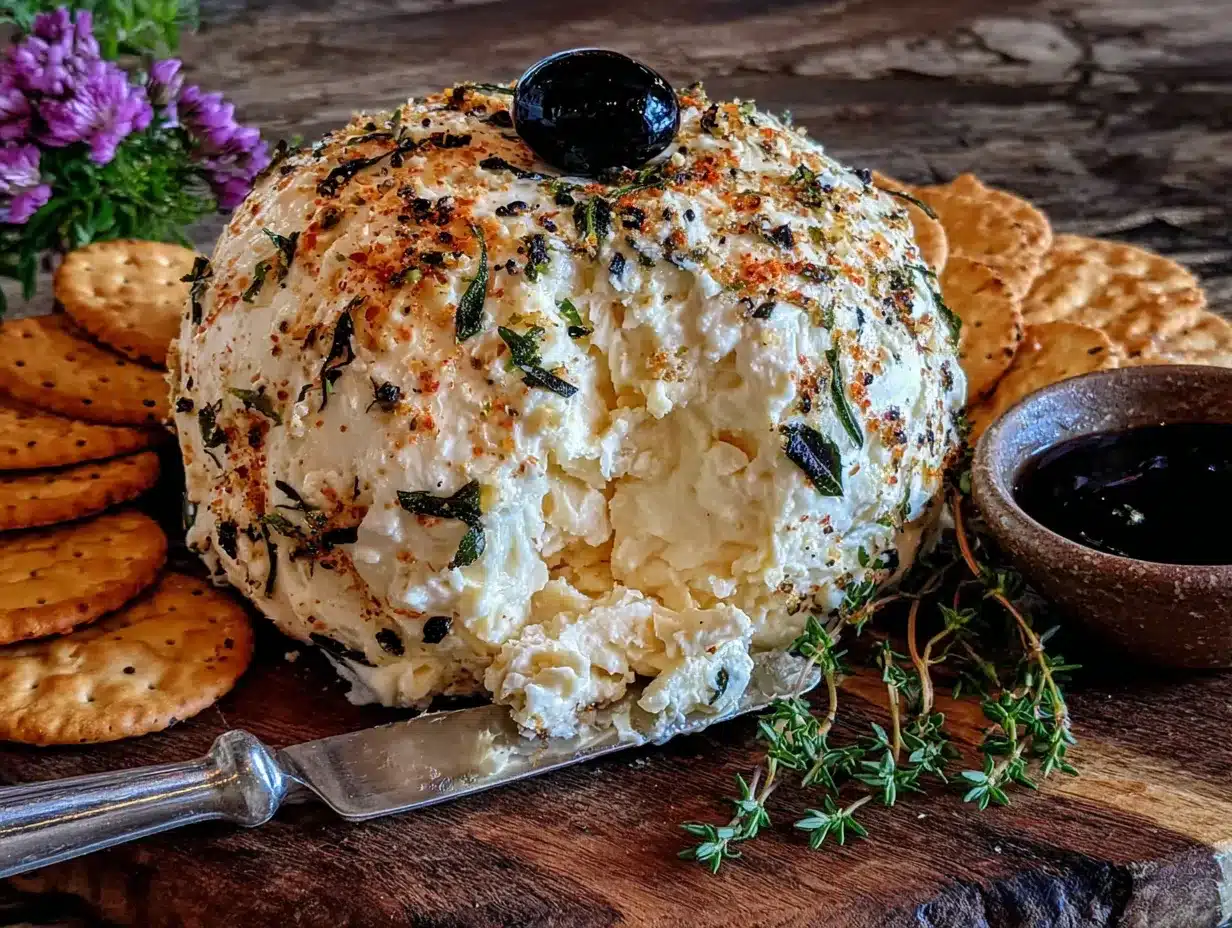
Follow these steps carefully, and you’ll have a showstopping cheese ball that looks like it came from a professional kitchen. Take your time with the decorating part—it’s worth the extra few minutes.
- Soften the cream cheese. Take the cream cheese out of the fridge about 30 minutes before you start. It should be soft enough that you can press a finger into it easily. If you’re in a hurry, microwave it in 10-second bursts on low power, but be careful not to melt it. Melted cream cheese won’t hold its shape.
- Combine the base ingredients. In your large mixing bowl, add the softened cream cheese, shredded sharp cheddar, and ranch seasoning mix. Start mixing on low speed with your hand mixer to avoid a cloud of seasoning powder flying everywhere. Once it’s incorporated, increase to medium speed and beat until smooth and creamy. Scrape down the sides of the bowl halfway through. The mixture should be thick but spreadable. If it feels too stiff, add that tablespoon of milk and mix again.
- Shape the cheese ball. Lay a large piece of plastic wrap on your counter. Scoop the cheese mixture into the center of the wrap. Gather the edges of the plastic wrap together and twist gently, shaping the mixture into a ball as you go. Don’t squeeze too hard—you want a round, smooth shape, not a dense hockey puck. Twist the top tightly and smooth out any wrinkles with your hands. Refrigerate for at least 2 hours, or overnight. This chilling step is crucial. It firms up the cheese ball so it holds its shape when you add the coating and decorations.
- Toast the pecans. While the cheese ball chills, place the chopped pecans in a dry skillet over medium heat. Stir constantly for 3-4 minutes until they smell fragrant and are lightly golden. Watch closely—they burn fast. Pour them onto a plate to cool completely. Warm nuts won’t stick to the cold cheese ball properly.
- Coat the cheese ball. Once the cheese ball is firm, unwrap it and gently roll it in the toasted pecans. Press the nuts into the surface with your hands to make sure they stick evenly. Don’t worry about covering every single spot—a little bit of white peeking through looks natural and rustic. Place the coated cheese ball on your serving platter.
- Prepare the spiderweb design. Take about 2 tablespoons of the cheese mixture (before you added the pecans) and set it aside in a small bowl. If you didn’t reserve any, just scoop a little from the inside of the cheese ball—it won’t ruin the shape. Thin it with a few drops of milk until it’s smooth and pipeable. Spoon this into your piping bag or zip-top bag. Snip a tiny corner off the bag—smaller than you think you need. You can always cut more, but you can’t undo a hole that’s too big.
- Pipe the web pattern. Starting at the top center of the cheese ball, pipe a small circle. Then pipe concentric circles around it, working your way down the sides. Space them about an inch apart. Next, take a toothpick or a small knife and gently drag it from the center circle outward through all the rings. Do this at four evenly spaced points around the ball, like the spokes of a wheel. The dragging motion pulls the piped lines into a beautiful web pattern. Wipe the toothpick clean between each drag for the cleanest lines.
- Add the spider. Use the chopped black olives to create a spider on top. Place one olive half for the body and another for the head. Cut thin strips of olive for the legs—four on each side—and arrange them around the body. It looks creepy-cute and ties the whole theme together. If olives aren’t your thing, you can use black sesame seeds or even small pieces of black licorice.
- Chill again briefly. Pop the decorated cheese ball back in the fridge for 15-20 minutes to let the piped lines set. This makes the web pattern more defined when you serve it.
- Serve and enjoy. Arrange your crackers around the cheese ball on the platter. Let it sit at room temperature for about 10 minutes before serving. Cheese spreads much better when it’s not straight-from-the-fridge cold. Watch it disappear.
Cooking Tips & Techniques
I’ve made this cheese ball enough times to learn a few things the hard way. Here are my best tips for getting it right every time:
Don’t skip the chilling step. I once got impatient and tried to coat the cheese ball after only 30 minutes in the fridge. It was a mess. The mixture was too soft, the pecans clumped in weird spots, and the whole thing looked more like a lumpy meteor than a spiderweb. That extra hour or two in the fridge makes all the difference. The cheese ball needs to be firm enough to handle the rolling and piping without losing its shape.
Toast your nuts. This is non-negotiable for me now. Raw pecans are fine, but toasted pecans add a depth of flavor that transforms the whole appetizer. The warmth brings out their natural oils and makes them taste almost buttery. I learned this after making a batch with untoasted nuts and wondering why it felt flat. The toasting takes four minutes. Do it.
Pipe with confidence, but not too much. When you’re creating the web pattern, less is more. You don’t need thick, heavy lines of cheese. A thin, steady stream creates a delicate web that looks professional. If your lines are too thick, they can overwhelm the cheese ball and look messy. Practice on a plate first if you’re nervous. And remember, dragging the toothpick outward from the center is the magic step that makes it look like a real web.
Work in batches if scaling up. This recipe makes one good-sized cheese ball that serves about 8-10 people as an appetizer. If you’re hosting a big crowd, make two separate balls rather than one giant one. Large cheese balls are harder to shape evenly, and the web pattern doesn’t scale up as nicely. Two smaller ones also give you more surface area for crackers.
Keep extra pecans on hand. Sometimes the coating doesn’t stick as evenly as you’d like, especially if the cheese ball is very cold. Having a small bowl of extra toasted pecans nearby lets you patch any bare spots before serving.
Variations & Adaptations
This recipe is flexible, and I’ve tried several variations depending on the occasion or who’s coming over. Here are some of my favorites:
Spicy Southwest Version. Swap the ranch seasoning for a packet of taco seasoning. Add 1/4 cup finely chopped pickled jalapeños (drained well) and replace the pecans with crushed tortilla chips for the coating. The smoky, spicy flavor is incredible with a cold beer. I made this for a game day party, and it was the first thing to disappear.
Herb and Garlic Version. Skip the ranch mix and use 2 minced garlic cloves, 1 tablespoon fresh chopped dill, 1 tablespoon fresh chopped chives, and a pinch of salt. Roll the ball in fresh chopped parsley instead of pecans. This version feels lighter and more elegant, perfect for a spring brunch or bridal shower.
Bacon Lover’s Version. Cook 6 strips of bacon until crispy, crumble them finely, and mix half into the cheese base. Use the remaining bacon mixed with the pecans for the coating. The smoky, salty bacon pairs beautifully with the creamy cheese. Fair warning—this version disappears faster than any other.
Dairy-Free Adaptation. Use dairy-free cream cheese and shredded dairy-free cheddar. The texture will be slightly softer, so chill it for an extra hour before shaping. The flavor is still excellent, and the web pattern works just as well. I’ve served this to dairy-free guests who didn’t even realize it was a substitute.
Sweet and Savory Version. Replace the pecans with crushed honey-roasted peanuts or candied walnuts. The sweet crunch against the savory, tangy cheese is a surprising combination that works beautifully. This one pairs especially well with apple slices instead of crackers.
Serving & Storage Suggestions
This cheese ball is best served slightly chilled but not ice-cold. Take it out of the fridge about 15-20 minutes before your guests arrive. This softens it just enough for easy spreading without it becoming runny. Arrange it on a wooden board or a slate platter with an assortment of crackers arranged in a ring around it. I like to add small bowls of grapes, apple slices, or celery sticks around the platter for color and variety.
For a Halloween party, I sometimes arrange the crackers in a pattern that looks like tombstones or bats. It’s a small touch that guests notice and appreciate. You can also scatter a few candy corn or pumpkin-shaped pretzels around the board for extra festive flair.
Storage: Leftover cheese ball keeps well in the refrigerator for up to 5 days. Wrap it tightly in plastic wrap or store it in an airtight container. The pecan coating may soften slightly over time, but the flavor holds up beautifully. I actually think it tastes even better on day two, after the flavors have had time to meld.
Freezing: You can freeze the uncoated cheese ball for up to 1 month. Wrap it tightly in plastic wrap, then in foil. Thaw it overnight in the refrigerator, then coat it with pecans and decorate it before serving. I’ve done this for holiday prep, and it works perfectly. Just don’t freeze it after adding the coating—the pecans will become soggy.
Reheating: This is a cold appetizer, so no reheating needed. If it’s been sitting out for more than 2 hours, return any leftovers to the fridge promptly.
Nutritional Information & Benefits
While this cheese ball is definitely a treat, it does offer some nutritional perks. Here’s an approximate breakdown per serving (based on 10 servings with crackers):
| Nutrient | Amount per Serving |
|---|---|
| Calories | 280 |
| Total Fat | 22g |
| Saturated Fat | 11g |
| Cholesterol | 55mg |
| Sodium | 420mg |
| Carbohydrates | 8g |
| Protein | 9g |
| Calcium | 180mg |
The cream cheese provides a good amount of calcium and protein, while the pecans add healthy fats, fiber, and vitamin E. Sharp cheddar cheese is rich in vitamin K2, which supports bone health. This isn’t a health food by any means, but it’s a satisfying, protein-rich appetizer that will keep your guests happy without sending them into a sugar crash. For a lighter option, you can use reduced-fat cream cheese and serve it with vegetable sticks instead of crackers.
Frequently Asked Questions
Can I make this cheese ball ahead of time?
Absolutely. You can prepare the cheese ball (without the pecan coating and web design) up to 3 days in advance. Wrap it tightly and refrigerate. Add the coating and decoration the day you plan to serve it for the best texture and appearance.
My cheese mixture is too soft to shape. What did I do wrong?
This usually happens if the cream cheese was too warm or if you over-mixed it. Pop the mixture in the fridge for 30 minutes to firm up before trying to shape it again. If it’s still too soft after chilling, you can mix in a tablespoon of shredded cheddar to help absorb excess moisture.
Can I use low-fat cream cheese?
Yes, but the texture will be slightly softer and less rich. Low-fat cream cheese has more water content, so you may need to chill the mixture longer before shaping. The flavor is still good, but it won’t be as decadent.
How do I get the web pattern to look clean and defined?
The key is using a very small piping tip (or a tiny snipped corner of a bag) and dragging the toothpick in one smooth motion from the center outward. Wipe the toothpick clean between each drag. If the lines blur together, your cheese was too warm—chill it for another 15 minutes before trying again.
What crackers work best with this cheese ball?
Sturdy, neutral-flavored crackers work best. Buttery rounds, wheat crackers, pretzel crisps, and even bagel chips are all excellent choices. Avoid thin, delicate crackers that break easily when you try to scoop the cheese. I also love serving it with sliced cucumber or bell pepper strips for a low-carb option.
Conclusion
This spiderweb cheese ball has earned a permanent spot in my fall and Halloween hosting rotation. It’s one of those rare recipes that looks like you spent hours on it but actually comes together with minimal effort. The creamy, savory filling, the crunchy pecan coating, and that fun spiderweb design make it a triple threat—it’s delicious, beautiful, and genuinely fun to make. Every time I serve it, I get at least three people asking for the recipe. And honestly, I love sharing it. It’s the kind of dish that makes hosting feel less like work and more like the joyful gathering it’s supposed to be.
I’d love to hear how yours turns out. Did you try any of the variations? Did your guests love the spiderweb design? Drop a comment below and let me know. And if you share it on social media, tag me—I always love seeing your creations. Happy hosting, and happy Halloween!
Pin This Recipe!
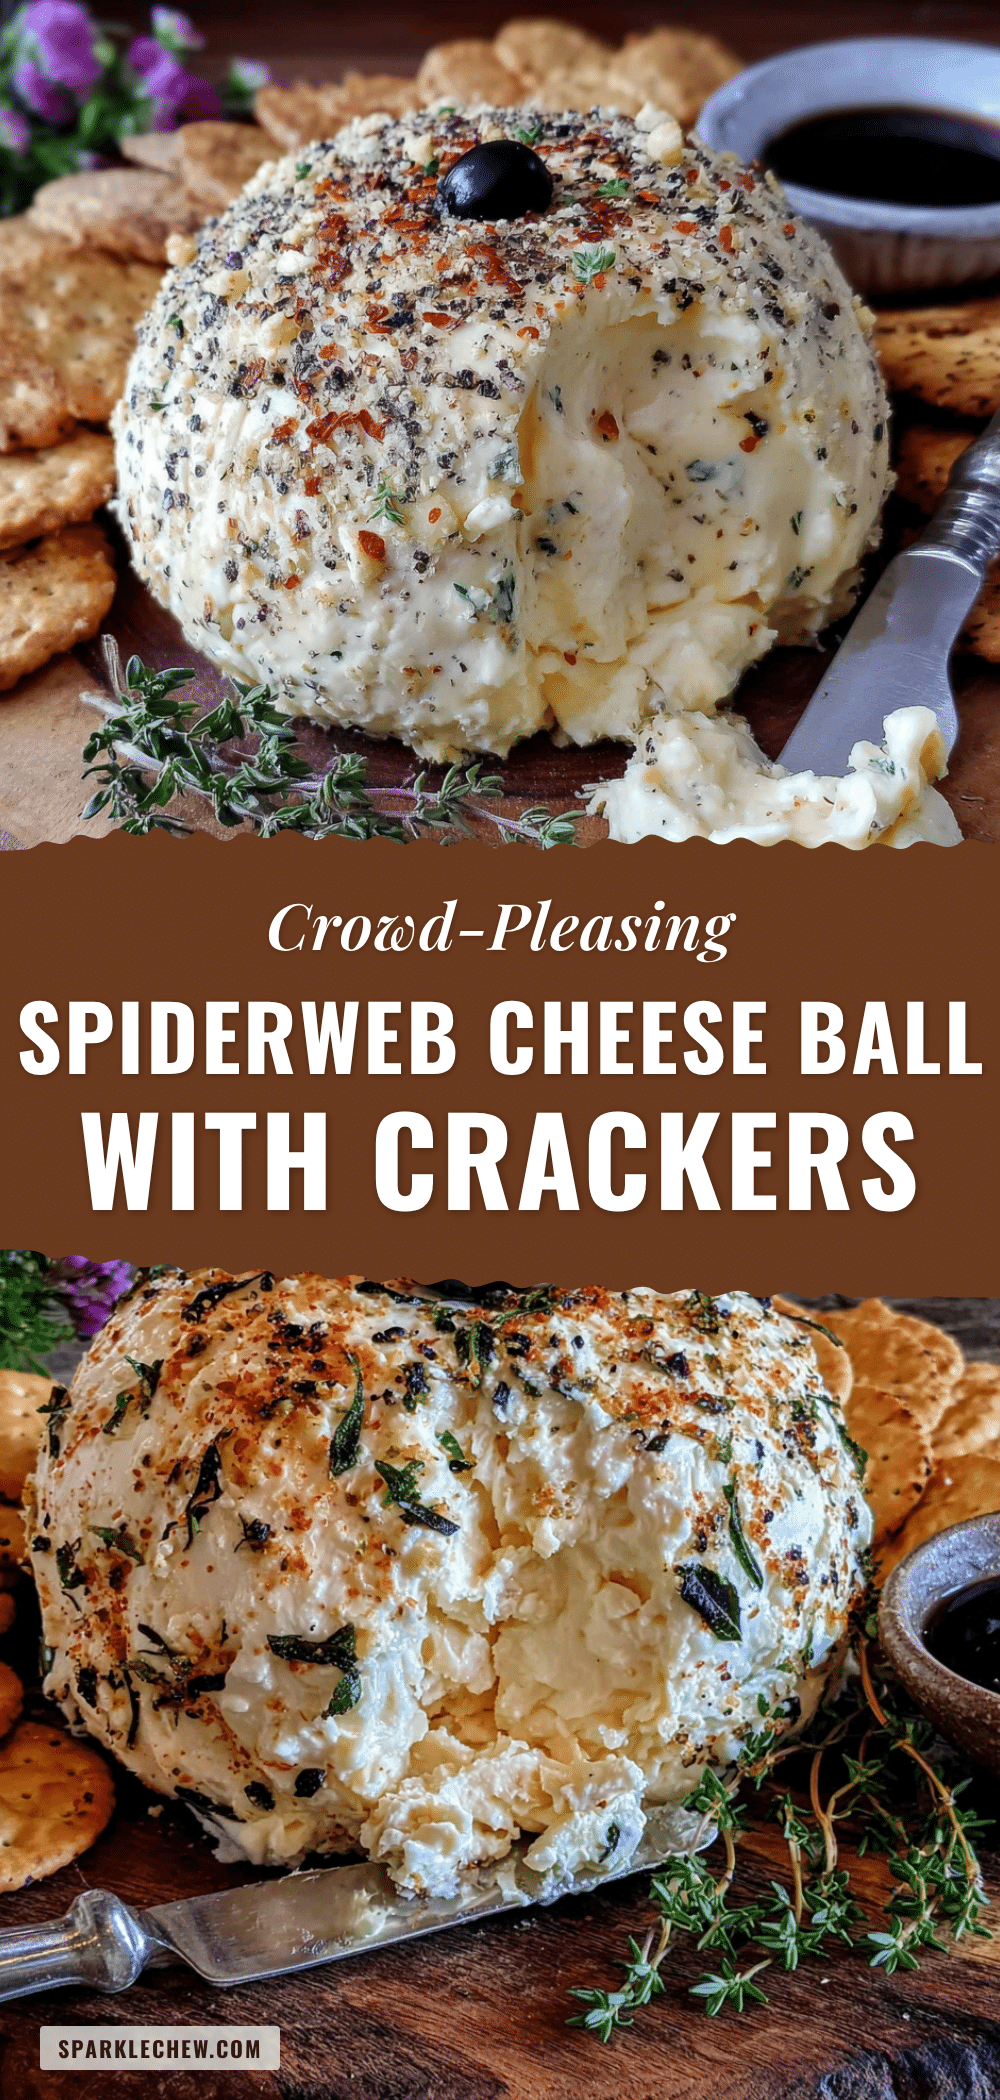
Easy Spiderweb Cheese Ball with Crackers

This spiderweb cheese ball is a showstopping Halloween appetizer that’s deceptively easy to make. Creamy, savory, and topped with a fun spiderweb design, it’s a crowd-pleaser that will have everyone asking for the recipe.
- Prep Time: 20 minutes
- Cook Time: 4 minutes
- Total Time: 2 hours 24 minutes (includes chilling)
- Yield: 10 servings 1x
- Category: Appetizer
- Cuisine: American
Ingredients
- 16 ounces cream cheese, softened (two 8-ounce blocks)
- 2 cups sharp cheddar cheese, shredded
- 1 packet ranch seasoning mix (about 1 ounce)
- 1/2 cup pecans, finely chopped
- 1/4 cup black olives, finely chopped
- 1 tablespoon milk (optional, for thinning)
- Assorted crackers for serving
Instructions
- Soften the cream cheese: Take the cream cheese out of the fridge about 30 minutes before you start. It should be soft enough that you can press a finger into it easily. If you’re in a hurry, microwave it in 10-second bursts on low power, but be careful not to melt it.
- Combine the base ingredients: In your large mixing bowl, add the softened cream cheese, shredded sharp cheddar, and ranch seasoning mix. Start mixing on low speed with your hand mixer to avoid a cloud of seasoning powder flying everywhere. Once it’s incorporated, increase to medium speed and beat until smooth and creamy. Scrape down the sides of the bowl halfway through. The mixture should be thick but spreadable. If it feels too stiff, add that tablespoon of milk and mix again.
- Shape the cheese ball: Lay a large piece of plastic wrap on your counter. Scoop the cheese mixture into the center of the wrap. Gather the edges of the plastic wrap together and twist gently, shaping the mixture into a ball as you go. Don’t squeeze too hard—you want a round, smooth shape, not a dense hockey puck. Twist the top tightly and smooth out any wrinkles with your hands. Refrigerate for at least 2 hours, or overnight.
- Toast the pecans: While the cheese ball chills, place the chopped pecans in a dry skillet over medium heat. Stir constantly for 3-4 minutes until they smell fragrant and are lightly golden. Watch closely—they burn fast. Pour them onto a plate to cool completely.
- Coat the cheese ball: Once the cheese ball is firm, unwrap it and gently roll it in the toasted pecans. Press the nuts into the surface with your hands to make sure they stick evenly. Don’t worry about covering every single spot—a little bit of white peeking through looks natural and rustic. Place the coated cheese ball on your serving platter.
- Prepare the spiderweb design: Take about 2 tablespoons of the cheese mixture (before you added the pecans) and set it aside in a small bowl. If you didn’t reserve any, just scoop a little from the inside of the cheese ball—it won’t ruin the shape. Thin it with a few drops of milk until it’s smooth and pipeable. Spoon this into your piping bag or zip-top bag. Snip a tiny corner off the bag—smaller than you think you need.
- Pipe the web pattern: Starting at the top center of the cheese ball, pipe a small circle. Then pipe concentric circles around it, working your way down the sides. Space them about an inch apart. Next, take a toothpick or a small knife and gently drag it from the center circle outward through all the rings. Do this at four evenly spaced points around the ball, like the spokes of a wheel. Wipe the toothpick clean between each drag for the cleanest lines.
- Add the spider: Use the chopped black olives to create a spider on top. Place one olive half for the body and another for the head. Cut thin strips of olive for the legs—four on each side—and arrange them around the body.
- Chill again briefly: Pop the decorated cheese ball back in the fridge for 15-20 minutes to let the piped lines set.
- Serve and enjoy: Arrange your crackers around the cheese ball on the platter. Let it sit at room temperature for about 10 minutes before serving.
Notes
Don’t skip the chilling step—it’s crucial for the cheese ball to hold its shape. Toast the pecans for the best flavor. For the web pattern, use a very small piping tip and drag the toothpick in one smooth motion from the center outward. The cheese ball can be made ahead (without coating and decoration) up to 3 days in advance. Leftovers keep in the refrigerator for up to 5 days.
Nutrition
- Serving Size: 1 serving (with crac
- Calories: 280
- Sugar: 2
- Sodium: 420
- Fat: 22
- Saturated Fat: 11
- Carbohydrates: 8
- Fiber: 1
- Protein: 9
Keywords: spiderweb cheese ball, Halloween appetizer, cream cheese ball, easy cheese ball, fall appetizer, party appetizer