Love this? Save it for later!
Share the inspiration with your friends
The school bake sale was in less than twelve hours and I’d completely forgotten. It was a Tuesday night, I was out of butter, and my three-year-old had just dumped an entire box of raisins onto the kitchen floor. Every other parent would be bringing those elaborate Pinterest-perfect cupcakes with fondant unicorns, and I was staring at a bunch of spotty bananas on the counter that my kids had refused to touch all week. Honestly, I wanted to cry. I mean, the panic was real. I had a bag of walnuts from a bulk bin run I made last month, some flour, and those sad, overripe bananas. That was it. No fancy ingredients, no time for a store run. I just threw it together, crossed my fingers, and prayed the bake sale committee wouldn’t judge me too harshly.
You know that feeling when you’re half-embarrassed to even show up? That was me, walking into the school gym with a loaf of banana bread wrapped in foil like some kind of culinary failure. But here’s the thing—by the end of the night, my loaf was completely gone. And I mean, completely. One mom actually came up to me and asked for the recipe, saying her kids had eaten three slices and refused to touch the fancy chocolate cake she’d spent all afternoon making. I just stood there, holding my empty foil wrapper, feeling like some accidental baking genius. It was honestly hilarious. I never meant to win the bake sale. I just meant to survive it. But this simple, no-fuss banana bread with walnuts turned into the star of the show, and I’ve been making it ever since. Maybe you’ve been there too—scrambling for something, anything, that will please the crowd without breaking the bank or your sanity. This one’s for you.
Why You’ll Love This Recipe
Let me tell you, after making this banana bread more times than I can count, I’ve learned a thing or two. This isn’t just another recipe you’ll find online. It’s the one that actually works for real families on real budgets. Here is why you will absolutely love it:
- Quick & Easy: From start to oven in about 15 minutes. No stand mixer needed, no complicated techniques. Just a bowl, a spoon, and some elbow grease.
- Simple Ingredients: You probably have everything already. Bananas, flour, sugar, eggs, oil, and walnuts. No weird extracts or hard-to-find items that cost a fortune.
- Perfect for Busy Weeknights: Need a quick dessert or a lunchbox treat? This banana bread is your answer. It comes together while you’re cleaning up dinner.
- Crowd-Pleaser: I have yet to meet a kid who doesn’t love this. And adults? They go back for seconds. The walnuts add a nice crunch that even picky eaters seem to enjoy.
- Unbelievably Delicious: The texture is moist and tender, with a golden crust that’s just slightly crisp. The walnuts toast up inside the bread, giving it this warm, nutty flavor that pairs perfectly with the sweetness of the bananas.
What makes this recipe different from the rest? It’s the balance. I’ve tested this with different amounts of sugar, different types of flour, and varying ripeness levels of bananas. This version is the sweet spot—not too sweet, not too dense, and it stays moist for days. Plus, it’s forgiving. If your bananas are a little under-ripe, it still works. If you only have whole wheat flour, go for it. This recipe is built for real life, not a test kitchen.
This banana bread isn’t just good—it’s the kind that makes you close your eyes after the first bite. It’s comfort food at its finest, the kind that reminds you of your grandma’s kitchen or lazy Sunday mornings. And the best part? It won’t break your grocery budget. Two loaves cost me less than five dollars to make last week. Try doing that with a bakery cake.
What Ingredients You Will Need
This recipe uses simple, wholesome ingredients to deliver bold flavor and satisfying texture without the fuss. Everything here is a pantry staple or a regular grocery item, so you won’t need to make a special trip.
For the Banana Bread Batter
- 3 large ripe bananas, mashed (about 1 ½ cups) – The riper, the better. Those spotty brown bananas are perfect. They add natural sweetness and moisture.
- ½ cup unsalted butter, melted (1 stick) – I use salted butter in a pinch and just reduce the added salt. If you’re dairy-free, coconut oil works great here too.
- ¾ cup granulated sugar – Regular white sugar works best. You can reduce it to ½ cup if your bananas are super ripe and sweet.
- 1 large egg, room temperature – This helps the batter emulsify properly. If you forgot to take it out of the fridge, place it in a bowl of warm water for 5 minutes.
- 1 teaspoon vanilla extract – Pure vanilla is best, but imitation works fine. It adds that warm, comforting flavor we all love.
- 1 ½ cups all-purpose flour – Spoon and level your flour for the best results. Too much flour makes dry bread.
- 1 teaspoon baking soda – This is the leavening agent. Make sure it’s fresh—test it by dropping a bit in vinegar; it should fizz.
- ¼ teaspoon salt – Just enough to balance the sweetness and bring out the flavors.
For the Walnut Addition
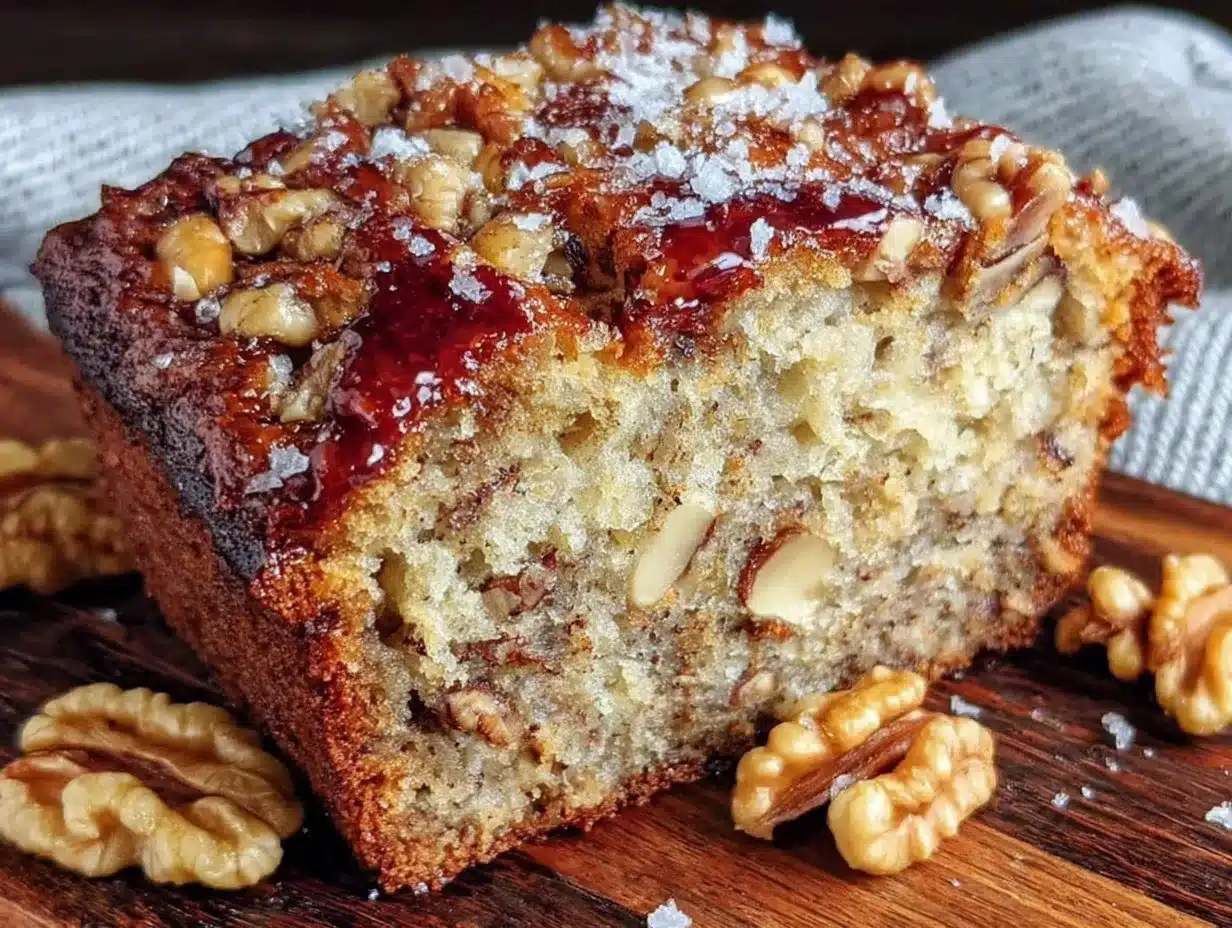
- ½ cup walnuts, chopped – I like to toast them lightly before adding for extra flavor. Just 3-4 minutes in a dry pan over medium heat, stirring constantly. Watch them—they burn fast!
Ingredient Tips from My Kitchen
I personally recommend using Land O’ Lakes butter or Kerrygold if you can splurge a little—they have a higher fat content that makes the bread extra tender. For walnuts, I buy them in bulk from the baking aisle and store them in the freezer. They stay fresh for months, and you can chop them straight from frozen. If you don’t have walnuts, pecans work beautifully too, or you can leave the nuts out entirely for a nut-free version.
For the bananas, look for ones that are heavily spotted with brown patches—almost black is even better. They should be soft to the touch and smell sweet. If your bananas aren’t ripe enough, place them on a baking sheet in a 300°F oven for 15-20 minutes until the skins turn black. Let them cool, then use as usual. It’s a life hack I use all the time.
If you’re looking for a gluten-free option, swap the all-purpose flour with a 1:1 gluten-free baking flour blend. I’ve tested this with King Arthur Measure for Measure, and it works perfectly. Just don’t overmix the batter, or it can get gummy.
Equipment Needed
You don’t need a fancy kitchen to make this banana bread. Here’s what you’ll need:
- 9×5-inch loaf pan – A standard loaf pan works best. If you only have an 8×4-inch pan, increase the baking time by 5-10 minutes.
- Large mixing bowl – Any bowl will do. I use a ceramic one because it doesn’t slide around, but glass or metal is fine.
- Small bowl – For mixing the dry ingredients separately.
- Whisk or fork – For mashing the bananas and mixing the batter.
- Rubber spatula – For scraping the bowl clean. Trust me, you don’t want to waste any of that batter.
- Measuring cups and spoons – Dry measuring cups for flour, liquid measuring cup for oil or melted butter.
- Cooling rack – This helps the bread cool evenly and prevents a soggy bottom.
- Parchment paper (optional but recommended) – Lining the pan makes removal a breeze. No stuck-on bread!
If you don’t have a loaf pan, you can bake this in an 8×8 square pan for about 25-30 minutes. It’ll be more like banana cake, but it’s still delicious. I’ve also made muffins with this batter—just fill lined muffin tins about ¾ full and bake for 18-22 minutes. Perfect for lunchboxes!
My favorite budget-friendly tip? I bought my loaf pan at a thrift store for two dollars. It’s been going strong for years. Don’t feel like you need brand-new equipment to bake well.
Preparation Method
Let’s get baking! This method is straightforward, but I’ve added some tips I’ve learned from making this dozens of times.
- Preheat your oven to 350°F (175°C). Grease your 9×5-inch loaf pan with butter or non-stick spray. If you have parchment paper, cut a strip to fit the bottom and up the long sides—this makes lifting the bread out so much easier. I learned this the hard way after a few stuck loaves.
- Mash the bananas. In your large mixing bowl, mash the three ripe bananas with a fork or potato masher. You want some small chunks remaining—it adds texture. Don’t puree them completely. I like to leave a few pea-sized pieces. Takes about 30 seconds.
- Add the wet ingredients. To the mashed bananas, add the melted butter (make sure it’s not too hot—you don’t want to cook the egg), the granulated sugar, the egg, and the vanilla extract. Stir everything together with a whisk or wooden spoon until well combined. It should look smooth and slightly glossy. Don’t worry if it looks a little separated—that’s normal.
- Mix the dry ingredients separately. In your small bowl, whisk together the all-purpose flour, baking soda, and salt. This ensures the baking soda is evenly distributed so your bread rises evenly. I once skipped this step and ended up with a lopsided loaf—learn from my mistake!
- Combine wet and dry. Pour the dry ingredients into the wet mixture. Stir gently with a rubber spatula or wooden spoon until just combined. You should see a few streaks of flour remaining. Do not overmix! Overmixing develops gluten and makes the bread tough and dense. A few lumps are totally fine.
- Fold in the walnuts. Gently fold the chopped walnuts into the batter with a few quick strokes. If you’re making a nut-free version or your kids are picky, you can reserve a handful of walnuts to sprinkle on top instead of mixing them in. That way, the walnuts stay visible and can be picked off if needed.
- Pour the batter into the prepared pan. Use your rubber spatula to scrape every last bit into the pan. Smooth the top gently. Give the pan a few gentle taps on the counter to release any air bubbles.
- Bake for 55-65 minutes. Place the pan in the center of the oven. Bake until a toothpick inserted into the center comes out clean or with just a few moist crumbs. The top should be golden brown and cracked. If the top is browning too quickly (around the 40-minute mark), loosely tent the pan with aluminum foil.
- Cool in the pan for 10 minutes. This is crucial! If you try to remove the bread immediately, it will fall apart. Let it rest in the pan on a cooling rack for exactly 10 minutes.
- Remove and cool completely. After 10 minutes, run a knife around the edges if needed, then lift the bread out using the parchment paper (or invert it onto the rack). Let it cool completely on the rack before slicing—about 1 hour. I know it’s hard to wait, but slicing warm banana bread leads to crumbly, messy slices. Trust me, I’ve done it many times.
Your kitchen will smell absolutely amazing at this point. The walnuts will have toasted inside the bread, creating this incredible aroma that fills the whole house. It’s honestly one of the best parts of making this recipe.
Cooking Tips & Techniques
Over the years, I’ve made every mistake you can imagine with banana bread. Here’s what I’ve learned so you don’t have to repeat my failures.
Don’t overmix the batter. This is the number one mistake. When you combine the wet and dry ingredients, stir just until the flour disappears. A few lumps are your friend. Overmixing develops gluten, and gluten makes banana bread tough and rubbery. You want it tender and soft, like a cloud.
Check for doneness the right way. Insert a toothpick into the center of the bread. If it comes out clean, it’s done. But here’s the trick—if it comes out with wet batter, it needs more time. If it comes out with a few moist crumbs clinging to it, that’s perfect. That means your bread will be moist, not dry. I’ve pulled loaves out too early and ended up with a gummy center, and I’ve left them in too long and gotten dry, crumbly bread. The toothpick test is your best friend.
Use room temperature ingredients. Your egg should be at room temperature for the best emulsification. Cold egg can cause the batter to separate slightly, leading to a denser texture. Same goes for the butter—melt it and let it cool slightly before adding. If your bananas are cold from the fridge, let them come to room temperature too. It makes a difference.
Toast the walnuts for extra flavor. This is a game-changer. Spread the chopped walnuts on a baking sheet and toast them in a 350°F oven for 5-7 minutes, or in a dry skillet over medium heat for 3-4 minutes, stirring constantly. They become fragrant and the oils release, giving the bread a deeper, nuttier flavor. I once skipped this step when I was in a hurry, and the bread was still good—but not as good. The toasting really makes the walnuts shine.
Let it cool completely. I know, I know. The smell is intoxicating and you want a slice right now. But if you slice it warm, it will crumble and fall apart. The bread continues to set as it cools, and the moisture redistributes throughout the loaf. Give it at least an hour on the cooling rack. Your patience will be rewarded with perfect, clean slices.
If your bread cracks on top, that’s a good thing. A cracked top is a sign of a well-risen loaf. Don’t worry if it looks rustic—that’s part of the charm. Homemade bread is supposed to look homemade.
Variations & Adaptations
This banana bread is incredibly versatile. Here are some of my favorite ways to change it up.
Chocolate Chip Banana Bread: Swap the walnuts for ½ cup of semi-sweet chocolate chips. My kids go absolutely crazy for this version. It’s like having dessert for breakfast (not that I’m complaining). You can also do a combination of chocolate chips and walnuts for the best of both worlds.
Gluten-Free Version: Use a 1:1 gluten-free baking flour blend like King Arthur Measure for Measure or Bob’s Red Mill. Don’t overmix the batter, and let the bread cool completely before slicing—gluten-free baked goods are more fragile when warm. I’ve tested this, and it comes out just as moist and tender.
Dairy-Free Version: Replace the butter with melted coconut oil or a neutral vegetable oil like avocado oil. Use a dairy-free yogurt or applesauce in place of the egg if needed (¼ cup applesauce per egg works well). The coconut oil adds a subtle flavor that pairs beautifully with the bananas.
Lower Sugar Version: Reduce the sugar to ½ cup if your bananas are very ripe and sweet. You can also use coconut sugar or a blend of sugar and stevia. I’ve made it with ½ cup of maple syrup instead of granulated sugar—just reduce the melted butter by 2 tablespoons to compensate for the extra liquid.
Spiced Banana Bread: Add 1 teaspoon of cinnamon, ½ teaspoon of nutmeg, and ¼ teaspoon of ground ginger to the dry ingredients. This gives the bread a warm, cozy flavor that’s perfect for fall. I love making this version around the holidays.
Add-In Ideas: Try dried cranberries, shredded coconut, or even a handful of oats on top for crunch. Last week, I threw in some leftover chocolate chips and a handful of chopped pecans because that’s what I had—it was honestly one of the best loaves I’ve ever made. Don’t be afraid to experiment!
Serving & Storage Suggestions
This banana bread is perfect served warm or at room temperature. I love it with a pat of butter melted on top—the saltiness of the butter against the sweet bread is just perfect. A drizzle of honey or a smear of cream cheese also works beautifully. For a special treat, toast a slice and top it with a scoop of vanilla ice cream. Yes, really. It’s incredible.
For a cozy breakfast or snack, serve it alongside a cup of coffee or a glass of cold milk. My kids love it in their lunchboxes—it stays soft and doesn’t get crushed like cookies might. It’s also great for brunch spreads, potlucks, or as a hostess gift wrapped in a pretty tea towel.
Storage: Store leftover banana bread in an airtight container at room temperature for up to 4 days. I wrap mine tightly in plastic wrap, then place it in a zip-top bag. The bread actually gets more moist and flavorful on day two as the flavors meld together. If you live in a humid climate, you might want to refrigerate it after day 3 to prevent mold.
Freezing: This banana bread freezes beautifully! Wrap the cooled loaf tightly in plastic wrap, then in a layer of aluminum foil, and place it in a freezer-safe bag. It will keep for up to 3 months. To thaw, leave it on the counter overnight, or slice it while frozen and toast individual slices straight from the freezer. I always make a double batch and freeze one loaf for emergencies—like unexpected guests or a last-minute school bake sale (learned that lesson!).
Reheating: For that fresh-from-the-oven taste, warm individual slices in the microwave for 10-15 seconds, or toast them in a toaster or toaster oven for 2-3 minutes. The outside gets slightly crisp while the inside stays soft and tender. It’s almost better than fresh.
One thing I love about this banana bread is how the flavors develop over time. On day one, it’s tender and sweet. By day three, the banana flavor has deepened and the walnuts have softened slightly, creating this incredible texture. Honestly, I sometimes prefer it on day two or three—if it lasts that long in your house!
Nutritional Information & Benefits
Here’s the estimated nutritional breakdown for one slice (based on 10 slices per loaf):
| Nutrient | Amount per Slice |
|---|---|
| Calories | 285 |
| Total Fat | 14g |
| Saturated Fat | 6g |
| Cholesterol | 40mg |
| Sodium | 210mg |
| Total Carbohydrates | 37g |
| Dietary Fiber | 2g |
| Sugars | 18g |
| Protein | 4g |
While this banana bread is a treat, it does offer some nutritional benefits. Bananas are rich in potassium, vitamin B6, and vitamin C. They also contain pectin, which is good for digestion. Walnuts are packed with omega-3 fatty acids, which are great for heart and brain health. Plus, this recipe uses real butter (no hydrogenated oils) and simple, recognizable ingredients.
If you’re watching your sugar intake, you can reduce the sugar to ½ cup or use a sugar substitute. For a lower-fat option, replace half the butter with unsweetened applesauce. The bread won’t be as rich, but it will still be moist and delicious.
Potential allergens: This recipe contains wheat (gluten), dairy (butter), eggs, and tree nuts (walnuts). For allergy-friendly versions, see the variations section above.
Conclusion
This banana bread with walnuts is more than just a recipe—it’s a lifesaver for busy families, a budget-friendly treat, and a guaranteed crowd-pleaser. It’s the kind of bread that makes you look like a baking pro even when you’re just trying to use up those spotty bananas on your counter. I’ve made it for bake sales, school events, lazy Sunday mornings, and late-night snacks, and it never disappoints.
I hope you give this recipe a try and make it your own. Add chocolate chips if that’s your thing, swap the walnuts for pecans, or leave them out entirely—it’s your kitchen, your rules. That’s the beauty of a simple, forgiving recipe like this one.
I’d love to hear how it turns out for you! Drop a comment below and let me know if your kids loved it as much as mine do. Did you try a fun variation? Did you forget to set the timer and overbake it a little? (Been there!) Share your stories—I read every single comment. And if you’re feeling generous, share this recipe with a friend who needs a little baking win in their life. Happy baking, friend!
Frequently Asked Questions
Can I use frozen bananas for this recipe?
Absolutely! Frozen bananas are actually perfect for banana bread. Thaw them completely at room temperature, then drain off any excess liquid before mashing. The bananas will be very soft and almost liquidy, which is fine. Just reduce the melted butter by 1 tablespoon to account for the extra moisture.
Why did my banana bread turn out dry?
Dry banana bread usually means one of three things: you used too much flour, you overbaked it, or your bananas weren’t ripe enough. Make sure to spoon and level your flour (don’t scoop directly from the bag), and check for doneness at the 55-minute mark. Also, use bananas that are heavily spotted—they have more moisture and natural sweetness.
Can I make this recipe nut-free?
Of course! Simply omit the walnuts entirely, or replace them with an equal amount of chocolate chips, dried fruit, or seeds like sunflower seeds or pumpkin seeds. The bread will still be delicious and moist without the nuts.
How do I know when the bananas are ripe enough?
Look for bananas with lots of brown spots or even completely black skins. They should feel soft when gently squeezed. If your bananas aren’t ripe yet, you can speed up the process by placing them in a paper bag with an apple or a ripe banana overnight, or bake them in a 300°F oven for 15-20 minutes until the skins turn black.
Can I double this recipe?
Yes! This recipe doubles beautifully. Use two loaf pans and bake them at the same time. You may need to rotate the pans halfway through baking for even browning. The baking time might increase by 5-10 minutes since the oven is more crowded. I often make a double batch and freeze one loaf for later—it’s a real time-saver.
Pin This Recipe!
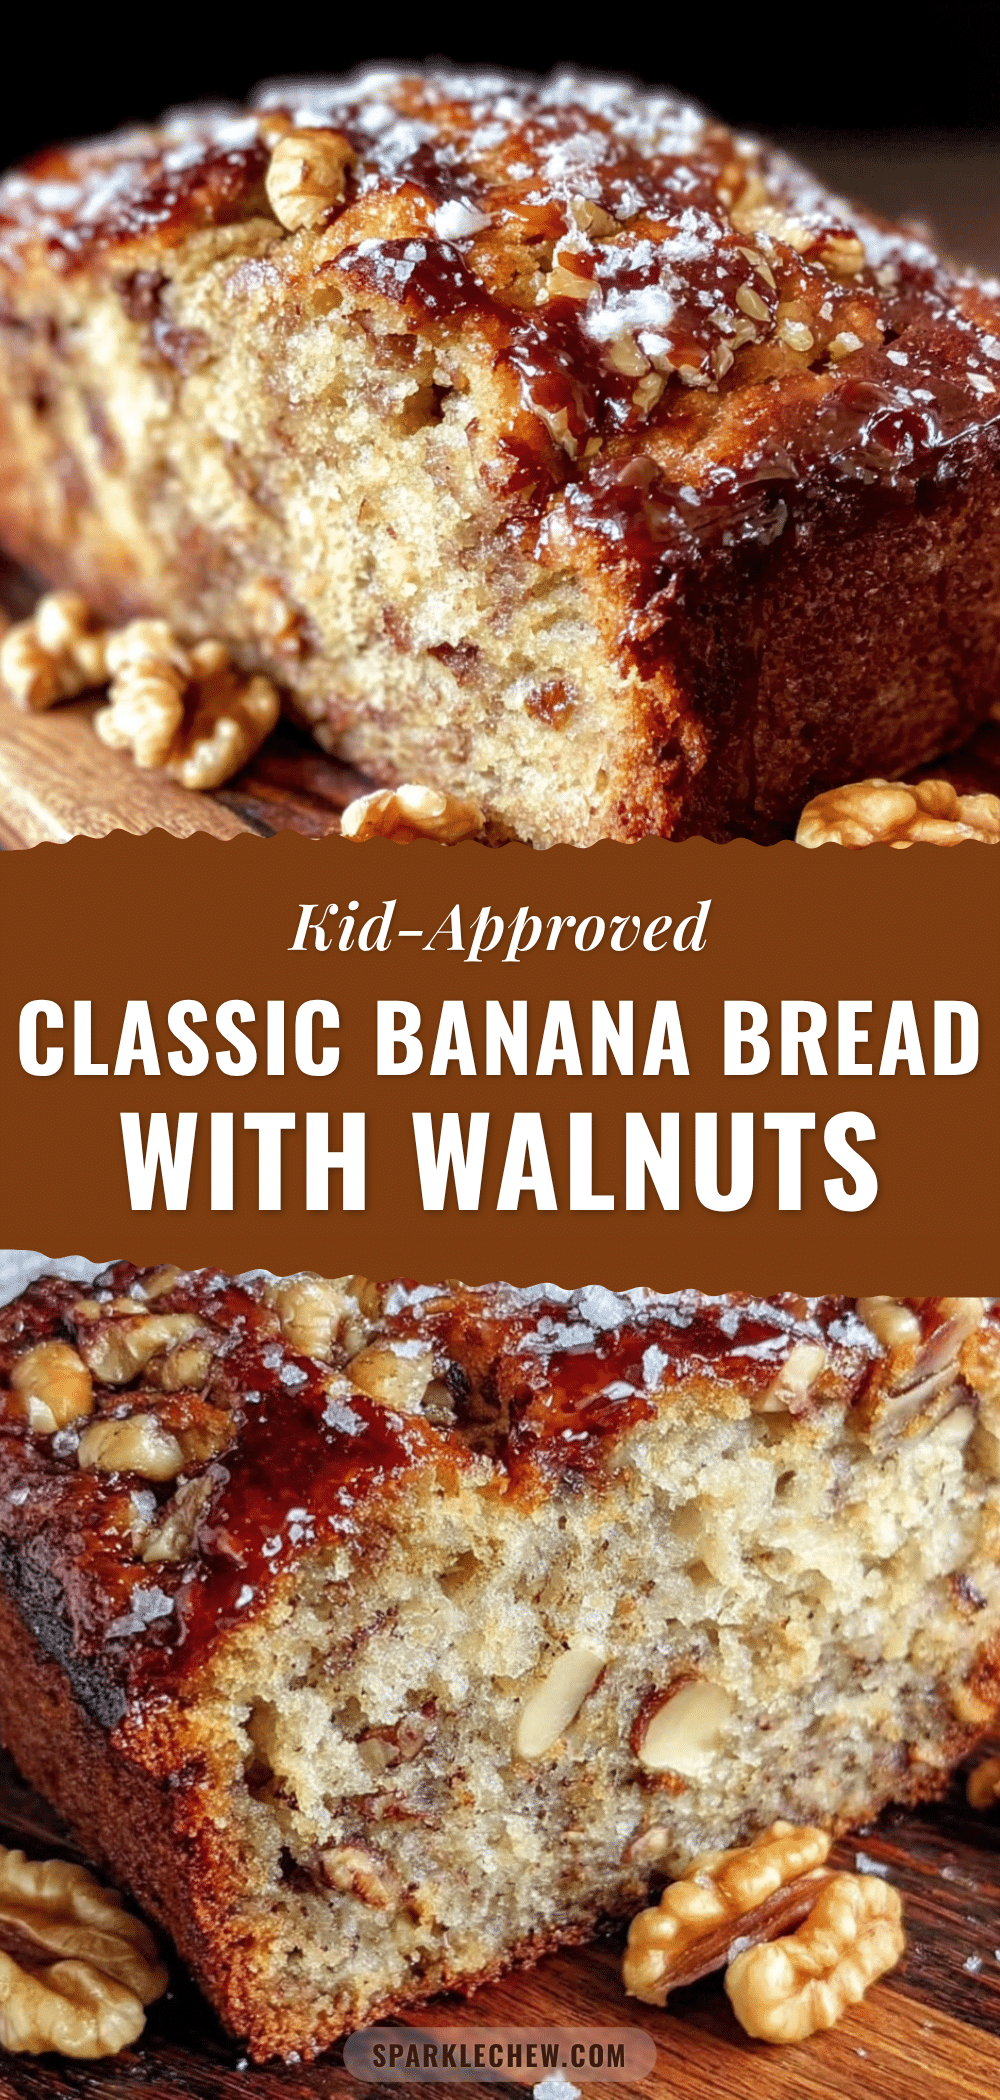
Best Easy Banana Bread with Walnuts – Kid-Approved Recipe
A simple, no-fuss banana bread with walnuts that’s moist, tender, and perfect for busy families. Made with basic pantry ingredients, it’s a guaranteed crowd-pleaser that stays delicious for days.
- Prep Time: 15 minutes
- Cook Time: 55-65 minutes
- Total Time: 1 hour 20 minutes
- Yield: 10 servings 1x
- Category: Dessert
- Cuisine: American
Ingredients
- 3 large ripe bananas, mashed (about 1 ½ cups)
- ½ cup unsalted butter, melted (1 stick)
- ¾ cup granulated sugar
- 1 large egg, room temperature
- 1 teaspoon vanilla extract
- 1 ½ cups all-purpose flour
- 1 teaspoon baking soda
- ¼ teaspoon salt
- ½ cup walnuts, chopped
Instructions
- Preheat your oven to 350°F (175°C). Grease a 9×5-inch loaf pan with butter or non-stick spray. Optionally, line with parchment paper for easy removal.
- In a large mixing bowl, mash the bananas with a fork or potato masher until some small chunks remain.
- Add the melted butter, granulated sugar, egg, and vanilla extract to the mashed bananas. Stir until well combined and smooth.
- In a small bowl, whisk together the all-purpose flour, baking soda, and salt.
- Pour the dry ingredients into the wet mixture. Stir gently with a rubber spatula or wooden spoon until just combined. Do not overmix; a few lumps are fine.
- Gently fold the chopped walnuts into the batter.
- Pour the batter into the prepared loaf pan and smooth the top. Tap the pan gently on the counter to release air bubbles.
- Bake for 55-65 minutes, or until a toothpick inserted into the center comes out clean or with a few moist crumbs. If the top browns too quickly, tent loosely with aluminum foil.
- Cool the bread in the pan on a cooling rack for 10 minutes.
- Remove the bread from the pan and let it cool completely on the rack before slicing (about 1 hour).
Notes
For best results, use very ripe bananas with brown spots. Toast walnuts lightly before adding for extra flavor. Do not overmix the batter to avoid tough bread. Let the bread cool completely before slicing to prevent crumbling. Store in an airtight container at room temperature for up to 4 days, or freeze for up to 3 months.
Nutrition
- Serving Size: 1 slice
- Calories: 285
- Sugar: 18
- Sodium: 210
- Fat: 14
- Saturated Fat: 6
- Carbohydrates: 37
- Fiber: 2
- Protein: 4
Keywords: banana bread, easy banana bread, banana bread with walnuts, kid-friendly banana bread, moist banana bread, simple banana bread, budget-friendly banana bread


