Love this? Save it for later!
Share the inspiration with your friends
I had refused to make small-batch cookies for years. Years. It seemed like such a silly compromise—why bother heating up the oven for just six cookies when you could make a full batch and freeze half? That logic felt solid. Then last Tuesday, at 9:47 PM, with rain tapping against the kitchen window and a craving that would not quit, I found myself measuring out flour into a single bowl. My neighbor Kate had texted me an hour earlier saying she was having “one of those days” and I thought, well, I’ll just make her a few. I’d be done in twenty minutes, no big deal.
I caught myself licking the spatula clean before the cookies even hit the oven. And then, when they came out—golden around the edges, soft in the middle, the kitchen smelling like vanilla and brown sugar and home—I realized I had been stubborn for no good reason. These weren’t a compromise. They were a revelation. Honestly, the no-chill thing was what sealed it for me. I didn’t have to wait. I didn’t have to plan ahead. I just mixed, scooped, and baked. Twenty minutes from craving to warm cookie. Maybe you’ve been there, standing in your kitchen at an unreasonable hour, wanting something sweet but not wanting to commit to a whole production. These cookies are for that exact moment.
I kept making them. For myself, for Kate, for the guy at the coffee shop who let me pay with a crumpled five. There is something about a warm, small-batch cookie that feels like a secret you’re keeping with yourself. It’s not for a crowd. It’s not for a bake sale. It’s just for now. And that, honestly, is what makes it so good.
Why You’ll Love This Recipe
This isn’t just another chocolate chip cookie recipe. After testing this method at least a dozen times—burning a few batches, under-baking others, and finally landing on the perfect ratio—I can tell you this one is special. Here is why you will keep coming back to it:
- No Chill Required : No waiting for dough to firm up in the fridge. Mix, scoop, bake. That is the whole plan.
- Ready in 20 Minutes : From the moment you decide you want a cookie to the moment you are holding one, it is under twenty minutes. I timed it.
- Simple Ingredients : Butter, sugar, flour, an egg yolk, chocolate chips. You probably have all of this right now.
- Perfect for a Cozy Evening : Rainy nights, rough days, or just a Tuesday that needs fixing—this recipe is made for those moments.
- No Waste : A full batch of cookies can be dangerous when you live alone or with just one other person. This makes exactly six, which is just enough.
- Unbelievably Soft : The texture is chewy on the inside, slightly crisp on the edges. It is the kind of cookie that makes you close your eyes after the first bite.
What makes this different from every other cookie recipe out there is the technique. Using just an egg yolk instead of a whole egg gives these cookies a richer, more tender crumb without making them cakey. And skipping the chill time means the butter stays soft, which spreads just enough to create those perfect crispy edges while keeping the center thick and gooey. It is comfort food reimagined—faster, simpler, but with the same soul-soothing satisfaction.
What Ingredients You Will Need
This recipe uses simple, pantry-friendly ingredients to deliver big flavor without the fuss. Here is what you need and why each one matters:
- Unsalted Butter (4 tablespoons, softened): I use Land O’Lakes or Kerrygold for the best flavor. Softened butter is key here—if it is too cold, the cookies won’t spread properly. Let it sit out for about 30 minutes before starting.
- Granulated Sugar (3 tablespoons): Adds sweetness and helps create those crispy edges.
- Light Brown Sugar (3 tablespoons, packed): This is where the magic happens. Brown sugar adds moisture and a deep, almost caramel-like flavor. I always pack it firmly into the measuring spoon.
- Egg Yolk (1 large): Using just the yolk gives you all the richness without the extra moisture that makes cookies cakey. Save the white for scrambled eggs tomorrow.
- Vanilla Extract (½ teaspoon): Pure vanilla, not imitation. It makes a difference. I like Nielsen-Massey or simply organic.
- All-Purpose Flour (¾ cup, spooned and leveled): Spoon the flour into your measuring cup and level it off with a knife. Scooping directly can pack in too much flour and make your cookies dry.
- Baking Soda (¼ teaspoon): Helps the cookies spread just a little and gives them that nice golden color.
- Salt (¼ teaspoon): Do not skip this. Salt balances the sweetness and makes the chocolate taste more chocolatey. I use fine sea salt.
- Semi-Sweet Chocolate Chips (⅓ cup): I prefer Ghirardelli or Guittard for the best melt and flavor. You can also chop up a chocolate bar if you want those melty puddles of chocolate.
That is it. Seven dry ingredients plus butter and an egg yolk. No weird stuff, no specialty flours. Just honest, simple ingredients that come together fast.
Equipment Needed
You do not need much for this recipe, which is part of the appeal. Here is what you will need:
- Mixing Bowl (medium-sized): Any bowl works, but a wide, shallow one makes it easier to cream the butter and sugar.
- Electric Mixer or Wooden Spoon: I use a hand mixer because it is faster, but a sturdy wooden spoon and some elbow grease work just fine. I have done it both ways.
- Measuring Cups and Spoons: For accuracy. I have a set of stainless steel ones that have lasted years.
- Baking Sheet (half-sheet size): A light-colored, rimmed baking sheet gives the most even browning. Dark sheets can burn the bottoms.
- Parchment Paper or Silicone Baking Mat: Parchment paper is my go-to. It prevents sticking and makes cleanup a breeze.
- Cookie Scoop or Tablespoon: A 1.5-tablespoon scoop gives you evenly sized cookies. If you do not have one, just use a regular tablespoon and shape them into balls with your hands.
- Cooling Rack: Optional but nice. Lets the cookies cool evenly so the bottoms don’t get soggy.
If you are on a budget, skip the electric mixer and the cookie scoop. A bowl, a spoon, and your hands are all you really need. I made these for months with just those three things.
Preparation Method
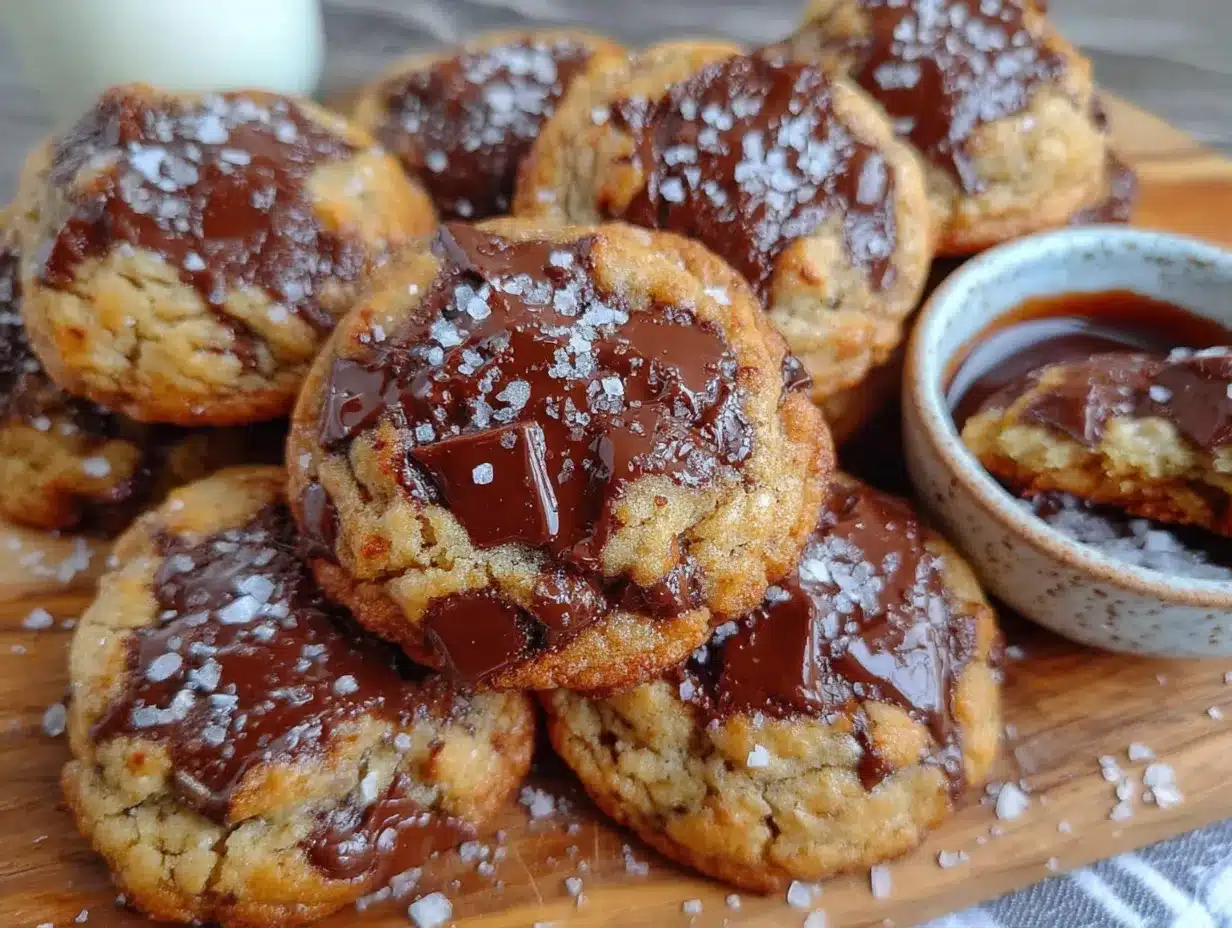
Let me walk you through this step by step. It is simple, but there are a few small tricks that make a big difference.
- Preheat Your Oven to 350°F (175°C). Line a baking sheet with parchment paper. Do this first so the oven is hot and ready when your dough is done.
- Cream the Butter and Sugars. In a medium mixing bowl, combine 4 tablespoons of softened unsalted butter, 3 tablespoons of granulated sugar, and 3 tablespoons of packed light brown sugar. Beat with an electric mixer on medium speed for about 2 minutes, until the mixture is light, fluffy, and pale in color. Scrape down the sides of the bowl once. If you are using a wooden spoon, give it a good 3 minutes of vigorous stirring. You will see the texture change from grainy to smooth and creamy.
- Add the Egg Yolk and Vanilla. Drop in 1 large egg yolk and ½ teaspoon of vanilla extract. Beat on low speed just until combined, about 15 seconds. Do not overmix here—you just want it incorporated. The mixture might look a little curdled at this point, which is totally normal.
- Whisk the Dry Ingredients Separately. In a small bowl, whisk together ¾ cup of all-purpose flour, ¼ teaspoon of baking soda, and ¼ teaspoon of salt. This ensures the baking soda and salt are evenly distributed so you do not get a pocket of salt in one cookie.
- Add the Dry Ingredients to the Wet. Pour the flour mixture into the butter mixture. Mix on low speed or fold with a spatula until just combined. You should still see a few streaks of flour. Overmixing at this stage develops gluten and makes tough cookies.
- Fold in the Chocolate Chips. Add ⅓ cup of semi-sweet chocolate chips. Fold them in gently with a spatula until they are evenly distributed. The dough will be thick and slightly sticky—that is what you want.
- Scoop the Dough. Use a 1.5-tablespoon cookie scoop or a regular tablespoon to portion the dough into 6 equal balls. Place them on the prepared baking sheet, spacing them about 2 inches apart. They will spread a little, so give them room. I like to press a few extra chocolate chips onto the tops of the dough balls for a prettier look.
- Bake Immediately. Do not chill. Pop the baking sheet into the preheated oven right away. Bake for 9 to 11 minutes. At 9 minutes, the edges will be set and golden, but the centers will still look soft and slightly underdone. That is exactly what you want. The cookies will continue to bake on the hot sheet after you pull them out.
- Cool on the Baking Sheet. Let the cookies sit on the baking sheet for 5 minutes. This is crucial—it allows them to set up without becoming too hard. After 5 minutes, transfer them to a cooling rack. Or, honestly, just eat one right away. I will not judge.
One thing I learned the hard way: do not overbake these. The first time I made them, I left them in for 12 minutes because I wanted them “golden.” They came out crunchy, not chewy. The perfect cookie comes out of the oven looking slightly underdone in the middle. Trust the process.
Cooking Tips & Techniques
Here are the things I wish someone had told me before I started making small-batch cookies:
Use Room Temperature Butter. I cannot stress this enough. If your butter is too cold, it will not cream properly with the sugar, and your cookies will be dense and flat. If it is too soft or melted, they will spread into puddles. Softened means you can press your finger into it and it leaves an indent without sinking in. Leave it on the counter for 30 minutes before you start.
Weigh Your Flour If You Can. I know not everyone has a kitchen scale, but if you do, use it. ¾ cup of all-purpose flour weighs about 95 grams. Measuring by volume can vary by as much as 20 grams depending on how you scoop. Too much flour makes dry, crumbly cookies. Too little makes flat, greasy ones.
Do Not Skip the Salt. I once made these without salt because I was out and thought, “How different could it be?” Very different. The cookies tasted flat and one-dimensional. Salt does not just make things salty—it enhances flavor. Use it.
Chocolate Chip Placement. After you scoop the dough onto the baking sheet, press a few extra chocolate chips into the tops. This ensures every cookie has visible chocolate on top, which looks prettier and gives you a better chocolate-to-dough ratio in every bite.
Let Them Cool. I know it is hard. I have burned my tongue more times than I care to admit because I could not wait. But those 5 minutes on the baking sheet are non-negotiable. The cookies are structurally fragile when they first come out of the oven. Moving them too soon will break them.
I once left a batch in the oven while I took a phone call and forgot about them for 14 minutes. They came out dark brown and tasted like burnt toast. My dog still ate one, but I did not. Learn from my mistakes.
Variations & Adaptations
Once you have the basic recipe down, feel free to play around. Here are some variations I have tried and loved:
- Double Chocolate: Swap 1 tablespoon of flour for 1 tablespoon of unsweetened cocoa powder. Use white chocolate chips or dark chocolate chunks instead of semi-sweet. The result is a rich, fudgy cookie that tastes like a brownie.
- Gluten-Free: Replace the all-purpose flour with a 1-to-1 gluten-free baking flour blend. I have used Bob’s Red Mill with great results. The texture is slightly more tender, but the flavor is spot on.
- Vegan: Use 4 tablespoons of vegan butter (I like Miyoko’s), 1 tablespoon of flaxseed meal mixed with 2 tablespoons of water (let it sit for 5 minutes to gel), and dairy-free chocolate chips. The cookies are a bit more delicate, but they still taste amazing.
- Add-In Swaps: Instead of chocolate chips, try chopped pecans and butterscotch chips, or dried cherries and white chocolate, or even crushed pretzels for a salty-sweet twist. I made a batch with candied ginger and dark chocolate once, and it was unexpectedly incredible.
- Bigger Batch: If you want more than 6 cookies, simply double or triple the recipe. The baking time stays the same. Just make sure your baking sheet is not overcrowded.
My personal favorite variation is the salted brown butter version. Brown the 4 tablespoons of butter in a small saucepan over medium heat until it turns golden and smells nutty, about 3 minutes. Let it cool for 5 minutes before creaming it with the sugars. The flavor is next-level—warm, toasty, and deeply comforting. It adds about 5 minutes to the prep time, but it is worth it.
Serving & Storage Suggestions
These cookies are best served warm, straight from the oven. That moment when the chocolate is still melty and the edges are just barely crisp—that is the peak experience. I like to pair one with a cold glass of milk or a hot cup of coffee. If I am feeling fancy, I will crumble one over a scoop of vanilla ice cream for a quick dessert.
For storage, let the cookies cool completely, then place them in an airtight container at room temperature. They will stay soft and chewy for up to 3 days. Honestly, they rarely last that long in my house. If you want to keep them longer, you can freeze the baked cookies for up to 2 months. Just wrap them individually in plastic wrap and place them in a freezer bag. Thaw at room temperature for about 30 minutes, or pop one in the microwave for 10 seconds.
You can also freeze the raw dough. Scoop the dough into balls, place them on a parchment-lined baking sheet, and freeze until solid. Transfer the frozen dough balls to a freezer bag. When you want a cookie, bake them straight from frozen at 350°F for 11 to 12 minutes. No need to thaw. This is my favorite trick for having fresh cookies on demand without the commitment of a full batch.
The flavors actually develop a bit over time. Day-old cookies are still delicious, but they lose that initial gooeyness. If you are reheating a day-old cookie, 8 seconds in the microwave brings back the soft center.
Nutritional Information & Benefits
Here is the approximate nutritional breakdown for one cookie (based on 6 cookies per batch):
| Nutrient | Amount Per Cookie |
|---|---|
| Calories | 210 |
| Total Fat | 12g |
| Saturated Fat | 7g |
| Cholesterol | 45mg |
| Sodium | 150mg |
| Total Carbohydrates | 26g |
| Dietary Fiber | 1g |
| Sugars | 16g |
| Protein | 3g |
These cookies are a treat, not a health food, and that is okay. The dark chocolate in semi-sweet chips does contain antioxidants, and the butter provides a small amount of vitamin A. Using a single egg yolk instead of a whole egg reduces the cholesterol slightly compared to a standard cookie recipe. If you are watching your sugar intake, you can reduce the granulated sugar to 2 tablespoons, though the cookies will be less crisp around the edges.
For dietary considerations, this recipe contains gluten, dairy, and eggs. For a gluten-free version, use the flour swap mentioned in the variations section. For a dairy-free version, use vegan butter and dairy-free chocolate chips. The egg yolk can be replaced with a flax egg for a vegan option, though the texture will be slightly different.
Conclusion
These cozy small-batch chocolate chip cookies are proof that you do not need a big production to get a big payoff. They are simple, fast, and deeply satisfying—the kind of recipe that feels like a hug in food form. Whether you are making them for yourself on a quiet night, surprising someone who is having a rough day, or just craving something sweet without the commitment of a full batch, these cookies deliver every time.
I love this recipe because it meets me where I am. It does not ask me to plan ahead or dig out a dozen different tools. It just asks for twenty minutes and a little bit of trust. And honestly, that is the kind of recipe I keep coming back to.
I would love to hear how these turn out for you. Did you try a variation? Did you burn a batch like I did? Drop a comment below and let me know. And if you share a photo on Pinterest, tag me—I want to see your cozy cookie moments.
Frequently Asked Questions
Can I use salted butter instead of unsalted?
Yes, you can. Just reduce the added salt in the recipe to ⅛ teaspoon. Salted butter has about ¼ teaspoon of salt per stick, so adjust accordingly to avoid overly salty cookies.
Why do my cookies spread too much?
This usually happens when the butter is too soft or melted. Make sure your butter is softened but still cool to the touch. Also, check that your baking soda is fresh. Old baking soda loses its potency and can cause excessive spreading.
Can I make these cookies with whole wheat flour?
You can substitute up to half of the all-purpose flour with whole wheat flour. Using 100% whole wheat will make the cookies denser and slightly nutty in flavor, which some people love. Just add an extra tablespoon of butter to keep them from drying out.
How do I know when the cookies are done baking?
Look for golden edges and a center that still looks slightly soft and puffy. The cookies will continue to bake on the hot sheet after you pull them out. If the centers look fully set in the oven, they will be overbaked once cooled.
Can I double this recipe?
Absolutely. Double all the ingredients and follow the same instructions. You may need to bake in two batches if your baking sheet is small. The baking time stays the same—just keep an eye on the edges.
Pin This Recipe!
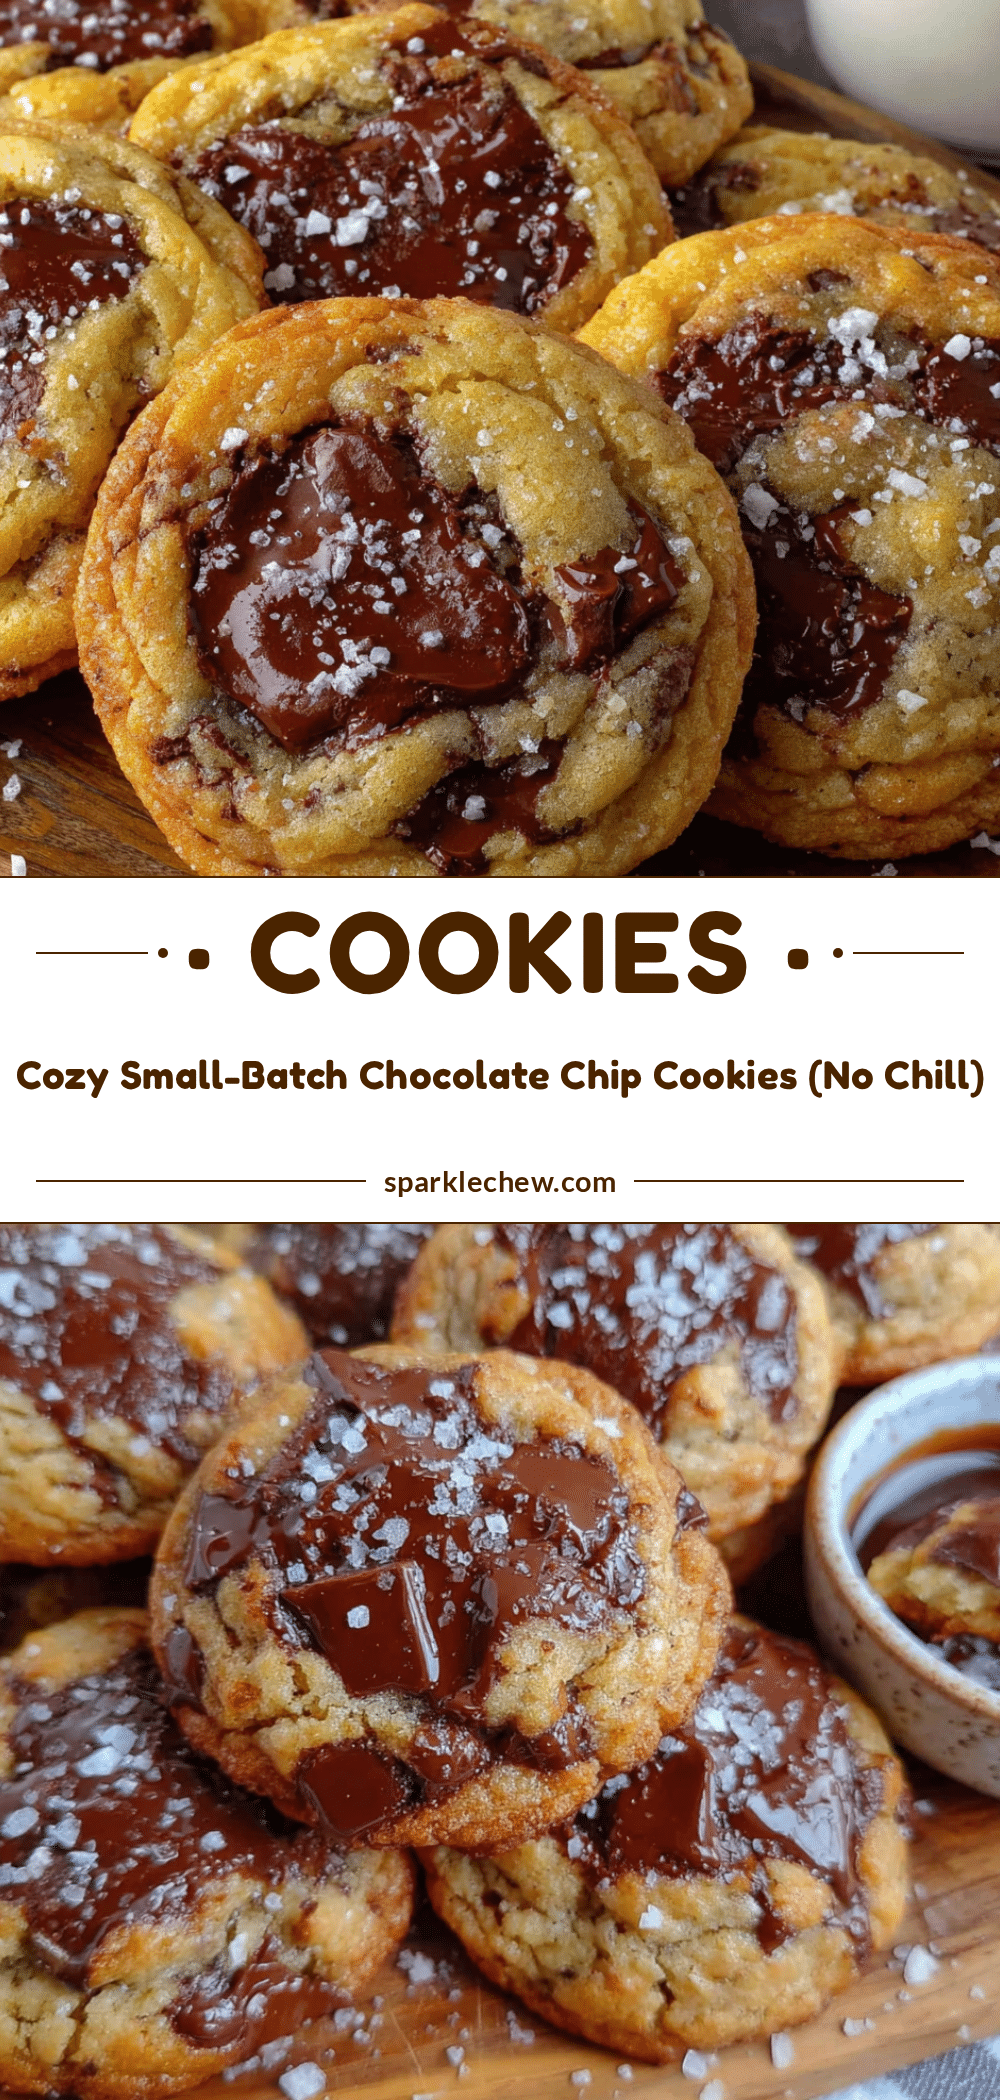
Cozy Small-Batch Chocolate Chip Cookies: No Chill & Ready in 20

These no-chill, small-batch chocolate chip cookies are ready in just 20 minutes, delivering perfectly soft centers with crispy edges. Made with simple ingredients and just an egg yolk for extra richness, they’re the ideal treat for a cozy evening or a quick craving.
- Prep Time: 10 minutes
- Cook Time: 10 minutes
- Total Time: 20 minutes
- Yield: 6 cookies 1x
- Category: Dessert
- Cuisine: American
Ingredients
- 4 tablespoons unsalted butter, softened
- 3 tablespoons granulated sugar
- 3 tablespoons light brown sugar, packed
- 1 large egg yolk
- 1/2 teaspoon vanilla extract
- 3/4 cup all-purpose flour, spooned and leveled
- 1/4 teaspoon baking soda
- 1/4 teaspoon salt
- 1/3 cup semi-sweet chocolate chips
Instructions
- Preheat your oven to 350°F (175°C). Line a baking sheet with parchment paper.
- In a medium mixing bowl, cream together 4 tablespoons softened unsalted butter, 3 tablespoons granulated sugar, and 3 tablespoons packed light brown sugar with an electric mixer on medium speed for about 2 minutes until light, fluffy, and pale. Scrape down the sides once. If using a wooden spoon, stir vigorously for 3 minutes.
- Add 1 large egg yolk and 1/2 teaspoon vanilla extract. Beat on low speed just until combined, about 15 seconds. Do not overmix.
- In a small bowl, whisk together 3/4 cup all-purpose flour, 1/4 teaspoon baking soda, and 1/4 teaspoon salt.
- Pour the flour mixture into the butter mixture. Mix on low speed or fold with a spatula until just combined, with a few streaks of flour remaining.
- Fold in 1/3 cup semi-sweet chocolate chips gently with a spatula until evenly distributed. The dough will be thick and slightly sticky.
- Using a 1.5-tablespoon cookie scoop or a regular tablespoon, portion the dough into 6 equal balls. Place them on the prepared baking sheet, spacing about 2 inches apart. Press a few extra chocolate chips onto the tops if desired.
- Bake immediately (do not chill) for 9 to 11 minutes. The edges should be set and golden, but the centers will look soft and slightly underdone.
- Let the cookies cool on the baking sheet for 5 minutes, then transfer to a cooling rack. Enjoy warm.
Notes
Do not overbake; cookies should look slightly underdone in the center when removed from the oven. Use room temperature butter for best results. For a salted brown butter variation, brown the butter before creaming. Store in an airtight container at room temperature for up to 3 days, or freeze baked cookies for up to 2 months. Raw dough can be frozen and baked directly from frozen at 350°F for 11-12 minutes.
Nutrition
- Serving Size: 1 cookie
- Calories: 210
- Sugar: 16
- Sodium: 150
- Fat: 12
- Saturated Fat: 7
- Carbohydrates: 26
- Fiber: 1
- Protein: 3
Keywords: small-batch cookies, chocolate chip cookies, no chill cookies, quick cookies, easy cookies, cozy cookies


