Love this? Save it for later!
Share the inspiration with your friends
Introduction
“I wasn’t expecting my afternoon snack session to turn into a mini kitchen experiment, but there I was, with a sticky counter and a mess of fruit pulp everywhere,” I chuckle, remembering that Tuesday afternoon. My friend Erin had just dropped by with her two kids, and I wanted to whip up something quick and healthy for them. The fruit roll-ups on store shelves always looked tempting but honestly, the ingredient list made me cringe. So, I thought, why not try making my own? The first batch didn’t look pretty — one sheet stuck to the pan, another was a little too chewy — but the kids loved the tangy sweetness, and honestly, so did I.
Maybe you’ve been there too—wanting a snack that’s fun, portable, and doesn’t come loaded with sugar or weird additives. This easy homemade fruit roll-ups recipe came from that exact place of craving a better snack option, without fuss or fancy ingredients. Plus, I had a cracked ceramic bowl that I somehow managed not to drop in the chaos, which felt like a small victory.
Since that day, I’ve tweaked the recipe, learned a few tricks (like using parchment paper instead of silicone mats), and now it’s my go-to for healthy snack cravings, especially when I want something the kids can grab and munch without me hovering. Let me tell you, it’s one of those recipes that feels like a little treat but is guilt-free and packed with real fruit flavor. If you’ve ever wished for a snack that’s both fun and wholesome, this one’s for you.
Why You’ll Love This Recipe
Having tested this easy homemade fruit roll-ups recipe multiple times (sometimes under the pressure of hungry kids, I admit), I can say it truly stands out for several reasons:
- Quick & Easy: You can have these fruit roll-ups ready in about an hour, including drying time. Perfect for busy weeknights or last-minute snack preps.
- Simple Ingredients: No need for specialty stores—just fresh or frozen fruit, a little sweetener if you want, and a splash of lemon juice.
- Perfect for On-the-Go: These roll-ups pack well for lunchboxes, hikes, or just a quick nibble in between activities.
- Crowd-Pleaser: From picky toddlers to snack-loving adults, everyone seems to appreciate the natural sweetness and chewy texture.
- Unbelievably Delicious: The way the fruit’s natural sugars caramelize in the oven gives these a depth of flavor that’s hard to beat.
This recipe isn’t just another fruit leather copycat. I’ve found that gently blending the fruit until totally smooth and using a low oven temperature creates a texture that’s just right—not too sticky, not too brittle. Honestly, making these at home feels like reclaiming a bit of old-school snack magic but with a healthy twist. You might even find yourself making extra just to have on hand.
What Ingredients You Will Need
This recipe uses simple, wholesome ingredients to deliver bold flavor and satisfying texture without the fuss. Most of these are pantry staples or fresh produce you can find easily. Plus, you can swap things around depending on what you have on hand.
- Fresh or Frozen Fruit (4 cups / 600 grams): Strawberries, mangoes, peaches, or mixed berries all work beautifully. I personally recommend organic strawberries for the best natural sweetness.
- Fresh Lemon Juice (1 tablespoon): Adds brightness and helps preserve color. If you don’t have fresh, bottled is fine.
- Honey or Maple Syrup (1-2 tablespoons, optional): Use this only if your fruit is tart or you want a touch more sweetness. Raw honey by Nature’s Nectar is my go-to.
- Ground Cinnamon (1/2 teaspoon, optional): Adds a warm flavor twist, especially great with apple or peach blends.
Substitution tips: You can replace honey with agave syrup or leave out sweeteners entirely if your fruit is ripe and sweet enough. For a tropical twist, try adding a tablespoon of coconut water or a small dash of vanilla extract (not too much, just a hint).
Equipment Needed
- Blender or Food Processor: Essential for pureeing the fruit into a smooth consistency. A high-speed blender works best but a regular food processor is fine too.
- Baking Sheet: Use a rimmed sheet to avoid any spills. I like using an aluminum sheet for even heat distribution.
- Parchment Paper or Silicone Baking Mat: Parchment paper is my personal favorite because the fruit roll-ups peel off easier. Avoid greasing the sheet.
- Spatula: To spread the fruit puree evenly over the sheet.
- Sharp Knife or Scissors: For cutting the dried fruit roll into strips once cooled.
If you don’t have a blender, you can mash very soft fruits with a fork, but the texture won’t be as smooth. Also, a dehydrator can be used instead of an oven if you have one, but I find the oven method more accessible and just as reliable.
Preparation Method
- Preheat your oven to 140°F (60°C) or the lowest temperature it can reach. Line your baking sheet with parchment paper.
- Prepare the fruit: Wash and hull strawberries, peel mangoes or peaches, and chop into chunks. Measure out 4 cups (600 grams) total.
- Puree the fruit: Place the fruit chunks into your blender or food processor. Add lemon juice and optional honey/maple syrup and cinnamon. Blend until completely smooth, about 1-2 minutes. The mixture should be pourable but thick.
- Spread the puree: Pour the fruit mixture onto the lined baking sheet. Use a spatula to spread it evenly into a thin layer, about 1/8 inch (3 mm) thick. Try to keep the edges straight for easier cutting later.
- Bake low and slow: Place the baking sheet in the oven and bake for 4-6 hours. Check after 4 hours by gently touching the surface—it should feel dry to the touch but still pliable, not sticky or wet. If it’s too sticky, bake a bit longer.
- Cool completely: Remove from the oven and let the fruit leather cool for at least 30 minutes at room temperature.
- Cut into strips: Use scissors or a sharp knife to cut the roll-up into desired shapes or strips. You can roll them up with parchment paper for easy storage.
- Store: Keep the fruit roll-ups in an airtight container at room temperature for up to 2 weeks or in the fridge for longer freshness.
Pro tip: If you notice bubbles forming while baking, gently prick them with a fork to release air and keep the texture even. Also, rotating the baking sheet halfway through baking helps with even drying.
Cooking Tips & Techniques
Making fruit roll-ups at home is more straightforward than it looks, but a few tricks really help nail the texture and flavor every time.
- Choose ripe fruit: The sweeter and softer the fruit, the better the natural flavor and texture. Underripe fruit can lead to a tough or tart roll-up.
- Puree until smooth: No one likes little chunks in their roll-ups unless that’s your thing! A silky puree ensures even drying and a pleasant mouthfeel.
- Spread evenly: Uneven thickness means some parts dry out faster than others. Use an offset spatula or the back of a spoon to smooth out the layer.
- Low and slow baking: Resist the temptation to crank up the oven. High heat cooks the fruit too fast, resulting in a brittle or burnt roll-up.
- Test for doneness: It’s done when the surface is dry but still bends without cracking. If it sticks to your finger, it needs more time.
- Storage matters: Wrap your roll-ups individually in parchment paper before storing to prevent sticking and make grab-and-go easier.
Early on, I tried baking at 200°F (93°C) to speed things up, but it ended with burnt edges and chewy centers. Patience is key here, honestly. Also, sometimes I forget to line the pan right (don’t be like me!)—parchment paper really saves the day.
Variations & Adaptations
One of the best things about homemade fruit roll-ups is how easy they are to customize. Here are some fun ways to switch things up:
- Dietary Friendly: Use agave syrup or skip sweeteners for a vegan version. For kids with allergies, avoid adding nuts or spices that might cause reactions.
- Seasonal Flavors: Summer berries, autumn apples with cinnamon, or tropical mango-pineapple blends work beautifully. Swap frozen fruit during off-seasons.
- Flavor Boosters: Add a splash of vanilla extract, a pinch of chili powder for a spicy kick, or fresh herbs like mint for a refreshing twist.
- Cooking Method: Use a food dehydrator if you have one for a slower, gentler drying process that preserves color and nutrients better.
- Personal Favorite: I once made a batch blending strawberries with a hint of fresh basil—sounds odd, but it was surprisingly refreshing and a great way to impress guests.
Serving & Storage Suggestions
These fruit roll-ups are best enjoyed at room temperature. They’re perfect as a midday pick-me-up or a healthy dessert alternative. Try pairing them with a glass of cold milk or a fresh fruit smoothie for a balanced snack.
For storage, keep the roll-ups in an airtight container or zip-top bag, separated by parchment paper to prevent sticking. Store at room temperature for up to two weeks or in the fridge for up to a month. Freeze them if you want to keep them longer—just thaw briefly before eating.
Reheating isn’t necessary, but if you like them softer, pop a strip in the microwave for 5-10 seconds. Over time, the flavors mellow and become even more harmonious, so making a bigger batch ahead of time can be rewarding.
Nutritional Information & Benefits
Each fruit roll-up (approximately 1 oz / 28 grams) contains roughly:
| Calories | 70-90 kcal |
|---|---|
| Carbohydrates | 18-22 grams |
| Fiber | 2-3 grams |
| Sugars (natural) | 15-18 grams |
| Fat | 0 grams |
| Protein | 0 grams |
The key benefit here is getting a concentrated dose of fruit without added preservatives or refined sugars. Fruit provides essential vitamins like vitamin C and antioxidants that support immune health. Plus, the fiber helps with digestion. These roll-ups are naturally gluten-free and low-fat, making them a great snack choice for many dietary needs.
Conclusion
Easy homemade fruit roll-ups are a fun, tasty way to get more fruit into your day without the guilt of store-bought snacks. Whether you’re packing lunchboxes, prepping for an outing, or just craving something sweet and chewy, this recipe delivers on all fronts. I love how you can tweak it to your liking and make it feel truly your own.
Give this recipe a try and experiment with your favorite fruits or flavors. You might just find yourself making these healthy snacks regularly. And hey, if you end up with a sticky kitchen counter or a cracked bowl like me, just laugh it off—that’s part of the fun!
Let me know how your fruit roll-ups turn out or if you come up with any interesting twists. Happy snacking!
FAQs
Can I use frozen fruit for this recipe?
Absolutely! Just thaw and drain any excess liquid before blending to avoid a watery puree.
How thin should I spread the fruit puree?
About 1/8 inch (3 mm) thick is ideal. Too thick and it won’t dry evenly; too thin and it might tear easily.
Can I store fruit roll-ups in the freezer?
Yes, freezing helps extend shelf life up to 3 months. Thaw at room temperature before eating.
What if my fruit roll-ups are too sticky after baking?
Try baking longer at a low temperature and make sure you spread the puree evenly. Also, parchment paper helps prevent sticking.
Is there a way to make fruit roll-ups without an oven?
If you have a food dehydrator, it’s perfect for this recipe. Otherwise, you could try sun-drying on very hot days but it takes much longer and requires good airflow.
For a delicious companion snack, you might enjoy pairing these roll-ups with some crunchy crispy garlic chicken or a refreshing berry spinach smoothie to round out your healthy treat.
Pin This Recipe!
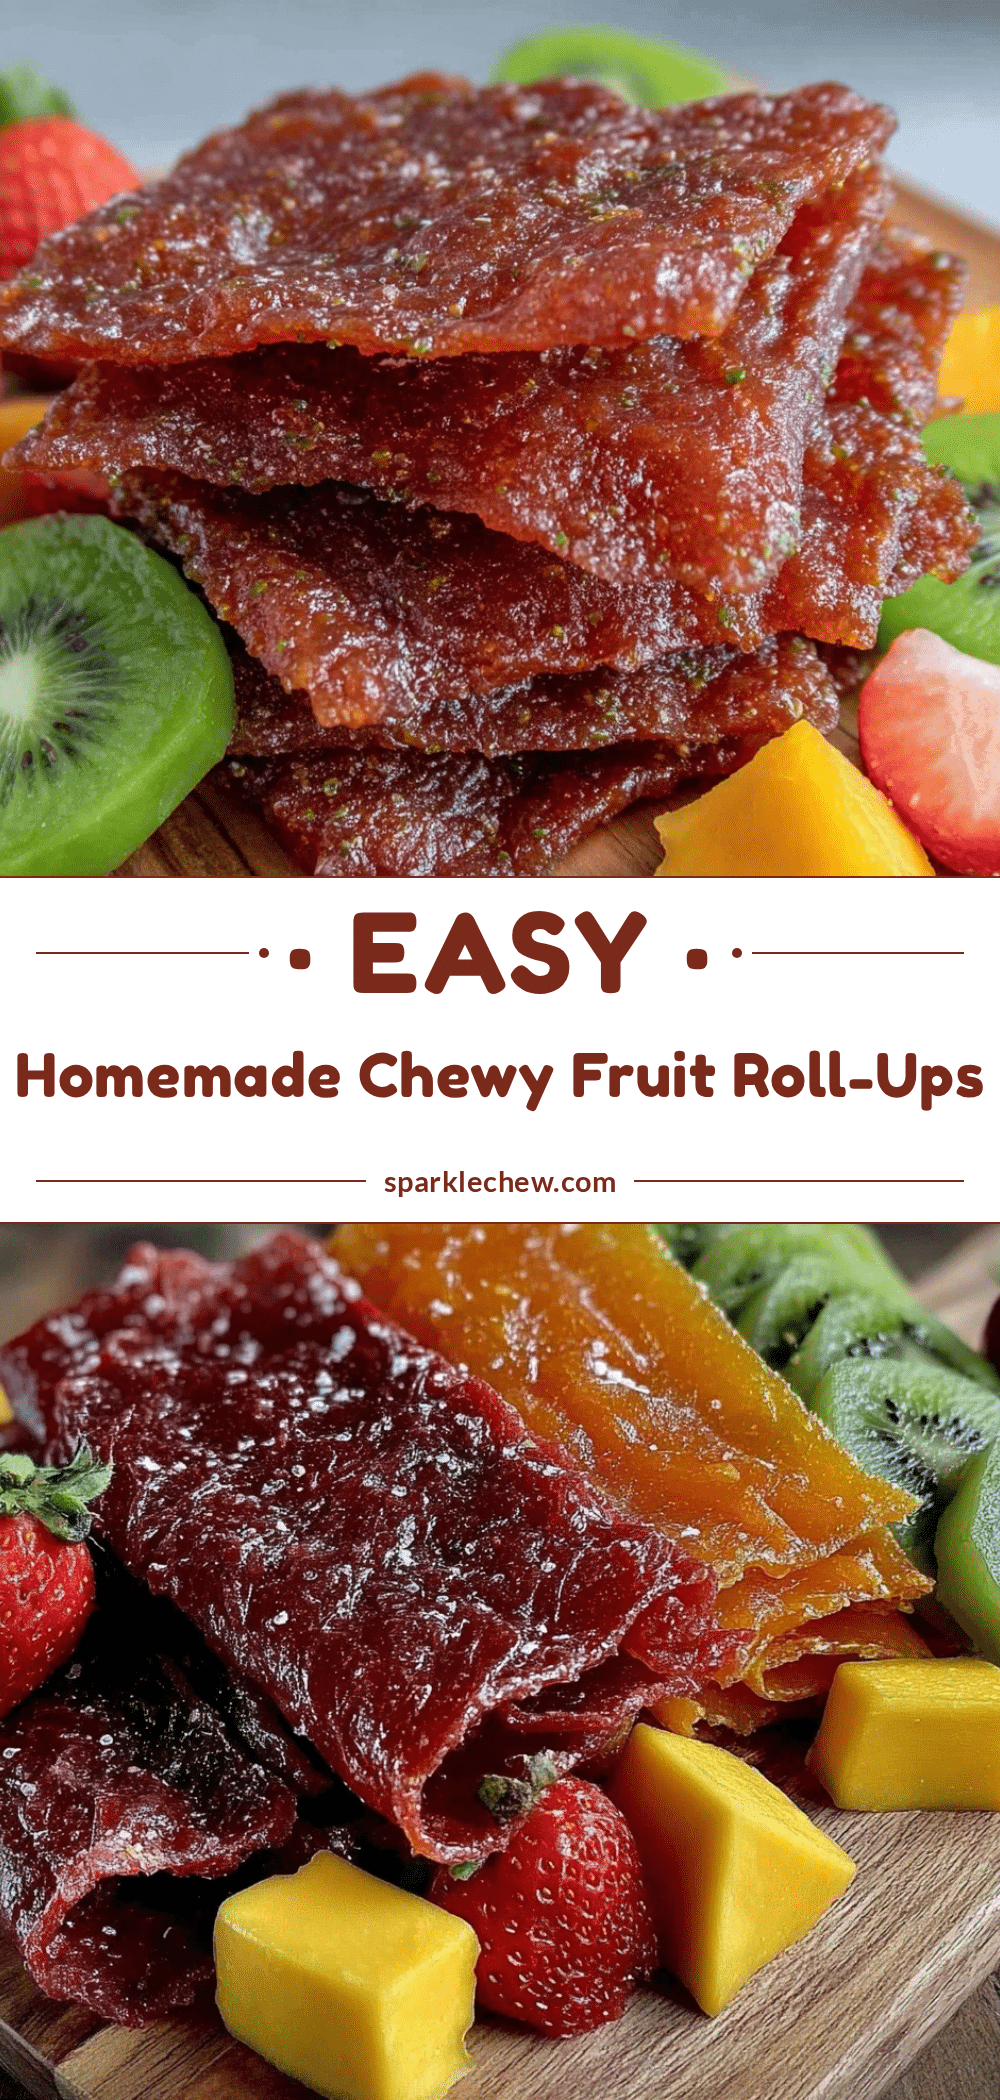
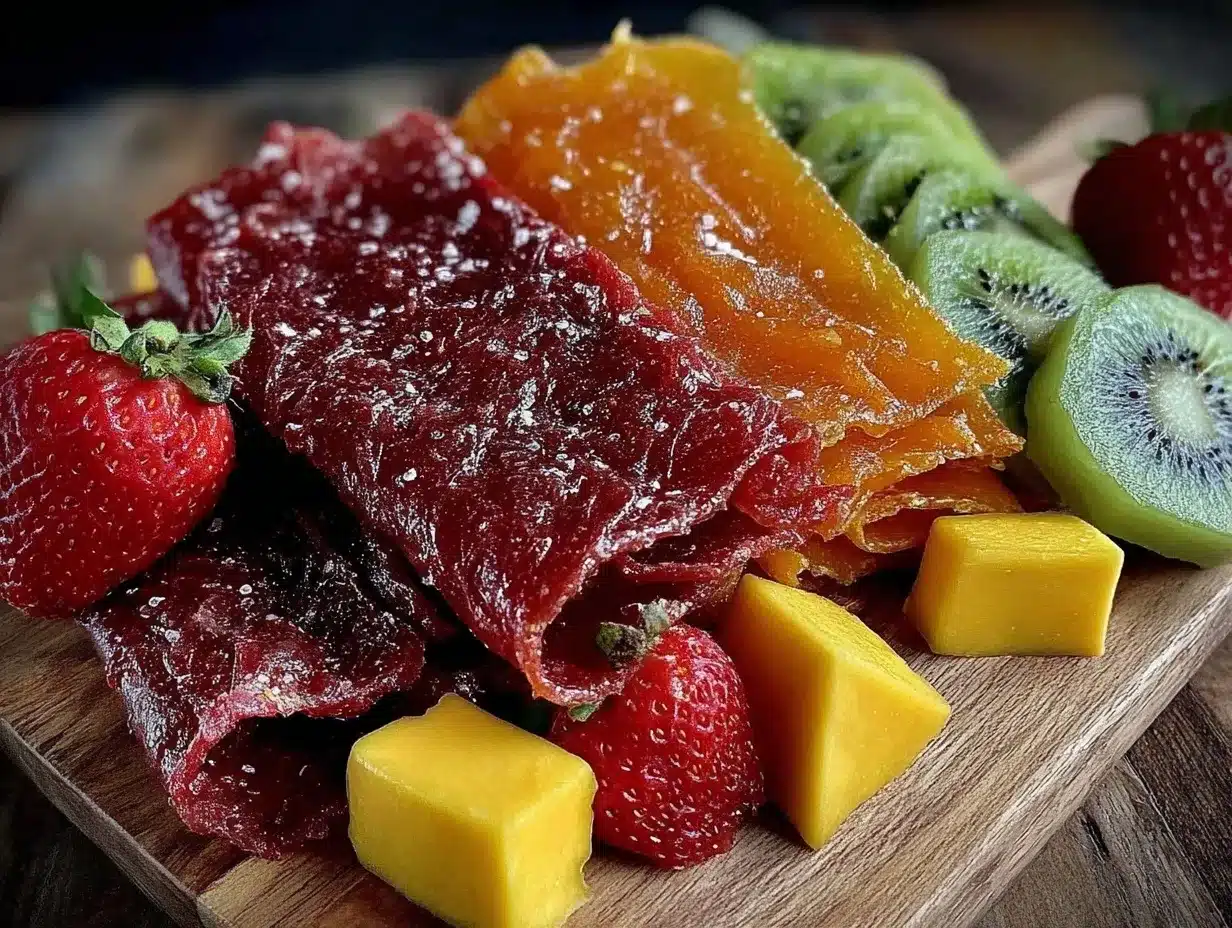
Easy Homemade Fruit Roll-Ups
A quick and healthy snack recipe for homemade fruit roll-ups using simple ingredients and a low oven temperature for perfect texture.
- Prep Time: 15 minutes
- Cook Time: 4-6 hours
- Total Time: 4 hours 15 minutes to 6 hours 15 minutes
- Yield: About 8 servings 1x
- Category: Snack
- Cuisine: American
Ingredients
- 4 cups (600 grams) fresh or frozen fruit (strawberries, mangoes, peaches, or mixed berries)
- 1 tablespoon fresh lemon juice
- 1–2 tablespoons honey or maple syrup (optional)
- 1/2 teaspoon ground cinnamon (optional)
Instructions
- Preheat your oven to 140°F (60°C) or the lowest temperature it can reach. Line your baking sheet with parchment paper.
- Wash and hull strawberries, peel mangoes or peaches, and chop into chunks. Measure out 4 cups (600 grams) total.
- Place the fruit chunks into your blender or food processor. Add lemon juice and optional honey/maple syrup and cinnamon. Blend until completely smooth, about 1-2 minutes. The mixture should be pourable but thick.
- Pour the fruit mixture onto the lined baking sheet. Use a spatula to spread it evenly into a thin layer, about 1/8 inch (3 mm) thick. Try to keep the edges straight for easier cutting later.
- Place the baking sheet in the oven and bake for 4-6 hours. Check after 4 hours by gently touching the surface—it should feel dry to the touch but still pliable, not sticky or wet. If it’s too sticky, bake a bit longer.
- Remove from the oven and let the fruit leather cool for at least 30 minutes at room temperature.
- Use scissors or a sharp knife to cut the roll-up into desired shapes or strips. You can roll them up with parchment paper for easy storage.
- Keep the fruit roll-ups in an airtight container at room temperature for up to 2 weeks or in the fridge for longer freshness.
Notes
Use parchment paper instead of silicone mats for easier peeling. If bubbles form during baking, prick them with a fork to release air. Rotate the baking sheet halfway through baking for even drying. Use ripe fruit for best flavor and texture. Store roll-ups individually wrapped in parchment paper to prevent sticking.
Nutrition
- Serving Size: 1 fruit roll-up stri
- Calories: 7090
- Sugar: 1518
- Carbohydrates: 1822
- Fiber: 23
Keywords: fruit roll-ups, homemade fruit snacks, healthy snacks, fruit leather, easy snack recipe, kids snacks, natural sweetener