Love this? Save it for later!
Share the inspiration with your friends
It was 11:47 PM on a rainy Tuesday in October, and I was wrestling with a can of pumpkin puree I’d bought on a whim. The craving was specific—not pumpkin pie, not pumpkin bread, but something between a pastry and a memory. I didn’t have the heavy cream a proper scone recipe would demand, but I had half-and-half left over from my neighbor’s coffee visit and an idea that arrived the moment I spotted the maple syrup hiding behind the paprika.
Honestly, I wasn’t even sure scones were supposed to be iced. But there I was, standing in my kitchen in fuzzy slippers, whisk in hand, watching the first batch puff up in the oven. The rain was tapping against the window, and the whole house smelled like fall had decided to move in permanently. I pulled them out, let them cool just enough so the glaze wouldn’t slide off, and drizzled that maple goodness over the top. The first bite? Let me tell you—I actually laughed out loud. They were tender, spiced just right, and that glaze? Absolute magic.
Maybe you’ve been there—that late-night kitchen experiment where you’re not following a recipe but following a feeling. These iced pumpkin scones with maple glaze became my October tradition from that night forward. They’re the kind of thing you make when you want autumn on a plate without spending all day in the kitchen. I’ve tweaked the proportions over the years, but the soul of that rainy night still lives in every batch. And now I’m sharing it with you, fuzzy slippers optional.
Why You’ll Love This Recipe
These iced pumpkin scones aren’t just another fall baking project. They’re the result of many late-night trials, a few burnt batches, and one very memorable conversation with a pastry chef friend who told me the secret to tender scones is cold butter and a light hand. I’ve tested this recipe at least a dozen times, and I can promise you—it works every single time.
- Quick & Easy: From start to finish, these scones come together in about 35 minutes. That’s faster than a trip to the coffee shop.
- Simple Ingredients: You probably have most of these in your pantry right now. No weird specialty items required.
- Perfect for Fall Mornings: Great for Thanksgiving brunch, cozy weekends, or when you just need something warm and spiced.
- Crowd-Pleaser: Kids love the sweet maple glaze, and adults appreciate that they’re not overly sugary.
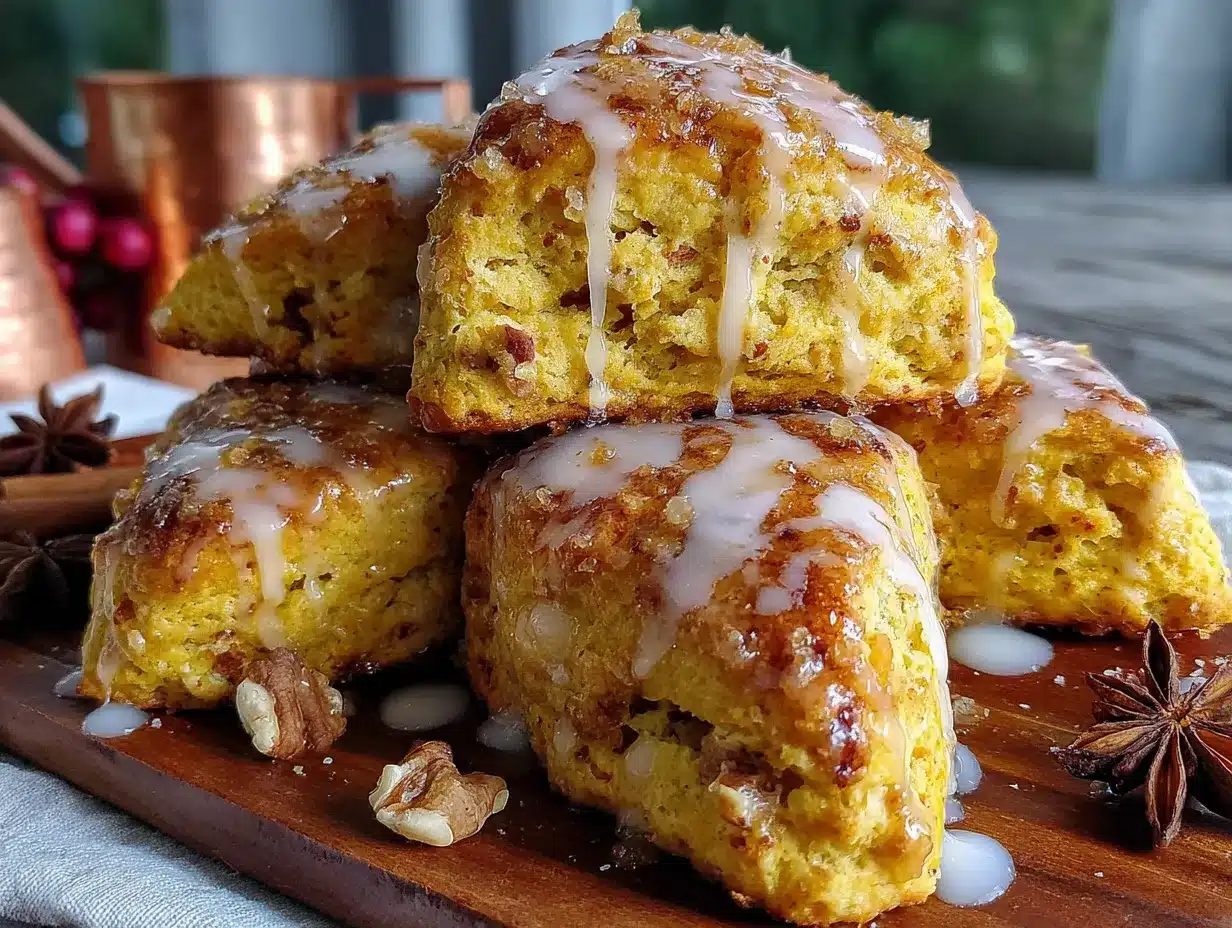
- Unbelievably Delicious: The texture is tender on the inside with slightly crisp edges, and the pumpkin-maple combo is pure comfort.
What makes these different from other pumpkin scone recipes? It’s the technique—using very cold butter and handling the dough as little as humanly possible. Plus, that maple glaze isn’t just a drizzle; it’s a thick, creamy layer that soaks slightly into the warm scone. This isn’t just another version of pumpkin scones—it’s the one I keep coming back to year after year.
These scones have that rare quality of making you close your eyes after the first bite. They’re comfort food reimagined—simpler, faster, but with all the soul-soothing satisfaction of something that took hours. Perfect for impressing weekend guests without breaking a sweat, or turning a quiet Tuesday morning into something memorable.
What Ingredients You Will Need
This recipe uses simple, wholesome ingredients to deliver bold pumpkin flavor and that signature tender scone texture. Most of these are pantry staples, especially if you do any fall baking.
For the Scones
- All-purpose flour, 2 cups (250g) — spooned and leveled for accuracy
- Granulated sugar, 1/3 cup (65g) — just enough sweetness without overpowering the pumpkin
- Baking powder, 1 tablespoon — make sure it’s fresh for the best rise
- Pumpkin pie spice, 1 teaspoon — I prefer McCormick for consistent flavor, but homemade works too
- Ground cinnamon, 1/2 teaspoon — adds warmth
- Salt, 1/2 teaspoon — balances the sweetness
- Unsalted butter, 6 tablespoons (85g), very cold and cut into small cubes — this is non-negotiable for flaky layers
- Pumpkin puree, 1/2 cup (120g) — not pumpkin pie filling, just plain puree
- Half-and-half, 1/4 cup (60ml) — plus 2 tablespoons extra for brushing
- Vanilla extract, 1 teaspoon — pure, not imitation
For the Maple Glaze
- Powdered sugar, 1 cup (120g), sifted — sifting prevents lumps
- Pure maple syrup, 2 tablespoons — use the real stuff, not pancake syrup
- Half-and-half, 1-2 tablespoons — add slowly until you reach drizzling consistency
- Vanilla extract, 1/4 teaspoon — optional but nice
Ingredient Tips: For the best texture, make sure your pumpkin puree isn’t watery. If it looks loose, pat it dry with a paper towel. I recommend using a good-quality maple syrup like Grade A dark amber for the glaze—it has a richer flavor that stands up to the pumpkin spice. If you’re dairy-free, you can substitute cold coconut oil for the butter and full-fat oat milk for the half-and-half, though the texture will be slightly different.
Equipment Needed
You don’t need a fancy bakery setup for these scones. Here’s what I use:
- Large mixing bowl — any medium-to-large bowl works
- Pastry cutter or two forks — for cutting butter into flour. I’ve used both; a pastry cutter is faster, but forks work fine
- Baking sheet — lined with parchment paper for easy cleanup
- Parchment paper — prevents sticking and makes transferring a breeze
- Bench scraper — optional but helpful for shaping the dough. I use a plastic dough scraper I bought for $3
- Sharp knife — for cutting the scones into wedges
- Pastry brush — for brushing the tops with half-and-half before baking
- Wire cooling rack — essential for even cooling so the glaze doesn’t melt off
- Small whisk — for making the glaze smooth
If you don’t have a pastry cutter, you can use a food processor—just pulse the butter into the dry ingredients until it resembles coarse meal, then transfer to a bowl before adding the wet ingredients. I’ve done it both ways, and honestly, the hand method gives me better control and fewer dirty dishes.
Preparation Method
- Preheat your oven to 400°F (200°C). Line a baking sheet with parchment paper. This high heat is what gives scones their crispy exterior and tender interior.
- Whisk the dry ingredients together. In a large bowl, combine 2 cups flour, 1/3 cup sugar, 1 tablespoon baking powder, 1 teaspoon pumpkin pie spice, 1/2 teaspoon cinnamon, and 1/2 teaspoon salt. Whisk until evenly distributed—this ensures the spices aren’t clumped in one spot.
- Cut in the cold butter. Add the 6 tablespoons of very cold butter cubes to the flour mixture. Using a pastry cutter or two forks, cut the butter in until the mixture resembles coarse meal with pea-sized butter pieces. Some larger chunks are fine—they create flaky layers. Work quickly so the butter stays cold. I learned this the hard way after making hockey puck scones with warm butter.
- Mix the wet ingredients. In a small bowl, whisk together 1/2 cup pumpkin puree, 1/4 cup half-and-half, and 1 teaspoon vanilla extract until smooth. It should look like thick orange cream.
- Combine wet and dry. Make a well in the center of the flour mixture. Pour in the pumpkin mixture all at once. Stir with a rubber spatula or wooden spoon just until the dough comes together. It will look shaggy and a bit dry—that’s perfect. Overmixing makes tough scones. If there are a few dry bits at the bottom, use your hands to gently press them in.
- Shape the dough. Turn the dough out onto a lightly floured surface. Gently bring it together with your hands, patting it into a 3/4-inch thick circle, about 7 inches across. Don’t use a rolling pin—the heat from your hands is enough. The dough should be cohesive but not sticky. If it’s too sticky, dust with a little extra flour.
- Cut into wedges. Use a sharp knife to cut the circle into 8 equal wedges, like a pizza. Transfer the wedges to the prepared baking sheet, spacing them about 2 inches apart. They’ll spread slightly but won’t run into each other.
- Brush with half-and-half. Using a pastry brush, gently brush the tops of the scones with the extra 2 tablespoons of half-and-half. This helps them brown beautifully in the oven. Don’t skip this step—it makes a difference in color and texture.
- Bake. Place the baking sheet in the preheated oven and bake for 14-17 minutes, until the scones are golden brown on the bottom and the tops are set. They should feel firm to the touch but still tender. Rotate the pan halfway through for even baking.
- Cool completely. Transfer the scones to a wire cooling rack and let them cool completely before glazing—about 30 minutes. If you glaze them while warm, the glaze will melt into a puddle. Trust me, I’ve made that mistake more than once.
- Make the glaze. While the scones cool, whisk together 1 cup sifted powdered sugar, 2 tablespoons maple syrup, and 1 tablespoon of half-and-half. Add more half-and-half a teaspoon at a time until the glaze is thick but pourable—it should slowly drizzle off the whisk. Stir in 1/4 teaspoon vanilla if using.
- Glaze the scones. Once the scones are completely cool, drizzle the maple glaze over the tops using a spoon or a piping bag with the tip cut off. Let the glaze set for about 10 minutes before serving. The glaze will firm up slightly but stay soft and creamy.
Cooking Tips & Techniques
I’ve made these scones enough times to know exactly where things can go wrong. Here’s what I’ve learned:
Keep everything cold. This is the number one rule of scone-making. If your butter warms up, your scones will spread into flat, greasy discs instead of rising tall and flaky. I pop my butter in the freezer for 10 minutes before cutting it into the flour. On hot days, I even chill my mixing bowl.
Don’t overwork the dough. The more you handle scone dough, the tougher it gets. Mix just until combined, and when shaping, use a gentle touch. I once over-kneaded a batch because I was distracted by a phone call, and they came out dense enough to use as doorstops.
Watch the baking time. Ovens vary, so start checking at 14 minutes. The bottoms should be golden brown, and the tops should look set, not wet. If they’re browning too quickly on top but are still soft in the center, tent loosely with foil for the last 2-3 minutes.
Glaze at the right moment. I know it’s tempting to glaze warm scones, but patience pays off. Warm scones absorb the glaze, leaving you with a sticky mess instead of that beautiful white drizzle. If you’re in a hurry, pop the cooled scones in the fridge for 10 minutes to speed things up.
Use a light hand with the glaze. You can always add more, but you can’t take it away. I drizzle in a zigzag pattern rather than drowning the scone. It looks prettier and lets the pumpkin flavor shine through.
One more thing—if your dough feels too dry and crumbly, add a teaspoon of half-and-half at a time until it comes together. But if it’s sticky, resist the urge to add more flour. A lightly floured surface and your hands are all you need.
Variations & Adaptations
These scones are wonderfully adaptable. Here are some variations I’ve tried and loved:
Gluten-Free Version: Substitute the all-purpose flour with a 1:1 gluten-free baking blend that contains xanthan gum. I’ve used King Arthur’s Measure for Measure blend with great results. The texture will be slightly more tender, but the flavor is spot-on. Add an extra tablespoon of half-and-half if the dough seems too dry.
Vegan Adaptation: Use cold coconut oil or vegan butter instead of dairy butter, and substitute the half-and-half with full-fat oat milk or canned coconut milk. For the glaze, use maple syrup and a vegan powdered sugar. The scones won’t be quite as flaky, but they’re still delicious—I brought a batch to a vegan friend’s brunch and they disappeared in minutes.
Spiced Cranberry-Pumpkin Scones: Fold in 1/3 cup dried cranberries and 1/4 cup chopped pecans into the dough before shaping. The tart cranberries balance the sweet maple glaze beautifully. This is my go-to holiday variation.
Chocolate Chip Pumpkin Scones: Add 1/3 cup mini chocolate chips to the dough. The chocolate melts into little pockets of richness that pair surprisingly well with pumpkin spice. My kids request this version every fall.
Savory Pumpkin Scones: Omit the sugar and pumpkin pie spice, add 1 teaspoon garlic powder, 1/2 teaspoon black pepper, and 1/2 cup shredded cheddar cheese. Skip the maple glaze and brush with melted butter instead. These are amazing with soup.
Air Fryer Method: Preheat air fryer to 350°F (175°C). Place scones in a single layer in the basket and cook for 8-10 minutes, flipping halfway through. They won’t brown as evenly, but they cook faster and stay incredibly tender.
Serving & Storage Suggestions
These scones are best served slightly warm or at room temperature, with the maple glaze fully set. I love them with a hot cup of coffee or chai tea on a crisp morning. For a real treat, split one in half and spread a little salted butter on the warm interior before the glaze goes on—it’s next-level.
They also pair beautifully with a simple fall fruit salad or alongside a bowl of butternut squash soup for a cozy lunch. If you’re hosting a brunch, arrange them on a wooden board with apple slices and a small dish of extra maple syrup for dipping.
Storage: Store glazed scones in an airtight container at room temperature for up to 2 days. If you stack them, place a sheet of parchment paper between layers to prevent the glaze from sticking. After 2 days, the texture starts to soften.
Freezing: You can freeze the unbaked scone wedges on a baking sheet until solid, then transfer to a freezer bag. Bake from frozen, adding 2-3 minutes to the baking time. Alternatively, freeze baked, unglazed scones for up to 3 months. Thaw at room temperature, then warm in a 300°F oven for 5 minutes before glazing.
Reheating: To refresh day-old scones, pop them in a 300°F oven for 5-7 minutes. The microwave works in a pinch (15 seconds), but the texture won’t be as crisp. The glaze will soften either way, but that’s not a bad thing—it gets all melty and delicious.
One thing I love about these scones is that the flavors actually deepen overnight. The pumpkin spice melds with the maple glaze, and the texture becomes more tender. They’re almost better on day two—if they last that long.
Nutritional Information & Benefits
Here’s the estimated nutritional breakdown per scone (one of 8, with glaze):
- Calories: 285
- Fat: 10g
- Saturated Fat: 6g
- Carbohydrates: 44g
- Sugar: 22g
- Fiber: 1g
- Protein: 3g
- Sodium: 210mg
These numbers are estimates and will vary based on specific brands and substitutions.
Health Highlights: Pumpkin is packed with vitamin A (in the form of beta-carotene), which supports eye health and immune function. It’s also a good source of fiber and potassium. The maple syrup provides small amounts of zinc and manganese. While these scones are definitely a treat, they offer more nutritional value than your average pastry—especially if you use whole wheat pastry flour for half the all-purpose flour.
Dietary Considerations: This recipe contains gluten and dairy. For gluten-free or vegan adaptations, see the variations section above. The scones are nut-free as written, but check your pumpkin pie spice blend for any nut-based additives if allergies are a concern.
I personally love that these scones satisfy my fall baking cravings without requiring a whole day in the kitchen. They’re a balanced indulgence—sweet enough to feel special, but not so sugary that you crash an hour later.
FAQs
Can I use pumpkin pie filling instead of pumpkin puree?
No, please don’t. Pumpkin pie filling is pre-sweetened and spiced, which will throw off the sugar and spice balance completely. Stick with 100% pure pumpkin puree. Libby’s is a reliable brand, but any canned puree works.
Why did my scones turn out dry and crumbly?
This usually happens for one of two reasons: too much flour or overbaking. Make sure you’re spooning and leveling your flour, not scooping directly from the bag. And check your scones at 14 minutes—they should be just set, not browned all over. If your dough felt dry before baking, add an extra tablespoon of half-and-half next time.
Can I make the dough ahead of time?
Absolutely. You can shape the scones, place them on a parchment-lined baking sheet, cover tightly with plastic wrap, and refrigerate for up to 24 hours. Bake straight from the fridge, adding 1-2 minutes to the baking time. You can also freeze the unbaked wedges for up to 3 months.
My glaze is too runny—how do I fix it?
Add more sifted powdered sugar, one tablespoon at a time, until it thickens. If it’s too thick, add half-and-half a teaspoon at a time. The perfect glaze should slowly drizzle off a spoon and hold its shape for a moment before settling.
Can I skip the maple glaze?
You can, but I wouldn’t! The maple glaze is what makes these scones special. If you’re out of maple syrup, you can make a simple vanilla glaze with 1 cup powdered sugar, 2 tablespoons half-and-half, and 1/2 teaspoon vanilla extract. It won’t have that maple depth, but it’s still delicious.
Conclusion
These iced pumpkin scones with maple glaze have become my official welcome-to-fall recipe. They’re the thing I make when the air gets crisp and the leaves start turning, when I need something warm and spiced to match the season. They remind me of that rainy October night when I trusted my instincts and ended up with something worth sharing.
I hope you make these scones your own. Add more cinnamon if that’s your thing. Double the glaze if you’re feeling extra. Share them with someone who needs a little autumn comfort. And if you try them, I’d love to hear how they turned out—drop a comment below, tag me in your photos, or tell me about your own late-night kitchen experiments. Because honestly, those are often the ones that become traditions.
Happy baking, friends. May your scones be flaky, your maple glaze be perfect, and your fall be full of cozy moments.
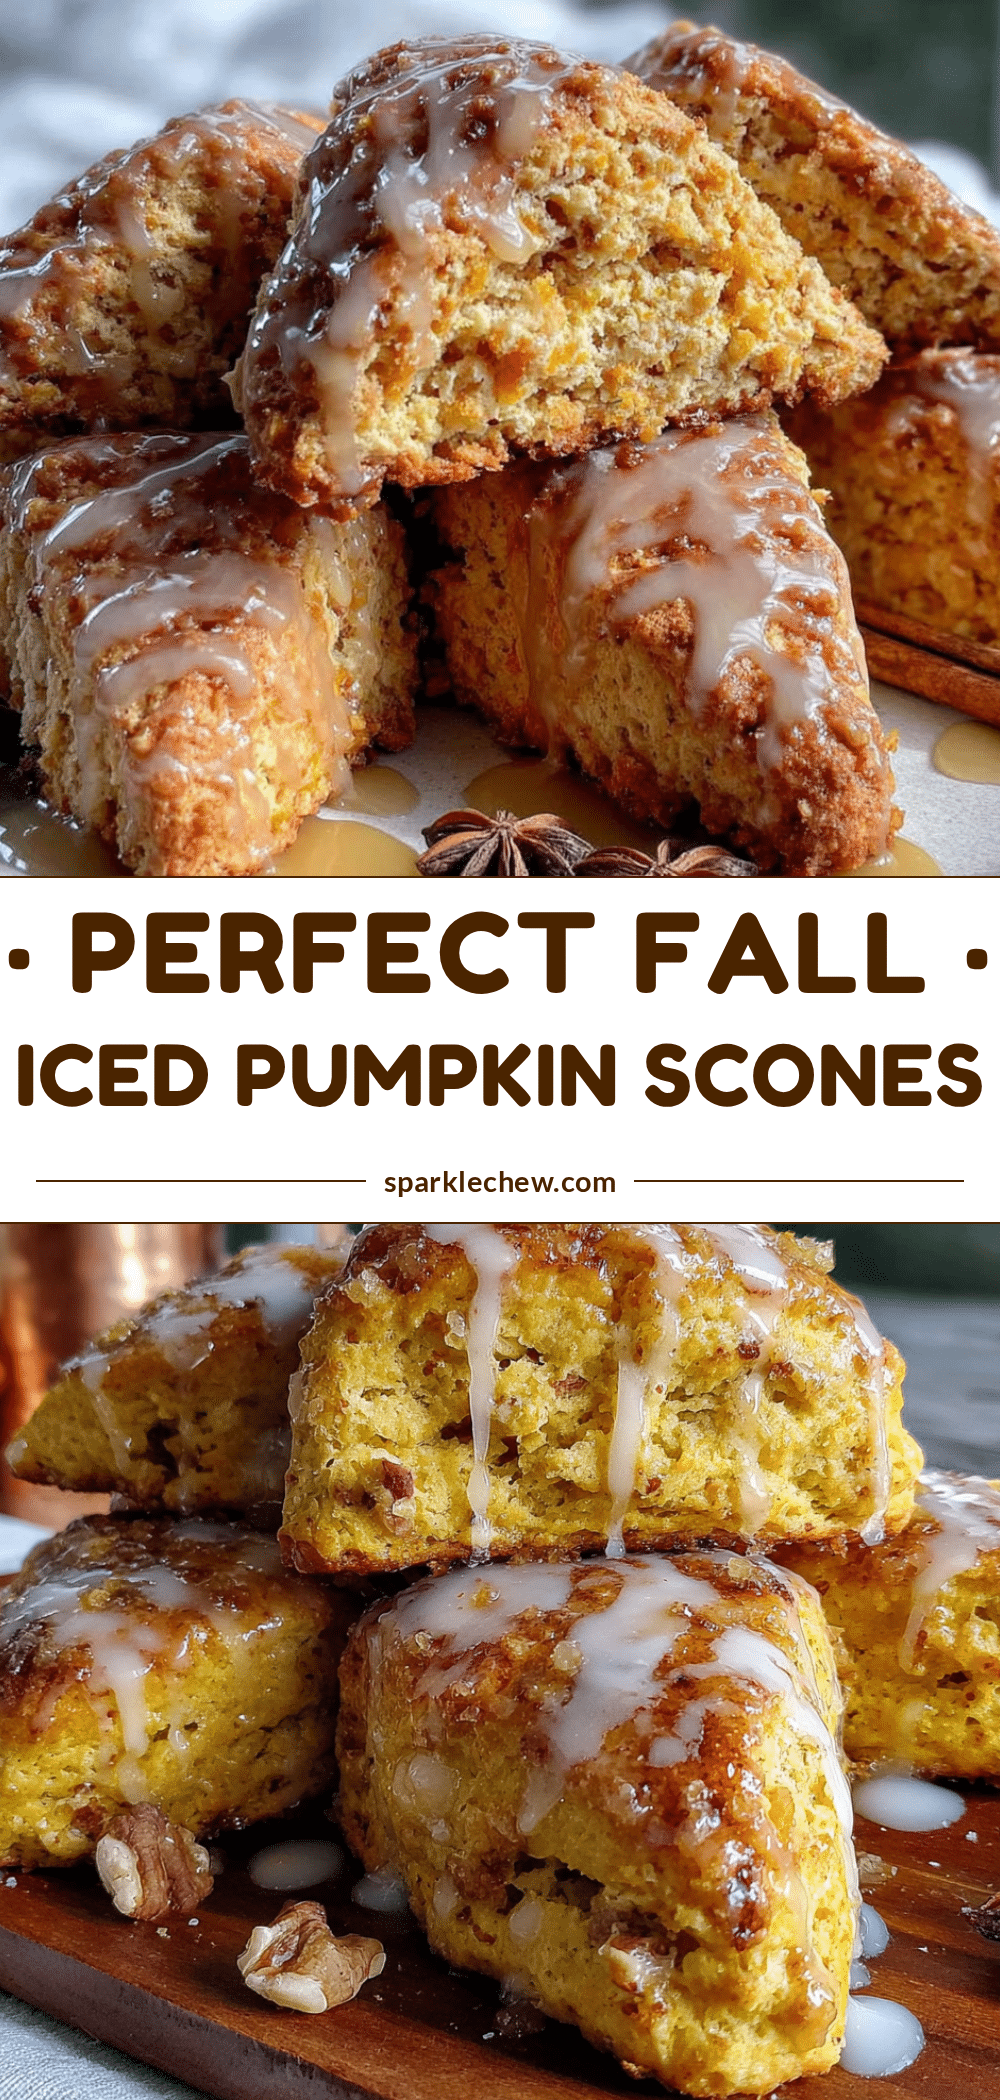
Pin This Recipe!
Easy Iced Pumpkin Scones with Maple Glaze Recipe
These tender, spiced pumpkin scones are topped with a rich maple glaze and come together in just 35 minutes. Perfect for fall mornings, they’re a quick and easy treat that tastes like autumn on a plate.
- Prep Time: 15 minutes
- Cook Time: 17 minutes
- Total Time: 35 minutes
- Yield: 8 servings 1x
- Category: Dessert
- Cuisine: American
Ingredients
- 2 cups (250g) all-purpose flour, spooned and leveled
- 1/3 cup (65g) granulated sugar
- 1 tablespoon baking powder
- 1 teaspoon pumpkin pie spice
- 1/2 teaspoon ground cinnamon
- 1/2 teaspoon salt
- 6 tablespoons (85g) unsalted butter, very cold and cut into small cubes
- 1/2 cup (120g) pumpkin puree (not pumpkin pie filling)
- 1/4 cup (60ml) half-and-half, plus 2 tablespoons extra for brushing
- 1 teaspoon vanilla extract
- 1 cup (120g) powdered sugar, sifted
- 2 tablespoons pure maple syrup
- 1–2 tablespoons half-and-half (for glaze)
- 1/4 teaspoon vanilla extract (optional, for glaze)
Instructions
- Preheat your oven to 400°F (200°C). Line a baking sheet with parchment paper.
- In a large bowl, whisk together 2 cups flour, 1/3 cup sugar, 1 tablespoon baking powder, 1 teaspoon pumpkin pie spice, 1/2 teaspoon cinnamon, and 1/2 teaspoon salt.
- Add the 6 tablespoons of very cold butter cubes to the flour mixture. Using a pastry cutter or two forks, cut the butter in until the mixture resembles coarse meal with pea-sized butter pieces.
- In a small bowl, whisk together 1/2 cup pumpkin puree, 1/4 cup half-and-half, and 1 teaspoon vanilla extract until smooth.
- Make a well in the center of the flour mixture. Pour in the pumpkin mixture all at once. Stir with a rubber spatula or wooden spoon just until the dough comes together. It will look shaggy and a bit dry.
- Turn the dough out onto a lightly floured surface. Gently bring it together with your hands, patting it into a 3/4-inch thick circle, about 7 inches across.
- Use a sharp knife to cut the circle into 8 equal wedges. Transfer the wedges to the prepared baking sheet, spacing them about 2 inches apart.
- Using a pastry brush, gently brush the tops of the scones with the extra 2 tablespoons of half-and-half.
- Bake for 14-17 minutes, until the scones are golden brown on the bottom and the tops are set. Rotate the pan halfway through for even baking.
- Transfer the scones to a wire cooling rack and let them cool completely before glazing—about 30 minutes.
- While the scones cool, whisk together 1 cup sifted powdered sugar, 2 tablespoons maple syrup, and 1 tablespoon of half-and-half. Add more half-and-half a teaspoon at a time until the glaze is thick but pourable. Stir in 1/4 teaspoon vanilla if using.
- Once the scones are completely cool, drizzle the maple glaze over the tops using a spoon or a piping bag. Let the glaze set for about 10 minutes before serving.
Notes
Keep butter very cold for flaky scones. Do not overwork the dough. Glaze only when scones are completely cool to prevent melting. For best results, use pure maple syrup, not pancake syrup.
Nutrition
- Serving Size: 1 scone
- Calories: 285
- Sugar: 22
- Sodium: 210
- Fat: 10
- Saturated Fat: 6
- Carbohydrates: 44
- Fiber: 1
- Protein: 3
Keywords: pumpkin scones, maple glaze, fall baking, easy scone recipe, iced scones, pumpkin spice


