Love this? Save it for later!
Share the inspiration with your friends
I was packing for a weekend cabin trip a few years ago—the kind where you bring board games, old sweaters, and way too many snacks. My friend texted me: “Bring dessert, but don’t make it complicated. We’re not doing dishes.” Fair enough. I stared at my pantry, spotted a bag of chocolate chips, and remembered a skillet recipe I’d scribbled on a napkin after a conversation with the maintenance guy at my old apartment building. Yes, really. He was fixing my garbage disposal, noticed the half-eaten cookie on my counter, and started telling me about the only dessert he makes for his kids. “No mixer, no bowl even if you want to be lazy,” he said, wiping his hands on his coveralls. “Just a skillet and a spoon.” I laughed, but I wrote it down the second he left. That conversation gave me the best no-mixer chocolate chip skillet cookie I’ve ever made—and honestly, it’s been my go-to ever since. Maybe you’ve been there, standing in your kitchen, wanting something warm and sweet but not wanting to drag out the stand mixer or wash a dozen bowls. This is that recipe. It’s the one that proves you don’t need fancy equipment or a ton of time to make something that tastes like you spent all afternoon baking.
Why You’ll Love This Recipe
Let me tell you why this no-mixer chocolate chip skillet cookie has earned a permanent spot in my recipe rotation. I’ve tested it more times than I can count, tweaked the butter temperature, adjusted the baking time, and even brought it to a potluck where it disappeared before the main course hit the table. It’s not just good—it’s the kind of dessert that makes people close their eyes after the first bite.
- Quick & Easy: From start to table in under 30 minutes. No mixer, no fuss, just a bowl and a whisk.
- Simple Ingredients: You probably have everything in your pantry right now. Butter, sugar, eggs, flour, chocolate chips—that’s it.
- Perfect for Sharing: Great for movie nights, camping trips, or when you need a last-minute dessert for unexpected guests.
- Crowd-Pleaser: Kids love it, adults love it, and nobody guesses it came together without a mixer.
- Unbelievably Delicious: The edges get crispy, the center stays soft, and the chocolate melts into pools of gooey goodness.
What makes this different from every other chocolate chip cookie recipe? It’s the texture. Baking it in a cast iron skillet gives you that perfect contrast—crispy golden edges and a soft, almost underbaked center. Plus, you skip the mixer entirely. No dirty beaters, no splattered batter, no wrestling with dough that’s too stiff. It’s comfort food at its finest, and it comes together with a spoon and a little patience.
What Ingredients You Will Need
This recipe uses simple, everyday ingredients to create something truly special. Nothing fancy here—just pantry staples that work together beautifully. I’ve tested this with different butter brands and chocolate chip varieties, so I’ll share what works best.
- Unsalted butter, melted (½ cup / 113g) — I prefer Kerrygold for its rich flavor, but any unsalted butter works. Melt it gently so it doesn’t get too hot.
- Granulated sugar (½ cup / 100g) — Adds sweetness and helps create those crispy edges.
- Light brown sugar, packed (½ cup / 100g) — This is where the chewiness comes from. Don’t skip it, and make sure you pack it firmly.
- Large egg (1, room temperature) — Room temperature egg mixes more evenly into the melted butter. Let it sit out for 15 minutes if you can.
- Vanilla extract (1 teaspoon) — Pure vanilla makes a difference here. I use Nielsen-Massey, but any brand works.
- All-purpose flour (1½ cups / 180g) — Spoon and level it—don’t scoop directly from the bag or you’ll end up with a dry cookie.
- Baking soda (½ teaspoon) — Helps the cookie spread just enough without puffing up too much.
- Salt (½ teaspoon) — I use fine sea salt. It balances the sweetness and makes the chocolate shine.
- Semi-sweet chocolate chips (¾ cup / 130g) — My favorite is Guittard. You can also chop up a chocolate bar for bigger puddles of chocolate.
- Flaky sea salt for topping (optional, but highly recommended) — A sprinkle on top right out of the oven takes this to another level.
For substitutions: Use coconut oil instead of butter for a dairy-free version (the texture will be slightly different but still delicious). If you only have salted butter, reduce the added salt to ¼ teaspoon. Dark chocolate chips work beautifully if you prefer less sweetness.
Equipment Needed
The beauty of this recipe is how little equipment it requires. Here’s what you’ll need:
- 10-inch cast iron skillet — This is non-negotiable for the best texture. The heavy pan distributes heat evenly and creates that perfect crispy edge. Lodge makes affordable ones that last forever.
- Large mixing bowl — Any bowl works, but a wider one makes mixing easier.
- Whisk or wooden spoon — A whisk works best for combining wet ingredients, but a sturdy spoon works too.
- Rubber spatula — For scraping every last bit of dough into the skillet. I’ve learned the hard way not to waste a single bite.
- Measuring cups and spoons — Accuracy matters with baking, even a simple recipe like this.
Don’t have a cast iron skillet? You can use an 8-inch square baking dish or a 9-inch pie plate. The baking time will change slightly—start checking at 15 minutes. I’ve also used a small oven-safe nonstick pan in a pinch, though the edges won’t get quite as crispy.
Preparation Method
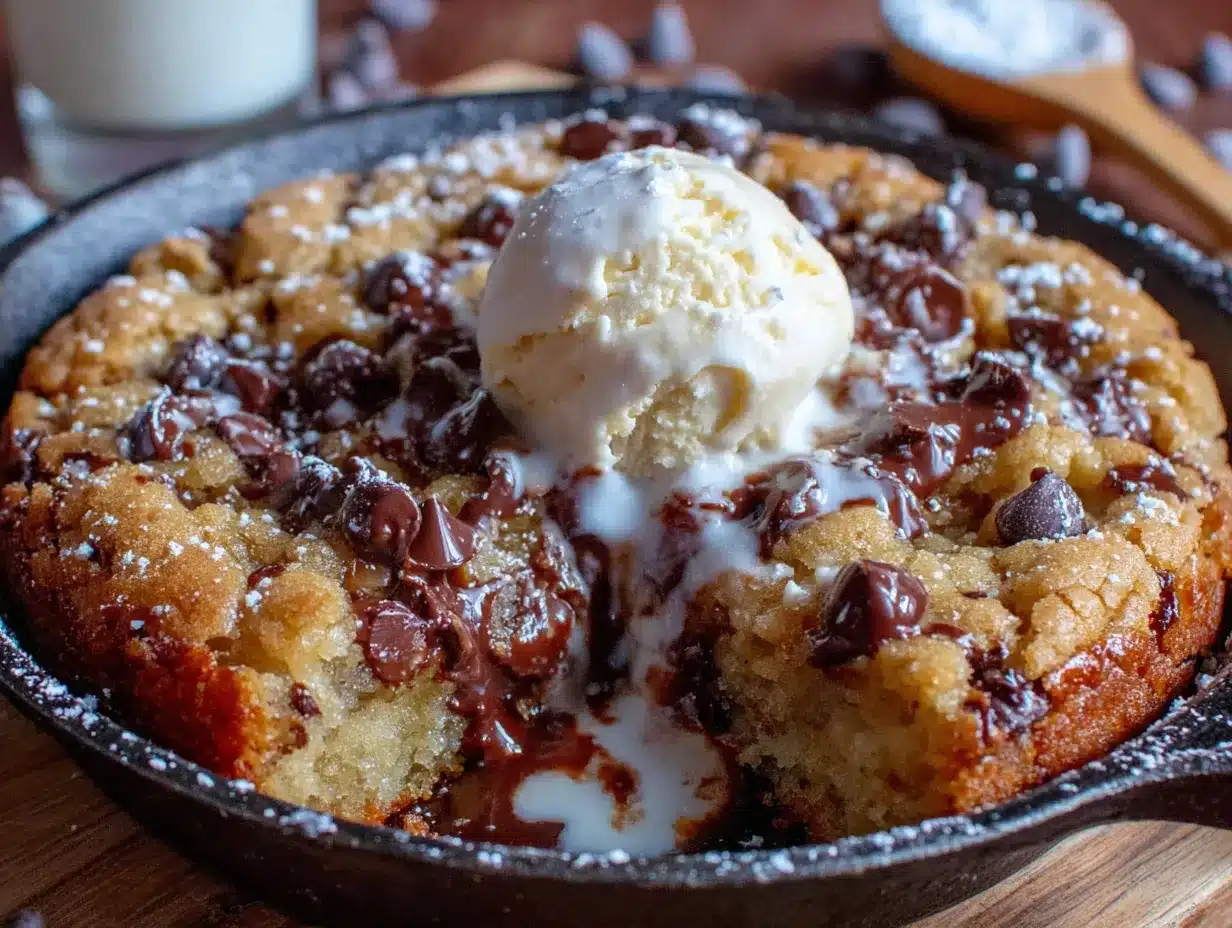
Preheat your oven to 350°F (175°C). Place your cast iron skillet in the oven while it preheats—this helps create that gorgeous golden bottom crust. Trust me on this one.
- Melt the butter — In a microwave-safe bowl, melt ½ cup of butter in 20-second intervals. You want it just melted, not hot. Set it aside to cool for 2 minutes. If it’s too hot, it will cook the egg when you add it.
- Combine the sugars — In your large mixing bowl, whisk together the granulated sugar and brown sugar. Break up any clumps with your fingers. This takes about 30 seconds.
- Add the butter — Pour the cooled melted butter into the sugar mixture. Whisk until it looks like wet sand—about 1 minute. It should be smooth and slightly glossy.
- Add the egg and vanilla — Crack the egg into the bowl, add the vanilla, and whisk vigorously for about 45 seconds. The mixture should look thick and pale, almost like caramel. This step is important—don’t rush it.
- Mix the dry ingredients — In a separate small bowl, whisk together the flour, baking soda, and salt. This ensures the baking soda is evenly distributed so you don’t get a weird salty bite.
- Combine wet and dry — Add the flour mixture to the wet ingredients. Use a rubber spatula to fold everything together gently. Stop as soon as you don’t see any more streaks of flour. Overmixing makes the cookie tough—I’ve done it, and it’s disappointing.
- Fold in the chocolate chips — Add ¾ cup of chocolate chips and fold them in with a few strokes. Reserve a handful to press on top later—this makes it look bakery-style.
- Prepare the skillet — Carefully remove the hot skillet from the oven. Add a tablespoon of butter and swirl it around to coat the bottom and sides. The butter should sizzle and melt immediately.
- Press the dough in — Scoop the dough into the hot skillet. Use the back of a spoon to press it evenly into an even layer. It will be thick—that’s okay. Press the reserved chocolate chips into the top.
- Bake — Bake for 18-22 minutes. At 18 minutes, check it. The edges should be golden brown and the center should look slightly underdone—puffy and pale. A toothpick inserted in the center should come out with a few moist crumbs, not raw batter.
- Cool slightly — Let the skillet cookie cool on a wire rack for 10 minutes. This is the hard part, I know. The cookie continues to bake from the residual heat of the skillet.
- Sprinkle with flaky salt — Right before serving, sprinkle a pinch of flaky sea salt over the top. It sounds weird, but it makes the chocolate taste even richer.
Cooking Tips & Techniques
I’ve made this no-mixer chocolate chip skillet cookie at least twenty times, and I’ve learned a few things the hard way. Here’s what I wish someone had told me.
Don’t skip preheating the skillet. The first time I made this, I dumped the dough into a cold pan. The edges didn’t get crispy, and the bottom was pale and doughy. Preheating the skillet gives you that beautiful golden crust that makes skillet cookies so special.
Watch the butter temperature. I once melted the butter too hot and added the egg right away. The egg started to cook, and I ended up with a grainy, weirdly textured cookie. Let the melted butter cool for at least 2 minutes before adding the egg. If you’re impatient like me, stick a finger in it—it should feel warm, not hot.
Underbake it slightly. The biggest mistake people make is overbaking. The center should look puffy and slightly soft when you pull it out of the oven. It will continue to cook in the hot skillet as it cools. I’ve pulled out a perfectly gooey cookie only to have it turn dry because I left it in two extra minutes.
Use a kitchen scale if you have one. Measuring flour by volume can be inconsistent. One cup of flour can vary by 20-30 grams depending on how you scoop it. A scale takes the guesswork out. I use 180g for this recipe, and it’s perfect every time.
Let it rest. I know you want to dig in immediately, but letting the cookie cool for 10 minutes makes a difference. The structure sets, the chocolate firms up slightly, and you get a cleaner slice. Plus, you won’t burn your mouth.
Variations & Adaptations
This recipe is incredibly forgiving, and I’ve played around with it more times than I can count. Here are some versions I’ve tried and loved.
Peanut Butter Swirl: Drop 3 tablespoons of creamy peanut butter in small spoonfuls over the dough before baking. Use a knife to swirl it gently. The salty peanut butter pairs beautifully with the chocolate. I made this for a Super Bowl party, and it was gone in ten minutes.
Double Chocolate: Replace ¼ cup of the flour with ¼ cup of unsweetened cocoa powder. Use white chocolate chips instead of semi-sweet. The contrast between the dark cookie and white chocolate is stunning, and it feels extra decadent.
Gluten-Free Version: Swap the all-purpose flour with a 1:1 gluten-free baking flour blend. I’ve used Bob’s Red Mill with great results. Add an extra tablespoon of milk if the dough seems too dry—gluten-free flours absorb more liquid.
Brown Butter Version: Brown the butter instead of just melting it. Cook it in a saucepan over medium heat until it turns amber and smells nutty—about 5-7 minutes. Let it cool completely before using. The nutty flavor adds incredible depth. This is my personal favorite for when I want to impress someone.
Add-ins: Throw in ½ cup of chopped walnuts or pecans for crunch. Add ¼ cup of shredded coconut for a tropical twist. Or use M&Ms instead of chocolate chips for a colorful, kid-friendly version.
Serving & Storage Suggestions
This skillet cookie is best served warm, straight from the oven. The contrast between the crispy edges and the soft, gooey center is at its peak in the first 30 minutes. I like to serve it with a scoop of vanilla ice cream melting on top—the cold creaminess against the warm cookie is pure magic.
For presentation, bring the whole skillet to the table. It looks impressive and keeps the cookie warm longer. Set out small plates and forks, or just hand everyone a spoon. No judgment here.
If you have leftovers (which rarely happens in my house), cover the skillet tightly with foil or plastic wrap. Store at room temperature for up to 2 days. The texture will soften, but it’s still delicious. To reheat, pop the skillet in a 300°F oven for 5-7 minutes, or microwave individual portions for 15 seconds.
You can also freeze the unbaked dough. Press it into the skillet, wrap it tightly in plastic wrap and foil, and freeze for up to 3 months. Bake straight from frozen, adding 5-7 minutes to the baking time. This is my secret weapon for unexpected guests.
The flavors actually develop overnight. If you can resist eating it all, the cookie tastes even better the next day—the chocolate seems richer, and the texture becomes more complex.
Nutritional Information & Benefits
Let’s be real—this is a treat, not a health food. But here’s the estimated nutritional breakdown per serving (based on 8 servings):
- Calories: 385
- Total Fat: 22g
- Saturated Fat: 13g
- Carbohydrates: 45g
- Sugar: 28g
- Protein: 5g
- Fiber: 2g
- Sodium: 280mg
On the positive side, dark chocolate contains antioxidants and can support heart health in moderation. The butter provides vitamin A, and the egg adds a small amount of protein. If you use dark chocolate chips (70% cacao or higher), you’ll get more antioxidants and less sugar.
For dietary considerations: This recipe contains gluten, dairy, and eggs. For a dairy-free version, use coconut oil and dairy-free chocolate chips. For a gluten-free version, use a 1:1 gluten-free flour blend as mentioned above. There’s no good egg substitute here that I’ve found—the egg provides structure and moisture that’s hard to replicate.
Conclusion
This no-mixer chocolate chip skillet cookie has become my signature dessert, and I’m not embarrassed to admit it. It’s the recipe I bring to gatherings, the one I make when I need comfort, and the one I teach to friends who think they can’t bake. It proves that you don’t need a stand mixer, a pastry degree, or a perfectly stocked kitchen to make something extraordinary.
What I love most about this recipe is how flexible it is. You can make it your own—add nuts, switch up the chocolate, try the brown butter version. It forgives mistakes and rewards experimentation. The first time I made it, I forgot to add the salt and it was still delicious. That’s the kind of recipe worth keeping.
I’d love to hear how yours turns out. Did you try a variation? Did you serve it with ice cream? Did it disappear as fast as mine always does? Drop a comment below and let me know. And if you have a skillet cookie story of your own, share that too—I’m always looking for new ideas.
Go ahead, grab that skillet. You’ve got this.
Frequently Asked Questions
Can I use a regular baking pan instead of a cast iron skillet?
Yes, absolutely. An 8-inch square baking dish or a 9-inch pie plate works well. The edges won’t get quite as crispy, and you’ll need to check for doneness a few minutes earlier. Keep an eye on it starting at 15 minutes.
Can I make the dough ahead of time?
You can prepare the dough and press it into the skillet, then cover and refrigerate for up to 24 hours. Let it sit at room temperature for 15 minutes before baking, and add 2-3 minutes to the baking time.
Why did my cookie turn out dry?
Overbaking is the most common culprit. The cookie continues to cook in the hot skillet after you pull it out. Take it out when the center still looks slightly underdone—puffy and pale. Also, make sure you measured your flour correctly. Too much flour will dry it out.
Can I double this recipe?
You can double the ingredients, but you’ll need a larger skillet—12-inch or bigger. The baking time will increase by about 5-8 minutes. I recommend making two separate batches in a 10-inch skillet for the best texture.
What’s the best way to reheat leftovers?
The oven works best. Reheat in a 300°F oven for 5-7 minutes. If you’re in a hurry, the microwave works too—just 15 seconds per serving. The texture won’t be as crispy, but it will still be delicious.
Pin This Recipe!
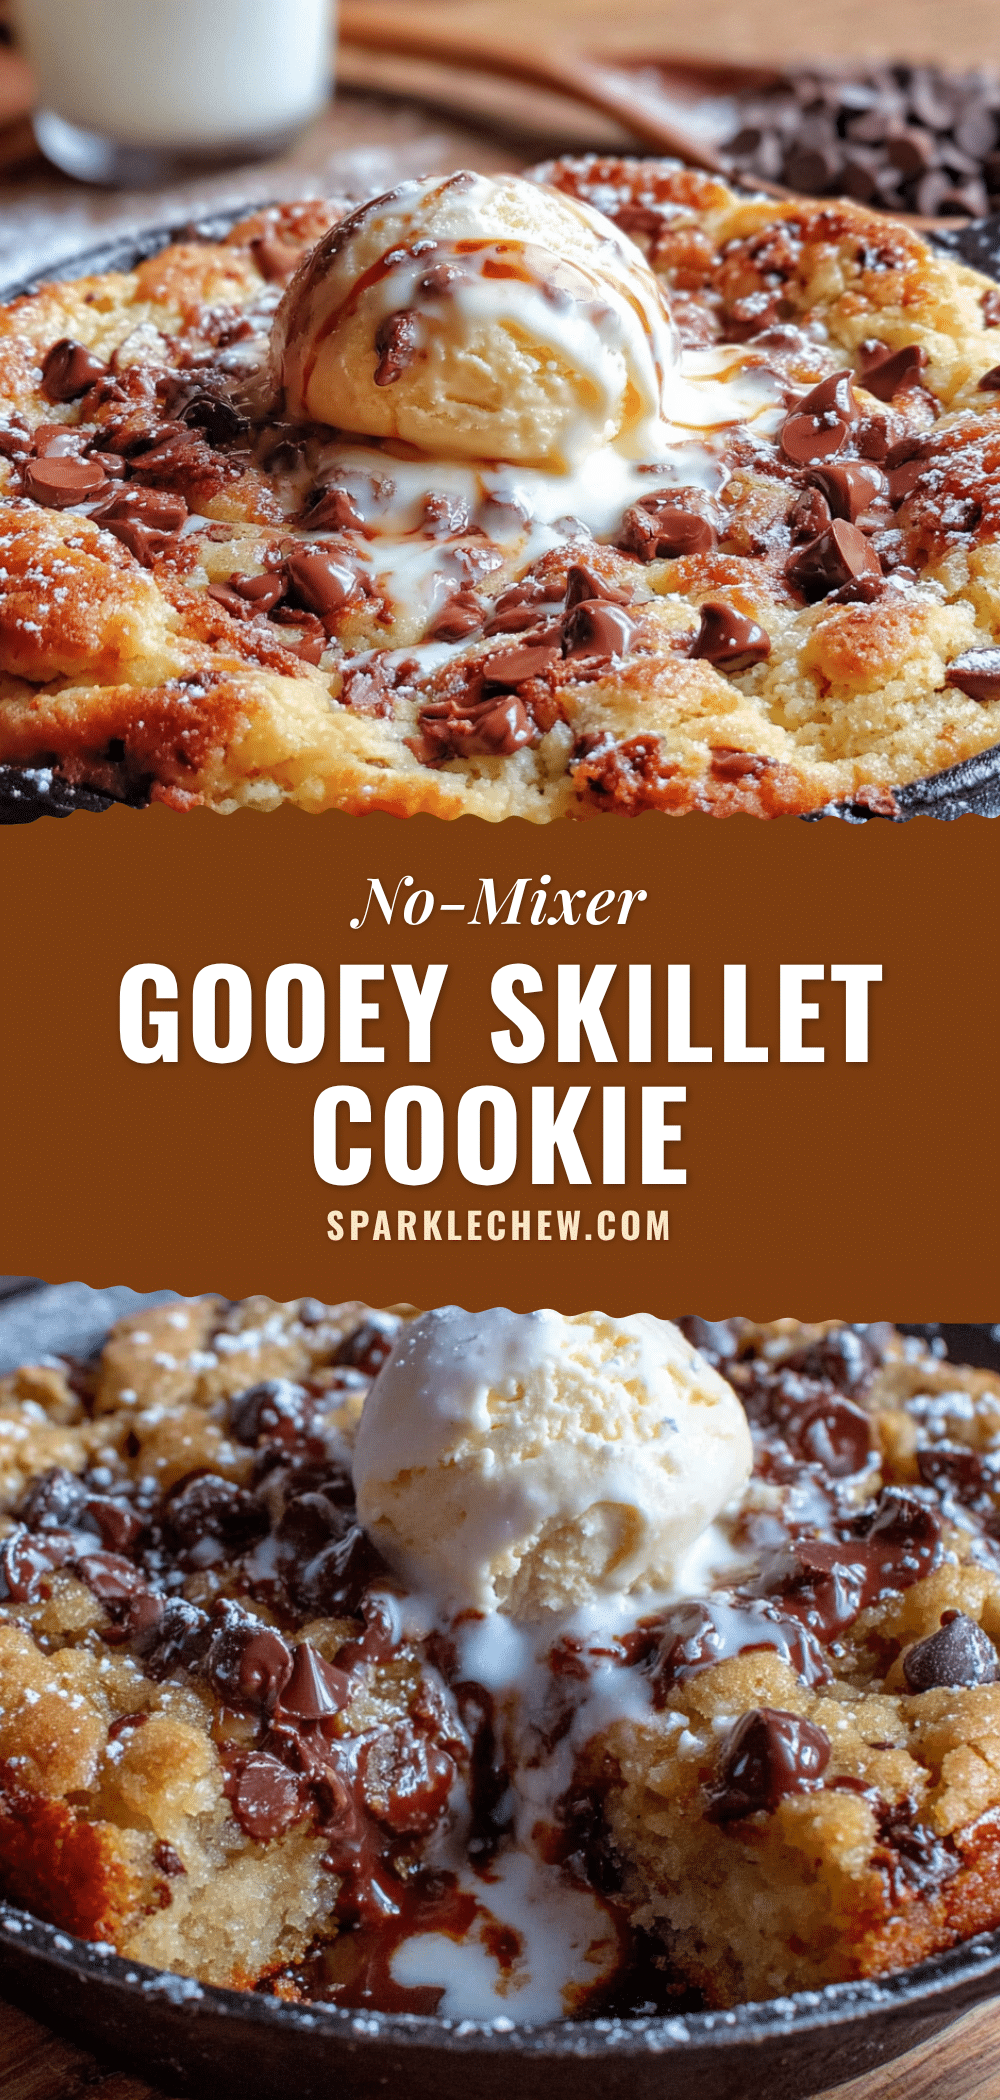
Best Easy No-Mixer Chocolate Chip Skillet Cookie

This no-mixer chocolate chip skillet cookie is quick, easy, and made with simple ingredients. Baked in a cast iron skillet, it delivers crispy edges and a soft, gooey center—perfect for sharing.
- Prep Time: 10 minutes
- Cook Time: 20 minutes
- Total Time: 30 minutes
- Yield: 8 servings 1x
- Category: Dessert
- Cuisine: American
Ingredients
- ½ cup (113g) unsalted butter, melted
- ½ cup (100g) granulated sugar
- ½ cup (100g) light brown sugar, packed
- 1 large egg, room temperature
- 1 teaspoon vanilla extract
- 1½ cups (180g) all-purpose flour
- ½ teaspoon baking soda
- ½ teaspoon fine sea salt
- ¾ cup (130g) semi-sweet chocolate chips
- Flaky sea salt for topping (optional)
Instructions
- Preheat oven to 350°F (175°C). Place a 10-inch cast iron skillet in the oven to preheat.
- Melt ½ cup butter in a microwave-safe bowl in 20-second intervals. Let cool for 2 minutes.
- In a large mixing bowl, whisk together granulated sugar and brown sugar until combined.
- Pour cooled melted butter into the sugar mixture and whisk until smooth and glossy (about 1 minute).
- Add egg and vanilla extract, whisk vigorously for about 45 seconds until thick and pale.
- In a separate small bowl, whisk together flour, baking soda, and salt.
- Add flour mixture to wet ingredients and fold gently with a rubber spatula until just combined. Do not overmix.
- Fold in ¾ cup chocolate chips, reserving a handful to press on top.
- Carefully remove hot skillet from oven. Add 1 tablespoon butter and swirl to coat bottom and sides.
- Scoop dough into the hot skillet and press into an even layer. Press reserved chocolate chips on top.
- Bake for 18-22 minutes, until edges are golden brown and center is puffy and slightly underdone.
- Let cool on a wire rack for 10 minutes. Sprinkle with flaky sea salt before serving.
Notes
Preheating the skillet is key for a crispy bottom. Let melted butter cool before adding egg to avoid cooking it. Underbake slightly as the cookie continues to cook in the hot skillet. For best results, use a kitchen scale to measure flour.
Nutrition
- Serving Size: 1 slice (1/8 of cook
- Calories: 385
- Sugar: 28
- Sodium: 280
- Fat: 22
- Saturated Fat: 13
- Carbohydrates: 45
- Fiber: 2
- Protein: 5
Keywords: skillet cookie, chocolate chip cookie, no mixer, easy dessert, cast iron skillet cookie


