Love this? Save it for later!
Share the inspiration with your friends
My neighbor, a woman named Rosa who grows more herbs in her tiny backyard than I thought possible, watched me hacking my way through a third cold of the season from across the fence. She didn’t say anything at first. She just shook her head, disappeared into her house, and came back with a mason jar filled with the most alarming-looking amber liquid I had ever seen. “Drink a shot of this every morning,” she said, handing it over like it was no big deal. “You’ll stop getting sick.” I was skeptical, honestly. The stuff smelled like a war between horseradish and garlic, and my first sip made my eyes water so badly I couldn’t see straight.
But here’s the thing—she was right. I started taking that strange, fiery concoction every morning, and somehow, I didn’t catch another cold that whole winter. I mean, maybe it was coincidence, but I didn’t want to test that theory. When I finally asked Rosa for the recipe, she laughed and said, “It’s just fire cider. My grandmother taught me.” She rattled off the ingredients from memory, and I scribbled them down on a napkin that I still keep tucked in my cookbook. That napkin is now crumpled and stained, but it reminds me of that moment—the way good recipes travel from person to person, not through formal lessons but through simple, generous gestures.
I’ve been making my own version of her homemade fire cider immunity shots ever since, tweaking it just a little to suit my taste. I added more ginger and turmeric because I love that warm, earthy kick, and I dialed back the horseradish just a smidge—Rosa would probably tease me for being soft. But honestly, this recipe has become my cold-weather ritual. When I feel that first tickle in my throat, I reach for this stuff. When the whole office is sniffling, I’m sipping my morning shot. Maybe you’ve been there too, desperately trying anything to keep the germs at bay. Well, this is the one that actually stuck for me.
Why You’ll Love This Recipe
Let me tell you, after years of testing store-bought immunity shots that cost a small fortune and taste like bitter regret, this homemade fire cider is a total game-changer. It’s the kind of recipe that makes you feel like you’ve unlocked a secret weapon for staying healthy, and the best part? You probably have most of these ingredients in your kitchen right now.
- Quick & Easy: While the steeping process takes a few weeks, the actual hands-on prep time is only about 20 minutes. You just chop, combine, and wait. It’s the easiest kind of cooking—the kind that does the work for you.
- Simple Ingredients: No fancy supplements or hard-to-find superfoods here. We’re talking garlic, onions, ginger, turmeric, horseradish, and raw apple cider vinegar—all things you can grab at any grocery store.
- Perfect for Cold & Flu Season: This is my go-to when everyone around me is sniffling and sneezing. A daily shot keeps my immune system feeling strong and ready to fight.
- Crowd-Pleaser: Okay, maybe not in the traditional sense, but everyone I’ve gifted a bottle to has come back asking for more. It’s become my signature homemade gift for friends who need a little immune boost.
- Unbelievably Delicious: I know “fire cider” sounds intense, and it is—but in the best way. The heat from the ginger and horseradish, the earthiness of turmeric, and the tang of vinegar create this complex, warming flavor that actually grows on you.
What makes this fire cider recipe different from others I’ve tried is the balance. Some versions are so heavy on the horseradish that they’re nearly undrinkable, while others are too timid. My version, inspired by Rosa’s family recipe, finds that sweet spot where the ingredients complement each other rather than compete. The ginger and turmeric provide a gentle warmth, the garlic and onion add depth, and the raw apple cider vinegar ties everything together with its bright, probiotic-rich tang. It’s not just another immunity shot—it’s your best version.
This recipe is the kind that makes you feel prepared. When you have a jar of this stuff in your fridge, you walk into cold season with confidence. It’s comfort in a shot glass—healthier, more potent, and way more satisfying than anything you can buy at the store.
What Ingredients You Will Need
This homemade fire cider uses simple, wholesome ingredients to deliver a powerful immune boost without any artificial additives or preservatives. Each ingredient plays a specific role, and together they create something truly special.
- Raw Apple Cider Vinegar (4 cups / 960 ml): This is the base of your fire cider. Look for raw, unfiltered apple cider vinegar with the “mother”—that cloudy stuff floating around is packed with beneficial bacteria and enzymes. I personally swear by Bragg’s or Dynamic Health brands for consistent quality.
- Fresh Ginger Root (1/2 cup, thinly sliced): Ginger brings warmth and a pleasant spiciness. It’s also known for its anti-inflammatory properties. You don’t need to peel it perfectly—just give it a good scrub and slice it thin so the vinegar can penetrate.
- Fresh Turmeric Root (1/4 cup, thinly sliced): That beautiful golden-orange root is the star of the show for its vibrant color and earthy flavor. Fresh turmeric stains everything it touches, so maybe wear an apron and be careful with your cutting board. If you can’t find fresh, you can use 2 tablespoons of dried turmeric, but fresh really is better here.
- Horseradish Root (1/4 cup, grated or thinly sliced): This is what gives fire cider its signature kick. Fresh horseradish root has a pungent, sinus-clearing heat that’s totally different from the jarred stuff. Look for firm, unblemished roots at the grocery store.
- Garlic Cloves (10-12 cloves, smashed): Garlic is a classic immune booster and adds a savory depth to the cider. Smashing the cloves helps release their beneficial compounds. I use regular garlic, but you could also try purple stripe garlic for a milder, sweeter flavor.
- Onion (1 medium, thinly sliced): A humble yellow or white onion adds a subtle sweetness and more immune-supporting compounds. Don’t skip it—it melts into the background and rounds out the flavor beautifully.
- Fresh Jalapeño or Habanero (1, sliced, optional): If you want extra heat, add a chili pepper. I usually add one jalapeño for a gentle warmth, but my friend Mike swears by habanero for a truly fiery experience. Your call.
- Lemon (1 medium, sliced): Lemon adds brightness and vitamin C. Use organic if you can, since you’re steeping the peel too.
- Raw Honey (2-4 tablespoons, to taste): This comes at the end, after steeping. Raw honey balances the acidity and heat while adding its own immune-supporting properties. Local honey is ideal if you can find it.
- Optional Add-ins: A sprig of fresh rosemary, a few black peppercorns (which help with turmeric absorption), or a cinnamon stick can add lovely complexity. I sometimes throw in a star anise for a hint of licorice.
Equipment Needed
You don’t need fancy kitchen gadgets for this recipe, which is part of its charm. Here’s what you’ll need:
- A large glass jar (1-quart / 1-liter capacity): This is your steeping vessel. A wide-mouth mason jar works perfectly. Avoid plastic, as the vinegar can react with it over time.
- A sharp knife and cutting board: For slicing your ginger, turmeric, and other aromatics. A good chef’s knife makes the job much easier.
- A measuring cup and spoons: For accurate measurements, though fire cider is forgiving—you can adjust amounts to your taste.
- A fine-mesh strainer or cheesecloth: For straining out the solids after steeping. Cheesecloth gives you a clearer liquid, but a fine-mesh strainer works fine too.
- A funnel: For transferring the finished cider into smaller bottles without making a mess. Trust me, you’ll want one.
- Small glass bottles or jars for storage: I use 4-ounce swing-top bottles, which make it easy to pour a daily shot. You can also reuse store-bought hot sauce bottles after a thorough wash.
I’ve made fire cider with a cheap plastic funnel and a regular kitchen knife, and it turned out just as good as when I use my fancy stainless steel setup. Don’t overthink the equipment—just use what you have.
Preparation Method
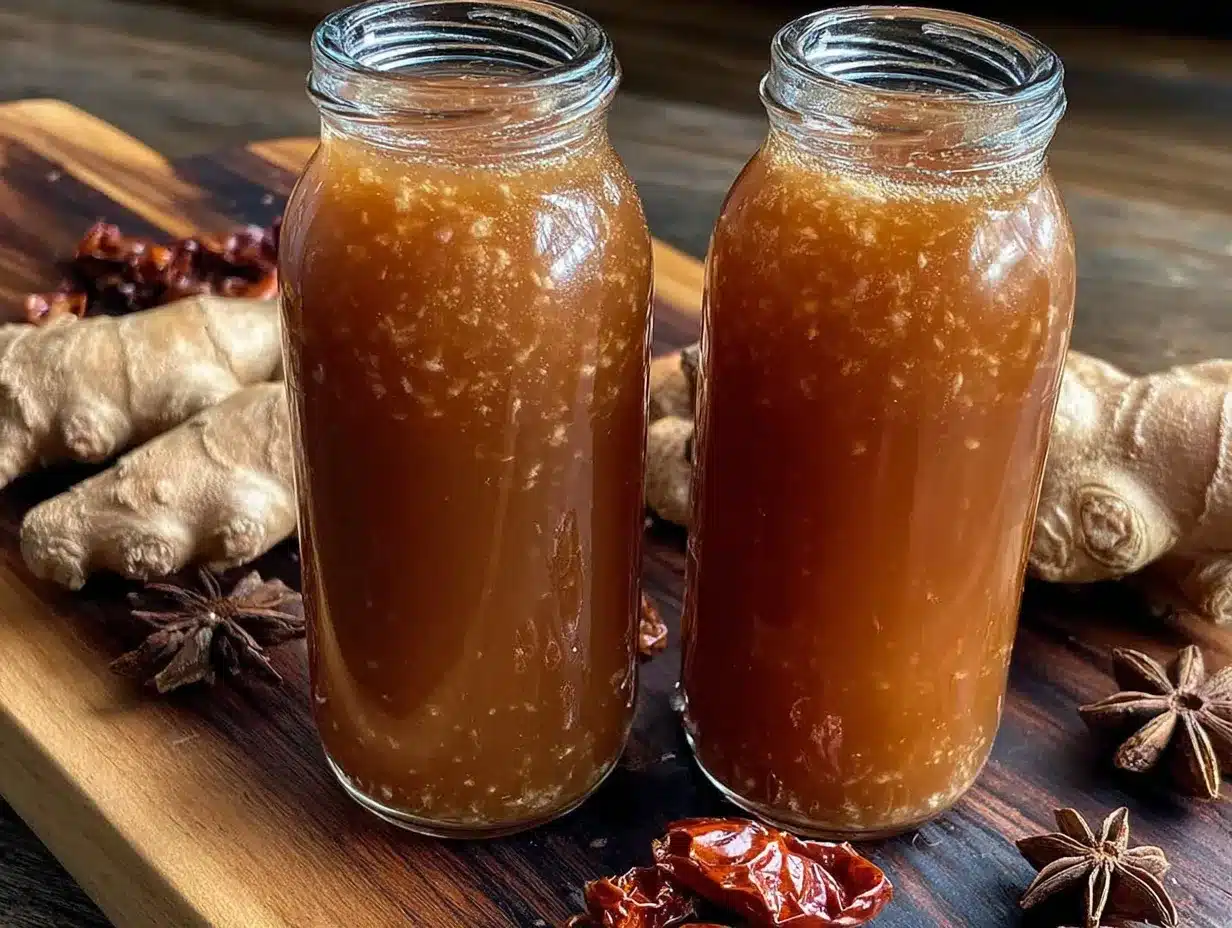
Making homemade fire cider immunity shots is more about patience than skill. The actual prep is quick, but the steeping time is where the magic happens. Here’s how I do it:
- Prep your aromatics (15 minutes): Start by giving all your produce a good wash. Scrub the ginger and turmeric well—you don’t need to peel them, just remove any dirt. Slice the ginger and turmeric into thin rounds, about 1/8 inch thick. Thin slices mean more surface area for the vinegar to extract flavor. Smash your garlic cloves with the flat side of your knife to release their oils. Slice your onion into thin rings. Grate or thinly slice your horseradish—I find grating gives it more punch, but slicing works too. Slice your lemon into rounds.
- Layer everything in the jar (5 minutes): Grab your clean glass jar and start layering. I like to put the ginger and turmeric on the bottom, then add the garlic, onion, horseradish, and lemon. If you’re using a chili pepper or any optional add-ins like rosemary or peppercorns, tuck them in between the layers. Pack everything in fairly tightly—you want the jar to be about three-quarters full with solids.
- Pour in the apple cider vinegar (2 minutes): Slowly pour your raw apple cider vinegar over the solids until everything is completely submerged. The vinegar needs to cover all the ingredients to prevent mold from forming. Leave about an inch of headspace at the top of the jar. Use a chopstick or a wooden skewer to poke around and release any air bubbles trapped between the layers.
- Seal and shake (1 minute): Screw the lid on tightly and give the jar a good shake. You’ll see the vinegar immediately start to take on color from the turmeric and ginger. Label your jar with the date—trust me, you’ll forget otherwise.
- Steep for 2-4 weeks (the waiting game): Store the jar in a cool, dark place like your pantry or a kitchen cabinet. Shake it once a day for the first week to keep everything mixed and help the extraction process. After that, you can shake it every few days. The longer you steep, the more intense and complex the flavor becomes. I find that 3 weeks is my sweet spot—long enough for a deep, robust flavor but not so long that the horseradish becomes overwhelming. Taste it at the 2-week mark and decide if you want to go longer.
- Strain and sweeten (10 minutes): After your steeping time is up, set up your strainer over a large bowl or measuring cup. If you’re using cheesecloth, line the strainer with a double layer. Pour the contents of the jar through the strainer, letting the liquid drain. Press gently on the solids with the back of a spoon to extract every last drop of that golden liquid. Don’t squeeze too hard, or you might get some sediment, which is fine but can make the cider cloudy.
- Add honey to taste (2 minutes): While the cider is still in the bowl, stir in your raw honey. Start with 2 tablespoons and taste. I usually end up at about 3 tablespoons for a nice balance of sweet and tangy. The honey will also help preserve the cider. Stir until the honey is fully dissolved.
- Bottle and store (5 minutes): Use your funnel to pour the finished fire cider into your storage bottles. Seal them tightly and store in the refrigerator. It will keep for up to 6 months, though I’ve never had a batch last that long because I use it so regularly.
One thing I learned the hard way—don’t skip the daily shaking during the first week. I once forgot about a batch for two weeks straight, and when I opened it, there was a bit of mold on top. It was heartbreaking to throw it out. The shaking helps prevent that by keeping everything moving and exposed to the vinegar.
Cooking Tips & Techniques
Over the years, I’ve made plenty of mistakes with fire cider, and I’ve learned a thing or two that might save you some trouble. Here are my best tips:
Use organic produce when possible. Since you’re steeping the peels and skins, you want to avoid any pesticide residues. I know organic can be pricier, but for this recipe, it makes a difference. Plus, the flavor is noticeably better.
Don’t skimp on the horseradish. I made that mistake my second batch because I thought I could tone it down. The result was a fire cider that tasted flat and lacked that signature heat. Horseradish is what gives fire cider its name, so embrace it. Your sinuses will thank you.
Slice, don’t chop. Thin slices work better than small dice because they’re easier to strain out later. Diced ginger and turmeric can slip through your strainer and leave sediment in your finished cider. I learned this when I found little bits of ginger floating in my morning shot—not the end of the world, but not ideal.
Temperature matters for steeping. A cool, dark place is ideal. If your kitchen gets too warm, the fermentation process can speed up and change the flavor. I keep mine in the basement pantry, but a kitchen cabinet away from the stove works too. Avoid direct sunlight, which can degrade the vinegar.
Taste as you go. After two weeks, start tasting your fire cider every few days. Use a clean spoon each time. This is how you’ll find your perfect steep time. Some people like a milder cider that’s ready in 10 days, while others want a potent brew that steeps for a full month. There’s no wrong answer—it’s your personal preference.
Multitask with the solids. Don’t throw away the steeped aromatics! They still have plenty of flavor and goodness. I love using them in salad dressings, marinades, or even blended into a savory vinaigrette. You can also chop them up and add them to soups or stews for an extra immune boost. Nothing goes to waste.
Variations & Adaptations
One of the best things about fire cider is how customizable it is. Here are some of my favorite variations:
Milder Version: If you’re new to fire cider or sensitive to heat, reduce the horseradish by half and skip the chili pepper. You can also add a whole cinnamon stick and a star anise during steeping for a warmer, less aggressive flavor. This version is still potent but much more approachable.
Extra Potent Version: For those who want maximum immune support, double the garlic and ginger, add a habanero pepper, and steep for a full 4 weeks. I make this version during peak flu season and it’s like liquid armor. Fair warning—it’s intense, and you’ll definitely feel it going down.
Herbal Infusion: Add fresh herbs like rosemary, thyme, oregano, or sage to your jar. These herbs have their own immune-supporting properties and add lovely complexity. I often add a few sprigs of fresh rosemary and a handful of fresh thyme leaves. It gives the cider an almost savory, garden-fresh quality.
Sweet and Spicy: If you prefer a touch more sweetness, increase the honey to 4 tablespoons and add a sliced apple to the steeping mixture. The apple adds natural sweetness and a subtle fruitiness that balances the heat beautifully. This version is great for kids or anyone who finds traditional fire cider too harsh.
Low-FODMAP Version: For those with sensitive digestion, skip the garlic and onion. Replace them with extra ginger, turmeric, and a bit of asafoetida powder (which mimics the savory depth of garlic without the FODMAPs). You can also add some fennel seeds for a gentle sweetness.
I once made a batch with blood oranges instead of lemons, just because I had a bag sitting on my counter. It turned out amazing—brighter, slightly sweeter, with a gorgeous deep orange color. That’s the beauty of this recipe. Once you understand the basic formula, you can play with it endlessly.
Serving & Storage Suggestions
Fire cider is best enjoyed as a daily wellness shot, but there are plenty of other ways to use it too. Here’s how I like to serve and store mine:
As a Morning Shot: I take 1 to 2 tablespoons every morning, straight from the fridge. It’s a quick, bracing way to start the day. If the taste is too intense for you, chase it with a sip of water or mix it into a small glass of warm water like a tea. Some people even add it to their morning smoothie for an extra kick.
In Salad Dressings: Fire cider makes an incredible salad dressing base. Whisk 2 tablespoons of fire cider with 3 tablespoons of olive oil, a pinch of salt, and some fresh herbs. It’s tangy, spicy, and way more interesting than plain vinegar. I use it on everything from simple green salads to hearty grain bowls.
In Marinades: Use fire cider as a marinade for chicken, pork, or tofu. The vinegar helps tenderize the meat while the spices infuse it with flavor. Mix it with a bit of soy sauce and sesame oil for an Asian-inspired twist, or with olive oil and herbs for a Mediterranean vibe.
As a Cocktail Mixer: This might sound unusual, but fire cider makes a fantastic mixer for savory cocktails. Try it in a Bloody Mary instead of regular vinegar, or mix it with vodka and a splash of soda water for a spicy, tangy drink. It’s surprisingly refreshing.
Storage: Keep your fire cider in the refrigerator at all times. The cold temperature helps preserve it and keeps the flavors bright. It will last for up to 6 months, but I usually finish a batch within 2 to 3 months. If you notice any change in smell, color, or if mold develops, it’s time to toss it and start fresh.
Flavor Development: The flavors of fire cider continue to meld and deepen over time. I find that it’s at its best after about a week in the fridge post-straining. The initial harshness mellows out, and the honey integrates more fully. So if it tastes a bit sharp right after bottling, give it a few days.
Nutritional Information & Benefits
While I’m not a nutritionist, I can tell you what makes this fire cider so good for you based on what I’ve researched and experienced. Each tablespoon contains approximately:
- Calories: 15-20
- Carbohydrates: 4-5g (mostly from honey)
- Sugar: 3-4g (from honey and produce)
- Vitamin C: 2-3% DV
- Iron: 1% DV
- Potassium: 1% DV
Key Health Benefits:
- Ginger and Turmeric: Both are powerful anti-inflammatory agents. Ginger is known for soothing digestion and nausea, while turmeric supports joint health and immune function. The black peppercorns I sometimes add help your body absorb turmeric’s active compound, curcumin, more effectively.
- Garlic and Onion: These alliums are rich in sulfur compounds like allicin, which have been shown to support immune health and may help reduce the severity of colds.
- Raw Apple Cider Vinegar: Contains beneficial bacteria and enzymes that support gut health. A healthy gut is closely linked to a strong immune system, so this is a key component.
- Horseradish: Known for its antimicrobial properties, horseradish can help clear sinuses and respiratory passages.
- Raw Honey: Provides natural sweetness along with antioxidants and enzymes that support overall wellness.
Dietary Considerations: This fire cider is naturally gluten-free, dairy-free, and vegan (if you use maple syrup instead of honey). It’s also paleo-friendly and Whole30-compliant without the honey. If you have allergies to any of the ingredients, simply omit or substitute as suggested in the variations section.
Conclusion
Making your own homemade fire cider immunity shots is one of those kitchen projects that feels deeply satisfying. It’s simple, it’s economical, and it puts you in control of what goes into your body. No more spending ten dollars on a tiny bottle of questionable ingredients—you know exactly what’s in this stuff, and it’s all good.
I love this recipe because it connects me to that moment with Rosa, her knowing smile as she handed me that jar over the fence. It reminds me that some of the best remedies aren’t found in stores—they’re passed between neighbors, scribbled on napkins, and perfected over time. This fire cider has become my winter ritual, my gift to friends who need a little boost, and my secret weapon against every cold that tries to take me down.
I’d love to hear how your batch turns out. Did you add something unexpected? Did you make it extra spicy? Share your fire cider stories in the comments below—I read every single one, and I’m always inspired by how people make recipes their own. And if you found this helpful, please share it with someone who could use a little immune support this season. Let’s keep each other healthy, one fiery shot at a time.
Frequently Asked Questions
Can I use dried ginger and turmeric instead of fresh?
You can, but the flavor won’t be as bright and vibrant. Fresh roots have more volatile oils and a sharper, more complex flavor that really shines in this recipe. If you must use dried, use about half the amount and expect a milder result.
How long does homemade fire cider last?
Properly stored in the refrigerator, your fire cider will last for up to 6 months. The vinegar acts as a natural preservative. However, I always recommend making smaller batches so you can enjoy it at its peak freshness within 2-3 months.
Can I drink fire cider if I’m pregnant or nursing?
It’s best to consult with your healthcare provider before taking fire cider during pregnancy or while nursing. The concentrated herbs and vinegar may not be suitable for everyone, and your doctor can give you personalized advice based on your health situation.
Why is my fire cider cloudy?
Cloudiness is completely normal and nothing to worry about. It’s usually caused by tiny particles of the aromatics or the “mother” in the raw apple cider vinegar. Some cloudiness can also come from the honey. A clear fire cider is just a matter of straining more thoroughly, but cloudy cider is perfectly fine to drink.
Can I make fire cider without horseradish?
Absolutely. While horseradish is traditional, you can skip it if you can’t find it or prefer a milder cider. The ginger and chili pepper will still provide plenty of warmth. You might also try adding a bit of wasabi powder or extra ginger to compensate for the missing heat.
Pin This Recipe!
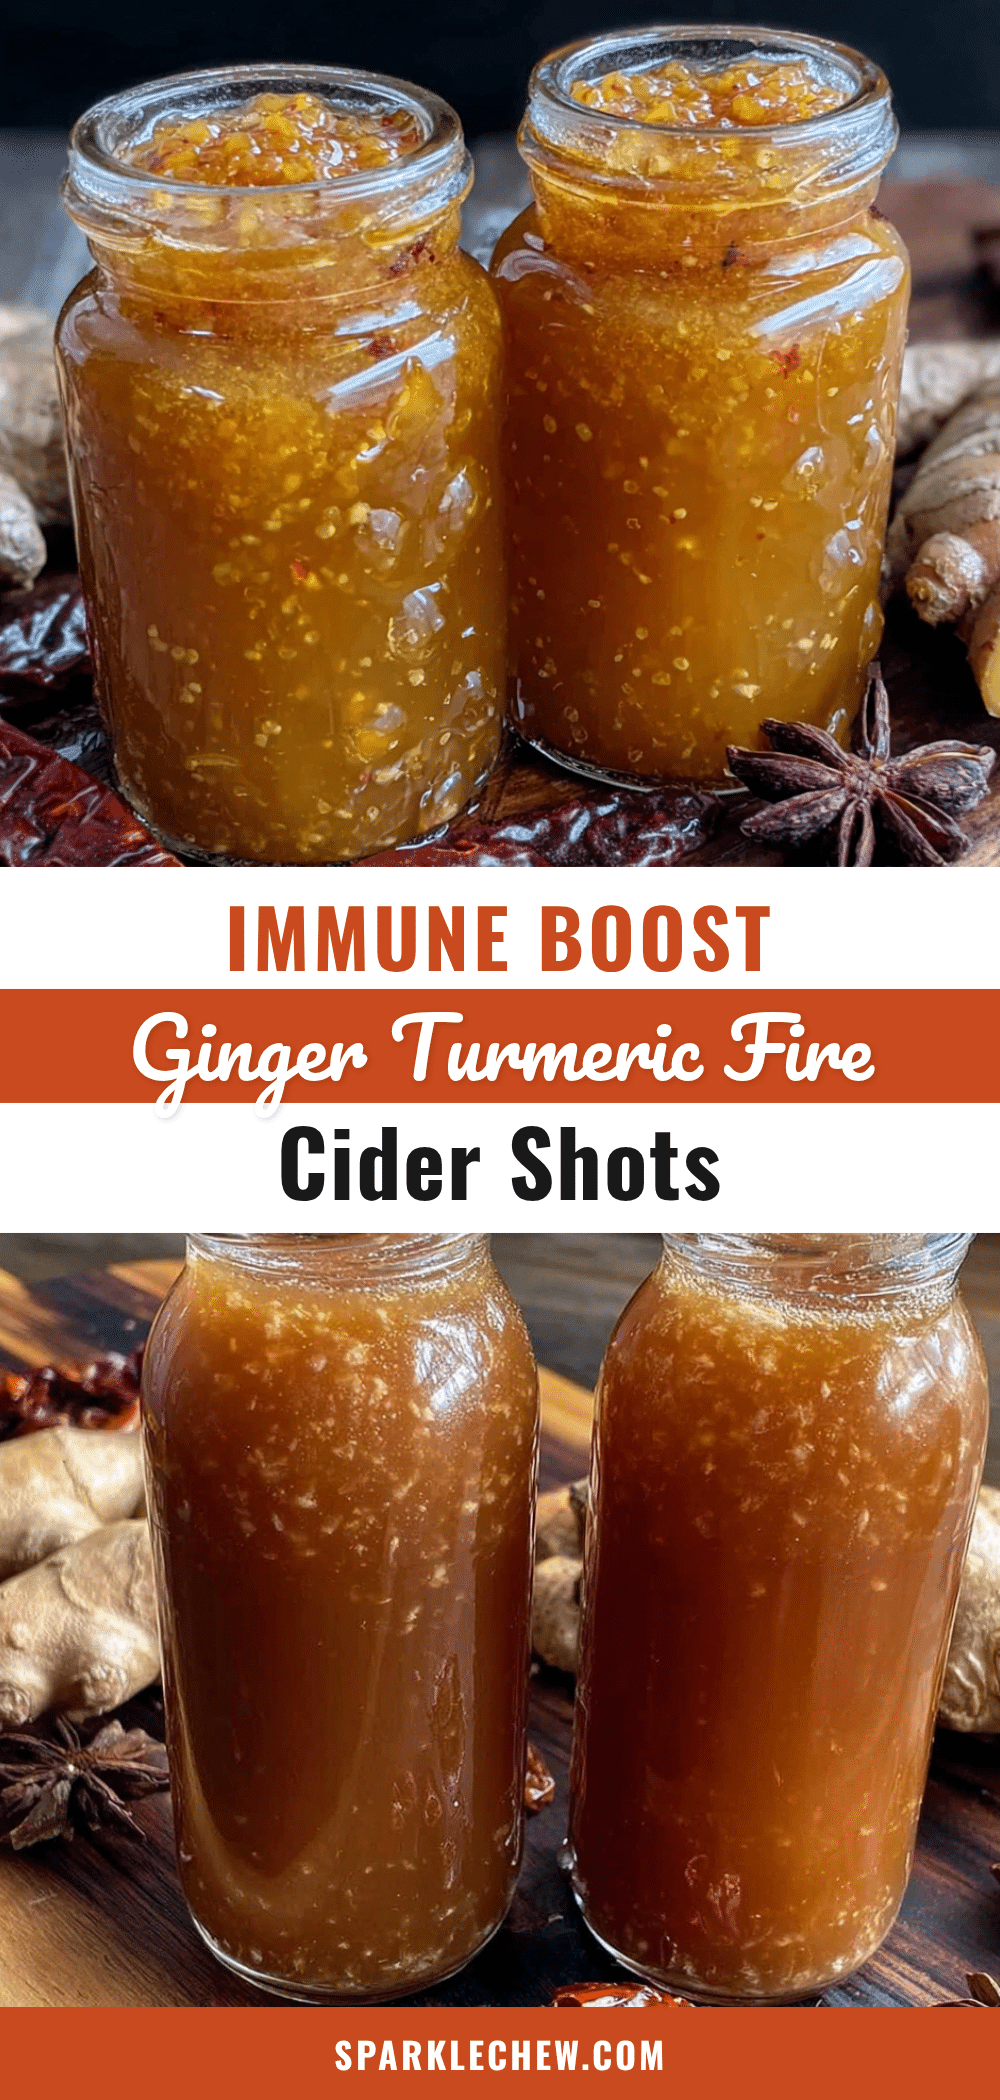
Best Homemade Fire Cider Immunity Shots with Ginger and Turmeric
A potent, homemade fire cider recipe inspired by a neighbor’s family tradition, featuring ginger, turmeric, horseradish, and raw apple cider vinegar for immune support. This easy-to-make wellness shot is perfect for cold and flu season.
- Prep Time: 20 minutes
- Cook Time: 0 minutes
- Total Time: 2-4 weeks (steeping) + 20 minutes active prep
- Yield: Approximately 4 cups (32 servings of 1 tablespoon each) 1x
- Category: Wellness Shot
- Cuisine: American
Ingredients
- 4 cups (960 ml) raw apple cider vinegar (with the mother)
- 1/2 cup fresh ginger root, thinly sliced
- 1/4 cup fresh turmeric root, thinly sliced
- 1/4 cup horseradish root, grated or thinly sliced
- 10–12 garlic cloves, smashed
- 1 medium onion, thinly sliced
- 1 fresh jalapeño or habanero, sliced (optional)
- 1 medium lemon, sliced
- 2–4 tablespoons raw honey (to taste)
- Optional: fresh rosemary sprig, black peppercorns, cinnamon stick, star anise
Instructions
- Prep your aromatics: Wash and scrub ginger and turmeric (no need to peel). Slice into thin rounds (about 1/8 inch thick). Smash garlic cloves. Slice onion into thin rings. Grate or thinly slice horseradish. Slice lemon into rounds.
- Layer everything in a large glass jar (1-quart/1-liter capacity). Place ginger and turmeric on the bottom, then add garlic, onion, horseradish, lemon, and any optional add-ins. Pack tightly until jar is about three-quarters full.
- Pour raw apple cider vinegar over the solids until completely submerged, leaving about 1 inch of headspace. Use a chopstick to release air bubbles.
- Seal the jar tightly and shake well. Label with the date.
- Steep in a cool, dark place for 2-4 weeks. Shake daily for the first week, then every few days. Taste after 2 weeks to determine preferred strength.
- After steeping, strain the liquid through a fine-mesh strainer or cheesecloth into a large bowl. Press gently on solids to extract liquid.
- Stir in raw honey to taste (start with 2 tablespoons). Adjust sweetness as desired.
- Bottle the finished fire cider into small glass bottles or jars using a funnel. Store in the refrigerator for up to 6 months.
Notes
Use organic produce when possible. Slice ingredients thinly for better extraction. Shake daily during the first week to prevent mold. Don’t throw away steeped solids—use them in salad dressings, marinades, or soups. For a milder version, reduce horseradish and skip chili pepper. For extra potency, double garlic and ginger and steep for 4 weeks.
Nutrition
- Serving Size: 1 tablespoon
- Calories: 1520
- Sugar: 34
- Carbohydrates: 45
Keywords: fire cider, immunity shots, homemade fire cider, ginger, turmeric, apple cider vinegar, immune booster, cold remedy, wellness shot


