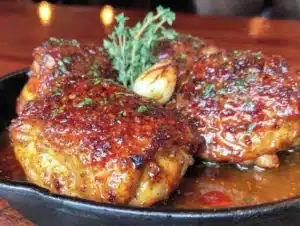
Love this? Save it for later!
Share the inspiration with your friends
It was 11:47 PM on a random Wednesday in October, and I had one of those cravings that just wouldn’t let go. You know the feeling, right? The kind where your brain decides it needs something sticky, savory, and deeply satisfying, and nothing else will do. I didn’t have the energy for a complicated recipe, but I had a pack of chicken thighs in the fridge and a bottle of honey that was practically winking at me. So, in my quiet kitchen, with only the hum of the refrigerator for company, I started throwing things together. I wasn’t following a plan—I was just following my gut. The result was so good that I literally ate it standing over the counter at midnight, and I knew I had to share it.
Honestly, this dish started as a happy accident born from a lazy weeknight and a serious case of the hungries. But it quickly became my go-to for fall dinners when I want something that feels special but doesn’t require hours of effort. The way the honey and garlic meld together, creating a glossy, caramelized coating on the chicken—it’s pure magic. I mean, the kitchen smelled like a cozy restaurant, and I hadn’t even tried hard. That night, I made a mess, forgot to take the chicken out of the pan before adding the garlic (rookie move, I know), and still ended up with the best chicken I’d made in months. Maybe you’ve been there, too—when you’re too tired to follow the rules, and that’s exactly when the best cooking happens. This recipe stayed with me because it proved that sometimes, the best meals come from a little bit of chaos and a whole lot of craving.
Why You’ll Love This Recipe
Let’s be real for a second—there are a million chicken thigh recipes out there. But this one? This one is different. I’ve tested this recipe at least a dozen times, tweaking the honey-to-garlic ratio, playing with cooking times, and even trying it in different pans. What I landed on is the perfect balance of sweet, savory, and sticky without being cloying. Plus, it’s all done in one pan, which means less cleanup and more time for you to enjoy that cozy fall evening.
- Quick & Easy: From start to finish, this dish comes together in about 35 minutes. Perfect for those busy weeknights when you want something homemade but don’t have hours to spare.
- Simple Ingredients: You probably have most of these in your pantry right now. No fancy grocery trips or hard-to-find spices—just honest, good food.
- Perfect for Fall: This is the kind of dinner that pairs beautifully with a glass of red wine and the sound of leaves rustling outside. It’s comfort food that matches the season.
- Crowd-Pleaser: I’ve served this to picky eaters, foodie friends, and my own skeptical family. Every single person went back for seconds. It’s that good.
- Unbelievably Delicious: The texture is what gets me every time. Crispy, golden-brown skin with a sticky, glossy glaze that clings to every bite. It’s the kind of meal that makes you close your eyes on the first bite.
What sets this recipe apart is the technique. Instead of just dumping the sauce over the chicken, we’re searing the thighs first to get that perfect crispy skin, then letting them finish cooking in the glaze. It’s a small step that makes a huge difference. And the secret? A splash of apple cider vinegar to cut through the sweetness and balance everything out. This isn’t just another honey chicken recipe—it’s the version you’ll come back to again and again.
What Ingredients You Will Need
This recipe relies on a handful of simple, wholesome ingredients that work together to create something truly special. Most of these are pantry staples, which makes this dish perfect for those nights when you don’t want to run to the store. Here’s what you’ll need:
- Chicken Thighs: 6 bone-in, skin-on chicken thighs (about 2 pounds). The skin gets perfectly crispy, and the bone keeps the meat juicy. If you can only find boneless, that works too—just reduce the cooking time by about 10 minutes.
- Honey: 1/3 cup of good-quality honey. I prefer a local wildflower honey for its floral notes, but any honey will work. The honey is the star here, so don’t skimp on quality.
- Soy Sauce: 3 tablespoons of low-sodium soy sauce. This adds the savory depth that balances the sweetness. Use tamari if you need a gluten-free option.
- Garlic: 4 cloves of fresh garlic, minced. Please, please don’t use the pre-minced stuff from a jar. Fresh garlic makes a world of difference in this dish.
- Apple Cider Vinegar: 1 tablespoon. This is my little trick—it cuts through the sweetness and adds a subtle tang that makes the flavors pop.
- Olive Oil: 2 tablespoons, for searing the chicken. Avocado oil works great too if you prefer a higher smoke point.
- Salt and Pepper: To taste. I use about 1 teaspoon of salt and 1/2 teaspoon of black pepper.
- Optional Garnishes: Fresh parsley, chopped, and sesame seeds for that finishing touch. They add color and a little extra texture.
Now, let’s talk about a few ingredient specifics. For the chicken, I always recommend going with thighs over breasts for this recipe. Thighs have more fat, which means they stay juicy and tender even with the high heat. Plus, the skin crisps up beautifully. If you’re watching your fat intake, you can use skinless thighs, but you’ll miss out on that irresistible crispy texture.
The soy sauce I use is Kikkoman—it’s my go-to for its consistent flavor. But honestly, any brand you trust will work. Just make sure it’s low-sodium so you can control the saltiness. And for the honey, I’ve tried this with everything from cheap supermarket honey to fancy manuka, and honestly, the mid-range stuff works perfectly. Don’t overthink it.
Equipment Needed
The beauty of this recipe is that it doesn’t require a ton of fancy equipment. Here’s what you’ll need:
- Large Oven-Safe Skillet: A 12-inch cast iron skillet is ideal, but any oven-safe pan will work. The key is that it can go from stovetop to oven without issues. If you don’t have cast iron, a stainless steel pan with an oven-safe handle is fine.
- Tongs: For flipping the chicken and handling it in the hot pan. Trust me, you don’t want to use a fork and risk breaking the skin.
- Small Bowl: For mixing the sauce ingredients together before adding them to the pan.
- Meat Thermometer: This isn’t strictly necessary, but it takes the guesswork out of knowing when the chicken is done. I use a simple instant-read thermometer and it’s been a game-changer.
- Cutting Board and Knife: For mincing the garlic and chopping the parsley.
If you don’t have an oven-safe skillet, don’t worry. You can sear the chicken in any skillet, then transfer it to a baking dish before adding the sauce and finishing in the oven. It’s one extra step, but the results are just as good. Also, a good pair of kitchen shears can be helpful for trimming any excess fat from the chicken thighs before cooking.
Preparation Method
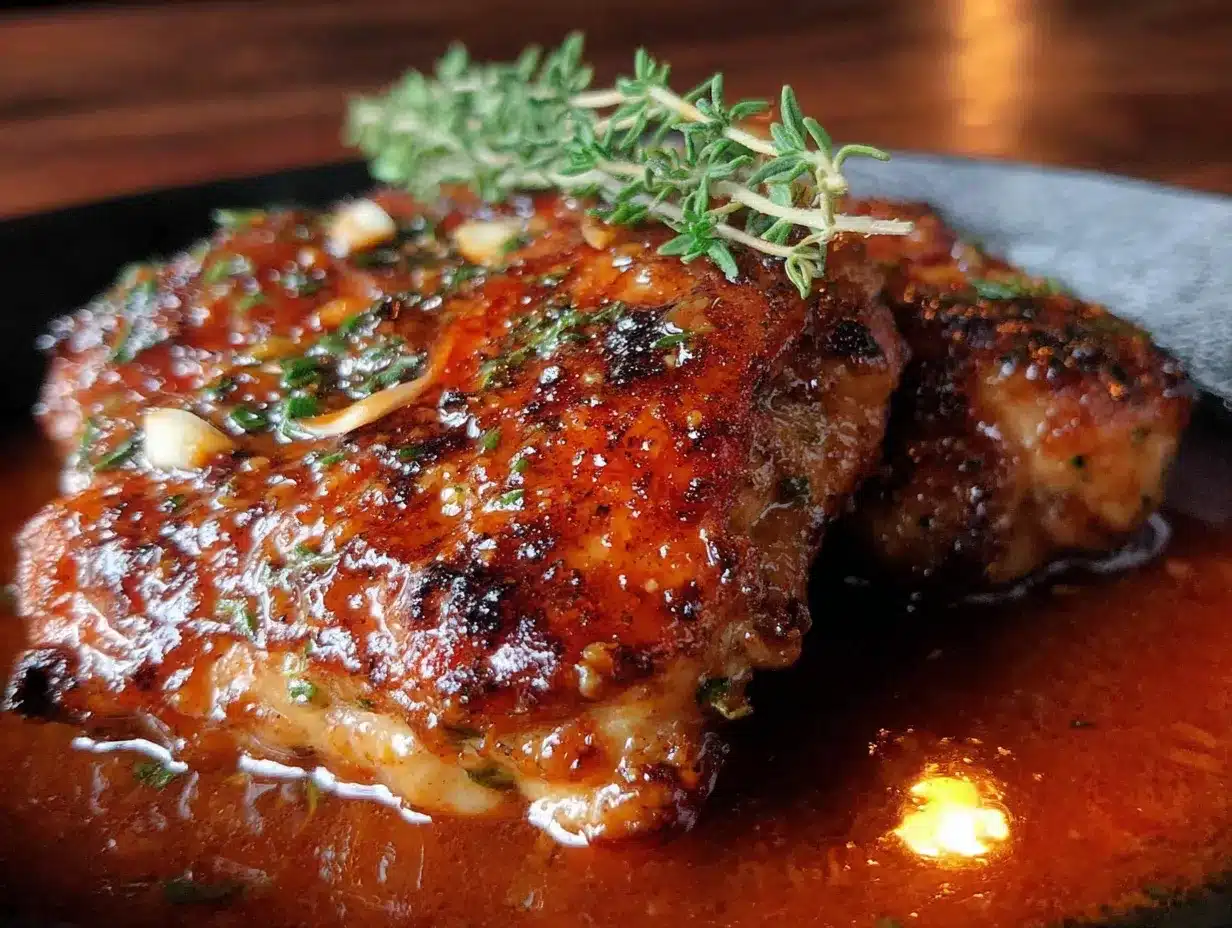
Alright, let’s get cooking. This recipe comes together in about 35 minutes, and most of that time is hands-off while the chicken does its thing in the oven. Here’s the step-by-step:
- Preheat the oven to 400°F (200°C). Position a rack in the middle of the oven. While the oven is heating up, let your chicken thighs sit at room temperature for about 15 minutes—this helps them cook more evenly.
- Pat the chicken thighs dry with paper towels. This is crucial for getting that crispy skin. Any moisture on the surface will steam instead of sear. Season both sides generously with salt and pepper.
- Heat 2 tablespoons of olive oil in your large oven-safe skillet over medium-high heat. You want the oil shimmering but not smoking. When you flick a drop of water into the pan and it sizzles, you’re ready.
- Place the chicken thighs skin-side down in the hot skillet. Don’t crowd the pan—if your skillet is too small, work in batches. Let them cook undisturbed for 5-6 minutes. The skin should be deep golden brown and crispy. I know it’s tempting to peek, but resist the urge. Let the skin develop that beautiful crust.
- Flip the chicken thighs using your tongs. Cook for another 3-4 minutes on the other side. The chicken should be golden all over. Remove the chicken from the skillet and set it aside on a plate. Don’t worry if it’s not cooked through yet—it will finish in the oven.
- Reduce the heat to medium and carefully drain off all but about 1 tablespoon of the rendered fat from the skillet. Leave the browned bits (fond) in the pan—they’re packed with flavor.
- Add the minced garlic to the skillet and cook for about 30 seconds, stirring constantly. You want it fragrant but not brown. Burnt garlic is bitter, and we don’t want that.
- In a small bowl, whisk together the honey, soy sauce, and apple cider vinegar. Pour this mixture into the skillet with the garlic. Stir everything together, scraping up those flavorful browned bits from the bottom of the pan. Let the sauce simmer for about 1 minute until it thickens slightly.
- Return the chicken thighs to the skillet, skin-side up. Spoon some of the sauce over the tops of the chicken. Don’t worry if it looks like there isn’t much sauce—it will reduce and concentrate as it cooks.
- Transfer the skillet to the preheated oven and bake for 15-20 minutes, or until the chicken reaches an internal temperature of 165°F (74°C) when inserted into the thickest part of the thigh. The sauce should be bubbling and thickened into a gorgeous glaze.
- Remove from the oven and let the chicken rest in the skillet for 5 minutes. This allows the juices to redistribute. Spoon the pan sauce over the chicken before serving.
- Garnish with fresh parsley and sesame seeds, if desired. Serve immediately and prepare for compliments.
A few things to watch for: If the sauce starts to look too thick or is sticking to the pan during the oven time, you can add a splash of chicken broth or water to loosen it up. Also, every oven runs a little differently, so start checking the temperature at the 15-minute mark. The chicken is done when the juices run clear and the meat is tender.
Cooking Tips & Techniques
Let me share a few things I’ve learned from making this dish more times than I can count. First, don’t skip the step of patting the chicken dry. I know it seems like a hassle, but it’s the difference between crispy skin and soggy skin. I learned this the hard way when I was rushing one night and ended up with steamed chicken. Not my finest moment.
Another tip: let the chicken sear without moving it. I used to be the kind of cook who fidgeted with everything in the pan, flipping and moving things around constantly. But with chicken thighs, you need to let them sit. That 5-6 minutes of undisturbed cooking is what builds that beautiful golden crust. If you try to flip too early, the skin will stick and tear. Trust the process.
For the garlic, add it after you’ve removed the chicken from the pan. If you add it too early, it will burn in the hot oil. Thirty seconds is all it needs. And when you add the sauce, make sure to scrape up all those browned bits from the bottom of the pan. That’s where so much flavor lives—it’s like free seasoning.
One more thing: if you want extra sticky sauce, you can remove the chicken from the skillet after baking and let the sauce simmer on the stovetop for a few minutes to reduce further. Just be careful not to burn it. The sauce should be thick enough to coat the back of a spoon but still pourable.
Variations & Adaptations
This recipe is incredibly versatile, and I’ve played around with it quite a bit. Here are some of my favorite variations:
- Spicy Honey Garlic: Add 1/2 teaspoon of red pepper flakes or a minced Thai chili to the sauce along with the garlic. The heat balances beautifully with the sweetness. I made this version for a game day party and it disappeared in minutes.
- Lemon Herb Twist: Replace the apple cider vinegar with fresh lemon juice and add a teaspoon of dried thyme or rosemary to the sauce. It gives the dish a brighter, more Mediterranean feel. Perfect for those early fall days when you’re not quite ready for heavy flavors.
- Maple Mustard Variation: Swap the honey for maple syrup and add 1 tablespoon of Dijon mustard. The mustard adds a tangy kick that’s incredible with the rich chicken. This version is especially good in late fall when maple season is in full swing.
- Gluten-Free Option: Use tamari or coconut aminos instead of soy sauce, and you’re good to go. Everything else in the recipe is naturally gluten-free.
- Air Fryer Adaptation: If you want to skip the oven, you can finish these in an air fryer. Sear the chicken in the skillet, then transfer to the air fryer basket. Cook at 375°F (190°C) for about 10-12 minutes, brushing with the sauce halfway through.
I’ve also tried this with chicken drumsticks and even pork chops, and both worked beautifully. The cooking times might vary slightly, so use a meat thermometer to be safe.
Serving & Storage Suggestions
This sticky honey garlic chicken is best served hot, right out of the skillet. I love spooning that extra pan sauce over the top—it’s almost like a free gravy. For sides, I usually go with something that can soak up all that delicious sauce. Mashed potatoes are a classic choice, but steamed rice or crusty bread works just as well.
For a complete fall dinner, try serving this with roasted Brussels sprouts or a simple green salad with a tangy vinaigrette to cut through the richness. And if you’re feeling fancy, a side of sautéed green beans with toasted almonds is gorgeous.
As for storage, leftovers keep beautifully. Place any leftover chicken in an airtight container and refrigerate for up to 4 days. The flavors actually deepen overnight, so it might taste even better the next day. To reheat, I recommend using the oven or a skillet rather than the microwave. The microwave will make the skin soggy. Reheat in a 350°F (175°C) oven for about 10 minutes, or in a skillet over medium heat with a splash of water or chicken broth to loosen the sauce.
You can also freeze this dish for up to 3 months. Let it cool completely, then transfer to a freezer-safe container. Thaw overnight in the refrigerator before reheating.
Nutritional Information & Benefits
Here’s the nutritional breakdown for one serving (one chicken thigh with sauce):
- Calories: Approximately 380
- Protein: 28g
- Fat: 22g
- Carbohydrates: 18g
- Sugar: 16g
- Sodium: 520mg
Chicken thighs are a great source of protein, iron, and B vitamins, which support energy metabolism. The honey provides natural sweetness along with antioxidants, while garlic is known for its immune-boosting properties. This dish is naturally gluten-free (if you use tamari) and can be made dairy-free with no modifications.
If you’re watching your sugar intake, you can reduce the honey to 1/4 cup, though the glaze won’t be quite as sticky. The apple cider vinegar also helps moderate blood sugar response, which is a nice bonus.
Conclusion
Look, I know I’m biased, but this sticky honey garlic chicken is the kind of recipe that makes you feel like a rockstar in the kitchen without actually working that hard. It’s got that perfect balance of sweet and savory, crispy and tender, and it all comes together in one pan. Whether you’re cooking for your family on a busy weeknight or impressing friends at a casual dinner party, this dish delivers every single time.
I hope you give this recipe a try and make it your own. Maybe you’ll add a little extra garlic like I do, or throw in some chili flakes for heat. That’s the beauty of cooking—it’s all about making something that tastes good to you. When you make it, I’d love to hear how it turned out. Drop a comment below and let me know if you tried any fun variations. And if you loved it as much as I do, share it with someone who needs a little comfort food in their life. Happy cooking, friends!
Frequently Asked Questions
Can I use chicken breasts instead of thighs?
Absolutely! Boneless, skinless chicken breasts will work, but keep in mind they cook faster and can dry out more easily. Reduce the oven time to 12-15 minutes and check the internal temperature early. You might also want to pound the breasts to an even thickness for consistent cooking.
How do I prevent the sauce from burning?
The honey in the sauce can burn if the heat is too high or if it cooks too long. Make sure your oven temperature is accurate and keep an eye on the chicken during the last 5 minutes of baking. If the sauce starts to look too dark, you can add a splash of chicken broth to thin it out.
Can I make this recipe ahead of time?
Yes! You can prepare the sauce up to 3 days in advance and store it in the refrigerator. You can also sear the chicken a few hours ahead and keep it in the fridge, then add the sauce and bake when you’re ready. Just add a few extra minutes to the oven time since the chicken will be cold.
What can I use instead of soy sauce?
If you’re avoiding soy, coconut aminos is a great substitute with a similar flavor profile. You can also use tamari for a gluten-free option. For a completely different twist, try using fish sauce—it’s saltier and more pungent, so start with 1 tablespoon and adjust from there.
How do I get the skin extra crispy?
The secret is starting with dry chicken and a hot pan. Pat the thighs dry with paper towels and let them sit uncovered in the fridge for an hour before cooking if you have time. Also, don’t move the chicken while it’s searing—let that skin develop a deep golden crust before flipping.
Pin This Recipe!
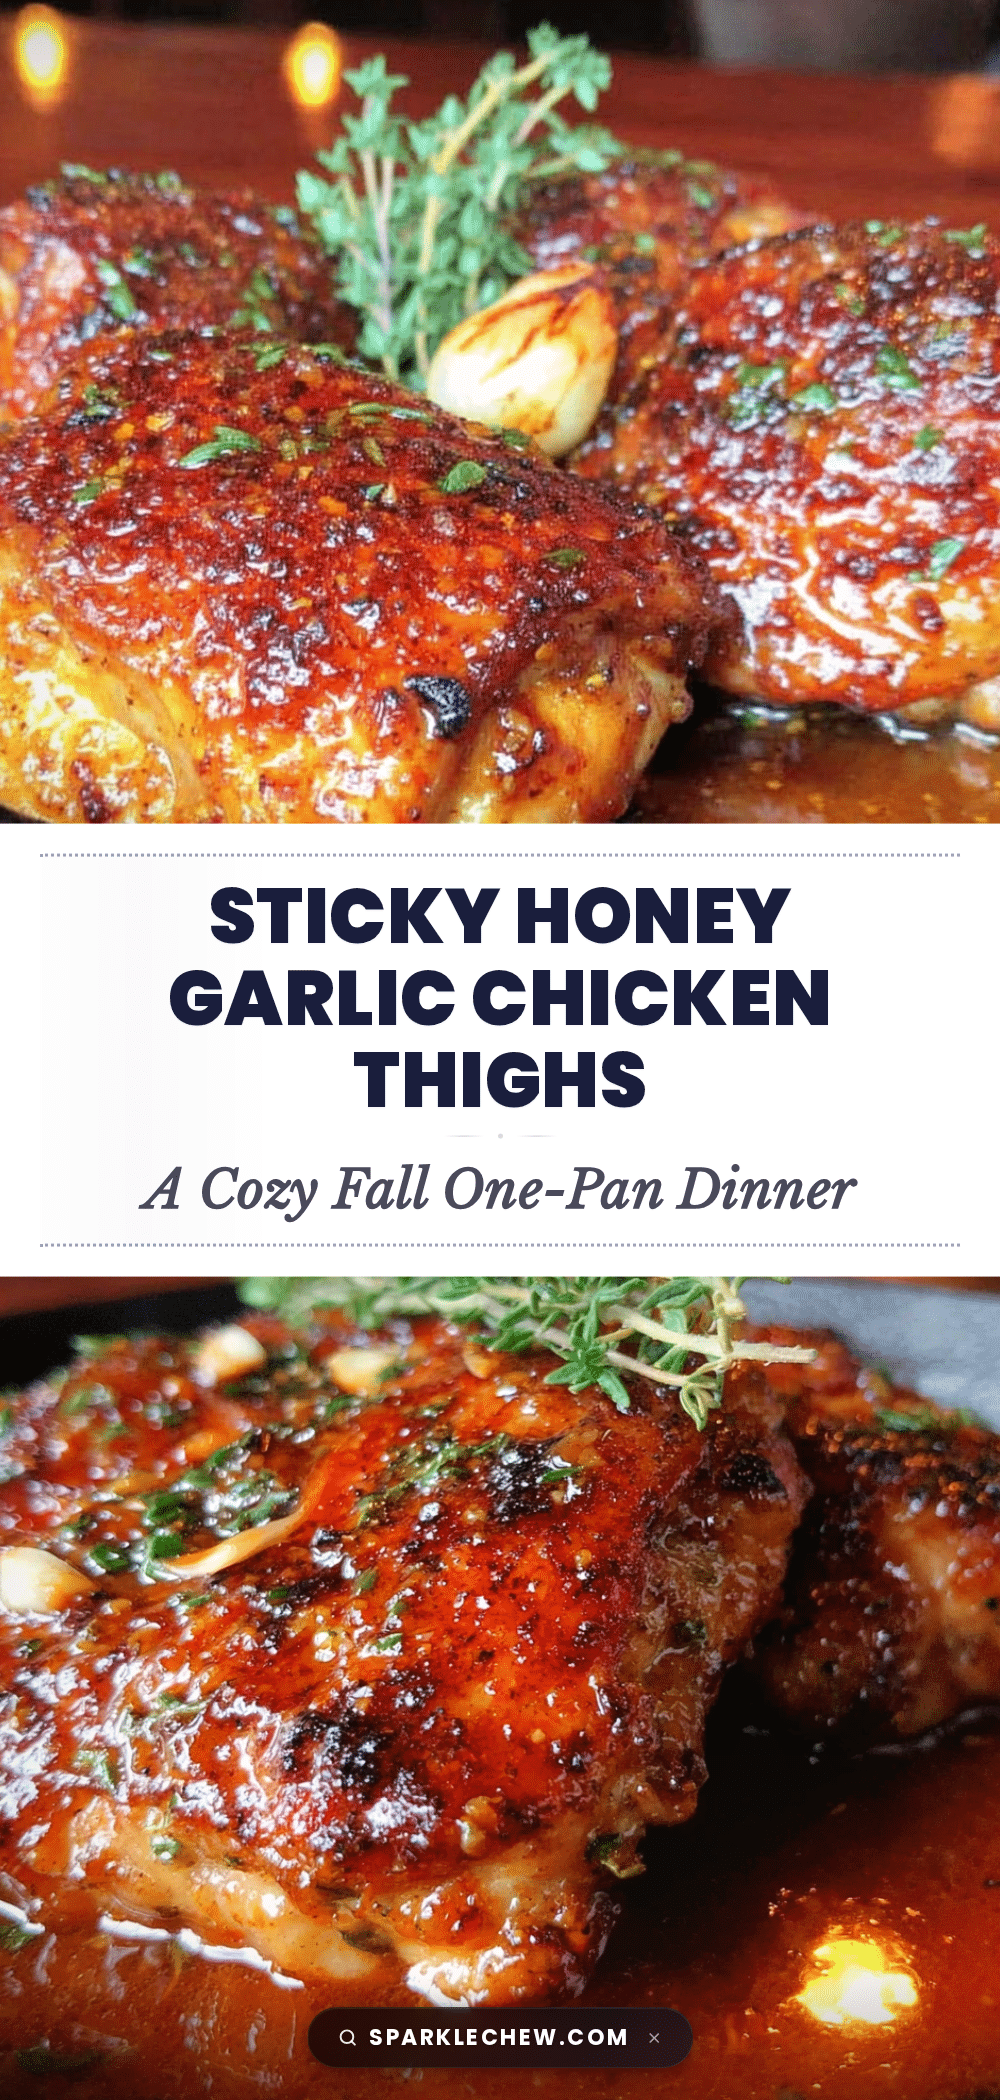
Best Sticky Honey Garlic Chicken Thighs Easy One-Pan Dinner

This one-pan sticky honey garlic chicken thighs recipe is a quick and easy fall dinner that delivers perfectly crispy skin and a glossy, caramelized glaze. Made with simple pantry ingredients, it’s a crowd-pleasing weeknight meal that comes together in about 35 minutes.
- Prep Time: 10 minutes
- Cook Time: 25 minutes
- Total Time: 35 minutes
- Yield: 6 servings 1x
- Category: Main Course
- Cuisine: American
Ingredients
- 6 bone-in, skin-on chicken thighs (about 2 pounds)
- 1/3 cup honey
- 3 tablespoons low-sodium soy sauce
- 4 cloves garlic, minced
- 1 tablespoon apple cider vinegar
- 2 tablespoons olive oil
- 1 teaspoon salt
- 1/2 teaspoon black pepper
- Fresh parsley, chopped (optional garnish)
- Sesame seeds (optional garnish)
Instructions
- Preheat the oven to 400°F (200°C). Let chicken thighs sit at room temperature for 15 minutes.
- Pat chicken thighs dry with paper towels. Season both sides generously with salt and pepper.
- Heat olive oil in a large oven-safe skillet over medium-high heat until shimmering.
- Place chicken thighs skin-side down in the hot skillet. Cook undisturbed for 5-6 minutes until skin is deep golden brown and crispy.
- Flip chicken thighs and cook for another 3-4 minutes. Remove chicken from skillet and set aside.
- Reduce heat to medium. Drain off all but 1 tablespoon of rendered fat, leaving browned bits in the pan.
- Add minced garlic to the skillet and cook for 30 seconds, stirring constantly.
- In a small bowl, whisk together honey, soy sauce, and apple cider vinegar. Pour into the skillet with garlic, scraping up browned bits. Simmer for 1 minute until slightly thickened.
- Return chicken thighs to the skillet, skin-side up. Spoon some sauce over the tops.
- Transfer skillet to the preheated oven and bake for 15-20 minutes, until chicken reaches an internal temperature of 165°F (74°C).
- Remove from oven and let rest in the skillet for 5 minutes. Spoon pan sauce over chicken before serving.
- Garnish with fresh parsley and sesame seeds if desired. Serve immediately.
Notes
For extra crispy skin, pat chicken dry and let sit uncovered in the fridge for an hour before cooking. If sauce becomes too thick during baking, add a splash of chicken broth or water. For a spicier version, add 1/2 teaspoon red pepper flakes with the garlic.
Nutrition
- Serving Size: 1 chicken thigh with
- Calories: 380
- Sugar: 16
- Sodium: 520
- Fat: 22
- Saturated Fat: 6
- Carbohydrates: 18
- Protein: 28
Keywords: sticky honey garlic chicken, one-pan chicken, easy chicken thighs, fall dinner, weeknight dinner, honey garlic chicken