Love this? Save it for later!
Share the inspiration with your friends
The woman at the community garden plot next to mine watched me fumbling with a bag of rice and a pound of ground beef one Tuesday evening. I was trying to unpack my grocery bags while balancing a watering can, and honestly, I was already mentally drafting a takeout order. She didn’t say anything at first. Then she just pointed at the beef and made a stirring motion with her hand. “One pan,” she said. “Rice, meat, cheese. Done in the time it takes to water the tomatoes.” Her name is Rosa, and she has this way of making everything sound simple—because for her, it is.
I nodded like I understood exactly what she meant, but I didn’t. Not really. I went home that night and made a mess of a dinner that took forty-five minutes and left me scrubbing three pans. But the next week, she handed me a crumpled index card with ingredients scribbled in pencil. There were no measurements, just a list: beef, rice, onion, tomato, cheese. “You figure it out,” she said, and she smiled. So I did. I messed it up a few times—too much rice, not enough cheese, burned the bottom once (please learn from my mistakes). But eventually, I figured out the version that works every time.
This cheesy beef and rice skillet is that recipe. It’s the one I make on Tuesday nights when I’ve already used up all my energy on actual adulting. It’s the dinner that saved me from ordering pizza more times than I can count. And you know what? It’s exactly what Rosa promised: one pan, twenty minutes, and a meal that tastes like you actually tried. Maybe you’ve been there—standing in your kitchen at 6:15 PM with hungry people and zero plan. This one’s for you.
Why You’ll Love This Recipe
Let me tell you why this cheesy beef and rice skillet has become my go-to weeknight dinner. I’ve tested this recipe at least a dozen times—sometimes on purpose, sometimes because I forgot an ingredient and had to improvise. Every single time, it delivers. Here’s what makes it special:
- Quick & Easy : We’re talking twenty minutes from start to finish. That’s less time than it takes to decide what to order for delivery. The rice cooks right in the pan with the beef, so there’s no waiting for a separate pot to boil.
- Simple Ingredients : Ground beef, rice, canned tomatoes, onion, garlic, cheese, and a few spices. That’s it. No fancy grocery store trips, no hunting for obscure ingredients. You probably have most of this stuff already.
- Perfect for Weeknights : This is the definition of a busy-day dinner. It’s one pan, minimal cleanup, and it comes together while you’re still deciding what side dish to make (spoiler: you don’t need one).
- Crowd-Pleaser : My kids inhale this. My husband asks for leftovers for lunch. Even my picky-eating friend admitted it was “actually really good.” The cheese helps with that, let’s be honest.
- Unbelievably Delicious : The rice absorbs all the beefy, tomatoey goodness while it cooks, and the melted cheese on top creates this gooey, satisfying finish. It’s comfort food that doesn’t require a nap afterward.
What makes this version different from all the other beef and rice recipes out there? It’s the technique. Instead of cooking the rice separately and mixing it in, you let it simmer right in the pan with the beef and tomatoes. The rice soaks up every bit of flavor, and you end up with a dish that tastes like it simmered for an hour—but it didn’t. I’ve tested this with different rice types, different cheese blends, and even different protein options. This version is the one that works every single time, no matter how distracted you are.
This recipe isn’t just good—it’s the kind of dinner that makes you close your eyes after the first bite. It’s weeknight comfort food reimagined: faster, simpler, but with the same soul-soothing satisfaction. Perfect for impressing your family without any stress, or turning a chaotic Tuesday into something that feels a little bit special.
What Ingredients You Will Need
This recipe uses simple, pantry-friendly ingredients to deliver big flavor without any fuss. Most of these are staples you probably already have on hand, which is exactly the point. Here’s what you’ll need:
For the Base
- 1 pound ground beef (80/20 works best—the fat adds flavor, but you can use lean if you prefer)
- 1 medium yellow onion, diced (about 1 cup)
- 3 cloves garlic, minced (or 1 teaspoon garlic powder in a pinch)
- 1 cup long-grain white rice, uncooked (I recommend Mahatma or Carolina for consistent results)
- 1 can (14.5 ounces) diced tomatoes, undrained (fire-roasted adds a nice smoky flavor)
- 1 cup beef broth (low-sodium is best so you can control the salt)
- 1 teaspoon chili powder (adds warmth without heat)
- 1/2 teaspoon cumin (optional, but it adds a lovely earthiness)
- 1/2 teaspoon salt, plus more to taste
- 1/4 teaspoon black pepper
For the Cheesy Finish
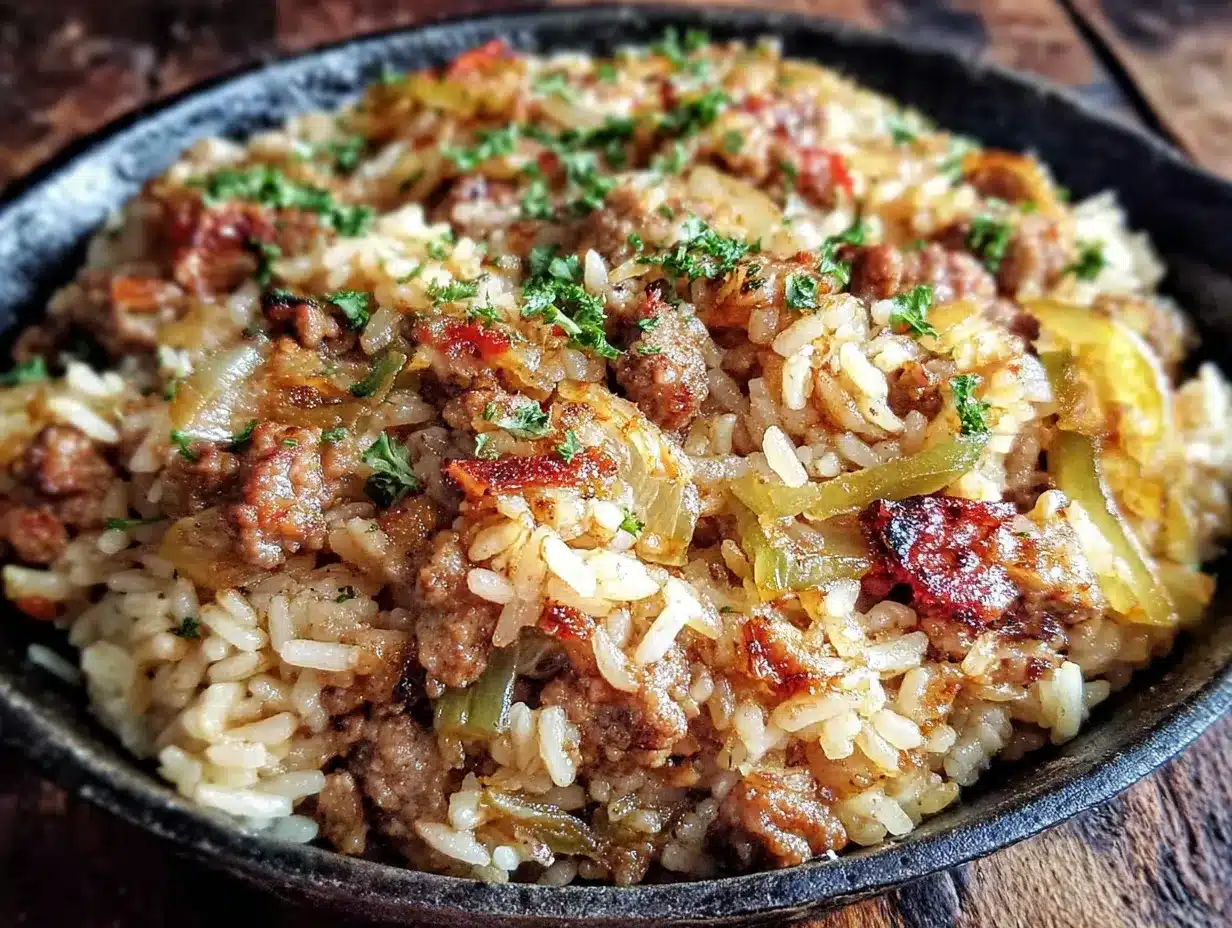
- 1 1/2 cups shredded cheddar cheese (sharp cheddar gives the best flavor, but mild works too)
- 1/2 cup shredded mozzarella (for that stretchy, gooey texture)
- Optional: 2 tablespoons chopped fresh parsley or green onions for garnish
Ingredient Tips & Substitutions:
- Ground beef: You can swap in ground turkey or chicken, but add a tablespoon of olive oil since they’re leaner. Ground pork also works beautifully here.
- Rice: Long-grain white rice is ideal because it cooks quickly and stays separate. Brown rice will take longer (about 35-40 minutes), so adjust the liquid and cooking time if you go that route. Avoid instant rice—it turns mushy.
- Tomatoes: Fire-roasted diced tomatoes add a subtle smokiness I love. Regular diced tomatoes work fine. If you only have crushed tomatoes, reduce the broth to 3/4 cup since crushed tomatoes have more liquid.
- Cheese: A Mexican blend or Colby Jack works great. For a dairy-free option, use your favorite shredded vegan cheese—just add it at the very end and let it melt off the heat.
- Broth: Chicken broth or even water with an extra bouillon cube works if you don’t have beef broth on hand.
I always keep a pound of ground beef in the freezer and a can of diced tomatoes in the pantry specifically for nights when I need this recipe. It’s my emergency dinner, and it never lets me down.
Equipment Needed
The beauty of this recipe is that you only need a few basic tools. Here’s what you’ll need:
- Large skillet or Dutch oven (12-inch with a lid is ideal—I use my trusty Lodge cast iron skillet, but any heavy-bottomed pan works)
- Wooden spoon or spatula for breaking up the beef
- Chef’s knife and cutting board for dicing the onion
- Measuring cups and spoons (or just eyeball it—I won’t tell)
- Box grater (if you’re shredding cheese from a block, which melts better than pre-shredded)
Tool Tips from Experience:
- If you don’t have a lid that fits your skillet, use a baking sheet or aluminum foil to cover it tightly. The steam is what cooks the rice.
- A nonstick skillet makes cleanup even faster, but a well-seasoned cast iron pan adds a subtle flavor you can’t get anywhere else.
- I’ve made this in a stainless steel pot when my skillet was in use—it works, but the rice might stick a bit more. Just stir occasionally.
- Budget-friendly option: A $15 nonstick skillet from the grocery store works perfectly. You don’t need fancy equipment for this recipe.
Preparation Method
Let’s get cooking. This comes together fast, so I recommend having everything prepped before you start. Trust me on this one—I’ve learned the hard way that scrambling to mince garlic while the beef is burning is not fun.
- Cook the beef and aromatics (5 minutes): Place your skillet over medium-high heat and add the ground beef. Break it up with your wooden spoon as it cooks. After about 2 minutes, add the diced onion. Cook for another 2-3 minutes until the beef is browned and the onion is translucent. The kitchen should smell amazing at this point—that’s your cue to add the garlic. Stir in the minced garlic and cook for 30 seconds until fragrant. Don’t skip the garlic step; burnt garlic is bitter and ruins the whole dish.
- Drain excess fat (optional but recommended): If you’re using 80/20 beef, there will be some rendered fat. Spoon out all but about 1 tablespoon. Leaving a little fat adds flavor, but too much makes the dish greasy. I once forgot to drain the fat, and the rice came out swimming in oil—not my finest moment.
- Add the rice and seasonings (1 minute): Sprinkle the uncooked rice over the beef mixture. Add the chili powder, cumin, salt, and pepper. Stir everything together for about 30 seconds to toast the rice slightly. This step adds a nutty flavor that makes a real difference. You’ll hear the rice start to crackle—that’s exactly what you want.
- Pour in the liquids (30 seconds): Add the undrained can of diced tomatoes and the beef broth. Stir to combine, scraping up any browned bits from the bottom of the pan. Those browned bits are pure flavor—don’t leave them behind.
- Bring to a boil, then simmer (15 minutes): Increase the heat to high and bring the mixture to a boil. You’ll see bubbles breaking the surface. Once it’s boiling, reduce the heat to low, cover the skillet with a tight-fitting lid, and let it simmer for 15 minutes. Resist the urge to lift the lid and peek—you’re letting steam do the work.
- Check the rice (15-minute mark): After 15 minutes, remove the lid carefully (steam is hot!). The rice should be tender and most of the liquid should be absorbed. If the rice is still crunchy, add 2-3 tablespoons of water, re-cover, and cook for another 2-3 minutes. Different stoves run at different temperatures, so trust your eyes and taste buds more than the timer.
- Add the cheese (2 minutes): Sprinkle the shredded cheddar and mozzarella evenly over the top of the rice mixture. Cover the skillet again and let it sit off the heat for 2 minutes. The residual heat will melt the cheese into a glorious, gooey blanket. If you’re impatient like me, you can also broil it for 1-2 minutes for a bubbly, golden top—just make sure your skillet is oven-safe.
- Garnish and serve (1 minute): Sprinkle fresh parsley or green onions on top if you’re feeling fancy. Scoop into bowls and serve immediately. The cheese will be stretchy and amazing—eat it while it’s hot.
Sensory cues to watch for:
- When the beef is done, it should be browned with no pink spots.
- The rice should look plump and tender, not chalky or hard in the center.
- The cheese should be completely melted and slightly golden if you broiled it.
- The whole dish should smell like a warm, cheesy hug.
Cooking Tips & Techniques
I’ve made this recipe more times than I can count, and I’ve definitely made every mistake possible. Here’s what I’ve learned so you don’t have to:
Don’t skip toasting the rice. I know it’s an extra step, but it takes 30 seconds and makes the rice nuttier and less likely to turn mushy. I learned this after making a batch that tasted like wet cardboard. Never again.
Use the right pan size. A 12-inch skillet gives the rice enough room to cook evenly. If your pan is too small, the rice will steam unevenly and some grains will be crunchy while others are overcooked. I made this mistake with a 10-inch skillet once and ended up with a sad, uneven mess.
Let it rest before serving. Those 2 minutes off the heat after adding the cheese aren’t just for melting—they also let the rice absorb any remaining liquid. If you serve it immediately, you might end up with a soupy bottom. Patience, my friend.
Timing strategy: While the rice simmers (those 15 minutes), I use that time to wash the cutting board, wipe down the counter, and set the table. By the time the cheese goes on, the kitchen is almost clean. That’s the kind of multitasking I can get behind.
Consistency tip: If you prefer a drier rice (like in a pilaf-style dish), use 3/4 cup of broth instead of 1 cup. If you like it saucier, add an extra 1/4 cup of broth. I personally like it somewhere in the middle—moist but not soupy.
Common mistake alert: Lifting the lid while the rice is cooking releases steam and messes with the cooking time. I know it’s tempting, but leave it alone. Set a timer and walk away.
Variations & Adaptations
This recipe is incredibly forgiving, which is one of the reasons I love it. Here are some ways to make it your own:
Spicy Southwest Version: Add 1 diced jalapeño with the onion, use pepper jack cheese instead of cheddar, and stir in a can of drained black beans along with the rice. The beans add fiber and make it even more filling. I made this version for a game day dinner and it disappeared in minutes.
Vegetarian Option: Swap the ground beef for 1 1/2 cups of cooked lentils or a 15-ounce can of black beans (drained and rinsed). Use vegetable broth instead of beef broth. The lentils mimic the texture of ground beef surprisingly well, and the cheese still makes it feel indulgent.
Low-Carb Adaptation: Replace the rice with 2 cups of cauliflower rice. Reduce the broth to 1/2 cup and cook for only 5-7 minutes covered, since cauliflower rice cooks much faster. Note: This version is less “cheesy rice” and more “cheesy cauliflower skillet”—still delicious, just different.
Mexican-Inspired Twist: Add 1/2 teaspoon of smoked paprika and a pinch of cayenne with the other spices. Top with sliced avocado, a dollop of sour cream, and a squeeze of lime juice before serving. This is my personal favorite variation—it feels like a completely different meal.
Cheese Swap: Try using crumbled queso fresco or cotija cheese on top instead of melting the cheddar. Or use a smoked gouda for a deeper, richer flavor. I tried smoked gouda once and it was incredible—just make sure to shred it yourself since pre-shredded smoked gouda doesn’t melt as well.
Serving & Storage Suggestions
Serving: Serve this cheesy beef and rice skillet hot, straight from the pan. It’s a complete meal on its own, but if you want to round it out, here are some ideas:
- A simple side salad with a tangy vinaigrette cuts through the richness beautifully.
- Steamed green beans or roasted broccoli add color and crunch.
- Warm tortillas or tortilla chips on the side let everyone scoop up every last bit.
- A drizzle of hot sauce or a spoonful of salsa adds brightness.
Storage: Leftovers keep well in an airtight container in the refrigerator for up to 4 days. The rice will absorb more liquid as it sits, so the texture will be slightly denser the next day—but the flavor actually gets better. I often make a double batch on purpose just for leftovers.
Freezing: This freezes beautifully for up to 3 months. Let it cool completely, then transfer to a freezer-safe container. To reheat, thaw overnight in the refrigerator, then warm in a skillet over medium-low heat with a splash of water or broth to loosen it up. You can also microwave individual portions for 2-3 minutes.
Reheating tips: The microwave works in a pinch, but I prefer reheating in a covered skillet over medium-low heat for about 5-7 minutes. Add a tablespoon of water to create steam, which helps the rice rehydrate. Sprinkle a little extra cheese on top during the last minute because, well, more cheese is never a bad idea.
Flavor development note: This is one of those rare dishes that tastes even better the next day. The flavors meld together overnight, and the rice absorbs all the savory goodness. I honestly look forward to leftovers as much as the first meal.
Nutritional Information & Benefits
Here’s the approximate nutritional breakdown per serving (based on 4 servings):
| Nutrient | Amount per Serving |
|---|---|
| Calories | 485 |
| Protein | 32g |
| Carbohydrates | 38g |
| Fat | 22g |
| Saturated Fat | 11g |
| Fiber | 3g |
| Sodium | 680mg |
| Calcium | 320mg |
| Iron | 4mg |
Health benefits: This dish provides a solid amount of protein from the beef and cheese, which helps keep you full and satisfied. The rice offers quick energy, while the tomatoes contribute lycopene—an antioxidant linked to heart health. The calcium from the cheese supports bone health. It’s not a “health food,” but it’s a balanced, filling meal that won’t leave you reaching for a snack an hour later.
Dietary considerations: This recipe is naturally gluten-free (just double-check your broth and spice labels). To make it lower in sodium, use low-sodium broth and reduce the added salt. For a lower-fat version, use lean ground beef and reduced-fat cheese—but honestly, the full-fat version tastes so much better that I don’t bother.
Potential allergens: Dairy (cheese), and if you’re using beef broth, check for gluten or other additives.
I’m not a nutritionist, but I’ve learned to listen to my body. This meal leaves me feeling satisfied without being weighed down—which is exactly what I need on a busy weeknight.
Conclusion
This cheesy beef and rice skillet is the kind of recipe that becomes a lifeline. It’s the dinner you make when you’re tired, when the fridge looks bare, when you just need something warm and comforting without any drama. It’s simple, it’s fast, and it works every single time.
I still think about Rosa whenever I make this. She probably doesn’t remember that Tuesday evening in the garden, but I do. She reminded me that good food doesn’t have to be complicated—it just has to be made with a little care and shared with people you love. That’s what this recipe is about.
I’d love to hear how this turns out for you. Did you add your own twist? Did your kids ask for seconds? Did you burn the bottom like I did the first time? (No judgment here.) Leave a comment below and let me know. And if you’re on Pinterest, save this recipe for the next time you need a quick, no-stress dinner. Trust me—your future self will thank you.
Now go make some dinner. You’ve got this.
Frequently Asked Questions
Can I use brown rice instead of white rice?
Yes, but you’ll need to adjust the cooking time and liquid. Brown rice takes about 35-40 minutes to cook, so add an extra 1/2 cup of broth and simmer for 30-35 minutes instead of 15. Check for doneness and add more liquid if needed.
Can I make this in an Instant Pot or pressure cooker?
Absolutely! Use the sauté function to brown the beef and onions, then add the rice, tomatoes, broth, and seasonings. Pressure cook on high for 5 minutes, then quick release. Stir in the cheese until melted. The texture will be slightly different but still delicious.
How do I prevent the rice from burning on the bottom?
Make sure your heat is on low once you cover the pan, and use a heavy-bottomed skillet that distributes heat evenly. If your stove runs hot, try using a heat diffuser. And whatever you do, don’t lift the lid during the 15-minute simmer—that steam is essential.
Can I add vegetables to this recipe?
Definitely! Diced bell peppers, zucchini, or mushrooms can be added with the onion. Frozen corn or peas can be stirred in during the last 5 minutes of cooking. Just keep the total volume of add-ins to about 1 cup so you don’t throw off the liquid ratio.
How do I make this dairy-free?
Use your favorite shredded dairy-free cheese alternative (I like Daiya or Follow Your Heart brands) and add it off the heat so it melts gently. You can also skip the cheese entirely and top with sliced avocado and a squeeze of lime for creaminess instead.
Pin This Recipe!
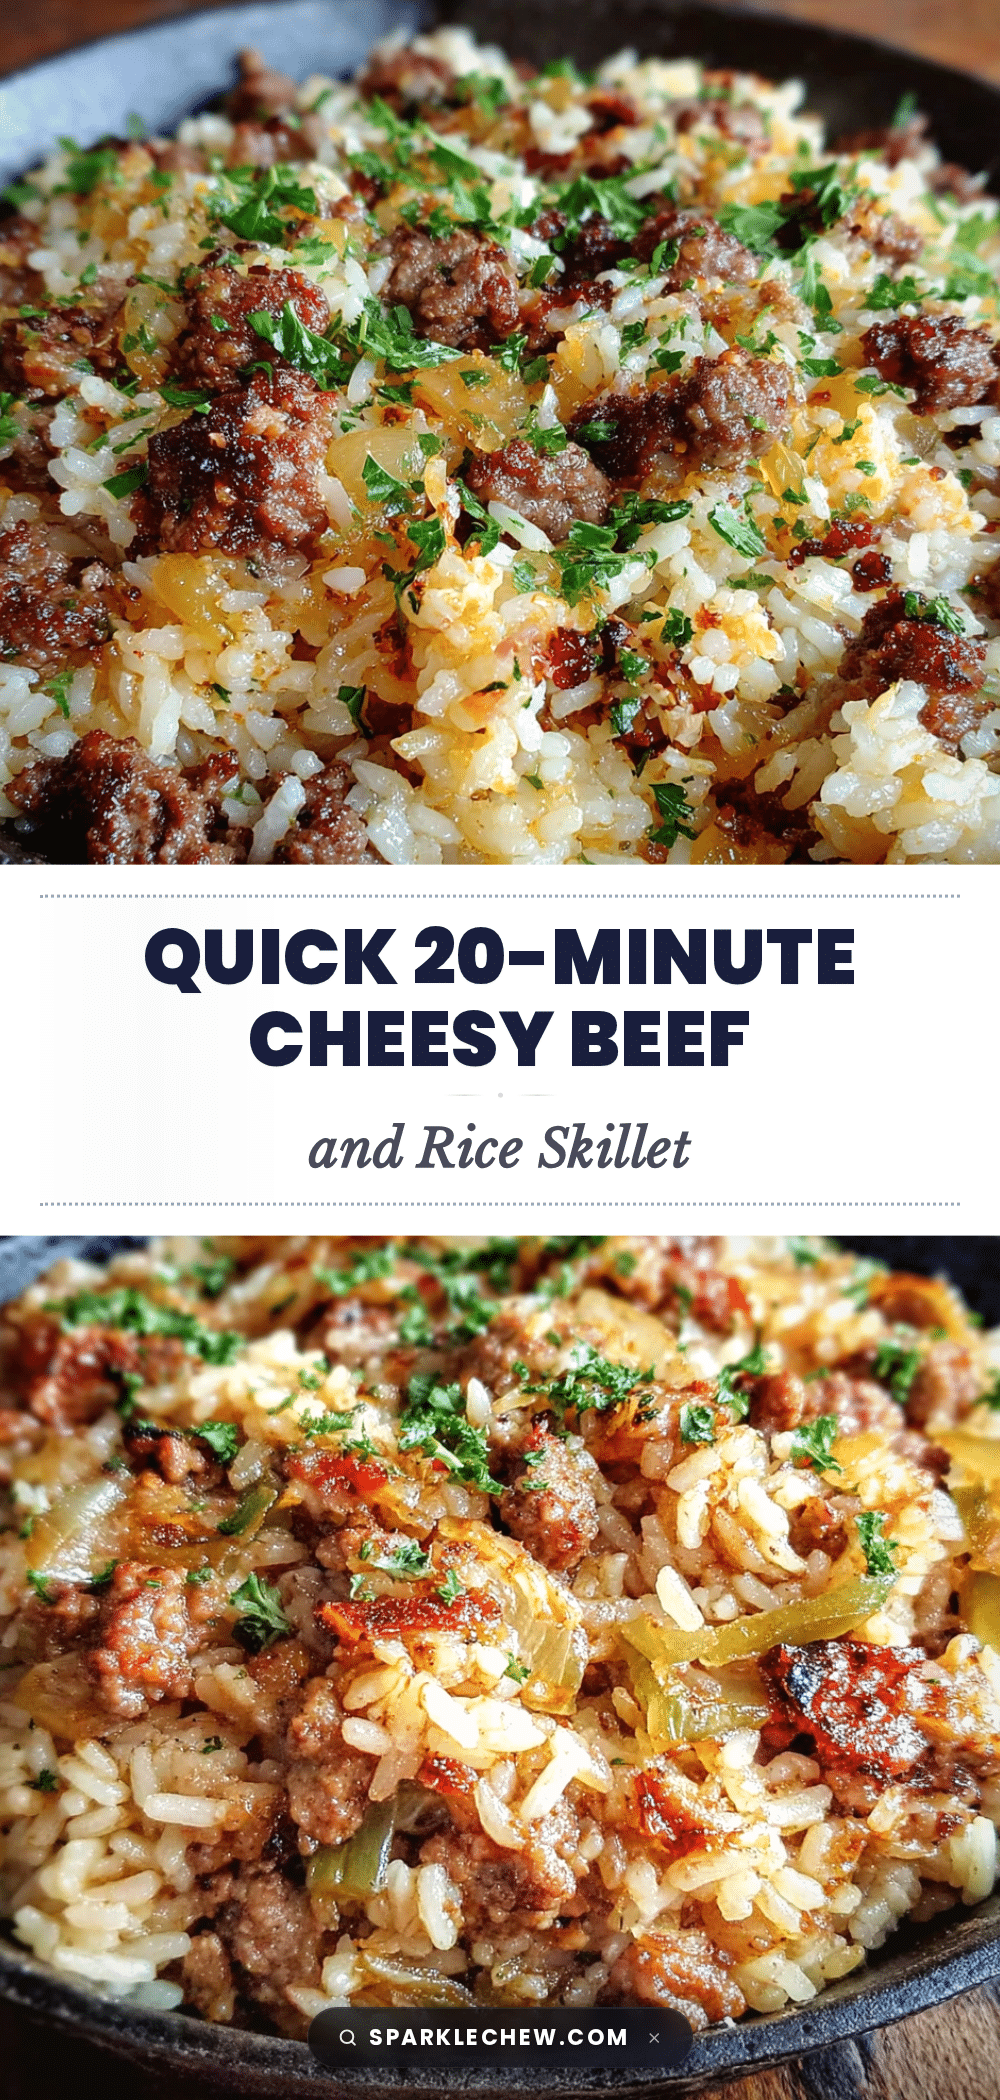
Cheesy Beef and Rice Skillet: Easy 20-Minute One-Pan Dinner

A quick and easy one-pan dinner featuring ground beef, rice, and melted cheese, ready in just 20 minutes. Perfect for busy weeknights when you need a comforting meal without the fuss.
- Prep Time: 5 minutes
- Cook Time: 15 minutes
- Total Time: 20 minutes
- Yield: 4 servings 1x
- Category: Main Course
- Cuisine: American
Ingredients
- 1 pound ground beef (80/20 works best)
- 1 medium yellow onion, diced (about 1 cup)
- 3 cloves garlic, minced (or 1 teaspoon garlic powder)
- 1 cup long-grain white rice, uncooked
- 1 can (14.5 ounces) diced tomatoes, undrained (fire-roasted preferred)
- 1 cup beef broth (low-sodium)
- 1 teaspoon chili powder
- 1/2 teaspoon cumin (optional)
- 1/2 teaspoon salt, plus more to taste
- 1/4 teaspoon black pepper
- 1 1/2 cups shredded cheddar cheese (sharp cheddar recommended)
- 1/2 cup shredded mozzarella cheese
- Optional: 2 tablespoons chopped fresh parsley or green onions for garnish
Instructions
- Cook the beef and aromatics (5 minutes): Place your skillet over medium-high heat and add the ground beef. Break it up with your wooden spoon as it cooks. After about 2 minutes, add the diced onion. Cook for another 2-3 minutes until the beef is browned and the onion is translucent. Stir in the minced garlic and cook for 30 seconds until fragrant.
- Drain excess fat (optional but recommended): If using 80/20 beef, spoon out all but about 1 tablespoon of rendered fat.
- Add the rice and seasonings (1 minute): Sprinkle the uncooked rice over the beef mixture. Add the chili powder, cumin, salt, and pepper. Stir everything together for about 30 seconds to toast the rice slightly.
- Pour in the liquids (30 seconds): Add the undrained can of diced tomatoes and the beef broth. Stir to combine, scraping up any browned bits from the bottom of the pan.
- Bring to a boil, then simmer (15 minutes): Increase the heat to high and bring the mixture to a boil. Once boiling, reduce the heat to low, cover the skillet with a tight-fitting lid, and let it simmer for 15 minutes.
- Check the rice (15-minute mark): After 15 minutes, remove the lid carefully. The rice should be tender and most of the liquid should be absorbed. If the rice is still crunchy, add 2-3 tablespoons of water, re-cover, and cook for another 2-3 minutes.
- Add the cheese (2 minutes): Sprinkle the shredded cheddar and mozzarella evenly over the top of the rice mixture. Cover the skillet again and let it sit off the heat for 2 minutes. Optionally, broil for 1-2 minutes for a bubbly, golden top.
- Garnish and serve (1 minute): Sprinkle fresh parsley or green onions on top if desired. Scoop into bowls and serve immediately.
Notes
Don’t lift the lid during the 15-minute simmer to ensure the rice cooks properly. Toasting the rice before adding liquid adds a nutty flavor. For a drier rice, use 3/4 cup broth; for saucier, use 1 1/4 cups. Leftovers keep in the refrigerator for up to 4 days and freeze for up to 3 months.
Nutrition
- Serving Size: 1 serving (about 1 1
- Calories: 485
- Sugar: 4
- Sodium: 680
- Fat: 22
- Saturated Fat: 11
- Carbohydrates: 38
- Fiber: 3
- Protein: 32
Keywords: cheesy beef and rice skillet, one-pan dinner, quick weeknight dinner, ground beef recipe, easy dinner, 20-minute meal