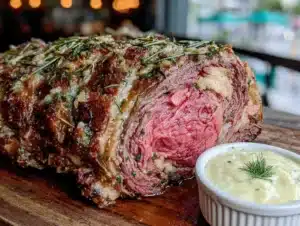
Love this? Save it for later!
Share the inspiration with your friends
The neighborhood potluck was in six hours and I’d completely forgotten. I mean, completely. I was standing in my kitchen at 2 PM on a Saturday, staring at a fridge that held exactly three things: a massive chuck roast I’d bought on a whim, a half-empty bottle of Cabernet from Tuesday night, and some sad-looking carrots. Everyone else would be bringing those perfectly layered lasagnas and artisanal salads you see on Instagram. I had a tough cut of meat and red wine. Honestly? I almost ordered pizza and called it a day.
But something made me grab that pot—the heavy one my grandmother left me, the one with the warped lid that doesn’t quite fit. I figured, worst case, I’d show up with something edible. Best case? Well, I wasn’t expecting much. I browned that roast with more panic than skill, dumped in the wine, threw in whatever vegetables looked alive, and shoved it in the oven. Then I cleaned the kitchen like a madwoman, praying to the cooking gods.
When I pulled that pot out four hours later, the smell hit me first. Rich, deep, like someone had been cooking for days. The meat shredded with a fork like it was apologizing for being tough earlier. I brought it to the potluck in that same dented pot—no fancy presentation, just honest food. And you know what happened? People went quiet. Not polite-quiet, but the kind of quiet where everyone’s too busy eating to talk. Someone asked for the recipe before I’d even set the pot down.
That’s the thing about this cozy red wine braised brisket. It doesn’t try to impress you. It just shows up, does its job, and suddenly you’re the hero of the dinner table. Maybe you’ve been there—scrambling, underprepared, ready to throw in the towel. This recipe is for those moments. It’s for chilly nights when you need something warm and forgiving. It’s the dish that makes you look like you planned everything, even when you absolutely did not.
Why You’ll Love This Recipe
Let me tell you why this red wine braised brisket has become my secret weapon for cold-weather cooking. I’ve tested this recipe about seven times now—yes, seven—and each time I tweaked something small. The version I’m sharing today is the one that finally made me stop and say, “Okay, this is it. This is the one.”
- Incredibly Tender : The low-and-slow method breaks down the collagen in the brisket until it’s literally fall-apart tender. You won’t need a knife—just a fork and maybe a napkin for the happy tears.
- Rich, Deep Flavor : Red wine and brisket are a match made in comfort-food heaven. The wine adds this incredible depth that you just can’t get from broth alone. It’s not boozy—it’s concentrated, savory, and absolutely luxurious.
- Simple Ingredients : No fancy grocery store trips. You need a chuck roast or brisket, a bottle of drinkable red wine, onions, carrots, garlic, and a few pantry staples. That’s it.
- Perfect for Chilly Nights : This is the meal you want when the wind is howling and you’re wrapped in a blanket. It fills your kitchen with the coziest aroma and your belly with warmth.
- Make-Ahead Magic : This brisket actually tastes better the next day. Make it on a Sunday, and you’ve got incredible dinners all week. The flavors meld and deepen overnight.
- Crowd-Pleaser : I’ve served this to picky eaters, meat-and-potatoes folks, and even someone who claimed they didn’t like beef. Every single person went back for seconds.
What makes this recipe different from all the other braised briskets out there? It’s the balance. The wine isn’t overpowering, the vegetables melt into the sauce, and the seasoning is simple but perfectly calibrated. I spent a long time getting the salt level right—too little and it tastes flat, too much and it’s salty. This version hits that sweet spot where every bite makes you close your eyes for a second. It’s comfort food reimagined—slower, richer, and with the same soul-soothing satisfaction your grandmother’s cooking had.
What Ingredients You Will Need
This recipe uses simple, wholesome ingredients to deliver bold flavor and satisfying texture without the fuss. Most of these are pantry staples or easy to find at any grocery store. Let me walk you through what you need and why each ingredient matters.
- Beef Brisket or Chuck Roast (3-4 pounds) : Look for a well-marbled piece. The fat is what keeps the meat moist during the long braise. I prefer brisket for its rich flavor, but chuck roast works beautifully too. If you can, buy from a local butcher—the quality difference is real.
- Red Wine (2 cups) : Use something you’d actually drink. A medium-bodied red like Merlot, Cabernet Sauvignon, or a Côtes du Rhône works perfectly. Don’t use cooking wine—it’s salty and artificial. I usually grab a bottle in the $10-15 range. The wine reduces and concentrates, so quality matters.
- Beef Broth (1 cup) : Low-sodium is best so you control the salt level. I like Better Than Bouillon paste—it’s concentrated and gives a deeper beef flavor than boxed broth. Just mix a teaspoon with hot water.
- Yellow Onions (2 large) : They melt into the sauce and add natural sweetness. Don’t skip them—they’re the backbone of the braising liquid. Slice them thinly so they break down properly.
- Carrots (4 medium) : For sweetness and body. They soften during cooking and some break down into the sauce. I like to leave a few chunks intact for serving.
- Celery (3 stalks) : Adds that savory, aromatic base. It’s subtle but important. Dice them the same size as the carrots for even cooking.
- Garlic (6 cloves) : Smashed, not minced. Whole cloves infuse the sauce without burning. They become soft and spreadable—honestly, they’re a hidden treat.
- Tomato Paste (2 tablespoons) : This adds umami and helps thicken the sauce. It also deepens the color. I prefer Cento or Mutti brands—they’re concentrated and rich.
- Fresh Thyme (4 sprigs) : Earthy and aromatic. It pairs beautifully with red wine. If you only have dried, use 1 teaspoon, but fresh is better here.
- Bay Leaves (2) : For that subtle herbal note. Remove them before serving—they’re not edible, but they add so much flavor during cooking.
- Olive Oil (2 tablespoons) : For searing the meat. Use a good-quality extra virgin, but nothing too fancy—the flavor will meld into the sauce.
- Salt and Black Pepper : Kosher salt is best for seasoning meat. I use Diamond Crystal—it’s less salty by volume, so you have more control. Freshly cracked black pepper makes a difference.
- All-Purpose Flour (2 tablespoons, optional) : For thickening the sauce at the end. You can skip this if you prefer a thinner sauce, but I like a little body.
Substitution Guidance : If you’re gluten-free, skip the flour and let the sauce reduce naturally, or use a cornstarch slurry (1 tablespoon cornstarch mixed with 2 tablespoons cold water). For a dairy-free version, this recipe is already dairy-free—just check your broth. If you want to swap the wine, use an equal amount of additional beef broth plus 2 tablespoons of balsamic vinegar for acidity. The flavor won’t be identical, but it’ll still be delicious.
Equipment Needed
You don’t need a fancy kitchen for this recipe. Here’s what I use every time, and some honest alternatives if you’re working with what you’ve got.
- Dutch Oven or Heavy-Bottomed Pot (6-8 quart) : This is non-negotiable for even heat distribution. I use a Le Creuset that my aunt passed down, but a Lodge enameled cast iron is just as good and way more affordable. If you don’t have one, use a deep stainless steel pot with a tight-fitting lid.
- Sharp Chef’s Knife : For trimming the brisket and chopping vegetables. A dull knife makes everything harder and more dangerous. I swear by Victorinox—they’re affordable and stay sharp.
- Cutting Board : Wood or plastic, just make sure it’s stable. I use a wooden board for vegetables and a separate one for raw meat.
- Tongs : For flipping the brisket during searing. Metal tongs with silicone tips are my favorite—they grip well without scratching the pot.
- Wooden Spoon or Spatula : For scraping up the browned bits (fond) from the bottom of the pot. That’s where so much flavor lives.
- Measuring Cups and Spoons : For the wine, broth, and seasonings. I keep a set of stainless steel ones—they don’t warp.
- Aluminum Foil or Parchment Paper : For making a cartouche (a lid cover) if your pot lid doesn’t fit tightly. It helps trap steam and keeps the meat moist.
Budget-Friendly Tip : If you don’t own a Dutch oven, check thrift stores. I found a perfectly good enameled cast iron pot for $12. It had a tiny chip, but it works beautifully. Also, a slow cooker can work for this recipe—just sear the meat in a skillet first, then transfer everything to the slow cooker and cook on low for 8 hours.
Preparation Method
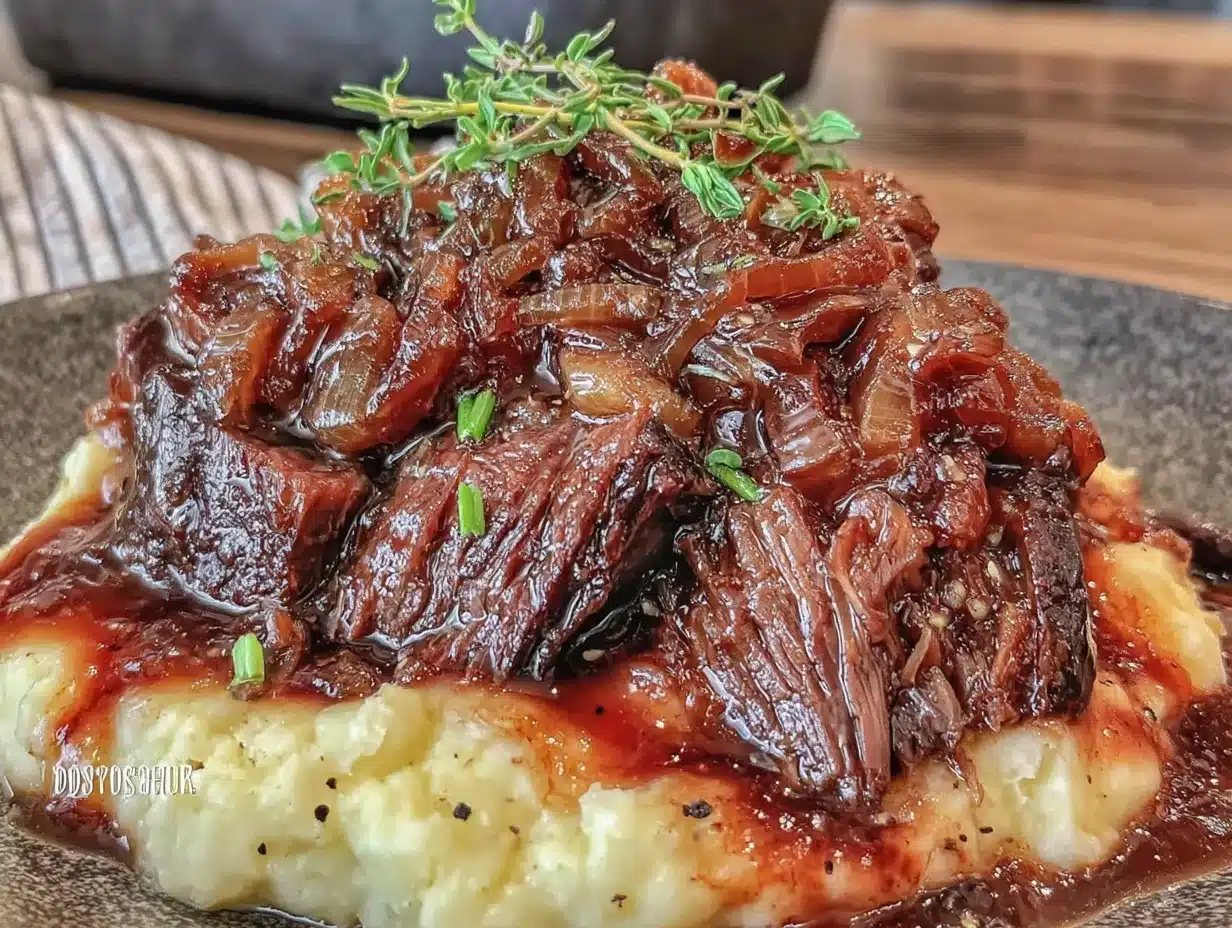
Alright, let’s get cooking. Take your time with this one—the magic happens slowly. I’ll walk you through every step so you feel confident, even if it’s your first time braising.
- Prep the Brisket (10 minutes) : Take the brisket out of the fridge 30 minutes before cooking to take the chill off. Pat it completely dry with paper towels—this is crucial for a good sear. Trim any large pieces of fat, but leave a thin layer (about ¼ inch) for flavor. Season generously on all sides with kosher salt and black pepper. Don’t be shy—most of it will stay in the pan.
- Preheat the Oven : Set your oven to 325°F (163°C). Position the rack in the lower third so the pot sits comfortably.
- Sear the Meat (15 minutes) : Heat your Dutch oven over medium-high heat. Add the olive oil and wait until it shimmers—almost smoking. Carefully place the brisket in the pot. Let it sear undisturbed for 4-5 minutes until a deep brown crust forms. Flip and repeat on all sides, including the edges. This step builds the foundation of flavor. Don’t rush it—if the meat sticks, it’s not ready to flip.
- Sauté the Vegetables (8 minutes) : Remove the brisket to a plate. Reduce heat to medium. Add the onions, carrots, and celery to the pot. Scrape up the browned bits with your wooden spoon—that’s pure gold. Cook for 5-6 minutes until the onions are soft and translucent. Add the smashed garlic cloves and cook for 1 more minute until fragrant.
- Add Tomato Paste and Wine (3 minutes) : Stir in the tomato paste and cook for 1 minute—it will darken and smell incredible. Slowly pour in the red wine, scraping the bottom of the pot to release any remaining fond. Let it simmer for 2 minutes to cook off some alcohol.
- Return the Brisket : Place the brisket back in the pot, along with any juices that accumulated on the plate. Add the beef broth, thyme sprigs, and bay leaves. The liquid should come about halfway up the sides of the meat—if it doesn’t, add a splash more broth or water.
- Braise (3 to 3.5 hours) : Bring the liquid to a gentle simmer on the stovetop. Cover the pot with the lid and transfer to the preheated oven. Cook for 3 hours, then check for tenderness. The meat should be fork-tender—meaning you can insert a fork and twist with almost no resistance. If it’s still tough, cook for another 30 minutes and check again. Every brisket is different, so trust the fork, not the clock.
- Rest and Shred (15 minutes) : Remove the pot from the oven. Carefully transfer the brisket to a cutting board. Let it rest for 10-15 minutes—this keeps the juices inside. Meanwhile, place the pot on the stovetop over medium heat. Remove the thyme stems and bay leaves. If you want a thicker sauce, whisk in the flour (or cornstarch slurry) and simmer for 3-4 minutes until it thickens. Taste and adjust salt and pepper.
- Slice and Serve : Slice the brisket against the grain into thick pieces—about ½ inch thick. Or, if it’s falling apart, just shred it into chunks. Return the meat to the pot with the sauce and vegetables. Serve immediately, or let it cool and refrigerate for even better flavor tomorrow.
Sensory Cues : When you sear the meat, listen for that satisfying sizzle—if it’s quiet, the pan isn’t hot enough. The sauce should be bubbling gently, not furiously, during the braise. When it’s done, the meat will feel like soft butter when you poke it. The kitchen will smell like a cozy restaurant—rich, winey, and deeply savory.
Cooking Tips & Techniques
I’ve made every mistake in the book with braised brisket. Let me save you from the same headaches.
Low and Slow is Non-Negotiable : I once tried to speed things up by cranking the oven to 375°F. The meat was tough and dry—total disaster. Low heat (325°F) allows the collagen to break down into gelatin, which gives you that melt-in-your-mouth texture. Don’t rush it. If you’re short on time, this isn’t the recipe for that night.
Don’t Skip the Sear : That deep brown crust isn’t just for looks. It’s the Maillard reaction—the chemical process that creates complex, savory flavors. If you skip it or rush it, you’ll end up with gray, bland meat. Patience pays off here. I usually set a timer for each side so I don’t get distracted.
Use a Thermometer if You’re Nervous : While I prefer the fork test, a meat thermometer can give you peace of mind. Brisket is done when it reaches 200-205°F (93-96°C) internally. That’s when the connective tissue has fully broken down. Don’t pull it at 180°F—it will be tough and chewy.
Deglaze Thoroughly : Those brown bits stuck to the bottom of the pot after searing? That’s called fond, and it’s packed with flavor. When you add the wine, really scrape every bit loose. If you leave them stuck, they can burn during the braise and make the sauce bitter.
Let It Rest : This is the step I used to skip, and I always regretted it. Resting the meat after braising allows the juices to redistribute. If you slice it immediately, all that goodness ends up on the cutting board instead of in your mouth. Ten minutes makes a huge difference.
Make It Ahead : Here’s a secret—this brisket is actually better on day two. The flavors meld and deepen overnight. I often make it on a Saturday, let it cool, and refrigerate it. On Sunday, I skim off the solidified fat (there will be some), reheat gently on the stovetop, and serve. The texture is even more tender, and the sauce is richer.
Variations & Adaptations
One of the best things about this recipe is how flexible it is. Here are some ways I’ve adapted it over the years.
- Red Wine Swap : If you don’t have red wine, use an extra cup of beef broth plus 2 tablespoons of balsamic vinegar. It won’t be exactly the same, but you’ll still get that tangy depth. I’ve also used dark beer (like a stout) for a completely different but delicious flavor profile.
- Herb Variations : Not a fan of thyme? Use rosemary or oregano instead. I once made this with a few sprigs of fresh sage, and it was phenomenal—earthy and slightly peppery. Dried herbs work too, but use half the amount since they’re more concentrated.
- Vegetable Add-Ins : Mushrooms are a fantastic addition. Add 8 ounces of quartered cremini mushrooms with the onions—they’ll release their liquid and add an extra layer of umami. Parsnips or turnips can replace some of the carrots for a more earthy flavor.
- Spicy Kick : If you like heat, add a dried chili (like ancho or chipotle) to the braising liquid. It won’t make the dish spicy, but it adds a warm, smoky undertone. My husband loves this version.
- Slow Cooker Method : Sear the brisket and sauté the vegetables in a skillet, then transfer everything to a slow cooker. Cook on low for 8-9 hours or on high for 5-6 hours. The texture will be slightly different—less caramelized—but still incredibly tender and delicious.
- Instant Pot Adaptation : Use the sauté function to sear the meat and cook the vegetables. Add the liquids and cook on high pressure for 75 minutes, then natural release for 20 minutes. It’s faster, but the sauce won’t reduce as much—thicken it with a cornstarch slurry after cooking.
Serving & Storage Suggestions
This brisket is a complete meal on its own, but here’s how I like to serve it and keep it for later.
Serving Temperature and Presentation : Serve the brisket hot, straight from the pot. I like to arrange the sliced meat on a platter, spoon the vegetables around it, and drizzle the sauce over everything. A sprinkle of fresh parsley or thyme leaves adds a pop of color. For a cozy presentation, serve it in shallow bowls with the sauce pooled at the bottom—perfect for sopping up with bread.
What to Serve With It : This brisket loves carbs. Mashed potatoes are the classic choice—they catch every drop of that wine sauce. Creamy polenta is equally wonderful. For something lighter, try roasted root vegetables or a simple green salad with a tangy vinaigrette to cut the richness. Crusty bread is non-negotiable in my house—we use it to wipe the bowls clean.
Storage Instructions : Let the brisket cool completely before storing. Transfer it to an airtight container, including the sauce and vegetables. It will keep in the refrigerator for up to 4 days. The fat will solidify on top—you can either skim it off before reheating or stir it back in for extra richness. I usually skim it because I prefer a cleaner sauce.
Freezer Instructions : This brisket freezes beautifully. Place the cooled meat and sauce in a freezer-safe container or zip-top bag. Remove as much air as possible. It will keep for up to 3 months. To thaw, transfer it to the refrigerator overnight. Reheat gently on the stovetop over low heat, adding a splash of broth or water if the sauce is too thick.
Reheating Tips : The best way to reheat is low and slow. Place the brisket and sauce in a covered pot over low heat, stirring occasionally, until warmed through—about 15-20 minutes. You can also reheat in a 300°F oven for 20-30 minutes. Avoid the microwave—it can make the meat tough and the sauce greasy.
Flavor Development : I mentioned this before, but it’s worth repeating—this brisket tastes even better the next day. The flavors meld and mellow overnight. If you can, make it a day ahead. Your future self will thank you.
Nutritional Information & Benefits
While this is definitely a comfort food indulgence, it does have some redeeming qualities. Here’s a rough estimate per serving (based on 8 servings).
| Nutrient | Amount Per Serving |
|---|---|
| Calories | ~480 |
| Protein | 42g |
| Fat | 28g |
| Carbohydrates | 12g |
| Fiber | 3g |
| Iron | 25% DV |
| Vitamin A | 80% DV (from carrots) |
Health Benefits : Beef is an excellent source of high-quality protein, iron, and B vitamins, especially B12 which supports energy and brain function. The carrots and onions provide fiber, vitamin A, and antioxidants. Red wine contains resveratrol, a compound linked to heart health in moderation. Of course, this is a rich dish—enjoy it as part of a balanced diet. I like to serve it with a big green salad to add some freshness and fiber.
Dietary Considerations : This recipe is naturally gluten-free if you skip the flour thickener. It’s also dairy-free and nut-free. If you’re watching your sodium, use low-sodium broth and go easy on the added salt—the wine and vegetables provide plenty of flavor.
My Personal Perspective : I don’t believe in “guilt-free” eating. Food is meant to be enjoyed, and this brisket is pure enjoyment. But I also love that it’s packed with real, whole ingredients—no processed junk, no weird additives. It’s the kind of meal that nourishes you on a cold night, both physically and emotionally. And honestly, that’s worth every calorie.
Conclusion
This cozy red wine braised brisket is more than just a recipe—it’s a hug in a pot. It’s the dish that turns a regular Tuesday into something special, that makes your kitchen smell like comfort, and that brings people together around the table. I’ve made it for potlucks, for quiet dinners, and for nights when I just needed something warm and forgiving. It never disappoints.
I hope you give it a try, especially on one of those chilly nights when all you want is a meal that feels like a warm blanket. Don’t be afraid to make it your own—swap the herbs, add more vegetables, or experiment with different wines. Cooking is about making things taste good to you.
I’d love to hear how it turns out. Did you add something unexpected? Did it become a family favorite? Drop a comment below and let me know—I read every single one. And if you loved it, share it with a friend who needs a little cozy cooking in their life. Until next time, happy cooking, and stay warm out there.
Frequently Asked Questions
Can I use a different cut of meat for this recipe?
Absolutely. Chuck roast is the best substitute—it has similar marbling and becomes just as tender. You can also use bottom round, but it’s leaner, so watch it closely to avoid drying out. The cooking time may vary slightly, so always test with a fork.
What if I don’t have a Dutch oven?
No problem. Use a heavy-bottomed pot with a tight-fitting lid, or transfer everything to a baking dish and cover tightly with foil. A slow cooker or Instant Pot also works (see the variations section for instructions).
Can I make this recipe alcohol-free?
Yes. Replace the red wine with an equal amount of beef broth plus 2 tablespoons of balsamic vinegar or red wine vinegar. The vinegar provides the acidity that helps tenderize the meat and adds depth. It won’t taste identical, but it’ll still be delicious.
How do I know when the brisket is done?
The best test is the fork test. Insert a fork into the thickest part of the meat and twist. If it goes in easily and the meat starts to pull apart, it’s done. For precision, use a meat thermometer—it should read 200-205°F (93-96°C) internally.
Can I freeze the leftovers?
Yes, and it freezes beautifully. Cool the brisket completely, then store it in an airtight container with the sauce. It will keep for up to 3 months. Thaw overnight in the refrigerator and reheat gently on the stovetop or in a low oven.
Pin This Recipe!
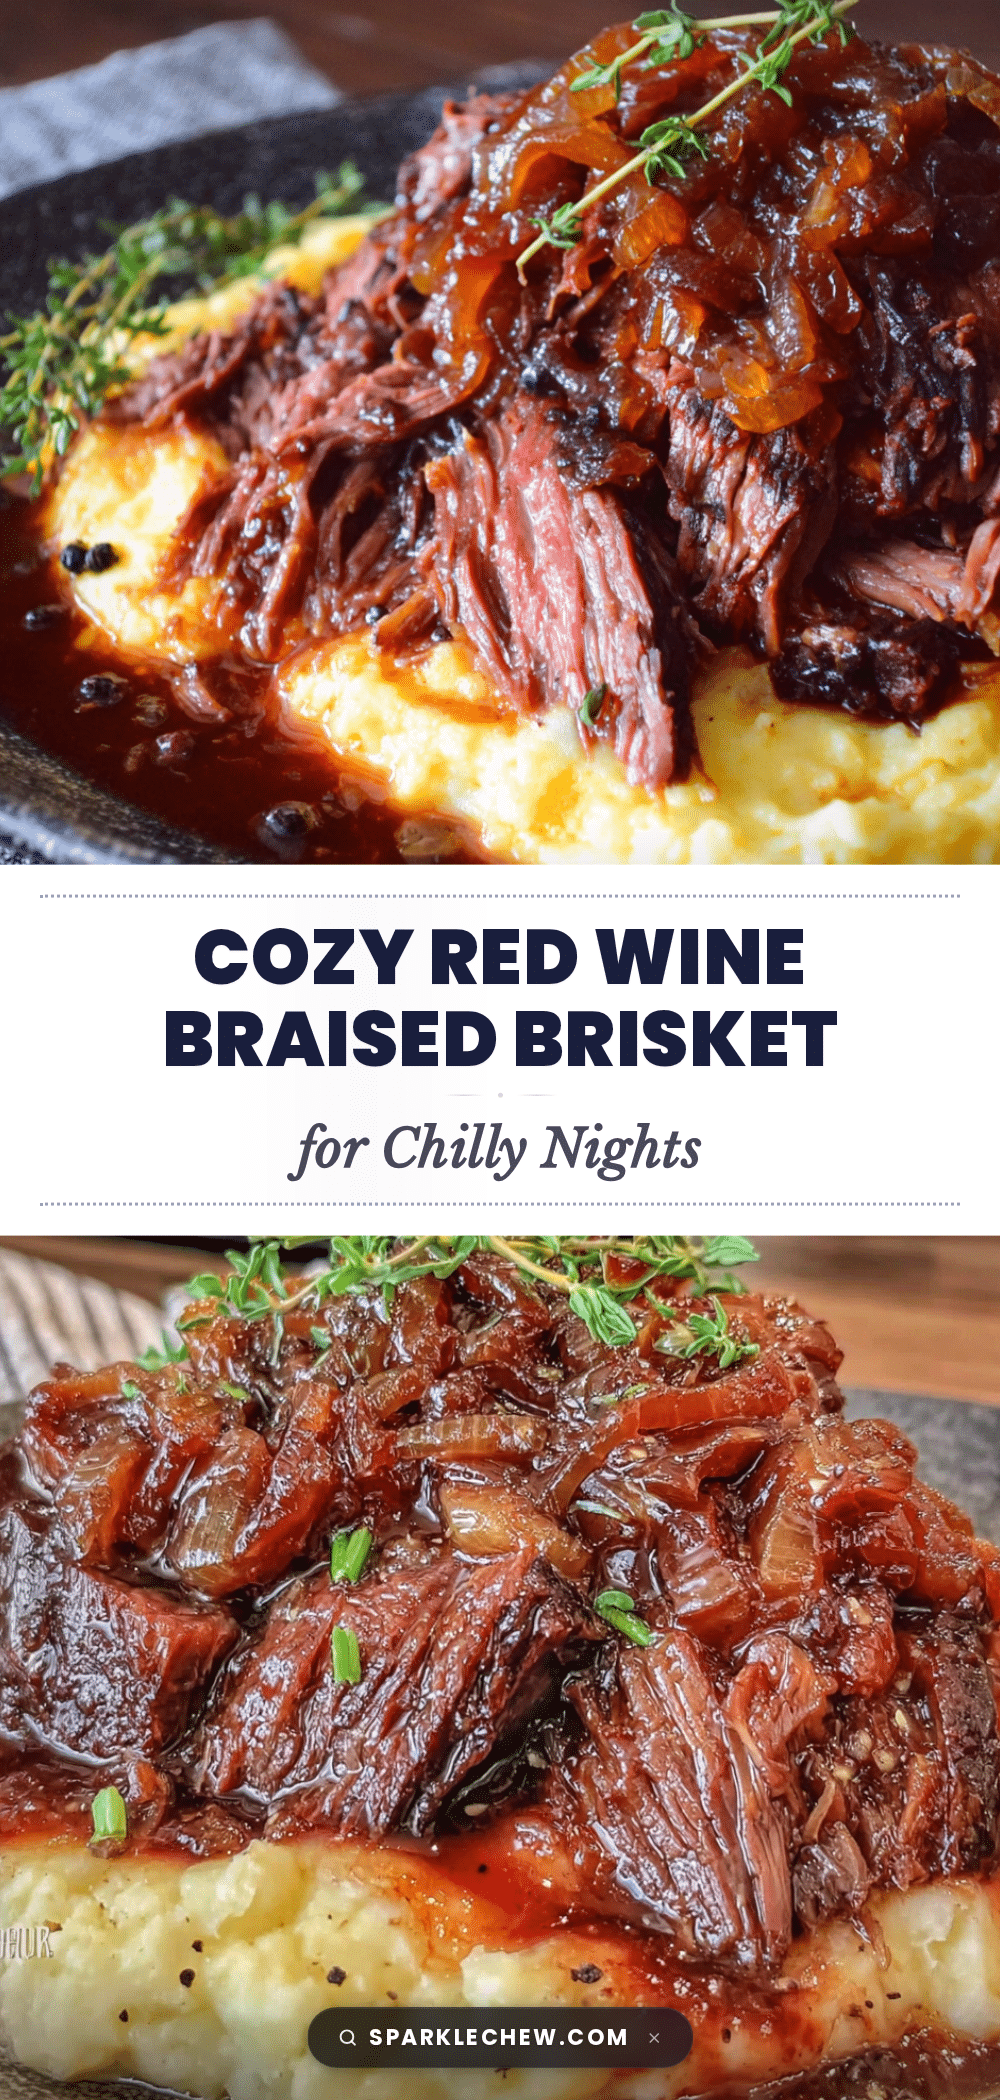
Cozy Red Wine Braised Brisket: Best Easy Dinner
This cozy red wine braised brisket is a hug in a pot—perfect for chilly nights when you need something warm and forgiving. The low-and-slow method creates incredibly tender, fall-apart meat with a rich, deep wine sauce that makes you look like you planned everything, even when you absolutely did not.
- Prep Time: 20 minutes
- Cook Time: 3 hours 30 minutes
- Total Time: 3 hours 50 minutes
- Yield: 8 servings
- Category: Main Course
- Cuisine: American
Ingredients
- Beef Brisket or Chuck Roast (3-4 pounds)
- Red Wine (2 cups)
- Beef Broth (1 cup), low-sodium
- Yellow Onions (2 large), thinly sliced
- Carrots (4 medium)
- Celery (3 stalks), diced
- Garlic (6 cloves), smashed
- Tomato Paste (2 tablespoons)
- Fresh Thyme (4 sprigs)
- Bay Leaves (2)
- Olive Oil (2 tablespoons)
- Kosher Salt and Black Pepper, to taste
- All-Purpose Flour (2 tablespoons, optional), for thickening
Instructions
- Prep the Brisket (10 minutes): Take the brisket out of the fridge 30 minutes before cooking to take the chill off. Pat it completely dry with paper towels. Trim any large pieces of fat, but leave a thin layer (about ¼ inch) for flavor. Season generously on all sides with kosher salt and black pepper.
- Preheat the Oven: Set your oven to 325°F (163°C). Position the rack in the lower third.
- Sear the Meat (15 minutes): Heat your Dutch oven over medium-high heat. Add the olive oil and wait until it shimmers. Carefully place the brisket in the pot. Let it sear undisturbed for 4-5 minutes until a deep brown crust forms. Flip and repeat on all sides, including the edges.
- Sauté the Vegetables (8 minutes): Remove the brisket to a plate. Reduce heat to medium. Add the onions, carrots, and celery to the pot. Scrape up the browned bits with your wooden spoon. Cook for 5-6 minutes until the onions are soft and translucent. Add the smashed garlic cloves and cook for 1 more minute until fragrant.
- Add Tomato Paste and Wine (3 minutes): Stir in the tomato paste and cook for 1 minute. Slowly pour in the red wine, scraping the bottom of the pot to release any remaining fond. Let it simmer for 2 minutes.
- Return the Brisket: Place the brisket back in the pot, along with any accumulated juices. Add the beef broth, thyme sprigs, and bay leaves. The liquid should come about halfway up the sides of the meat.
- Braise (3 to 3.5 hours): Bring the liquid to a gentle simmer on the stovetop. Cover the pot with the lid and transfer to the preheated oven. Cook for 3 hours, then check for tenderness. The meat should be fork-tender. If still tough, cook for another 30 minutes and check again.
- Rest and Shred (15 minutes): Remove the pot from the oven. Carefully transfer the brisket to a cutting board. Let it rest for 10-15 minutes. Meanwhile, place the pot on the stovetop over medium heat. Remove the thyme stems and bay leaves. If you want a thicker sauce, whisk in the flour (or cornstarch slurry) and simmer for 3-4 minutes until it thickens. Taste and adjust salt and pepper.
- Slice and Serve: Slice the brisket against the grain into thick pieces—about ½ inch thick. Or shred it into chunks. Return the meat to the pot with the sauce and vegetables. Serve immediately, or let it cool and refrigerate for even better flavor tomorrow.
Notes
This brisket tastes even better the next day. Make it ahead for deeper flavor. For gluten-free, skip the flour or use a cornstarch slurry. For alcohol-free, replace wine with beef broth plus 2 tablespoons balsamic vinegar. Always test doneness with a fork—meat should be fork-tender. Let the meat rest before slicing to keep juices inside.
Nutrition
- Serving Size: 1 serving (about 6 o
- Calories: 480
- Sugar: 6
- Sodium: 650
- Fat: 28
- Saturated Fat: 10
- Carbohydrates: 12
- Fiber: 3
- Protein: 42
Keywords: braised brisket, red wine brisket, easy dinner, comfort food, potluck recipe, beef brisket, slow cooked beef, winter dinner