Love this? Save it for later!
Share the inspiration with your friends
It was 11:47 PM on a slightly-too-warm Thursday in July, and a very specific, almost aggressive craving for salted caramel ice cream hit me like a truck. The problem? My freezer was a barren wasteland of frozen peas and a single, sad bag of edamame. I didn’t have an ice cream maker (who does at 11 PM?), but I had a carton of heavy cream that was about to expire and a can of dulce de leche I’d bought on a whim last weekend. The idea arrived, honestly, out of pure desperation. I figured, “What’s the worst that could happen? A delicious, sugary puddle?”
I started whisking, and let me tell you, something about the quiet house and the late hour loosened the usual rules. I wasn’t following a strict recipe; I was just chasing that flavor. I poured in the cold cream, watched it thicken, and then folded in that gloriously sticky, caramel-y dulce de leche with a reckless abandon. I didn’t even bother with a thermometer. I just tasted it, added a generous, flaky pinch of sea salt, and hoped for the best. I poured the mixture into a loaf pan, covered it with a cracked lid I should have thrown out months ago, and shoved it in the freezer, half-expecting a frozen block of sadness in the morning.
The next day, I pulled it out, let it sit for a few minutes, and scooped. I mean, the texture was ridiculous—silky, creamy, and completely scoopable straight from the freezer. That first bite had this unexpected, perfect balance of sweet caramel and sharp, salty crunch. I stood there in my kitchen, eating it straight from the pan at 10 AM, feeling like I’d stumbled onto a secret. This creamy no-churn salted caramel ice cream is the kind of recipe that makes you wonder why you ever thought you needed fancy equipment. It’s the recipe I keep coming back to, summer after summer, because it’s just that good—and maybe you’ve been there, staring into your fridge, wondering if you can make magic from a few simple ingredients. You can.
Why You’ll Love This Recipe
This isn’t just another ice cream recipe; it’s a game-changer for your kitchen. I’ve tested this method more times than I can count, tweaking the ratios and chilling times to get that perfect, scoopable texture without an ice cream maker. It’s the kind of recipe that builds trust—you know it will work because I’ve already made all the mistakes for you.
- Quick & Easy: This comes together in about 10 minutes of active prep time. No custard base, no tempering eggs, no churning. Just mix, pour, and freeze. It’s perfect for those last-minute cravings or when you need a show-stopping dessert without the stress.
- Simple Ingredients: You only need four main ingredients. No fancy grocery trips needed; you likely already have the heavy cream and vanilla in your kitchen. The caramel comes from a can of dulce de leche, which is a total cheat code for incredible flavor.
- Perfect for Summer: This is the ultimate crowd-pleaser for backyard barbecues, lazy pool days, or a quiet night in. It’s always the first thing to disappear at a potluck, and it gets rave reviews from both kids and adults.
- Unbelievably Creamy: The texture is the real star here. By whipping the cream to stiff peaks and gently folding in the caramel, you create a light, airy base that freezes into a silky, scoopable dream. It’s next-level comfort food.
What makes this recipe different is the technique. Using cold heavy cream and whipping it to the perfect consistency is the secret to that ultra-creamy texture. The salted caramel swirl isn’t just an afterthought; it’s a perfectly balanced ribbon of sweet and salty that runs through every single bite. This is comfort food reimagined—faster, easier, but with the same soul-soothing satisfaction. It’s perfect for impressing guests without any stress, or just turning a simple Tuesday into something memorable.
What Ingredients You Will Need
This recipe uses simple, wholesome ingredients to deliver bold flavor and satisfying texture without the fuss. Most of these are pantry staples, making this a go-to dessert whenever the craving strikes.
- 2 cups (480 ml) heavy whipping cream – This is the base of your ice cream. Make sure it’s very cold, straight from the fridge, for the best volume when whipping. I recommend using a brand like Horizon Organic or Organic Valley for a rich, stable cream that whips up beautifully.
- 1 can (13.4 oz / 380 g) dulce de leche – This is your shortcut to deep, caramel flavor. Look for it in the international aisle or near the sweetened condensed milk. I prefer the Nestlé La Lechera brand for its smooth, thick consistency. (You can also make your own by boiling a can of sweetened condensed milk, but the canned stuff is a lifesaver.)
- 1 teaspoon vanilla extract – Use pure vanilla extract for the best flavor. It enhances the caramel notes and adds warmth to the ice cream. Avoid imitation vanilla if you can.
- 1 teaspoon flaky sea salt (like Maldon), plus more for topping – This is non-negotiable. The flaky salt provides pops of salty crunch that cut through the sweetness of the caramel. Don’t use fine table salt, as it will dissolve and you’ll lose that textural contrast.
Optional Add-ins:
- 1/2 cup (60 g) chopped pecans or toasted almonds – For a little crunch.
- 1/2 cup (85 g) chocolate chips or chopped dark chocolate – Because caramel and chocolate are a match made in heaven.
Equipment Needed
You don’t need an ice cream maker for this recipe, which is the whole point! Here’s what you’ll need:
- Large mixing bowl – A stainless steel or glass bowl works best. Make sure it’s clean and completely dry, as any grease can prevent the cream from whipping.
- Electric hand mixer or stand mixer – While you can whisk by hand (and get a great arm workout!), an electric mixer makes the process much faster and easier. A hand mixer is perfectly fine.
- Rubber spatula – For gently folding the dulce de leche and salt into the whipped cream without deflating it.
- Loaf pan (9×5 inch) or freezer-safe container – A standard loaf pan is perfect for this quantity. You can also use a 9-inch square baking dish or a quart-sized deli container.
- Plastic wrap or a tight-fitting lid – To cover the ice cream and prevent it from absorbing other odors in the freezer.
- Ice cream scoop – A good scoop with a sharp edge makes serving a breeze.
Budget-Friendly Tip: If you don’t have a hand mixer, you can absolutely whip the cream by hand with a whisk. It will take about 5-7 minutes of vigorous whisking, but it’s a great arm workout! I’ve done it myself when my mixer was on the fritz, and it works perfectly.
Preparation Method
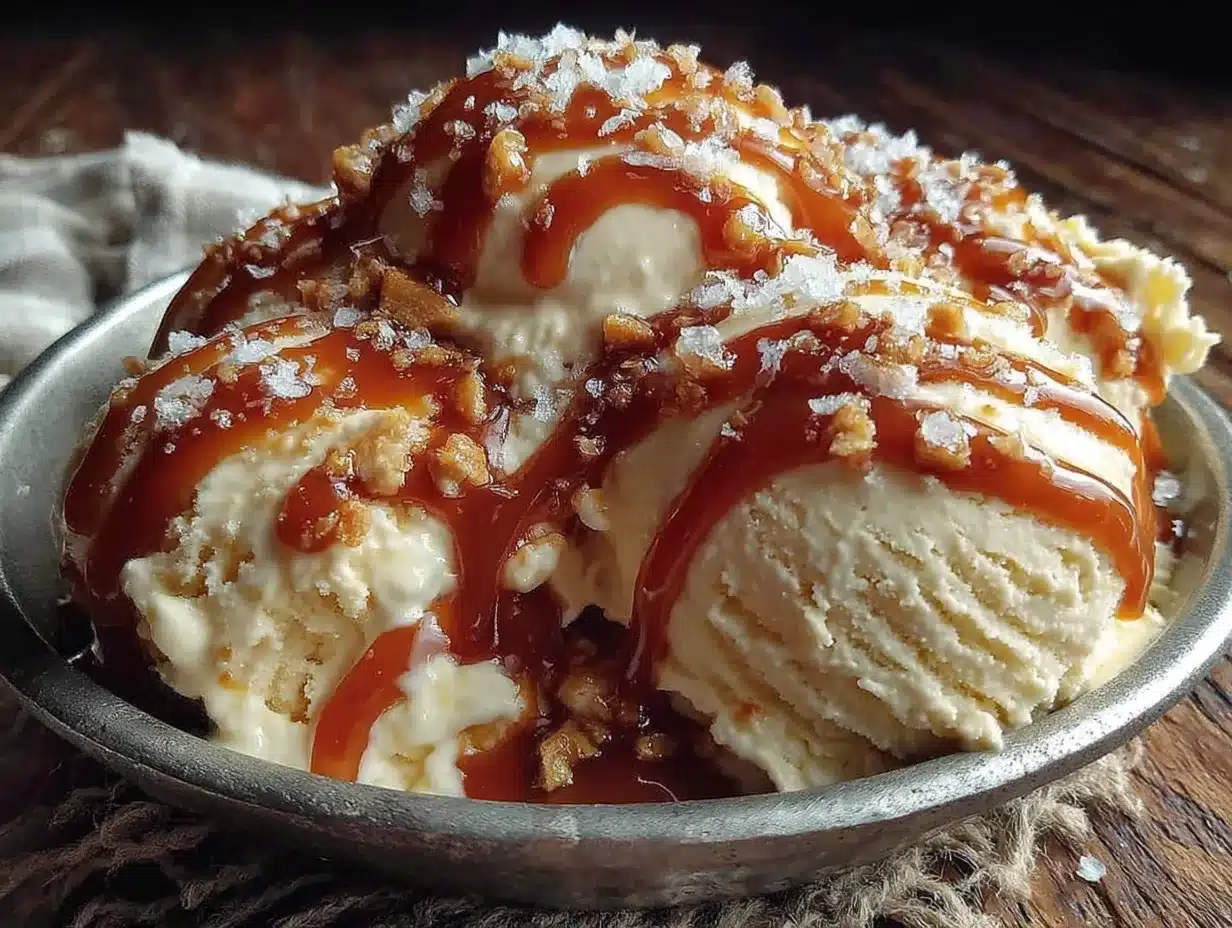
Follow these steps carefully, and you’ll have the most incredible homemade ice cream. The key is to work quickly and gently to keep the whipped cream light and airy.
- Chill your bowl and beaters. For the best results, place your large mixing bowl and the beaters from your hand mixer in the freezer for 10-15 minutes before you start. A cold bowl helps the cream whip faster and hold its shape better. This is a little trick I learned after a few batches of soupy cream.
- Whip the cream. Pour the cold heavy cream and vanilla extract into the chilled bowl. Using your hand mixer (or stand mixer with the whisk attachment), start on low speed to prevent splashing, then gradually increase to medium-high speed. Whip until stiff peaks form. This means when you lift the beaters, the cream stands up in a firm peak that doesn’t flop over. This usually takes about 3-5 minutes. Be careful not to overwhip, or you’ll end up with butter! You’ll know it’s ready when the cream looks thick and billowy, like a cloud.
- Soften the dulce de leche. While the cream is whipping, scoop the entire can of dulce de leche into a small microwave-safe bowl. Microwave it for 15-20 seconds, just until it’s a little looser and easier to stir. Do not overheat it, or it will become too runny. You just want it to be pourable.
- Fold in the caramel. Pour the softened dulce de leche over the whipped cream. Sprinkle in the flaky sea salt. Using your rubber spatula, gently fold the mixture together. The trick here is to cut down through the center of the bowl, scrape along the bottom, and bring the mixture up and over itself. Rotate the bowl a quarter turn and repeat. Do this just until the caramel is mostly incorporated, with a few streaks remaining. You want a swirl effect, not a fully homogeneous mixture. Over-mixing will deflate the cream and make the ice cream dense.
- Transfer to the pan. Scrape the mixture into your loaf pan or freezer-safe container. Use the spatula to spread it into an even layer. If you want a pretty presentation, you can drizzle a little extra dulce de leche on top and swirl it in with a knife.
- Cover and freeze. Press a piece of plastic wrap directly onto the surface of the ice cream. This prevents ice crystals from forming. Then, cover the pan with its lid or another layer of plastic wrap. Freeze for at least 6 hours, but preferably overnight. The longer it freezes, the firmer and more scoopable it becomes.
- Serve and enjoy! When you’re ready to serve, remove the ice cream from the freezer and let it sit at room temperature for 5-10 minutes to soften slightly. This makes scooping much easier. Sprinkle a little extra flaky sea salt on top before serving for that final, perfect touch.
Cooking Tips & Techniques
I’ve made this recipe more times than I can count, and I’ve learned a few things the hard way. Here are my best tips for perfect results every time.
- Don’t skip the chilling step. I know it’s tempting to just start whipping, but a cold bowl and beaters are your secret weapon. The first time I made this, I used a room-temperature bowl, and the cream took forever to whip and never got as fluffy. Trust me on this one.
- The “stiff peaks” test. If you’re unsure if your cream is whipped enough, lift the beaters and look at the peak. If it flops over immediately, keep whipping. If it stands straight up and holds its shape, you’re done. Overwhipping will turn it into butter, which is a delicious tragedy, but not what we want here.
- Gentle folding is key. When you add the dulce de leche, be gentle. I once got overzealous and stirred it vigorously, and I ended up with a flat, dense ice cream. You want to preserve all that air you just whipped into the cream. Think of it like you’re tucking a baby into bed—soft, slow, and careful.
- Patience with freezing. The hardest part is waiting. Don’t be tempted to dig in after two hours. It needs at least 6 hours to set properly. I’ve made this mistake on a hot day, and I ended up with a delicious caramel milkshake. Delicious, but not what I was going for.
Variations & Adaptations
This recipe is incredibly versatile. Here are a few ways to make it your own.
- Chocolate Salted Caramel: Add 1/4 cup of unsweetened cocoa powder to the heavy cream before whipping. Fold in the dulce de leche as directed. It’s like a fancy chocolate caramel truffle in ice cream form.
- Vegan Version: Swap the heavy cream for two cans of full-fat coconut cream (chilled overnight). Whip the solid part of the coconut cream just like you would dairy cream. Use a vegan dulce de leche (coconut-based versions are available). The texture will be slightly different, but still incredibly creamy and delicious.
- Spiced Caramel: Add 1/2 teaspoon of ground cinnamon and a pinch of nutmeg to the cream before whipping. This makes a wonderful fall or winter flavor, perfect for serving with a slice of apple pie.
- Cookie Crunch: Fold in 1 cup of crushed shortbread cookies or graham crackers along with the dulce de leche. It adds a wonderful texture and a buttery flavor that pairs perfectly with the caramel.
Serving & Storage Suggestions
This ice cream is a star on its own, but it’s also a fantastic base for other desserts.
Serving: Serve it in chilled bowls or cones for the best experience. It’s incredible on its own, but you can also top it with a drizzle of warm chocolate sauce, a sprinkle of toasted pecans, or a dollop of fresh whipped cream. For a truly decadent treat, serve a scoop alongside a warm brownie or a slice of apple pie. The temperature contrast is amazing.
Storage: Store the ice cream in the freezer, tightly covered with plastic wrap pressed directly onto the surface and a lid or another layer of wrap on top. It will keep well for up to 2 weeks. After that, it may start to develop ice crystals, though it will still be safe to eat.
Reheating/Softening: To make scooping easier, let the ice cream sit at room temperature for 5-10 minutes before serving. If you’ve stored it for more than a week, it might be a bit harder, so give it a little more time. The flavor actually deepens and becomes more pronounced after a day or two in the freezer.
Nutritional Information & Benefits
While this is definitely a treat, it’s made with real, simple ingredients. Here’s a rough estimate per serving (1/2 cup serving, based on 8 servings per recipe):
| Nutrient | Amount |
|---|---|
| Calories | ~350 |
| Fat | 24g |
| Carbohydrates | 30g |
| Protein | 3g |
| Sugar | 28g |
| Sodium | 250mg |
Health Benefits: The heavy cream provides a good source of healthy fats and fat-soluble vitamins like A and D. The sea salt is a natural source of essential minerals. While this is a dessert, using real ingredients means you’re avoiding the artificial stabilizers, gums, and high-fructose corn syrup found in many store-bought ice creams. This is a treat you can feel good about enjoying in moderation.
Dietary Considerations: This recipe is naturally gluten-free and can be made vegetarian. For a dairy-free or vegan option, see the variations above. Please note that this recipe contains dairy and is not suitable for those with milk allergies.
Conclusion
This creamy no-churn salted caramel ice cream is the kind of recipe that makes you feel like a kitchen genius. It’s proof that you don’t need fancy equipment or complicated techniques to create something truly spectacular. With just four simple ingredients and a little bit of patience, you can have a pint of the most decadent, silky, and perfectly salted ice cream right in your own freezer.
I love this recipe because it’s a shortcut to pure joy. It’s for those nights when you need a little sweetness, for those summer afternoons when the heat is too much, or for any time you want to impress someone (including yourself) with minimal effort. I encourage you to make it your own—try the chocolate version, add some toasted nuts, or just enjoy it exactly as written. It’s perfect either way.
Now, I’d love to hear from you! Have you tried making no-churn ice cream before? Did you add any fun mix-ins? Drop a comment below and let me know how it turned out. And if you loved this recipe, share it with a friend who needs a little more caramel in their life. Happy scooping!
Frequently Asked Questions
Can I use homemade caramel sauce instead of dulce de leche?
You can, but the texture will be different. Dulce de leche is thicker and more stable, which helps create a creamier ice cream. A thinner caramel sauce can make the ice cream icier. If you use homemade caramel, make sure it’s very thick and has cooled completely before folding it in.
Why is my ice cream icy instead of creamy?
This usually happens if the cream wasn’t whipped to stiff peaks, or if the mixture was over-mixed after adding the caramel. It can also happen if the ice cream isn’t covered properly and absorbs freezer odors. Make sure to press plastic wrap directly onto the surface before freezing.
Can I use a different type of salt?
Flaky sea salt is best because it provides pops of salty crunch. You can use kosher salt in a pinch, but use half the amount and crush it slightly with your fingers before adding. Avoid fine table salt, as it will dissolve and you’ll lose the textural contrast.
How long does this ice cream last in the freezer?
It will be at its best for up to 2 weeks. After that, it may start to develop ice crystals, but it will still be safe to eat. For the best texture, try to enjoy it within the first week.
Can I make this recipe without an electric mixer?
Absolutely! You can whip the cream by hand using a whisk. It will take about 5-7 minutes of vigorous whisking. Make sure your bowl and cream are very cold to speed up the process. It’s a great arm workout, I promise!
Pin This Recipe!
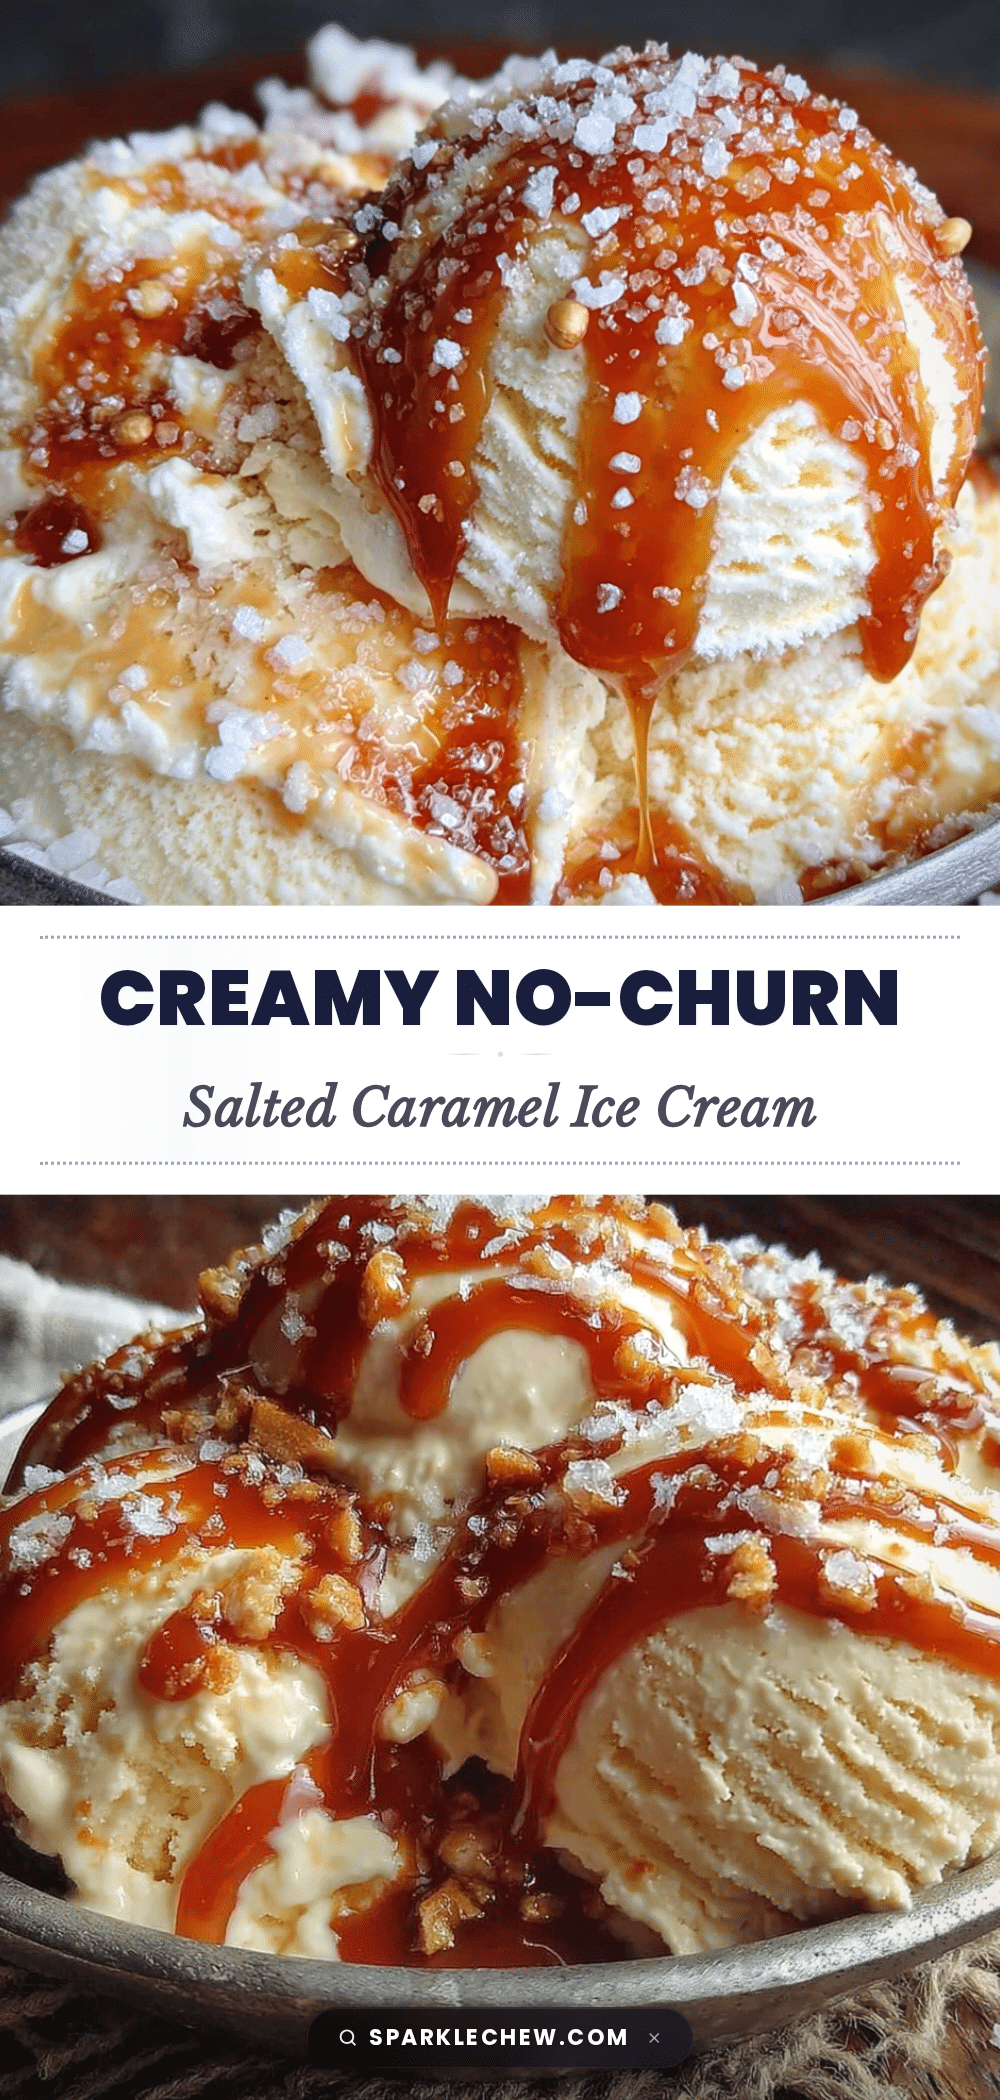
Creamy No-Churn Salted Caramel Ice Cream (Easy 4-Ingredient Recipe)
This creamy no-churn salted caramel ice cream is a game-changer for your kitchen. With just four simple ingredients and no ice cream maker needed, you can have a pint of the most decadent, silky, and perfectly salted ice cream right in your own freezer.
- Prep Time: 10 minutes
- Cook Time: 0 minutes
- Total Time: 6 hours 10 minutes (including freezing)
- Yield: 8 servings 1x
- Category: Dessert
- Cuisine: American
Ingredients
- 2 cups (480 ml) heavy whipping cream
- 1 can (13.4 oz / 380 g) dulce de leche
- 1 teaspoon vanilla extract
- 1 teaspoon flaky sea salt (like Maldon), plus more for topping
- 1/2 cup (60 g) chopped pecans or toasted almonds (optional)
- 1/2 cup (85 g) chocolate chips or chopped dark chocolate (optional)
Instructions
- Chill your bowl and beaters in the freezer for 10-15 minutes.
- Pour the cold heavy cream and vanilla extract into the chilled bowl. Using a hand mixer or stand mixer with whisk attachment, start on low speed and gradually increase to medium-high. Whip until stiff peaks form, about 3-5 minutes.
- While the cream is whipping, soften the dulce de leche in a microwave-safe bowl for 15-20 seconds until pourable.
- Pour the softened dulce de leche over the whipped cream. Sprinkle in the flaky sea salt. Gently fold together using a rubber spatula until mostly incorporated, with a few streaks remaining.
- Scrape the mixture into a loaf pan or freezer-safe container. Spread into an even layer. Optionally, drizzle extra dulce de leche on top and swirl with a knife.
- Press plastic wrap directly onto the surface of the ice cream. Cover with lid or another layer of plastic wrap. Freeze for at least 6 hours, preferably overnight.
- When ready to serve, let sit at room temperature for 5-10 minutes to soften slightly. Sprinkle extra flaky sea salt on top before serving.
Notes
For best results, chill the bowl and beaters before whipping. Do not overwhip the cream or overmix after adding caramel. Let ice cream sit at room temperature for 5-10 minutes before scooping. Store tightly covered for up to 2 weeks.
Nutrition
- Serving Size: 1/2 cup
- Calories: 350
- Sugar: 28
- Sodium: 250
- Fat: 24
- Saturated Fat: 15
- Carbohydrates: 30
- Protein: 3
Keywords: no-churn ice cream, salted caramel, easy ice cream, 4-ingredient, homemade ice cream, summer dessert


