Love this? Save it for later!
Share the inspiration with your friends
Introduction
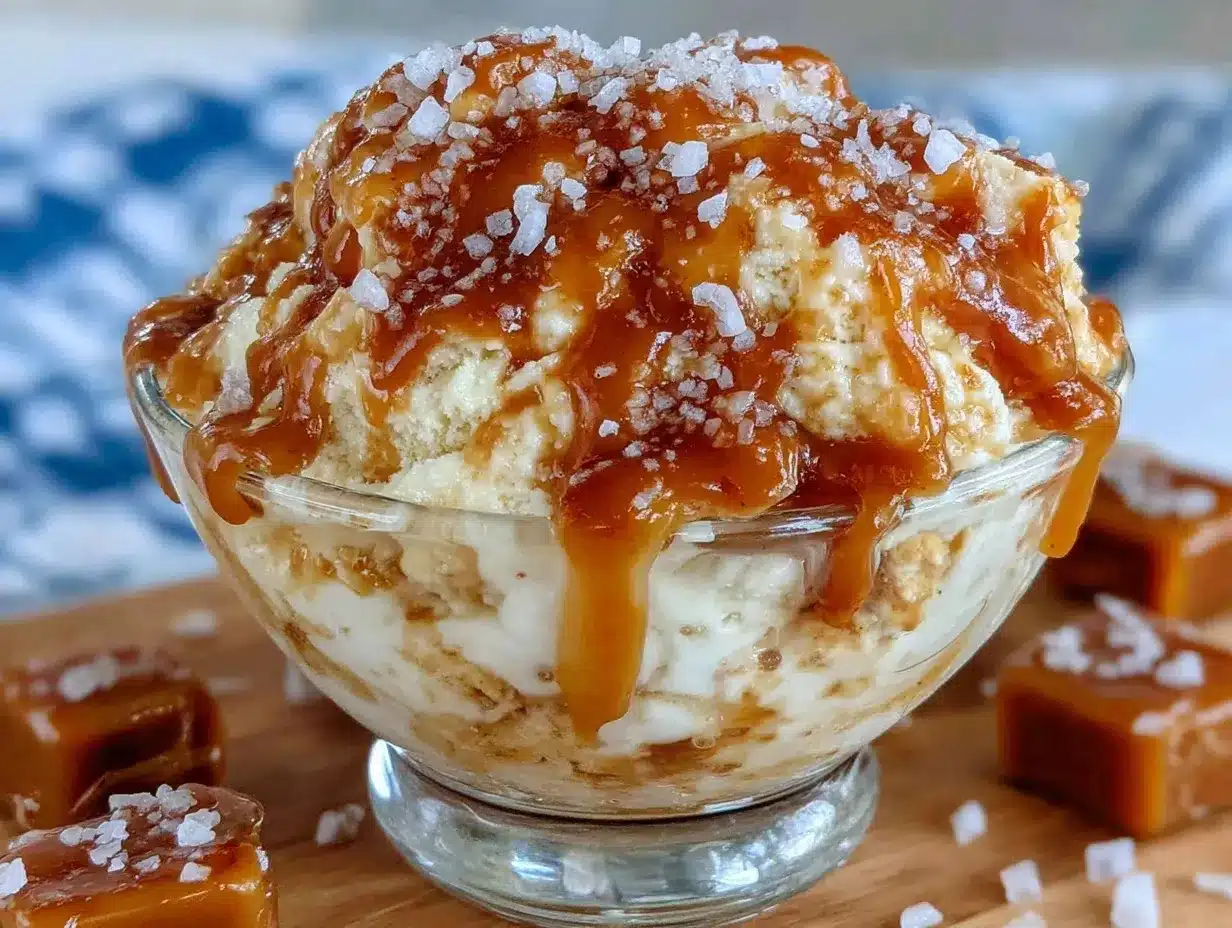
My roommate swore she wasn’t an ice cream person. For years, she’d scoff at every scoop I offered, claiming she preferred something “less sweet” or “more artisanal.” Then came that sweltering Saturday afternoon when the freezer was mysteriously empty except for a jar of homemade salted caramel sauce I’d made earlier that week. Honestly, I whipped up this creamy no-churn salted caramel ice cream with 5 simple ingredients just for myself, expecting to enjoy it solo. But there she was, sneaking back for a second spoonful, caught red-handed licking the bowl. That moment—her surprise at how rich and smooth it was without any fancy ice cream maker—changed everything.
What’s funny is how this recipe quietly wins over skeptics without shouting. Maybe you’ve been there, thinking homemade ice cream is a hassle or that salted caramel is just a trendy buzzword. Let me tell you, this easy recipe shifts that mindset. It’s got that perfect balance of sweet and salty, the kind that makes you pause and savor each bite. Plus, it’s all done in one bowl, no churning, no special equipment—just simple ingredients you probably already have in your kitchen.
Since that day, this creamy no-churn salted caramel ice cream has become my go-to for unexpected guests and lazy Sundays alike. It’s a little bit indulgent, a little bit comforting, and completely addictive. I keep making it, not because I have to, but because I want to prove that sometimes the simplest recipes are the most satisfying.
Why You’ll Love This Recipe
Having tested countless ice cream recipes over the years, this creamy no-churn salted caramel ice cream stands out for a few solid reasons. It’s not just about the flavor, which is undeniably luscious; it’s about the ease and accessibility. Whether you’re a busy parent, a beginner in the kitchen, or just craving something sweet without the fuss, this recipe hits the mark.
- Quick & Easy: Comes together in under 15 minutes, perfect for last-minute cravings or spontaneous dessert plans.
- Simple Ingredients: Only five! No complicated syrups or rare items—just pantry staples plus that dreamy salted caramel.
- Perfect for Any Occasion: Whether it’s a casual family dinner, a potluck, or a cozy night in, this ice cream impresses without stress.
- Crowd-Pleaser: I’ve watched hesitant tasters go back for seconds, kids and adults alike. It’s that good.
- Unbelievably Delicious: The creamy texture combined with the salty-sweet caramel flavor is next-level comfort food.
What really sets this recipe apart is how it achieves such a rich, velvety texture without churning. The secret is in whipping the cream just right and folding in the caramel carefully, so every bite melts in your mouth. I also love that you can tweak the saltiness or sweetness to your liking—making it truly your own. Honestly, it’s the kind of dessert that makes you close your eyes after the first bite and think, “Yep, I nailed this.”
What Ingredients You Will Need
This recipe uses simple, wholesome ingredients to deliver bold flavor and satisfying texture without the fuss. Most of these are pantry staples, and the salted caramel adds that special touch without overwhelming complexity.
- Heavy cream (2 cups / 480 ml) – Use high-quality cream for best results; it’s the base that creates the creamy texture.
- Sweetened condensed milk (1 can / 14 oz / 396 g) – Adds richness and sweetness without extra sugar measurement hassles.
- Salted caramel sauce (¾ cup / 180 ml) – Homemade or store-bought works; my favorite is Trader Joe’s for convenience and flavor.
- Vanilla extract (1 teaspoon) – Boosts overall flavor and complements the caramel perfectly.
- Flaky sea salt (optional, ½ teaspoon) – For sprinkling on top to enhance the salted caramel experience.
If you want to try a dairy-free version, swap the heavy cream for canned coconut cream and use a dairy-free caramel sauce. For those watching sugar intake, look for a lower-sugar condensed milk or homemade caramel with less sugar.
Equipment Needed
- Mixing bowl: A large bowl for whipping the cream. Glass or metal works best to keep the cream cold.
- Electric mixer or stand mixer: Essential for whipping the cream to stiff peaks. Hand-whisking is possible but requires serious arm power and patience.
- Spatula: To gently fold the ingredients together without deflating the whipped cream.
- Loaf pan or freezer-safe container: For setting the ice cream in the freezer. I prefer a metal loaf pan for quicker freezing.
- Measuring cups and spoons: For precise ingredient quantities.
If you don’t have a stand mixer, a handheld mixer works just fine. Just make sure your mixing bowl and beaters are chilled for best whipping results. I once tried whipping cream in a warm kitchen with a plastic bowl—lesson learned, it doesn’t fluff up as nicely.
Preparation Method
- Chill your equipment: Place your mixing bowl and beaters in the fridge for at least 15 minutes before starting. This helps the cream whip faster and hold its shape.
- Whip the heavy cream: Pour the heavy cream into the chilled bowl. Using an electric mixer on medium-high speed, whip until stiff peaks form. This usually takes about 3-5 minutes. You’ll know it’s ready when the cream stands up firmly when you lift the beaters, but watch closely to avoid overwhipping (which can turn it grainy and buttery).
- Combine sweetened condensed milk and vanilla: In a separate bowl, stir together the condensed milk and vanilla extract until smooth. This adds sweetness and a lovely vanilla undertone.
- Fold the condensed milk mixture into the whipped cream: Gently fold the condensed milk into the whipped cream using a spatula. Use soft, sweeping motions to keep the mixture airy. Take your time—this step is key to preserving the cream’s fluffiness.
- Swirl in the salted caramel sauce: Pour about half of the salted caramel into the mixture and fold lightly until combined, then add the rest in dollops. Resist fully mixing it in; you want those beautiful caramel ribbons throughout for texture and flavor bursts.
- Transfer to container and freeze: Spoon the mixture into a loaf pan or freezer-safe container. Smooth the top gently with the spatula. Sprinkle flaky sea salt on top if desired.
- Freeze for at least 6 hours or overnight: Cover the container with plastic wrap or a lid to prevent ice crystals. The ice cream will firm up into a creamy delight without the need for churning.
- Serving: Remove from the freezer about 5 minutes before scooping to soften slightly. Use a warm spoon or ice cream scoop for neat servings.
If you notice the ice cream is too hard to scoop after freezing, just let it sit at room temperature for a bit longer. Also, if your caramel is thick, warming it slightly before folding in makes swirling easier.
Cooking Tips & Techniques
Whipping cream properly is a make-or-break step here. I once rushed it and ended up with runny ice cream that never firmed up. To avoid that, keep your bowl and beaters cold, and watch the cream carefully—it can go from soft peaks to butter quickly.
Folding gently is another art. Stirring too vigorously deflates the whipped cream, resulting in icy rather than creamy texture. Patience pays off.
When mixing in the salted caramel, leaving those beautiful ribbons instead of fully blending creates texture contrast that makes each spoonful exciting. If you prefer uniform flavor, feel free to mix more thoroughly.
Timing-wise, prepping the ice cream in the morning for evening dessert works well. This gives it ample time to freeze and flavors to meld. Multitasking with other meal prep can make the process feel less like a chore.
Lastly, don’t skip the sprinkling of flaky sea salt on top. That tiny extra bit of saltiness brings the whole flavor profile together and adds a lovely finishing touch.
Variations & Adaptations
- Dairy-Free Version: Use canned coconut cream instead of heavy cream and swap sweetened condensed milk for a coconut condensed milk alternative. Use a vegan salted caramel sauce or homemade version.
- Chocolate Swirl: Add a ribbon of melted dark chocolate or chocolate ganache along with the salted caramel for a mocha twist.
- Nutty Crunch: Fold in toasted pecans or almonds for added texture. This pairs beautifully with the caramel flavor.
- Fruit Infusion: Stir in finely chopped tart apples or pears before freezing for a caramel fruit combo reminiscent of a crisp dessert.
- Lower Sugar: Use a sugar-free caramel sauce and look for a no-sugar-added condensed milk option to reduce sweetness.
I once tried adding a pinch of cinnamon and a splash of bourbon to the mixture for a grown-up version—unexpected but delicious.
Serving & Storage Suggestions
Serve this creamy no-churn salted caramel ice cream slightly softened for easy scooping. It pairs wonderfully with warm desserts like apple crisp or a simple drizzle of extra caramel sauce. A sprinkle of chopped nuts or a few sea salt flakes on top adds a nice finishing touch.
Store leftovers in an airtight container in the freezer for up to 2 weeks. Keep the surface covered to avoid ice crystals forming. When reheating or scooping, let it sit at room temperature for about 5-10 minutes to soften.
Flavors actually deepen the next day, so if you can wait, it tastes even better after resting. Just give it a gentle stir before serving to redistribute the caramel ribbons.
Nutritional Information & Benefits
Estimated per serving (based on 8 servings):
| Nutrient | Amount |
|---|---|
| Calories | 280 |
| Fat | 18g |
| Saturated Fat | 11g |
| Sugar | 23g |
| Protein | 3g |
This ice cream offers a decent dose of calcium and energy from the dairy components. The salted caramel brings in sugar and sodium, so it’s a treat to enjoy mindfully. For those with lactose intolerance, adaptations with coconut cream can make it a friendly option.
From a wellness perspective, this recipe avoids artificial additives and uses real ingredients, making it a cleaner indulgence compared to many store-bought options.
Conclusion
This creamy no-churn salted caramel ice cream with 5 simple ingredients is a testament to how easy it can be to make indulgent homemade desserts without fuss. It’s perfect for anyone who’s ever thought ice cream making was complicated or time-consuming. Give yourself permission to try it your way—maybe a nutty crunch or a chocolate swirl—and watch how it quickly becomes a summer staple or a cozy winter treat.
I love this recipe because it surprises me every time: how something so simple can taste so luxurious. If you give it a go, please share your tweaks or stories—I’d love to hear what you think. Happy scooping!
FAQs
Can I use regular caramel sauce instead of salted caramel?
Yes, regular caramel works fine, but adding a pinch of flaky sea salt on top helps balance the sweetness and mimics the salted caramel flavor.
Do I really need to whip the cream to stiff peaks?
For the best texture, yes. Stiff peaks help trap air, making the ice cream creamy and light without churning.
How long can I store this ice cream in the freezer?
Up to 2 weeks in an airtight container to maintain the best texture and flavor.
Can I make this recipe without an electric mixer?
You can, but it requires vigorous hand whisking and patience. Using chilled tools will help, but an electric mixer is recommended.
Is this recipe gluten-free?
Yes, all the ingredients are naturally gluten-free, making this a safe dessert for gluten-sensitive eaters.
Pin This Recipe!
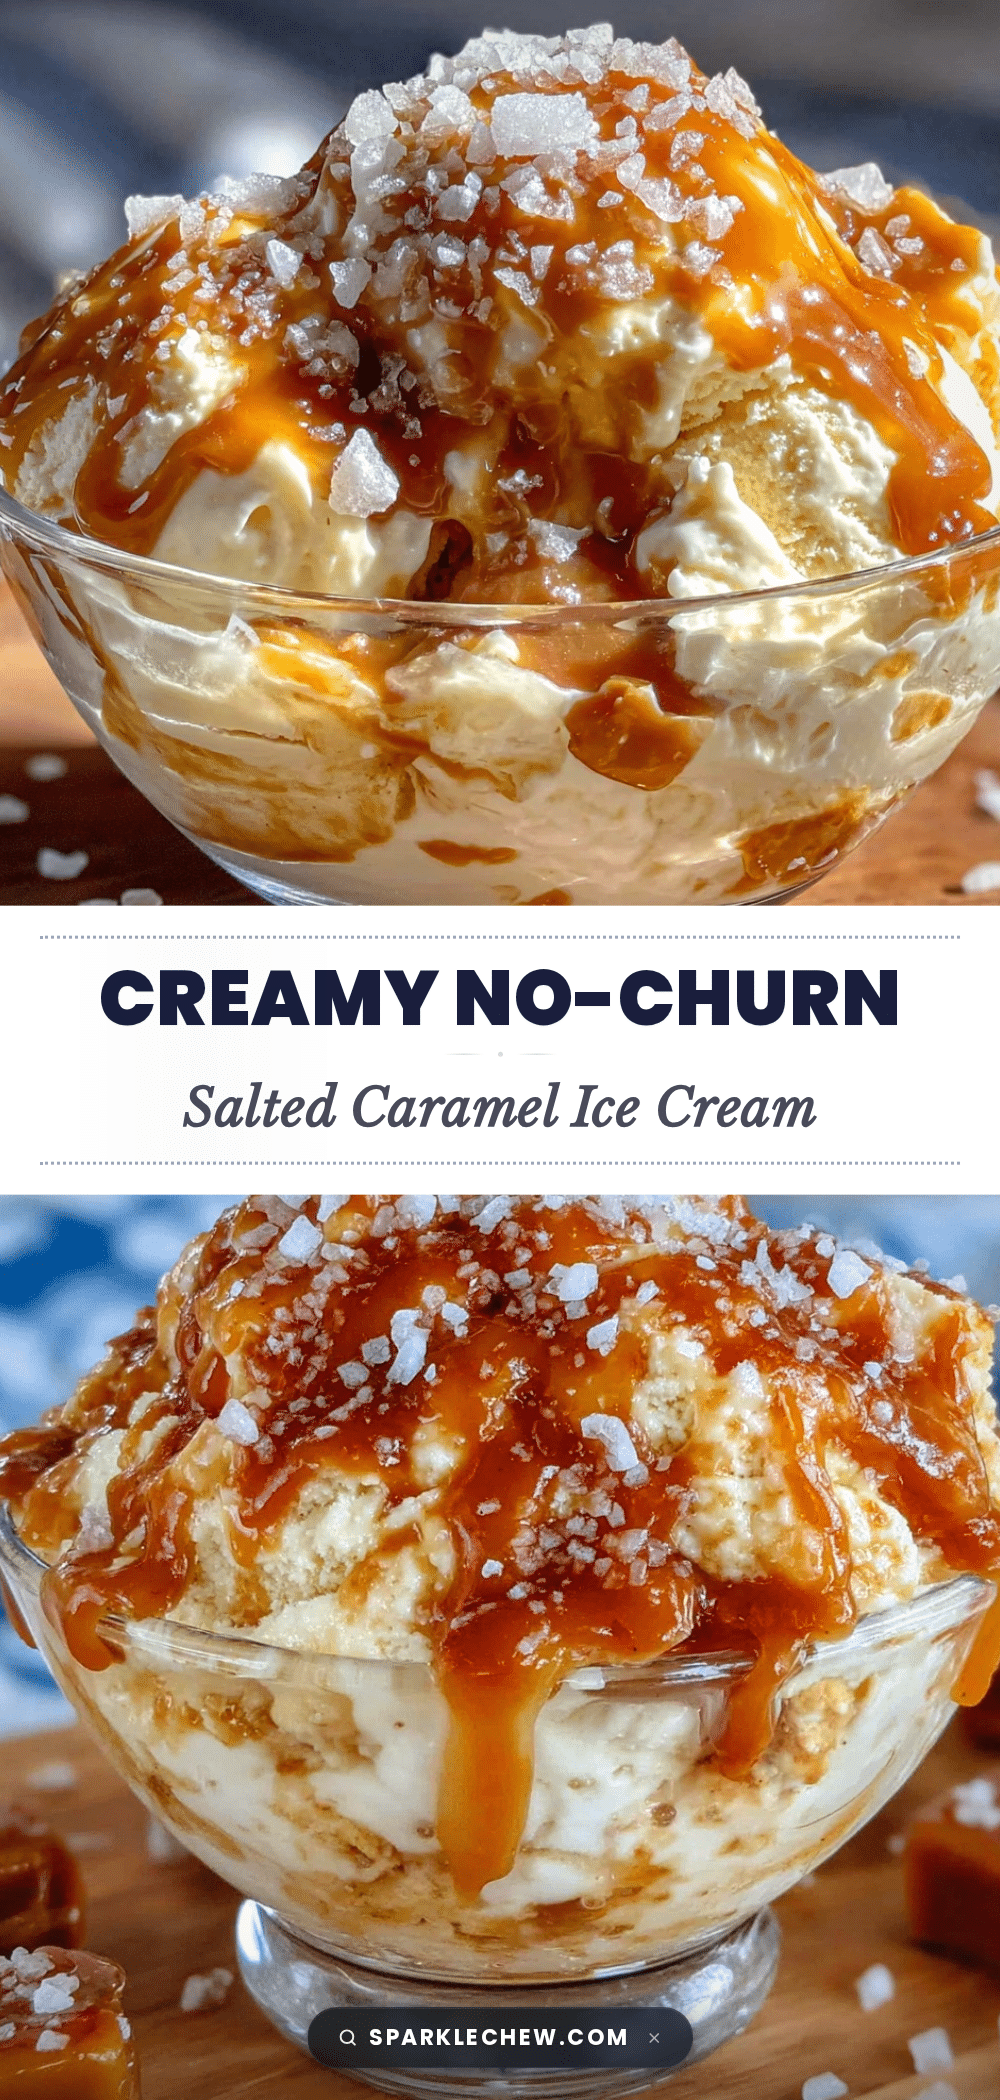
Creamy No-Churn Salted Caramel Ice Cream Recipe with 5 Easy Ingredients
A rich and smooth no-churn salted caramel ice cream made with just five simple ingredients, perfect for an indulgent homemade dessert without the need for an ice cream maker.
- Prep Time: 15 minutes
- Cook Time: 0 minutes
- Total Time: 6 hours 15 minutes
- Yield: 8 servings 1x
- Category: Dessert
- Cuisine: American
Ingredients
- 2 cups heavy cream (480 ml)
- 1 can sweetened condensed milk (14 oz / 396 g)
- ¾ cup salted caramel sauce (180 ml), homemade or store-bought
- 1 teaspoon vanilla extract
- ½ teaspoon flaky sea salt (optional, for sprinkling on top)
Instructions
- Chill your mixing bowl and beaters in the fridge for at least 15 minutes before starting.
- Pour the heavy cream into the chilled bowl and whip with an electric mixer on medium-high speed until stiff peaks form, about 3-5 minutes.
- In a separate bowl, stir together the sweetened condensed milk and vanilla extract until smooth.
- Gently fold the condensed milk mixture into the whipped cream using a spatula, preserving the airy texture.
- Pour about half of the salted caramel sauce into the mixture and fold lightly until combined, then add the rest in dollops to create caramel ribbons.
- Transfer the mixture into a loaf pan or freezer-safe container and smooth the top gently with a spatula.
- Sprinkle flaky sea salt on top if desired.
- Cover and freeze for at least 6 hours or overnight until firm.
- Remove from freezer about 5 minutes before serving to soften slightly. Use a warm spoon or ice cream scoop for neat servings.
Notes
Keep mixing bowl and beaters chilled for best whipping results. Fold ingredients gently to preserve airiness. Swirling caramel instead of fully mixing creates texture contrast. Let ice cream soften slightly before scooping. For dairy-free version, substitute heavy cream with canned coconut cream and use dairy-free caramel sauce.
Nutrition
- Serving Size: 1 serving (approx. 1
- Calories: 280
- Sugar: 23
- Fat: 18
- Saturated Fat: 11
- Protein: 3
Keywords: no-churn ice cream, salted caramel ice cream, easy ice cream recipe, homemade ice cream, 5 ingredient dessert, creamy ice cream, no ice cream maker