Love this? Save it for later!
Share the inspiration with your friends
This was supposed to be a full-blown Halloween party spread. I’m talking themed cupcakes with spiderwebs piped in black icing, a bubbling cauldron of chili, and those little sausages wrapped to look like mummies. Ambitious, right? The clock was ticking, the candy bowls were empty, and I had about fifteen minutes before the first wave of tiny ghosts and goblins showed up at the door. I grabbed the wrong cutting board—the big wooden one I use for bread—and just started pulling things from the fridge. A block of cheddar, some salami, a jar of olives I’d forgotten about. I was already stressed, honestly, wondering how I was going to pull this off. What came out was nothing like the plan. And better.
Instead of a stressed-out host with a sink full of dirty pots, I was that person who set down a ridiculously festive board and watched everyone’s eyes go wide. The kids grabbed the pretzel sticks (they look like bones, obviously) and the grown-ups went straight for the prosciutto. It took ten minutes. Maybe less. I mean, I forgot the crackers entirely and had to raid the pantry mid-arrangement, but nobody noticed. They were too busy picking at the “spider eggs” (stuffed olives) and the “monster teeth” (almonds). Let me tell you, that moment of panic turned into my go-to Halloween move. You know that feeling when you’re about to throw in the towel and something just works? This is that feeling, on a platter.
Now, every October, I make this board. It’s not fancy, it’s not fussy, and it’s definitely not the elaborate spread I had in my head that first time. But it’s the one that keeps getting requested. It’s the one that makes people linger in the kitchen, grabbing another slice of cheese or another creepy-crawly grape. Honestly, it’s become a little tradition. And the best part? You can totally do this, even if the doorbell is about to ring.
Why You’ll Love This Easy Halloween Charcuterie Board
Let’s be real for a second. The week leading up to Halloween is chaos. Between costume emergencies, classroom parties, and the never-ending sugar rush, the last thing you need is a complicated recipe. This board is your lifeline. I’ve tested this exact combination at three different Halloween gatherings—one with a bunch of picky-eating kids, one with my book club that gets a little wine-happy, and one where I literally forgot the dip. Every single time, it was a hit. Here’s why this one works when others fall flat:
- Quick & Easy: We’re talking ten minutes from fridge to table. No cooking, no baking, no waiting. Perfect for those “the doorbell is ringing RIGHT NOW” moments.
- Simple Ingredients: You probably have most of this stuff in your fridge already. No fancy grocery trips or specialty stores required. Just grab what looks good.
- Perfect for Halloween: This isn’t just a cheese board with some orange food coloring. The presentation actually looks spooky—think “graveyard” meets “grazing table.” It’s festive without being fussy.
- Crowd-Pleaser: I’m not kidding when I say kids and adults attack this board equally. The little ones go for the “spooky” shapes, and the grown-ups appreciate having something savory to balance all that candy.
- Unbelievably Delicious: The combination of salty meats, creamy cheese, tangy pickles, and sweet fruit is just perfect. It’s that “I can’t stop eating this” kind of snack.
What makes this different from every other charcuterie board out there? It’s the theme, honestly. I’m not just throwing orange and black M&Ms on a plate. I’m actually using the ingredients to create little Halloween scenes—a pile of “worms” (sliced peppers), a cluster of “spider eggs” (olives), a row of “monster teeth” (almonds). It’s fun without being cheesy. And it’s the kind of thing that makes people smile after a long day of costume wrangling. It’s comfort food, reimagined for the spookiest night of the year.
What Ingredients You Will Need
This recipe uses simple, everyday ingredients that you can find at any grocery store. The magic is in how you arrange them. Don’t stress about getting exact brands or specific types—use what you like and what you have. Here’s what I typically grab, along with a few notes from my own trials:
For the Meats (The “Creepy Crawlies”)
- Prosciutto: About 4-6 ounces. Look for thin slices that you can drape or roll into little “mummy” shapes. I like the brand from the deli counter at my local market—it’s salty and buttery.
- Salami: About 4-6 ounces, sliced. Genoa salami is my go-to. You can fold the slices into quarters or roll them into little “snails.”
- Pepperoni: A small handful. These are great for adding a pop of color and a little spice. Plus, they look like tiny “blood spots” if you arrange them creatively.
For the Cheeses (The “Graveyard Stones”)
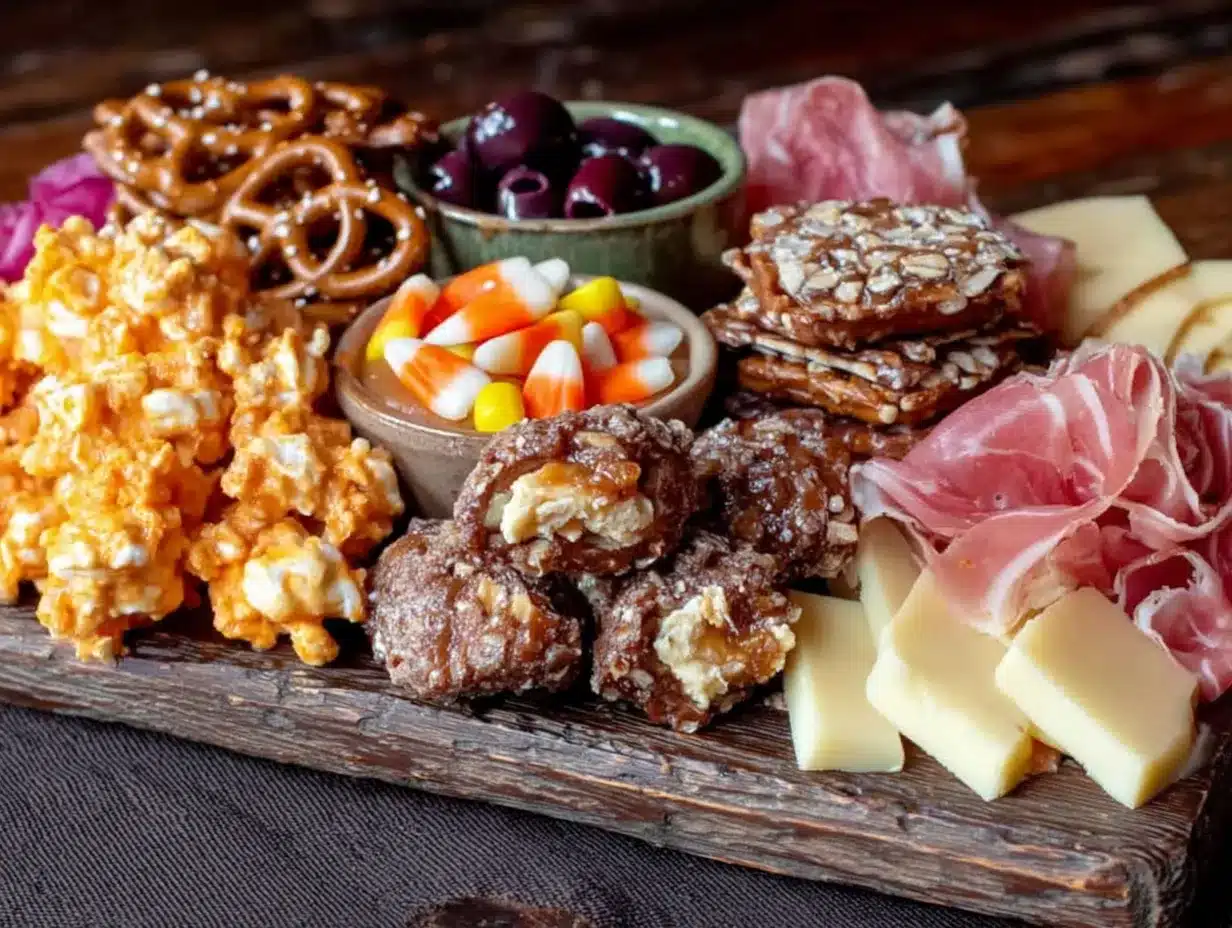
- Cheddar Cheese: About 4 ounces, cubed. I use a sharp white cheddar for a nice contrast. Cut it into irregular chunks so it looks like broken tombstones.
- Gouda or Smoked Cheese: About 4 ounces, sliced or cubed. The smoky flavor is perfect for fall. I like to cut it into small triangles.
- Brie or Camembert: A small wheel, if you’re feeling fancy. Leave it whole and let people scoop it out. It looks like a little “brain” on the board. (Gross, but perfect for Halloween!)
For the “Spooky” Produce
- Red and Green Grapes: About 1 cup total. These are your “eyeballs.” Separate them into small clusters. The red ones look particularly creepy.
- Black Olives: About 1/2 cup. Use pitted ones. They look like “spider eggs” or “beetle shells.” I recommend the canned California black olives for that classic look.
- Pickles or Cornichons: About 1/2 cup. These are your “witches’ fingers.” The little gherkins are perfect for grabbing.
- Baby Carrots or Pepper Strips: A small handful. Slice them into thin strips to look like “worms” or “spider legs.”
For the Crunch (The “Bones & Gravel”)
- Pretzel Sticks: About 1 cup. These are your “bones.” They’re essential for the creepy factor. I recommend the extra-thick ones for sturdiness.
- Almonds or Other Nuts: About 1/2 cup. These are your “monster teeth.” Whole almonds work best. You can also use walnuts or pecans.
- Crackers: About 1 cup. Go for something neutral like water crackers or Ritz. I sometimes forget these (see above), but they’re nice to have.
For the “Blood & Guts” (Dips & Spreads)
- Hummus or Spinach Dip: About 1/2 cup. Put it in a small bowl and place it on the board. It looks like “slime” or “monster guts.”
- Red Pepper Jelly or Marinara: About 1/4 cup. This is your “blood.” A little dish of it adds a great pop of color.
Equipment Needed
You don’t need anything fancy for this board. Honestly, the simpler the better. Here’s what I use:
- A Large Cutting Board or Serving Platter: This is your canvas. I use a big wooden board, but a rimmed baking sheet or even a large plate works fine. The key is having enough surface area to spread everything out.
- Small Bowls or Ramekins: You’ll need 2-3 of these for the dips and any loose items like olives. I use little ceramic bowls I picked up at a thrift store. They add character.
- A Sharp Knife: For cutting cheese and any produce. A paring knife is great for detail work, like slicing pepper strips into “worms.”
- Cheese Knives or Spreaders: Optional, but nice for serving. If you don’t have them, just use butter knives.
- Tongs or Small Spoons: For serving the olives and pickles. Again, optional but helpful.
Preparation Method
Here’s the step-by-step. I’ve timed this, and it really does take about ten minutes once you have everything out. Don’t overthink it—just have fun.
- Gather your ingredients (2 minutes): Pull everything out of the fridge. Open the packages. Slice the cheese into cubes or triangles. Rinse the grapes. Drain the olives. Get your small bowls ready. This is the most “active” part of the process.
- Place your small bowls first (1 minute): Put your dip bowls on the board. I usually put one in the center and one off to the side. This anchors the arrangement. Fill them with your hummus, jelly, or whatever you’re using. Don’t worry if they’re not perfectly centered—it adds to the “scary” vibe.
- Add your “anchor” items—the cheese and meats (3 minutes): Start with the largest items. Place your cheese cubes in a few clusters around the board. I like to put the brie wheel in one corner. Then, drape the prosciutto in little piles. Fold the salami slices into quarters and place them in another spot. This creates the base structure.
- Fill in with the “spooky” produce (2 minutes): Now, add your grapes, olives, and pickles. Tuck them into the gaps between the cheese and meat. Don’t just put them all in one place—scatter them around so there’s something to grab from every angle. I like to make a little “pile” of black olives that looks like a spider nest.
- Add the crunch (1 minute): Sprinkle your pretzel sticks and almonds around the board. I like to arrange the pretzel sticks in a little bundle that looks like a pile of bones. Scatter the almonds like fallen teeth. Add your crackers in a few small stacks.
- Create your “Halloween scenes” (1 minute): This is the fun part. Use a few pepper strips to make “worms” crawling out of the dip bowl. Arrange a few grape clusters to look like “eyeballs” staring at you. Stick a few pretzel sticks into the cheese to look like broken bones. Don’t go overboard—just a few touches make a big difference.
- Final check and serve (0 minutes): Step back and look at your board. Are there any empty spots? Fill them with a few extra nuts or a couple of crackers. Make sure the dips are accessible. That’s it. You’re done. Put it on the table and watch it disappear.
Cooking Tips & Techniques
I’ve made this board about a dozen times now, and I’ve learned a few things the hard way. Here are my best tips for making it look amazing with zero stress.
Don’t overthink the arrangement. The biggest mistake I made the first time was trying to make everything perfectly symmetrical. It looked stiff and weird. Halloween is supposed to be a little chaotic. Embrace the mess. Let the olives roll where they want. Let the prosciutto drape however it falls. It looks more natural and, honestly, more spooky.
Use color contrast to your advantage. The key to a visually striking board is contrast. Pair the deep red of the salami with the pale yellow of the cheese. Put the black olives next to the bright green grapes. The orange of the cheddar pops against the dark wood of the board. Think about it like you’re painting a picture—you want a variety of colors and textures.
Prep ahead of time. This is a game-changer for busy weeknights. You can slice the cheese and wash the grapes the night before. Store them in separate containers in the fridge. On Halloween night, all you have to do is pull them out and arrange them. It takes five minutes, tops.
Don’t forget the “wow” factor. A little extra effort goes a long way. I once used a small cookie cutter to cut the cheddar into little bat shapes. It took two minutes and everyone lost their minds. You can also use a knife to carve a little “face” into a bell pepper or a piece of cheese. It’s those tiny details that make people think you spent hours on it.
Keep it cold until serving. If you’re making this ahead of time, cover the board with plastic wrap and stick it in the fridge. Take it out about 15 minutes before you want to serve it so the cheese can soften a bit. Cold cheese is sad cheese.
Variations & Adaptations
One of the best things about a charcuterie board is how flexible it is. You can change just about everything based on what you have or what your family likes. Here are a few ways I’ve adapted this over the years.
The “Healthy-ish” Version: Swap out the crackers for sliced cucumber rounds or bell pepper strips. Use low-fat cheese and turkey pepperoni instead of salami. Add a big pile of fresh veggies like broccoli florets and cherry tomatoes. It’s still festive, but you don’t feel quite as guilty after the third trip to the board.
The “All Candy” Board: This is for the purists who just want sugar. Skip the meats and cheeses entirely. Fill the board with Halloween candy—mini candy bars, candy corn, gummy worms, pumpkins, and little bags of chips. Arrange them in little piles. It’s a sugar bomb, but it’s also incredibly fun. I did this for a kids’ party once, and they lost their minds.
The “Savory & Sweet” Board: This is my personal favorite. Keep the meats and cheeses, but add a few sweet elements. A pile of dark chocolate squares. A handful of dried cranberries. A small bowl of honey or caramel sauce for drizzling over the brie. The combination of salty and sweet is irresistible. I once added a few slices of apple, and it was a huge hit.
The “Dinner” Board: If you want to turn this into a full meal, add some heartier items. A small bowl of roasted chickpeas. Some crusty bread. A few hard-boiled eggs cut in half (they look like eyeballs, which is perfect). A pile of sliced bell peppers. It turns a snack into a meal without any extra cooking.
Serving & Storage Suggestions
This board is best served at room temperature, so take it out of the fridge about 15-20 minutes before you’re ready to eat. The cheese will be softer and more flavorful, and the meats will be less greasy. Arrange everything on the board and let it sit while you finish getting ready.
For drinks, I love pairing this with a crisp apple cider or a dark beer. For the kids, apple juice or sparkling water with a splash of cranberry juice looks like “blood” and is super festive. If you’re feeling really fancy, you can add a little dry ice to a bowl for a spooky smoke effect—just be careful not to touch it.
Leftovers? Honestly, there usually aren’t any. But if you do have some, store the meats, cheeses, and produce separately in airtight containers in the fridge. The crackers and pretzels will get soft if you leave them out, so put them in a ziplock bag. The board itself will last for about 2-3 days in the fridge, but the grapes might get a little wrinkly. The flavors actually meld together a bit overnight, so it’s still good the next day for lunch.
To reheat, don’t. Just let it come to room temperature again. The only thing you might want to warm up is the brie—pop it in the microwave for about 15 seconds if you want it gooey.
Nutritional Information & Benefits
I’m not a nutritionist, so take this with a grain of salt. But I’ve done a little research on the ingredients I use. This board is naturally high in protein from the meats and cheeses, which makes it surprisingly filling. The almonds are a great source of healthy fats and vitamin E. The grapes add a little bit of natural sweetness and antioxidants. And the pickles? They’re basically zero calories, so eat as many as you want.
That said, this is definitely a treat. The cheeses and cured meats are high in sodium and saturated fat, so it’s not something you want to eat every day. But for a Halloween party? It’s perfect. Plus, because it’s a grazing board, you tend to eat smaller portions than you would with a sit-down meal. You’re picking and choosing, which naturally limits how much you consume.
If you’re watching your intake, go heavy on the veggies and nuts, and light on the cheese and crackers. You can also use a low-fat cream cheese or Greek yogurt-based dip instead of the hummus. It’s all about balance, right?
Conclusion
Honestly, this board has become my Halloween secret weapon. It started as a total accident—a moment of panic that turned into something I actually look forward to making. It’s not fancy. It’s not complicated. But it’s the kind of thing that makes people stop, grab a plate, and actually talk to each other. And isn’t that what Halloween is about? The connection, the laughter, the shared moment over a plate of “monster teeth” and “spider eggs.”
I really hope you give this a try. Don’t worry about making it perfect. Use what you have. Get creative with the names. Let your kids help arrange the “worms.” It’s supposed to be fun, not stressful. And if you come up with a new creepy creation—like “zombie fingers” or “witch’s warts”—I’d love to hear about it. Drop a comment below or tag me in your photos. I’m always looking for new ideas to steal.
Happy Halloween, my friend. Go make something deliciously spooky.
Frequently Asked Questions
Can I make this board ahead of time?
Yes! You can prep all the ingredients the night before. Slice the cheese, wash the grapes, and store everything in separate containers in the fridge. On the day of, just arrange it on the board. It takes about five minutes.
What if I don’t have a big wooden board?
No problem at all. Use a large baking sheet, a rimmed platter, or even a clean cutting board. You can also use a large plate or a lazy Susan. The key is having enough flat surface to spread things out.
How do I keep the crackers from getting soggy?
Keep the crackers in a separate pile away from the wet ingredients like pickles and dip. You can also put them in a small bowl on the side. If you’re making the board ahead of time, add the crackers right before serving.
What are the best cheeses for a Halloween board?
Anything that looks a little spooky works. White cheddar looks like tombstones. Brie looks like a brain. Smoked gouda has a great orange color. Blue cheese with its veins looks like something from a horror movie. Use what you like!
Can I make this for a non-Halloween party?
Absolutely. Just skip the spooky names and the themed arrangement. Use the same ingredients and arrange them in a more traditional way. It’s a great snack board for any gathering—game day, movie night, or just a Tuesday.
Pin This Recipe!
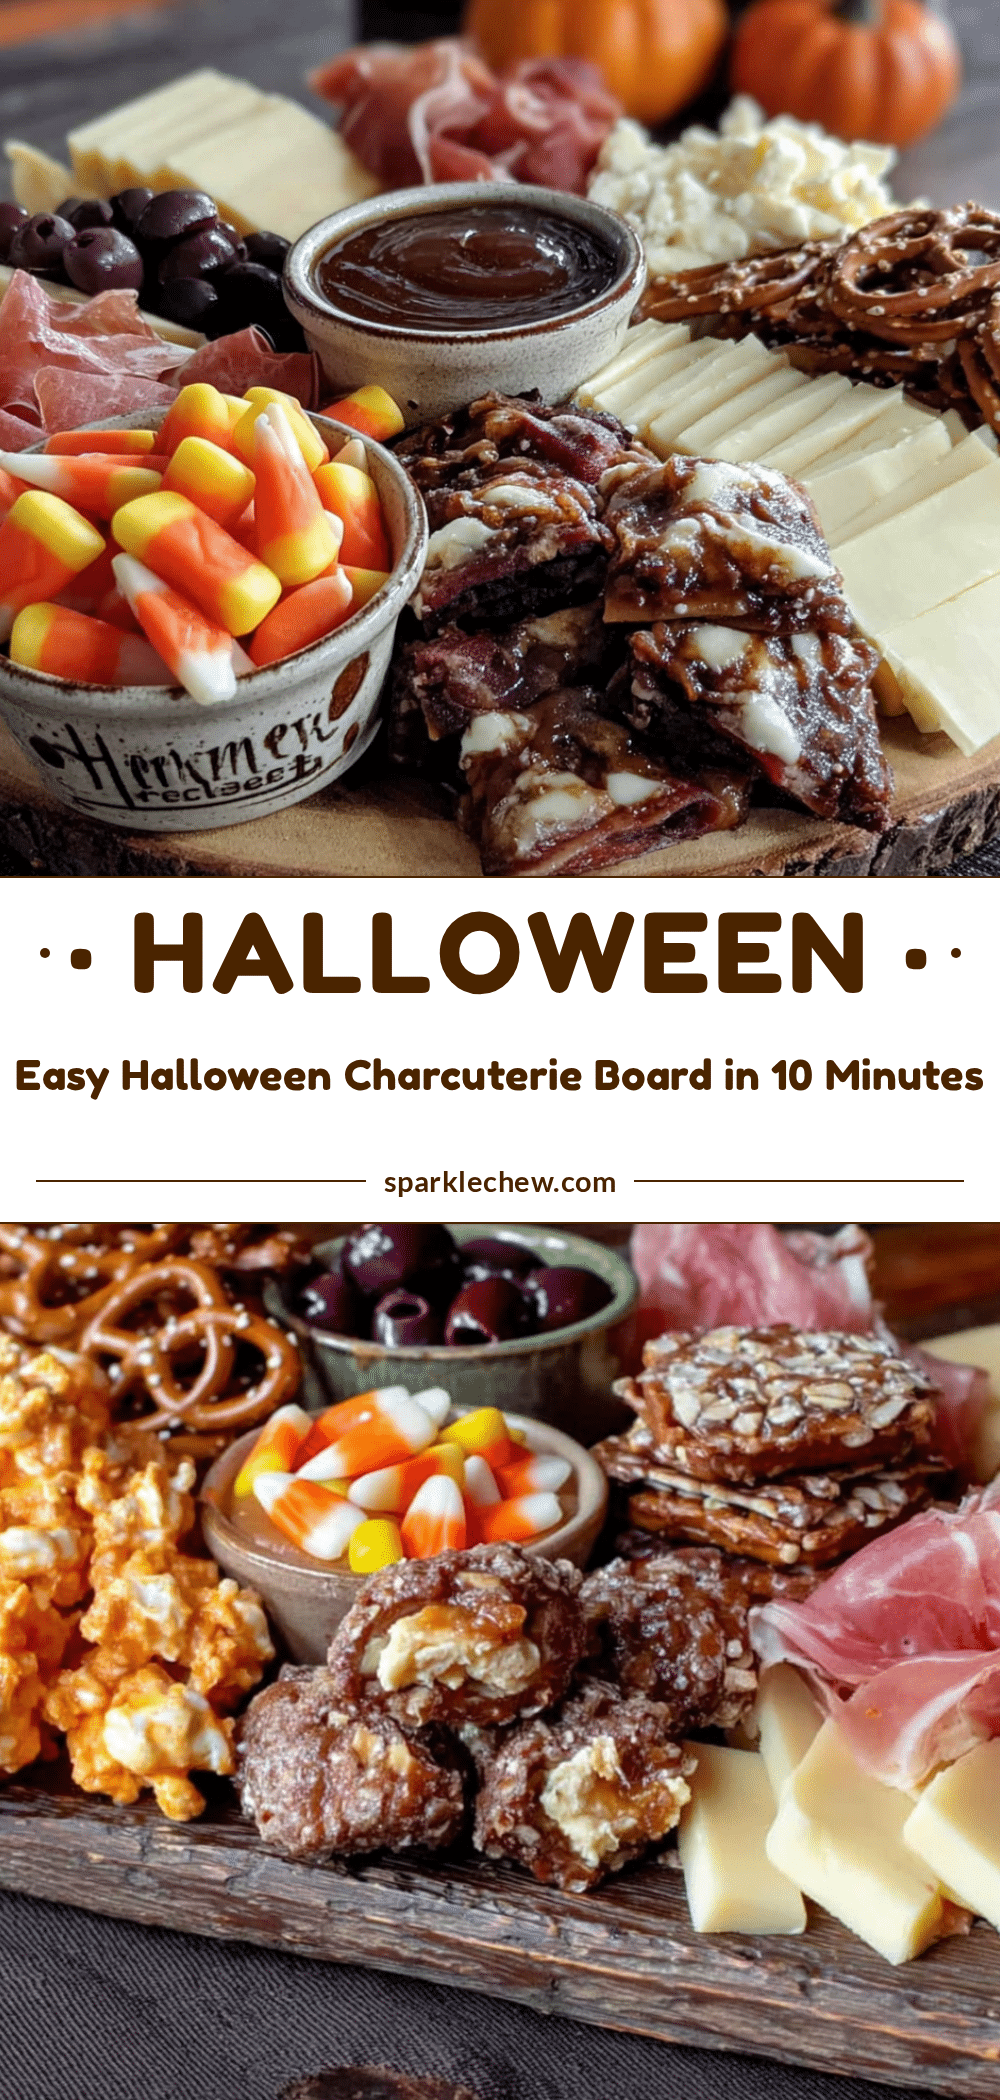
Easy 10-Minute Halloween Charcuterie Board
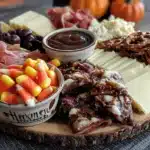
A quick and festive Halloween charcuterie board that comes together in just 10 minutes. Featuring spooky-themed ingredients like ‘monster teeth’ almonds and ‘spider egg’ olives, it’s perfect for last-minute parties and crowd-pleasing fun.
- Prep Time: 10 minutes
- Cook Time: 0 minutes
- Total Time: 10 minutes
- Yield: 8 servings 1x
- Category: Appetizer
- Cuisine: American
Ingredients
- 4–6 ounces prosciutto, thinly sliced
- 4–6 ounces salami (Genoa), sliced
- Small handful pepperoni
- 4 ounces sharp white cheddar cheese, cubed
- 4 ounces Gouda or smoked cheese, sliced or cubed
- 1 small wheel Brie or Camembert (optional)
- 1 cup red and green grapes, in small clusters
- 1/2 cup pitted black olives
- 1/2 cup pickles or cornichons
- Small handful baby carrots or pepper strips, sliced into thin strips
- 1 cup pretzel sticks (extra-thick recommended)
- 1/2 cup whole almonds or other nuts
- 1 cup crackers (water crackers or Ritz)
- 1/2 cup hummus or spinach dip
- 1/4 cup red pepper jelly or marinara sauce
Instructions
- Gather your ingredients: Pull everything out of the fridge. Open packages. Slice cheese into cubes or triangles. Rinse grapes. Drain olives. Get small bowls ready. (2 minutes)
- Place your small bowls first: Put dip bowls on the board—one in the center and one off to the side. Fill with hummus, jelly, or other dips. (1 minute)
- Add your anchor items—cheese and meats: Place cheese cubes in clusters around the board. Put brie wheel in one corner. Drape prosciutto in little piles. Fold salami slices into quarters and place in another spot. (3 minutes)
- Fill in with the spooky produce: Add grapes, olives, and pickles, tucking them into gaps between cheese and meat. Scatter them around for easy grabbing. Make a pile of black olives to look like a spider nest. (2 minutes)
- Add the crunch: Sprinkle pretzel sticks and almonds around the board. Arrange pretzel sticks in a bundle like bones. Scatter almonds like fallen teeth. Add crackers in small stacks. (1 minute)
- Create your Halloween scenes: Use pepper strips to make ‘worms’ crawling out of dip bowl. Arrange grape clusters to look like ‘eyeballs.’ Stick pretzel sticks into cheese to look like broken bones. (1 minute)
- Final check and serve: Step back and look at the board. Fill any empty spots with nuts or crackers. Ensure dips are accessible. Serve immediately. (0 minutes)
Notes
Don’t overthink the arrangement—embrace a chaotic, spooky look. Prep ingredients the night before to save time. Keep the board cold until serving, then let it sit at room temperature for 15-20 minutes. For a ‘wow’ factor, use a small cookie cutter to cut cheese into bat shapes or carve a face into a bell pepper. Store leftovers separately: meats, cheeses, and produce in airtight containers in the fridge; crackers and pretzels in a ziplock bag. The board lasts 2-3 days in the fridge.
Nutrition
- Serving Size: 1 serving (about 1/8
- Calories: 350
- Sugar: 8
- Sodium: 800
- Fat: 22
- Saturated Fat: 10
- Carbohydrates: 18
- Fiber: 3
- Protein: 18
Keywords: Halloween charcuterie board, easy Halloween appetizer, spooky snack board, 10-minute recipe, party platter, Halloween party food