Love this? Save it for later!
Share the inspiration with your friends
My neighbor Sarah wasn’t trying to impress anyone. I’d stopped by to borrow a ladder—mine had mysteriously vanished after the last garage sale—and this sweet, buttery smell hit me before I even made it past her front door. She was standing in her kitchen, casually pressing something into a pan with absolutely no fanfare. “Oh, just some rice krispie treats,” she said when I asked, like she was talking about toast or something equally unremarkable. But the thing is, they weren’t just any rice krispie treats. They had these gorgeous layers of orange, yellow, and white, like she’d captured the essence of autumn in a 9×13 pan. I stood there, ladder completely forgotten, watching her work. She wasn’t measuring anything precisely—just eyeballing it, tossing in marshmallows with the confidence of someone who’d made this a hundred times. “My kids call them candy corn treats,” she shrugged. “They’re nothing special.” But honestly? I knew right then I’d be making these Easy Candy Corn Rice Krispie Treats for every fall gathering from that moment on. Maybe you’ve been there—you stumble into someone’s kitchen during a completely ordinary Tuesday, and suddenly you’re witnessing pure magic disguised as a simple dessert. That was my moment. And now, every time I make these, I think about Sarah and her ladder and that perfect, unassuming afternoon.
Why You’ll Love This Recipe
Let me tell you why these Easy Candy Corn Rice Krispie Treats have become my absolute go-to for fall baking. I’ve tested this recipe at least seven times (bless my coworkers who had to endure all those trays), and I’ve ironed out every little hiccup so you don’t have to.
- Quick & Easy: You’re looking at about 15 minutes of active work, maybe 20 if you’re slow like me. Perfect for those evenings when you remember at 8 PM that you need something for tomorrow’s school bake sale.
- Simple Ingredients: Marshmallows, butter, rice krispie cereal, and food coloring. That’s it. No hunting down specialty stores or spending a fortune on fancy extracts.
- Perfect for Fall Gatherings: These are absolute stars at Halloween parties, Thanksgiving potlucks, or just cozy movie nights when you want something festive without the fuss.
- Crowd-Pleaser: I’ve watched grown adults argue over the last piece. Kids love the candy corn colors, and adults love the nostalgic taste.
- Unbelievably Delicious: The texture is this perfect marriage of crispy and chewy, with that classic marshmallow-butter richness that just hits different in the fall.
What sets this recipe apart is the layering technique. Instead of mixing everything together in one boring batch, you create distinct colored layers that mimic candy corn. It’s a small touch that makes a huge visual impact. And honestly, it’s the kind of dessert that makes you close your eyes after the first bite—pure comfort, pure nostalgia, pure joy.
What Ingredients You Will Need
This recipe uses simple, everyday ingredients to create something that looks way more impressive than it actually is. Here’s what you’ll need to gather:
For the Base Mixture
- 6 tablespoons unsalted butter (I use Land O’Lakes—it gives the best flavor, honestly)
- 1 package (10 oz) regular marshmallows (or 4 cups mini marshmallows—either works fine)
- 6 cups Rice Krispies cereal (or any crispy rice cereal—store brands work perfectly fine)
- 1/2 teaspoon vanilla extract (pure vanilla, not imitation—trust me on this)
- Orange gel food coloring (I prefer gel over liquid because it doesn’t make the marshmallow mixture too wet)
- Yellow gel food coloring
For the Candy Corn Topping (Optional but Recommended)
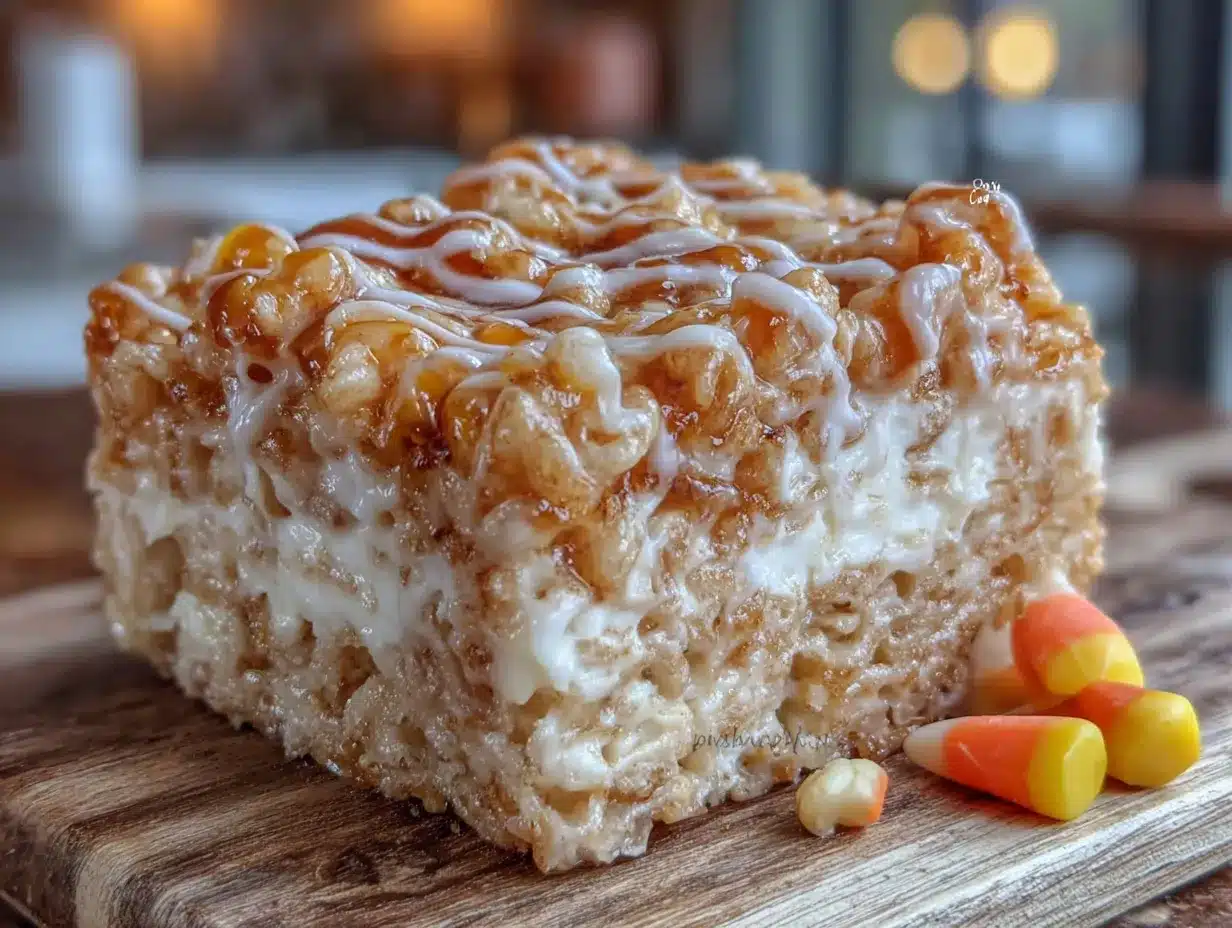
- 1/2 cup candy corn (for pressing on top—Bracha’s is my go-to brand)
- 1/4 cup white chocolate chips (melted, for drizzling—adds that extra “wow” factor)
Now, a quick note about the butter. I’ve tried this with salted butter and it works, but you’ll want to skip any extra salt if you go that route. The unsalted lets you control the saltiness better. And for the marshmallows—fresh ones matter here. Stale marshmallows don’t melt as smoothly and can leave you with a lumpy mess. I learned that the hard way during a particularly disastrous batch last October.
If you’re looking to make these gluten-free, just double-check your rice krispie cereal brand. Most are naturally gluten-free, but some store brands might have cross-contamination issues. Also, feel free to swap the candy corn topping for chopped nuts or sprinkles if candy corn isn’t your thing. No judgment here!
Equipment Needed
You don’t need a fancy kitchen to pull these off. Here’s what you’ll actually use:
- Large pot or Dutch oven (you need room to stir everything without making a mess)
- 9×13 inch baking pan (glass or metal—both work, but glass lets you see the layers better)
- Parchment paper (non-negotiable—trust me, you don’t want to scrape these off the pan)
- Rubber spatula (the silicone ones are lifesavers for this)
- Measuring cups and spoons
- Small bowls (for dividing the marshmallow mixture)
- Butter knife or offset spatula (for spreading)
I’ve made these with cheap dollar store pans and they turned out fine. But if you’re using a nonstick pan, be extra careful with the parchment paper—it can slide around. A little butter smeared on the pan before laying down the parchment helps keep it in place. Also, if you don’t have a 9×13, an 8×8 will work for thicker treats—just adjust your layering accordingly.
Preparation Method
Alright, let’s get to the fun part. I’ve broken this down so even a beginner can nail it on the first try.
- Prep your pan: Line your 9×13 baking pan with parchment paper, leaving some overhang on the sides. This makes lifting the treats out later a breeze. Lightly grease the parchment with butter or cooking spray.
- Melt the butter: In your large pot, melt the 6 tablespoons of butter over medium-low heat. Don’t rush this—if the butter burns, you’ll taste it in the final treat. I usually give it about 3-4 minutes, stirring occasionally, until it’s completely melted and just starting to bubble.
- Add the marshmallows: Pour in the entire bag of marshmallows. Stir constantly with your rubber spatula until they’re completely melted and smooth. This takes about 5-7 minutes. The mixture should be glossy and thick. Remove from heat immediately once smooth.
- Add vanilla: Stir in the 1/2 teaspoon of vanilla extract. This is where the kitchen starts smelling amazing.
- Divide the mixture: This is the tricky part, but you’ve got this. Divide the marshmallow mixture evenly into three separate bowls. You’ll have about 1 cup of mixture in each bowl.
- Color the layers:
- To the first bowl, add orange gel food coloring. Start with a tiny drop—you can always add more. Stir until the color is even and vibrant.
- To the second bowl, add yellow gel food coloring. Same deal—start small and build up.
- Leave the third bowl white. This will be your top layer.
- Add cereal to each bowl: Divide your 6 cups of Rice Krispies evenly among the three bowls (2 cups per bowl). Stir each one gently until the cereal is well-coated. Work quickly—the mixture sets fast.
- Layer in the pan:
- Start with the orange mixture. Press it evenly into the bottom of your prepared pan. Use a butter knife or your hands (lightly greased) to spread it out.
- Next, add the yellow mixture on top of the orange. Gently press it down to create an even layer.
- Finally, add the white mixture as the top layer. Press gently to compact everything.
- Add toppings: If you’re using candy corn, press a few pieces gently into the top white layer while it’s still warm. Drizzle melted white chocolate over the top if you’re feeling fancy.
- Let them set: Allow the treats to cool completely at room temperature—about 1 hour. Don’t rush this by putting them in the fridge; they can get too hard. Once set, lift them out using the parchment overhang and cut into squares with a sharp knife.
One thing I’ve learned the hard way: if the mixture starts getting too stiff while you’re layering, pop the bowl in the microwave for 10 seconds to soften it up. Works like a charm.
Cooking Tips & Techniques
After making these Easy Candy Corn Rice Krispie Treats more times than I care to admit, I’ve picked up a few tricks that make a real difference.
Don’t over-stir the cereal. I know it’s tempting to keep mixing until everything looks perfect, but over-stirring crushes the cereal and gives you dense, sad treats. Fold gently, just until the cereal is coated.
Grease your hands. When pressing the mixture into the pan, lightly butter your hands or spray them with cooking spray. The marshmallow mixture is sticky as heck, and this saves you from a frustrating mess. I learned this after a particularly sticky incident that involved a lot of swearing and a sink full of warm water.
Work fast but stay calm. The marshmallow mixture sets quickly, especially if your kitchen is cool. Have everything prepped and ready before you start melting. I once had to microwave my entire batch back to life because I got distracted by a phone call. It worked, but the texture wasn’t quite the same.
Use a sharp knife for cutting. A dull knife will squish your beautiful layers. Run the knife under hot water, wipe it dry, then slice. Clean the blade between cuts for the cleanest edges.
Store them properly. These treats stay fresh for about 3 days at room temperature in an airtight container. But honestly? They rarely last that long in my house. The texture is best on day one, but day two treats are still pretty fantastic.
Variations & Adaptations
One of the best things about this recipe is how flexible it is. Here are some variations I’ve tried and loved:
Chocolate Lover’s Version: Melt 1/2 cup of chocolate chips with the butter and marshmallows. Use the same layering technique, but now you’ve got chocolate-infused treats with the candy corn colors peeking through. My nephew declared this “the best thing I’ve ever eaten” last Thanksgiving.
Peanut Butter Twist: Add 1/4 cup of creamy peanut butter to the marshmallow mixture after it’s melted. The peanut butter adds a savory depth that balances the sweetness beautifully. Just make sure to stir it in completely before dividing into bowls.
Vegan-Friendly Option: Use vegan marshmallows (Dandies brand works great) and plant-based butter. The texture is slightly different—a bit chewier—but still delicious. I made these for a friend’s vegan Halloween party and they disappeared within minutes.
Spiced Autumn Version: Add 1/2 teaspoon of pumpkin pie spice to the marshmallow mixture. The cinnamon, nutmeg, and ginger notes make these taste like fall in every bite. I usually add the spice right after the vanilla.
No-Food-Coloring Version: If you’re avoiding artificial colors, use natural food coloring alternatives. Beet powder gives a lovely pinkish-orange, and turmeric creates a beautiful yellow. The colors won’t be as vibrant, but they’ll still look festive.
Serving & Storage Suggestions
These treats are best served at room temperature. I like to cut them into squares and arrange them on a platter, maybe with a few extra candy corn scattered around for visual appeal. They’re perfect for Halloween parties, Thanksgiving dessert tables, or even just a cozy afternoon snack with a cup of hot apple cider.
For storage, place them in an airtight container at room temperature. They’ll stay fresh for up to 3 days, though the texture starts to soften after the first day. If you live in a humid area (I’m looking at you, Florida), they might get sticky faster—just something to keep in mind.
You can also freeze these treats! Wrap them individually in plastic wrap, then place them in a freezer-safe bag. They’ll keep for up to 2 months. To thaw, just leave them at room temperature for about 30 minutes. The texture won’t be quite as crisp as fresh, but they’re still pretty darn good.
One thing I’ve noticed: the flavors actually meld together beautifully after a day. The marshmallow gets a little softer, the cereal absorbs just a touch of moisture, and everything becomes this perfectly cohesive bite. So if you can resist eating them all immediately, they’re even better on day two.
Nutritional Information & Benefits
Let’s be real—these are a treat, not a health food. But here’s the breakdown if you’re curious:
| Nutrient | Per Serving (1 square) |
|---|---|
| Calories | 185 |
| Total Fat | 7g |
| Saturated Fat | 4g |
| Carbohydrates | 30g |
| Sugar | 18g |
| Protein | 2g |
| Sodium | 95mg |
That said, there are some small bright spots. The butter provides a little vitamin A, and the cereal is fortified with iron and B vitamins. But honestly? This is a dessert meant for enjoyment, not nutrition. I make these when I want something fun and festive, and I don’t stress about the numbers.
If you have dietary concerns, note that this recipe contains dairy (butter) and gluten (cereal). For a dairy-free version, use plant-based butter. For gluten-free, check your cereal label. Also, candy corn is typically free of common allergens, but always check the package if you’re serving someone with severe allergies.
Conclusion
These Easy Candy Corn Rice Krispie Treats have become a fall tradition in my house, and I hope they become one in yours too. They’re simple enough for a weeknight, impressive enough for a party, and delicious enough to make everyone ask for the recipe. Honestly, that’s the best compliment a home cook can get.
I love how these treats capture the spirit of autumn without all the complicated baking that usually comes with it. No pie crusts to roll, no cookies to chill, no stress. Just pure, buttery, marshmallowy goodness that looks like you spent hours on it. And between us? You didn’t. That’s our little secret.
I’d love to hear how yours turn out! Drop a comment below and let me know if you tried any variations, if your kids helped you make them, or if you ate the entire pan in one sitting (no judgment here—I’ve been there). Don’t forget to share your photos on social media and tag me—I love seeing your creations. Happy fall baking, friends!
Frequently Asked Questions
Can I use mini marshmallows instead of regular ones?
Absolutely! Mini marshmallows actually melt faster and more evenly, which can be a plus. Just use 4 cups of mini marshmallows instead of the 10 oz bag of regular ones. The end result is the same.
Why did my treats turn out hard instead of chewy?
This usually happens when the marshmallow mixture is overcooked or when too much heat is applied. Keep the heat on medium-low and remove the pot from the stove as soon as the marshmallows are melted. Also, make sure you’re pressing the mixture gently into the pan—packing it too tightly can make it dense and hard.
Can I make these ahead of time for a party?
Yes! You can make them up to 2 days in advance. Store them in an airtight container at room temperature. If you’re making them more than 2 days ahead, freeze them instead. Just wrap them tightly and thaw at room temperature before serving.
How do I get clean, even layers?
The key is working quickly and pressing each layer gently but evenly. Use a butter knife or offset spatula to spread the mixture to the edges. If the mixture starts getting too stiff, microwave it for 10 seconds to soften it up. Also, make sure your pan is level so the layers stay even.
Can I use natural food coloring instead of gel?
You can, but natural food coloring tends to be less vibrant and can change the texture of the marshmallow mixture slightly. Gel food coloring gives you those bright, beautiful candy corn colors without adding extra liquid. If you use liquid food coloring, add it drop by drop and expect the colors to be a bit more muted.
Pin This Recipe!
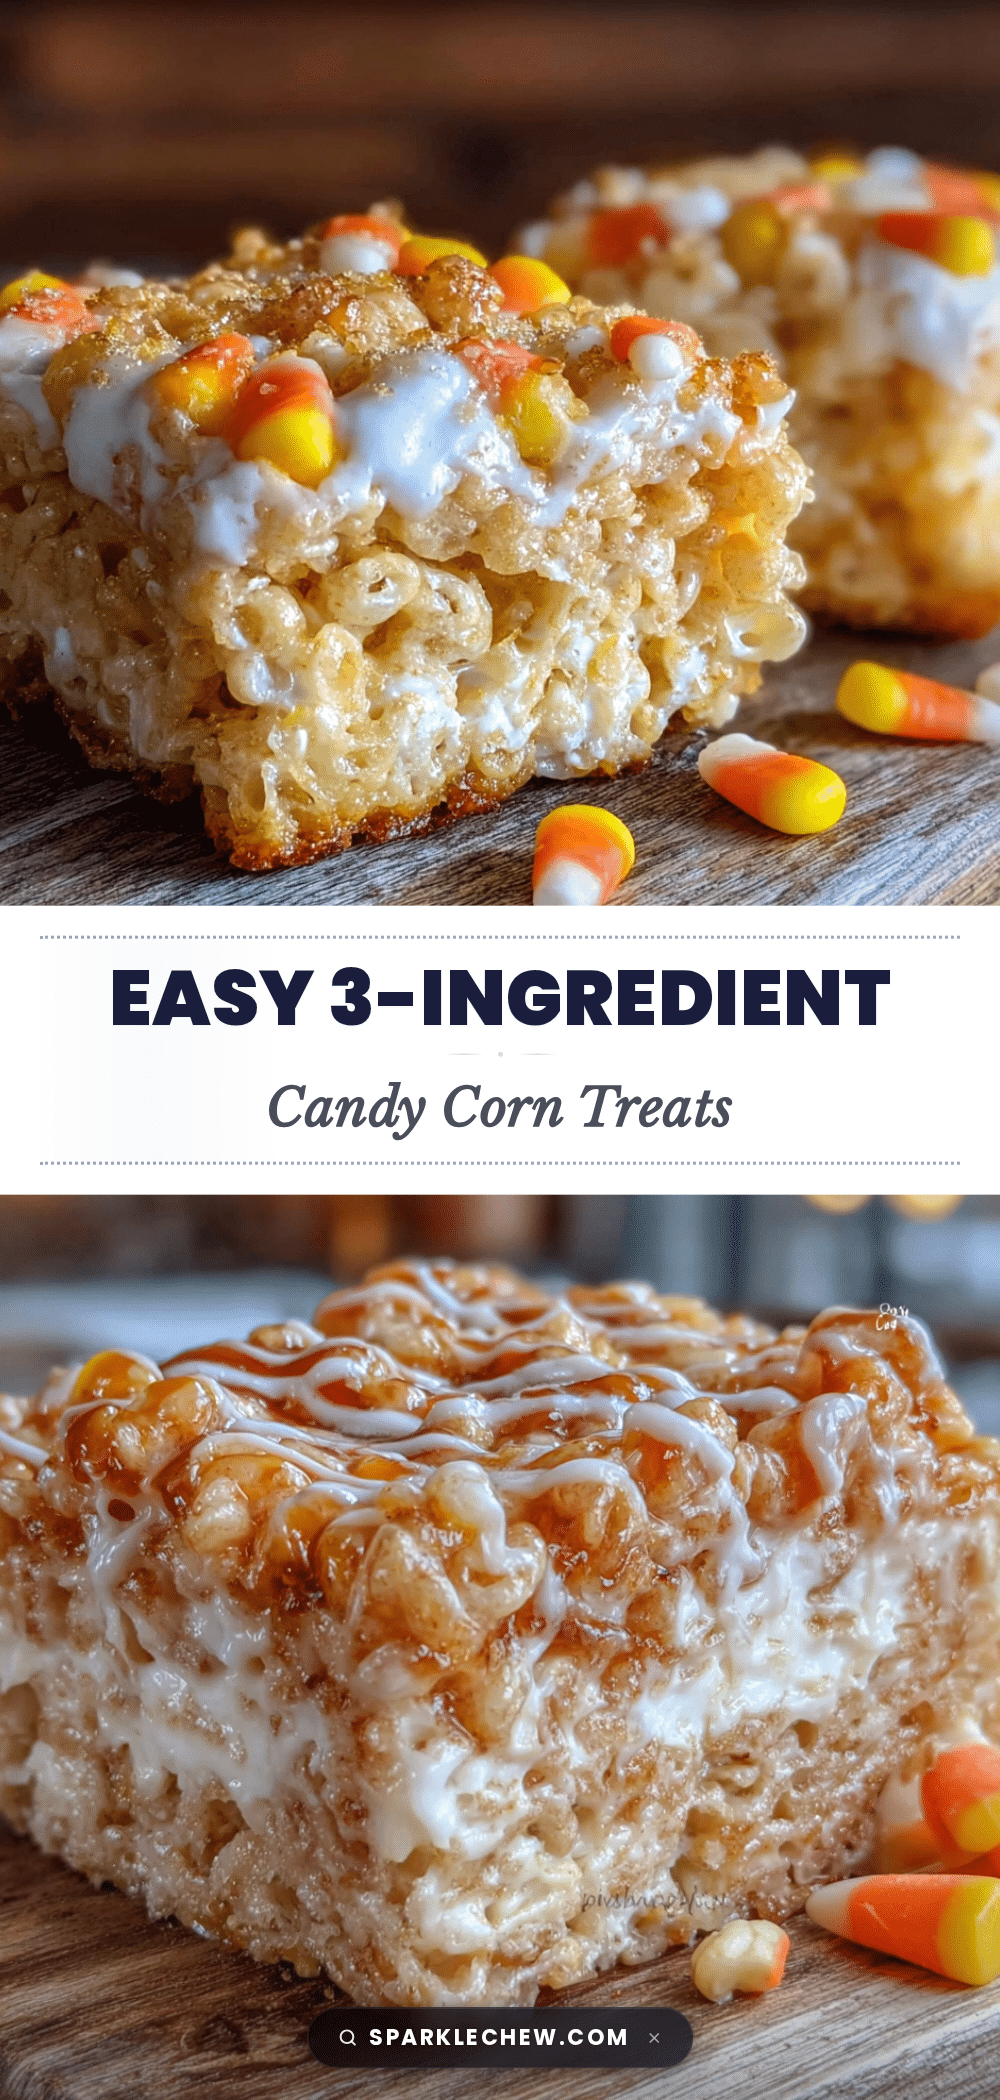
Easy Candy Corn Rice Krispie Treats: The Best Fall Dessert

These Easy Candy Corn Rice Krispie Treats are a quick and simple fall dessert with vibrant orange, yellow, and white layers that mimic candy corn. Perfect for Halloween parties, Thanksgiving potlucks, or cozy movie nights, they’re a crowd-pleaser that comes together in about 15 minutes of active work.
- Prep Time: 15 minutes
- Cook Time: 10 minutes
- Total Time: 25 minutes
- Yield: 12 servings 1x
- Category: Dessert
- Cuisine: American
Ingredients
- 6 tablespoons unsalted butter
- 1 package (10 oz) regular marshmallows (or 4 cups mini marshmallows)
- 6 cups Rice Krispies cereal (or any crispy rice cereal)
- 1/2 teaspoon vanilla extract (pure vanilla recommended)
- Orange gel food coloring
- Yellow gel food coloring
- 1/2 cup candy corn (optional, for topping)
- 1/4 cup white chocolate chips (optional, melted for drizzling)
Instructions
- Prep your pan: Line a 9×13 inch baking pan with parchment paper, leaving some overhang on the sides. Lightly grease the parchment with butter or cooking spray.
- Melt the butter: In a large pot, melt 6 tablespoons of unsalted butter over medium-low heat, stirring occasionally, until completely melted and just starting to bubble (about 3-4 minutes).
- Add the marshmallows: Pour in the entire bag of marshmallows. Stir constantly with a rubber spatula until completely melted and smooth (about 5-7 minutes). Remove from heat immediately.
- Add vanilla: Stir in 1/2 teaspoon of vanilla extract.
- Divide the mixture: Divide the marshmallow mixture evenly into three separate bowls (about 1 cup each).
- Color the layers: To the first bowl, add orange gel food coloring; to the second bowl, add yellow gel food coloring; leave the third bowl white. Stir each until evenly colored.
- Add cereal to each bowl: Divide 6 cups of Rice Krispies evenly among the three bowls (2 cups per bowl). Stir each gently until the cereal is well-coated.
- Layer in the pan: Start with the orange mixture, pressing it evenly into the bottom of the prepared pan. Next, add the yellow mixture on top, pressing gently. Finally, add the white mixture as the top layer, pressing gently to compact.
- Add toppings: If using, press candy corn gently into the top white layer while still warm. Drizzle melted white chocolate over the top if desired.
- Let them set: Allow the treats to cool completely at room temperature (about 1 hour). Once set, lift out using the parchment overhang and cut into squares with a sharp knife.
Notes
Work quickly as the marshmallow mixture sets fast. If the mixture gets too stiff while layering, microwave the bowl for 10 seconds to soften. Grease your hands with butter or cooking spray when pressing the mixture into the pan to prevent sticking. For clean cuts, run a sharp knife under hot water, wipe dry, and slice; clean the blade between cuts. Store in an airtight container at room temperature for up to 3 days. Freeze for up to 2 months by wrapping individually in plastic wrap and placing in a freezer-safe bag.
Nutrition
- Serving Size: 1 square
- Calories: 185
- Sugar: 18
- Sodium: 95
- Fat: 7
- Saturated Fat: 4
- Carbohydrates: 30
- Protein: 2
Keywords: candy corn rice krispie treats, fall dessert, Halloween treats, easy rice krispie treats, layered rice krispie treats


