Love this? Save it for later!
Share the inspiration with your friends
I had claimed to hate pumpkin desserts for the better part of a decade. Not the savory stuff—give me pumpkin soup any day—but the sweet stuff? Hard pass. Too heavy, too spiced, too much like eating a candle. Then my neighbor Carol showed up at my door last November holding a foil-wrapped log on a platter, grinning like she’d just pulled off a heist. “Just try a slice,” she said. “For the blog.” I took a thin piece, mostly to be polite, and then I stood there in my own kitchen eating a second piece before she’d even walked back to her car. The filling was so light it practically floated, and the cake had this tender, springy texture that didn’t taste like fall had exploded in my mouth. I asked for the recipe on the spot. She laughed and said she’d been making it for thirty years. Honestly, the woman had kept this a secret from me for three years of neighborly small talk. I mean, that’s practically a betrayal. But I forgave her, because this Classic Pumpkin Roll with Cream Cheese Filling is the kind of thing that makes you rethink everything you thought you knew about pumpkin desserts. Maybe you’ve been there—dismissing a whole category of food only to have one perfect version prove you wrong. It’s humbling. And delicious.
This isn’t just another pumpkin roll recipe. It’s the one that finally shut my stubborn mouth. The cake is thin enough to roll without cracking, the filling is tangy and rich without being cloying, and the whole thing comes together in about an hour. I’ve made it four times since that day, and I keep finding excuses to bring it to things. Book club. Potlucks. Tuesday. It’s that good.
Why You’ll Love This Recipe
I’ve tested this recipe more times than I care to admit, and I can tell you with confidence that it solves every common pumpkin roll problem. No cracks. No soggy centers. No filling that squishes out the sides like a bad toothpaste commercial. Here’s what makes it stand out:
- Comes together in under an hour : From mixing bowl to serving plate in about 55 minutes. Perfect for last-minute holiday hosting or when you need a dessert that looks fancy without the fuss.
- Simple ingredients you already have : No trips to specialty stores. Canned pumpkin, pantry spices, cream cheese, and butter. That’s it.
- Perfect for Thanksgiving, Christmas, or any fall gathering : It travels well, slices beautifully, and looks stunning on a dessert table.
- Crowd-pleaser across all ages : Kids love the creamy filling. Adults appreciate that it’s not too sweet. Even my pumpkin-hating self was converted.
- Unbelievably tender texture : The secret is in the egg separation and the precise mixing method. The cake stays pliable enough to roll without cracking, and the filling stays thick enough to hold its shape.
What makes this recipe different from all the others? I spent three weekends testing variations—different flour ratios, different cream cheese brands, different rolling techniques. The version I’m sharing uses a specific folding method that incorporates the whipped egg whites gently enough to keep the cake airy but sturdy. And the filling? I use full-fat block cream cheese, not the spreadable kind, because the difference in texture is night and day. This isn’t just another pumpkin roll—it’s the one that made me eat my words, literally.
This recipe is the kind that makes you close your eyes after the first bite. It’s comfort food reimagined—familiar but somehow better than you remember. Perfect for impressing guests without stress, or turning a simple fall evening into something memorable.
What Ingredients You Will Need
This recipe uses simple, wholesome ingredients to deliver that classic pumpkin roll flavor and texture without any fuss. Most of these are pantry staples, especially if you bake during the fall season.
For the Pumpkin Cake
- 3 large eggs, separated (room temperature—this matters for volume)
- 3/4 cup (150g) granulated sugar
- 2/3 cup (160ml) canned pumpkin puree (not pumpkin pie filling—I prefer Libby’s for consistent moisture content)
- 3/4 cup (95g) all-purpose flour
- 1 teaspoon baking powder
- 1/2 teaspoon baking soda
- 1/2 teaspoon salt
- 1 teaspoon ground cinnamon
- 1/2 teaspoon ground ginger
- 1/4 teaspoon ground nutmeg
- 1/4 teaspoon ground cloves
- 1 teaspoon vanilla extract
For the Cream Cheese Filling
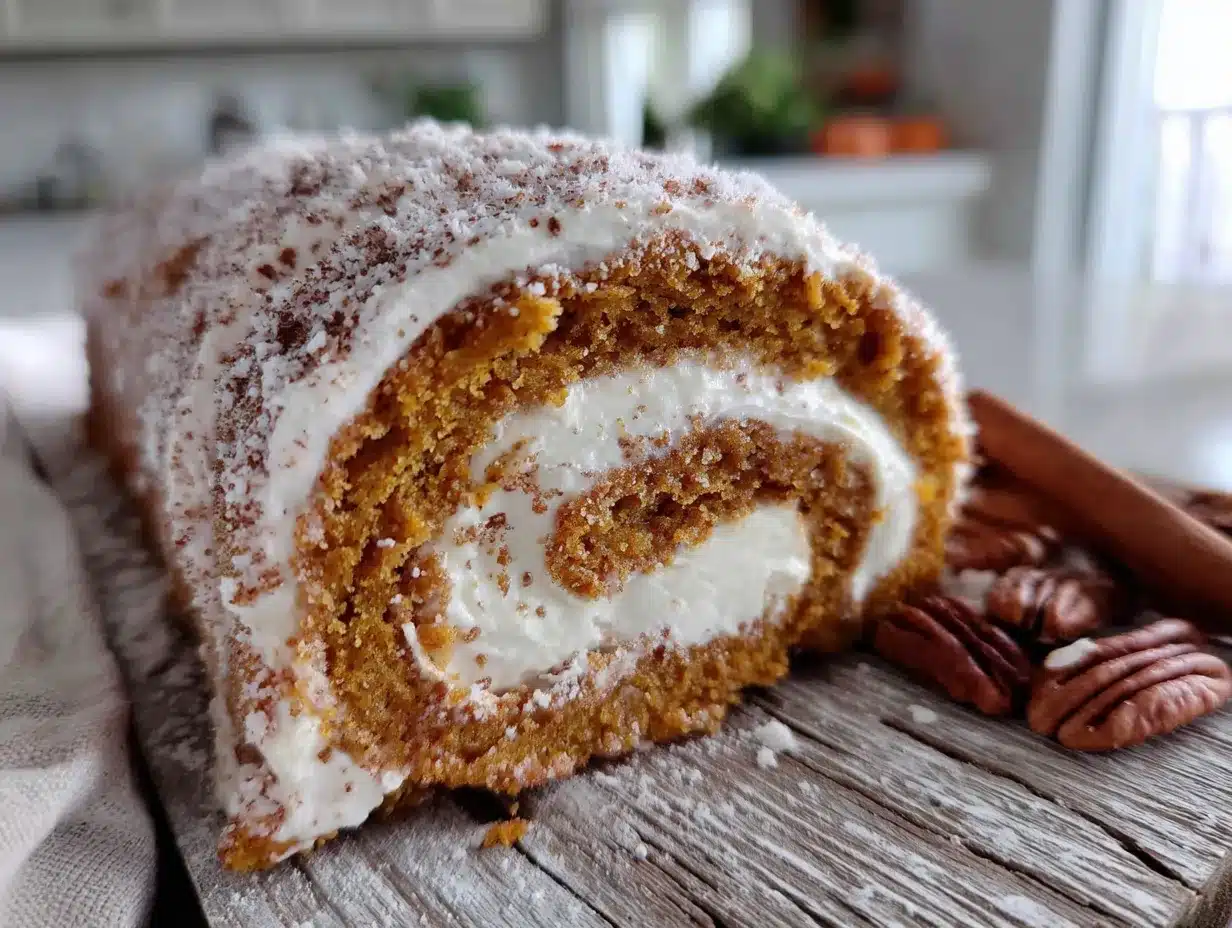
- 8 ounces (226g) full-fat block cream cheese, softened (use Philadelphia—the texture is unmatched)
- 1/4 cup (56g) unsalted butter, softened
- 1 cup (120g) powdered sugar, sifted (to avoid lumps)
- 1 teaspoon vanilla extract
For Dusting
- Powdered sugar, for rolling and garnish
I recommend using canned pumpkin puree rather than homemade for this recipe. Homemade puree tends to be more watery, which can make the cake too wet and prone to cracking. If you only have homemade, strain it through cheesecloth for an hour before using. Also, make sure your cream cheese is truly softened—not cold, not melted. Leave it on the counter for about an hour before you start. Trust me, cold cream cheese makes lumpy filling, and nobody wants lumpy filling in their pumpkin roll.
Equipment Needed
You don’t need anything fancy here, but a few specific tools make a big difference. Here’s what I use:
- 10×15-inch jelly roll pan (also called a half-sheet pan)—this is non-negotiable for the right cake thickness
- Parchment paper (not wax paper—it will stick)
- Electric mixer (stand mixer or hand mixer—you need to whip egg whites to stiff peaks)
- Clean kitchen towel (a thin cotton one works best, not terry cloth)
- Sifter or fine-mesh strainer for dusting powdered sugar
- Spatula for spreading the batter evenly
- Offset spatula (optional but helpful for spreading filling)
If you don’t have a jelly roll pan, you can use a 9×13-inch pan, but the cake will be thicker and harder to roll. I learned this the hard way—my first attempt looked like a geological disaster. A thin, even cake is key. Also, don’t skip the parchment paper. I once tried greasing the pan directly and spent twenty minutes scraping cake off the bottom. Not my finest moment.
Preparation Method
Take your time with this one. The actual work is quick, but each step matters. Here’s exactly how I do it.
- Preheat and prep. Preheat your oven to 375°F (190°C). Line your jelly roll pan with parchment paper, leaving a slight overhang on the long sides. Lightly spray the parchment with nonstick spray. This is insurance against sticking.
- Separate the eggs. Separate the eggs while they’re cold—it’s easier. Then let the whites and yolks come to room temperature for about 15 minutes. Room temperature egg whites whip to a much higher volume. I learned this from a baking class years ago, and it’s never failed me.
- Mix the dry ingredients. In a small bowl, whisk together the flour, baking powder, baking soda, salt, cinnamon, ginger, nutmeg, and cloves. Set aside.
- Beat the yolks and sugar. In a large bowl, beat the egg yolks with the granulated sugar until thick and pale, about 2-3 minutes. The mixture should fall in a ribbon from the beaters. Add the pumpkin puree and vanilla extract, and mix until combined.
- Add the dry ingredients. Gently fold the flour mixture into the pumpkin mixture until just combined. Do not overmix—a few streaks of flour are fine. Overmixing will make the cake tough.
- Whip the egg whites. In a clean, dry bowl (any grease will ruin the whites), whip the egg whites to stiff peaks. You should be able to turn the bowl upside down without anything falling out. This takes about 3-4 minutes with a hand mixer on medium-high speed.
- Fold in the whites. Gently fold about one-third of the whipped egg whites into the batter to lighten it. Then fold in the remaining whites using a gentle, sweeping motion. Stop when no white streaks remain. The batter will be airy and fluffy.
- Spread and bake. Pour the batter into the prepared pan and spread it evenly with a spatula. It will seem like a thin layer—that’s correct. Bake for 13-15 minutes, or until the cake springs back when lightly touched. The edges will just start to pull away from the pan.
- Prepare the rolling surface. While the cake bakes, lay a clean kitchen towel on your counter and dust it generously with powdered sugar. Sift the sugar to avoid clumps—nobody wants sugar clumps stuck to their cake.
- Roll while warm. As soon as the cake comes out of the oven, run a knife around the edges to loosen it. Invert the pan onto the powdered sugar-dusted towel. Peel off the parchment paper carefully. Starting at one short end, roll the cake up in the towel, rolling as tightly as you can without squishing. Let it cool completely, seam-side down, on a wire rack. This takes about 45 minutes to an hour. I usually make the filling while it cools.
- Make the filling. In a medium bowl, beat the softened cream cheese and butter together until smooth and creamy, about 2 minutes. Add the sifted powdered sugar and vanilla extract, and beat until combined. Do not overbeat—it will become too soft to spread.
- Unroll and fill. Once the cake is completely cool, carefully unroll it. It will want to curl back up—that’s fine. Spread the cream cheese filling evenly over the cake, leaving about a 1/2-inch border on all sides. I use an offset spatula for this, but a butter knife works too.
- Roll again. Re-roll the cake, this time without the towel. Roll as tightly as you can without squeezing the filling out the sides. Wrap the roll tightly in plastic wrap and refrigerate for at least 2 hours, or overnight. This helps the filling set and makes slicing much cleaner.
- Slice and serve. To serve, unwrap the roll, trim the ends for a clean look, and slice into 1-inch rounds. Dust with powdered sugar just before serving.
A note on timing: the cake must be rolled while it’s still warm. If you let it cool flat, it will crack when you try to roll it. I learned this the hard way with my first attempt—I got distracted by a phone call and came back to a flat, brittle cake that shattered like glass. Don’t be me.
Cooking Tips & Techniques
After making this recipe more times than I can count, I’ve collected a few tricks that make the process smoother. Here are the most important ones.
Don’t overbake the cake. This is the number one cause of cracking. The cake should be just set—not dry, not jiggly. Start checking at 12 minutes. The edges will be lightly browned and the center will spring back when touched. Overbaking by even two minutes can make the cake too stiff to roll.
Use a thin kitchen towel. Terry cloth towels leave texture marks on the cake. A thin cotton towel (like a flour sack towel) works perfectly. I actually use an old linen napkin that I dedicated to this purpose. Wash it between uses—residual sugar attracts ants, and that’s a whole other problem.
Dust generously. Don’t be shy with the powdered sugar on the towel. The sugar prevents the cake from sticking to the towel and also adds a subtle sweetness to the outside. I use about 2 tablespoons, sifted evenly.
Cool completely before filling. If the cake is even slightly warm, the cream cheese filling will melt and turn into a runny mess. I once rushed this step because guests were arriving in thirty minutes, and the filling oozed out like a deflated balloon. It still tasted good, but it looked like a crime scene.
Chill before slicing. The 2-hour chill time isn’t optional—it’s structural. The filling firms up and the cake absorbs a bit of moisture, making slices clean and neat. If you try to slice it right away, you’ll get a squished, messy result. Patience pays off here.
Variations & Adaptations
One of the best things about this recipe is how flexible it is. Here are some variations I’ve tried and loved.
Gluten-free version: Substitute the all-purpose flour with a 1:1 gluten-free baking flour blend. I’ve used Bob’s Red Mill with great results. The texture is slightly more delicate, so handle the cake gently when rolling.
Dairy-free version: Use dairy-free cream cheese (like Kite Hill or Violife) and vegan butter. The filling won’t be quite as firm, so chill it for at least 4 hours before slicing. I tested this for a friend with dairy allergies, and honestly, I couldn’t tell the difference.
Spice variations: Swap the cinnamon, ginger, nutmeg, and cloves for 2 teaspoons of pumpkin pie spice if that’s what you have. Or add a pinch of cardamom for a more aromatic flavor profile. I once added a teaspoon of orange zest to the batter, and it was divine—bright and festive.
Chocolate twist: Add 2 tablespoons of cocoa powder to the dry ingredients for a chocolate-pumpkin version. Reduce the flour by 1 tablespoon to compensate. The chocolate and pumpkin combo is surprisingly good—think Mexican hot chocolate but in cake form.
Nutty addition: Sprinkle 1/4 cup of finely chopped pecans over the filling before rolling. The crunch adds a lovely contrast to the creamy filling. Toast the pecans first for deeper flavor.
Serving & Storage Suggestions
This pumpkin roll is best served chilled, straight from the refrigerator. The filling is firm enough to hold its shape but soft enough to melt slightly on your tongue. Here’s how I like to serve it.
Place the roll on a long platter or cutting board. Dust with powdered sugar right before serving—if you do it too early, the sugar will dissolve into the cake. Slice into 1-inch rounds using a sharp, serrated knife. Wipe the knife clean between slices for the neatest cuts.
For a prettier presentation, add a dollop of whipped cream and a sprinkle of cinnamon on each slice. It’s also lovely with a side of vanilla ice cream or a drizzle of caramel sauce. I served this at a Friendsgiving last year with a side of warm apple cider, and people went back for thirds.
Storage: Wrap the pumpkin roll tightly in plastic wrap and store it in the refrigerator for up to 5 days. The flavors actually meld and improve after a day or two. I’ve made it two days ahead for Thanksgiving, and it was perfect.
Freezing: You can freeze the pumpkin roll for up to 3 months. Wrap it tightly in plastic wrap, then in aluminum foil. Thaw in the refrigerator overnight before serving. Do not thaw at room temperature—the filling will become too soft. I always keep one in the freezer for unexpected guests or when I need a last-minute dessert.
One thing to note: the powdered sugar dusting will disappear after a few hours in the fridge. If you’re serving over multiple days, dust each batch right before serving. I learned this after serving a sad, naked-looking roll to my book club. Lesson learned.
Nutritional Information & Benefits
Here’s the estimated nutritional breakdown for one slice (based on 10 slices per roll):
| Nutrient | Amount per slice |
|---|---|
| Calories | 285 |
| Total Fat | 14g |
| Saturated Fat | 8g |
| Cholesterol | 95mg |
| Sodium | 280mg |
| Total Carbohydrates | 36g |
| Dietary Fiber | 1g |
| Sugars | 26g |
| Protein | 5g |
Pumpkin is packed with vitamin A, which supports eye health and immune function. It’s also a good source of fiber and potassium. The cream cheese filling adds calcium and protein, making this a slightly more balanced dessert option. That said, this is still a treat—not a health food. I eat it because it makes me happy, and sometimes that’s enough.
This recipe contains gluten, dairy, and eggs. For allergen-friendly alternatives, check the variations section above.
Conclusion
This Classic Pumpkin Roll with Cream Cheese Filling is the dessert that changed my mind about pumpkin sweets. It’s tender, creamy, spiced just right, and somehow both elegant and homey at the same time. Whether you’re a lifelong pumpkin lover or a skeptic like I was, this recipe has a way of winning people over.
I love that it feels special without requiring hours of work. I love that I can make it ahead and still have it taste fresh. And I love that every time I bring it somewhere, someone asks for the recipe. That’s the highest compliment a baker can get, isn’t it?
I’d love to hear how yours turns out. Did you try any variations? Did you serve it at a holiday gathering? Drop a comment below and let me know—I read every single one. And if you snap a photo, tag me on Pinterest so I can see your beautiful creation. Happy baking, friends!
Frequently Asked Questions
Why did my pumpkin roll crack when I rolled it?
Cracking usually happens for one of two reasons: the cake was overbaked, or it cooled too much before rolling. Make sure you roll the cake while it’s still warm, right out of the oven. Also, check your oven temperature—an oven that runs hot can dry out the cake quickly.
Can I use fresh pumpkin instead of canned?
You can, but you’ll need to strain the fresh puree thoroughly. Fresh pumpkin contains more water than canned, which can make the cake soggy and prone to cracking. Spread the puree on a paper towel-lined plate for 15 minutes to absorb excess moisture before using.
How do I get clean slices without squishing the roll?
Use a sharp serrated knife and wipe it clean between each slice. Chill the roll for at least 2 hours before slicing—the filling needs to be firm. If your slices are still messy, try refrigerating the roll overnight. The difference is remarkable.
Can I make this recipe ahead of time?
Absolutely. You can make the pumpkin roll up to two days ahead and store it wrapped in the refrigerator. The flavors actually improve after a day. You can also freeze it for up to three months—just thaw overnight in the fridge before serving.
My filling turned out runny. What went wrong?
Runny filling usually means the cream cheese or butter was too warm. Make sure both are softened but not melted. Also, use block cream cheese, not the spreadable kind in a tub. Spreadable cream cheese has added water and stabilizers that prevent it from firming up properly.
Pin This Recipe!
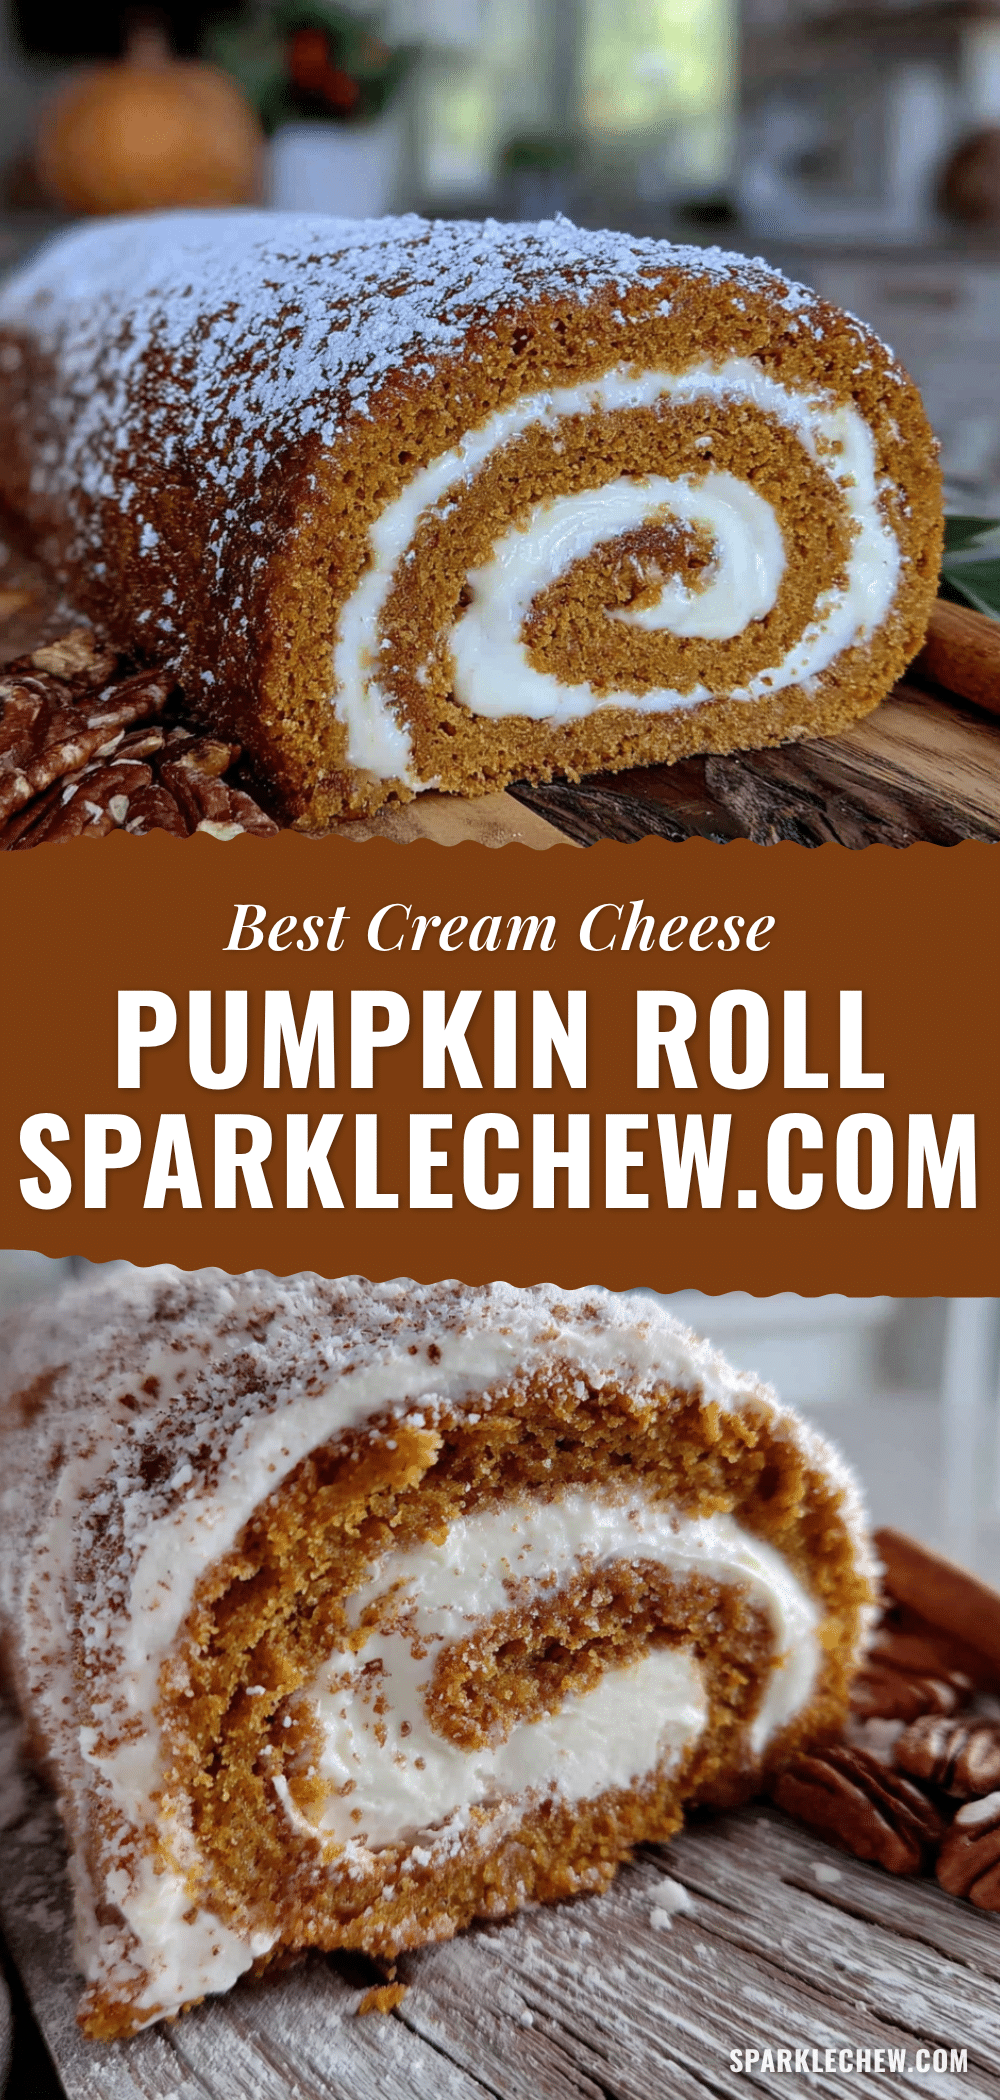
Easy Classic Pumpkin Roll with Cream Cheese Filling
This Classic Pumpkin Roll with Cream Cheese Filling is tender, creamy, and spiced just right. It’s the dessert that will change your mind about pumpkin sweets, coming together in about an hour with simple ingredients.
- Prep Time: 20 minutes
- Cook Time: 15 minutes
- Total Time: 55 minutes (plus 2 hours chilling)
- Yield: 10 servings 1x
- Category: Dessert
- Cuisine: American
Ingredients
- 3 large eggs, separated (room temperature)
- 3/4 cup (150g) granulated sugar
- 2/3 cup (160ml) canned pumpkin puree (not pumpkin pie filling)
- 3/4 cup (95g) all-purpose flour
- 1 teaspoon baking powder
- 1/2 teaspoon baking soda
- 1/2 teaspoon salt
- 1 teaspoon ground cinnamon
- 1/2 teaspoon ground ginger
- 1/4 teaspoon ground nutmeg
- 1/4 teaspoon ground cloves
- 1 teaspoon vanilla extract
- 8 ounces (226g) full-fat block cream cheese, softened
- 1/4 cup (56g) unsalted butter, softened
- 1 cup (120g) powdered sugar, sifted
- 1 teaspoon vanilla extract
- Powdered sugar, for rolling and garnish
Instructions
- Preheat oven to 375°F (190°C). Line a 10×15-inch jelly roll pan with parchment paper, leaving overhang on long sides. Lightly spray parchment with nonstick spray.
- Separate eggs while cold, then let whites and yolks come to room temperature for about 15 minutes.
- In a small bowl, whisk together flour, baking powder, baking soda, salt, cinnamon, ginger, nutmeg, and cloves. Set aside.
- In a large bowl, beat egg yolks with granulated sugar until thick and pale, about 2-3 minutes. Add pumpkin puree and vanilla extract; mix until combined.
- Gently fold flour mixture into pumpkin mixture until just combined. Do not overmix.
- In a clean, dry bowl, whip egg whites to stiff peaks (about 3-4 minutes with a hand mixer on medium-high).
- Gently fold about one-third of the whipped egg whites into the batter to lighten, then fold in remaining whites until no white streaks remain.
- Pour batter into prepared pan and spread evenly. Bake for 13-15 minutes, until cake springs back when lightly touched.
- While cake bakes, lay a clean kitchen towel on counter and dust generously with sifted powdered sugar.
- As soon as cake comes out of oven, run a knife around edges to loosen. Invert pan onto the powdered sugar-dusted towel. Peel off parchment paper carefully.
- Starting at one short end, roll cake up in the towel as tightly as possible without squishing. Let cool completely, seam-side down, on a wire rack (about 45 minutes to 1 hour).
- For filling: In a medium bowl, beat softened cream cheese and butter until smooth and creamy, about 2 minutes. Add sifted powdered sugar and vanilla extract; beat until combined. Do not overbeat.
- Once cake is completely cool, carefully unroll it. Spread cream cheese filling evenly over cake, leaving about a 1/2-inch border on all sides.
- Re-roll cake without the towel, as tightly as possible without squeezing filling out. Wrap tightly in plastic wrap and refrigerate for at least 2 hours or overnight.
- To serve, unwrap roll, trim ends, and slice into 1-inch rounds. Dust with powdered sugar just before serving.
Notes
Roll the cake while it’s still warm to prevent cracking. Use full-fat block cream cheese, not spreadable. Chill for at least 2 hours before slicing for clean cuts. For gluten-free, use a 1:1 gluten-free baking flour blend. For dairy-free, use dairy-free cream cheese and vegan butter. Can be frozen for up to 3 months.
Nutrition
- Serving Size: 1 slice (1/10 of rol
- Calories: 285
- Sugar: 26
- Sodium: 280
- Fat: 14
- Saturated Fat: 8
- Carbohydrates: 36
- Fiber: 1
- Protein: 5
Keywords: pumpkin roll, cream cheese filling, pumpkin dessert, fall dessert, Thanksgiving dessert, Christmas dessert, easy pumpkin roll


