Love this? Save it for later!
Share the inspiration with your friends
I was standing in the grocery store aisle, staring at the rows of brightly colored plastic trays, when the woman next to me—a retired school teacher named Carol, who I’d only ever seen buying the same brand of oatmeal—sighed and said, “You know, my granddaughter loves those things, but the amount of packaging makes me want to cry.” She wasn’t talking to me, exactly. She was just thinking out loud, the way people do when they’re tired and the fluorescent lights are too bright. But I turned to her, holding my own box of crackers and cheese, and she just shrugged. “It’s just crackers, cheese, and meat,” she said. “Why are we paying for the plastic?” And honestly, she was right. I’d been so busy trying to keep my kids fed that I never stopped to think about how simple these little boxes actually are. That conversation in aisle seven changed everything. I went home, raided my fridge, and made my first batch of easy copycat Lunchable snack boxes for kids that very afternoon. Let me tell you—I never bought another pre-made kit again.
The power went out halfway through my first attempt, which felt like a sign from the universe that I was being too ambitious. But I just lit a candle, kept slicing cheese, and realized that this recipe doesn’t need electricity or fancy gadgets. It just needs a little planning and a willingness to think outside the plastic tray. Maybe you’ve been there—standing in that same aisle, wondering why something so simple costs so much. Or maybe you’re just tired of the wrappers piling up. Either way, these homemade snack boxes are the answer. They’re faster than you think, cheaper than the store-bought version, and somehow, they taste better when you pack them yourself.
Why You’ll Love This Recipe
I’ve been making these easy copycat Lunchable snack boxes for kids for over two years now, and I’ve tested every possible combination. I’m not a professional chef, but I am a mom who has learned the hard way that if the crackers get soggy, the whole lunch is a disaster. So trust me when I say this version works. Here’s why you’ll love it:
- Quick & Easy: These boxes come together in under 10 minutes. Seriously. You can assemble a week’s worth of lunches faster than it takes to find a parking spot at the grocery store.
- Simple Ingredients: No fancy grocery trips needed. You probably already have crackers, cheese, and some kind of protein in your fridge right now.
- Perfect for Busy Mornings: Great for school lunches, road trips, or those afternoons when the kids are hangry and you need something fast.
- Crowd-Pleaser: My kids—and their friends—devour these. Even the picky eaters who usually push food around their plate finish every bite.
- Unbelievably Customizable: The texture and flavor combo changes every time you make it, which means nobody gets bored. Last week was turkey and cheddar; this week is ham and gouda.
What makes this recipe different from the store-bought version? It’s the little things. The crackers stay crunchy because you pack them separately. The cheese doesn’t get that weird, sweaty texture. And you get to choose exactly what goes in—no mystery meat or preservatives. Honestly, it’s comfort food reimagined: healthier, cheaper, and with the same satisfying crunch that kids love. Perfect for impressing your kids without stress, or turning a simple snack into something they actually look forward to.
What Ingredients You Will Need
This recipe uses simple, wholesome ingredients that deliver big flavor without the fuss. Most of these are pantry staples, and the ones that aren’t are easy to find at any grocery store. Here’s what you’ll need:
For the Base
- Crackers (I prefer Ritz or a buttery round cracker, but any sturdy cracker works)
- Sliced cheese (cheddar, colby jack, or Swiss—cut into small squares or use mini cookie cutters for fun shapes)
- Sliced deli meat (turkey, ham, or roast beef—rolled up and sliced into bite-sized pieces)
Optional Add-Ins
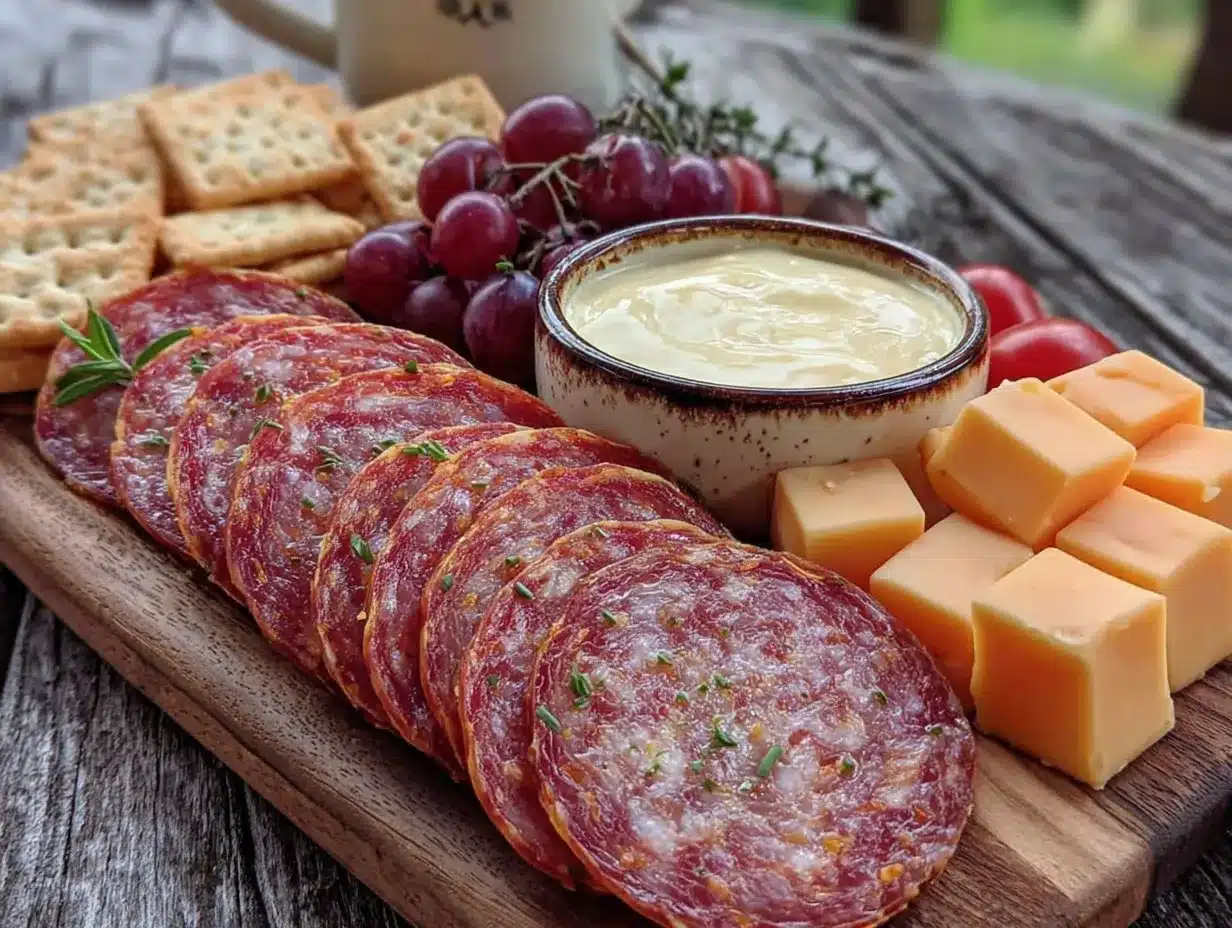
- Fresh fruit (grapes, apple slices, or berries)
- Vegetable sticks (carrot, cucumber, or bell pepper strips)
- Dips (hummus, ranch dressing, or yogurt-based dips)
- Sweet treat (a few chocolate chips, a small cookie, or a square of dark chocolate)
- Nuts or seeds (for older kids—skip if there are allergy concerns)
Ingredient Notes & Tips
For the best texture, I recommend using block cheese and slicing it yourself. Pre-sliced cheese tends to dry out faster and doesn’t hold up as well in the fridge. If you’re using deli meat, ask for it to be sliced thick—thin slices tear easily when you’re packing them. I’ve tried this with turkey, ham, salami, and even leftover rotisserie chicken, and they all work great. For a vegetarian option, swap the meat for hard-boiled eggs or roasted chickpeas. And if you’re dairy-free, use vegan cheese slices or skip the cheese altogether—the kids won’t even notice.
When it comes to crackers, stay away from anything too crumbly or fragile. I learned this the hard way after a box of thin wheat crackers turned into dust by lunchtime. Stick with sturdy options like club crackers, butter crackers, or even pretzel crisps. You can also mix and match—half the box with savory crackers, half with something sweet like graham crackers.
Equipment Needed
You don’t need much to make these easy copycat Lunchable snack boxes for kids. Here’s what I use:
- A small cutting board and a sharp knife (for slicing cheese and fruit)
- A set of small containers or bento boxes (I love the ones with dividers—they keep everything separate and crunchy)
- A vegetable peeler (if you’re adding carrot sticks or cucumber slices)
- Mini cookie cutters (optional, but kids love star-shaped cheese)
- A zipper-lock bag or small jar for crackers (if your containers don’t have separate compartments)
If you don’t have bento boxes, don’t worry. I’ve used muffin tins, small bowls, and even clean takeout containers in a pinch. The key is keeping wet ingredients (like fruit) away from dry ingredients (like crackers). You can also use reusable silicone cups or paper baking cups to create separators in a regular lunchbox. I found my first set of bento boxes at a thrift store for three dollars—they’re still going strong two years later.
Preparation Method
Making these snack boxes is almost too easy, but I’ll walk you through it step by step so you don’t miss anything.
- Wash and prep your produce. If you’re adding fruit or vegetables, wash them thoroughly and pat them dry. Slice apples into wedges and toss them with a little lemon juice to prevent browning. Cut carrots into sticks or rounds, depending on what your kids prefer. This takes about 2 minutes.
- Slice the cheese. Take your block of cheese and cut it into small squares, about 1 inch each. If you’re using mini cookie cutters, press them into the cheese slices to make fun shapes. I usually make a mix of squares and stars—the stars always get eaten first. This takes about 3 minutes.
- Prepare the meat. Lay your deli meat slices flat on the cutting board. Roll each slice into a tight log, then slice the log into 1-inch pieces. The kids call these “meat rolls” and they’re somehow more exciting than flat slices. This takes about 2 minutes.
- Portion the crackers. Count out 6-8 crackers per box, depending on the size of your containers. If you’re packing for a younger child, break the crackers in half to make them easier to handle. Keep the crackers in a separate compartment or bag until you’re ready to serve.
- Assemble the boxes. Arrange your cheese, meat, fruit, and vegetables in separate compartments. If you’re using a bento box, put the crackers in the largest compartment. If you’re using a regular lunchbox, pack the crackers in a small bag or container to keep them from getting crushed.
- Add any dips or extras. If you’re including hummus, ranch, or yogurt, put it in a small leak-proof container. Add a treat like a few chocolate chips or a small cookie to the smallest compartment. Close the lids and refrigerate until ready to eat.
- Pack and go. These boxes are best eaten within 4 hours of assembly, but they’ll keep in the fridge for up to 24 hours. If you’re packing for school, add an ice pack to keep everything cool and fresh.
Pro Tip: Let the kids help assemble their own boxes. It takes a little longer, but they’re way more likely to eat everything if they had a hand in making it. My five-year-old loves arranging the cheese into patterns, and my seven-year-old is in charge of counting out crackers. It’s a tiny bit chaotic, but honestly, it’s worth it.
Cooking Tips & Techniques
I’ve made a lot of mistakes with these snack boxes, so you don’t have to. Here are the lessons I learned the hard way:
- Dry your fruit thoroughly. Wet fruit will make everything soggy. After washing grapes or berries, lay them on a paper towel and pat them dry before packing. I once skipped this step, and the crackers turned into sad little sponges by lunchtime.
- Keep crackers separate until serving. This is the golden rule of copycat Lunchable boxes. Even slightly humid air can soften crackers. Pack them in a separate bag or compartment, and only combine them with the cheese and meat when you’re ready to eat.
- Don’t overfill the boxes. Kids get overwhelmed by too many choices. Stick to 3-4 components per box: one protein, one cheese, one cracker, and one fruit or vegetable. You can rotate the options throughout the week to keep things interesting.
- Use a variety of textures. Crunchy crackers, soft cheese, chewy meat, and fresh fruit create a satisfying eating experience. If everything is the same texture, kids get bored and stop eating.
- Prep in bulk on Sunday. Slice all your cheese and meat for the week at once, then store them in separate containers in the fridge. In the morning, you just grab, assemble, and go. It saves about 10 minutes per lunch, which adds up fast.
One time, I forgot to pack the crackers entirely. I just threw in extra cheese and fruit, thinking it would be fine. My daughter came home and said, “Mom, where were the crackers?” So yeah—don’t forget the crackers. They’re the whole point.
Variations & Adaptations
These snack boxes are endlessly customizable. Here are a few variations I’ve tried and loved:
- Breakfast Box: Swap the crackers for mini pancakes or waffle squares, use cream cheese or peanut butter instead of cheese, and add apple slices or berries. My kids call these “morning Lunchables” and they’re a huge hit on school days.
- Vegetarian Box: Use hummus or guacamole as the protein, add cucumber rounds, cherry tomatoes, and bell pepper strips. Include cheese if you’re not vegan, or use marinated tofu cubes for extra protein.
- Low-Carb Box: Replace crackers with cucumber rounds or bell pepper slices. Use thick-cut cheese and roll the meat into pinwheels. Add olives and nuts for healthy fats. This version is great for parents who want to snack alongside their kids.
- Seasonal Box: In summer, add fresh berries, peach slices, or melon balls. In fall, use apple slices, dried cranberries, and a sprinkle of cinnamon. In winter, include clementine segments and roasted pumpkin seeds. The possibilities are endless.
- Dessert Box: Okay, this one isn’t for lunch, but it’s perfect for movie nights. Use graham crackers, marshmallows, and chocolate chips for a DIY s’mores kit. Add a few strawberries for a hint of fruit.
I once made a “taco” version with tortilla chips, shredded cheese, black beans, and a tiny container of salsa. My kids still talk about it. Don’t be afraid to think outside the box—literally.
Serving & Storage Suggestions
These snack boxes are best served cold or at room temperature. If you’re packing them for school, add an ice pack to keep everything fresh. For road trips, pack them in a small cooler and assemble them just before eating to keep the crackers crunchy.
Store assembled boxes in the refrigerator for up to 24 hours. If you’re prepping for the week, keep the components separate and assemble each morning. The cheese and meat will stay fresh for 3-4 days in the fridge, and crackers can be stored in an airtight container at room temperature for weeks.
For freezing: I don’t recommend freezing assembled boxes, but you can freeze the cheese and meat separately. Slice the cheese into portions, wrap tightly in plastic wrap, and freeze for up to 3 months. Thaw in the refrigerator overnight before using. Crackers and fresh fruit should never be frozen—they’ll lose their texture completely.
Flavors actually develop nicely over time, especially if you’re using aged cheese or cured meats. A box made on Sunday will taste just as good on Tuesday, as long as the crackers stay separate. I’ve found that the fruit gets a little softer after a day in the fridge, so if you’re packing for later in the week, choose sturdier options like apple slices or whole grapes instead of berries.
Nutritional Information & Benefits
These easy copycat Lunchable snack boxes for kids are a great way to control portions and ensure your kids are getting real food. Here’s a rough estimate per box (based on 6 crackers, 2 oz cheese, 2 oz meat, and a serving of fruit):
- Calories: 350-400
- Protein: 15-20g
- Carbohydrates: 25-30g
- Fat: 18-22g
- Fiber: 2-4g
- Sugar: 8-12g (from fruit and crackers)
The health benefits are real. Cheese provides calcium and protein for growing bones and muscles. Deli meat offers iron and B vitamins. Fruit adds fiber and antioxidants. And crackers give kids the energy they need to get through the afternoon without a crash. Compared to store-bought Lunchables, which often contain preservatives, artificial flavors, and high levels of sodium, these homemade versions are a significant upgrade. You control the salt, the fat, and the quality of every ingredient.
If you’re watching sodium, look for low-sodium deli meat and crackers. If you need a nut-free option for school, skip the almonds and use sunflower seeds or cheese instead. This recipe is naturally gluten-free if you use gluten-free crackers, and it’s easy to make dairy-free by using vegan cheese or skipping the cheese altogether.
Conclusion
Honestly, I never thought I’d get so excited about a snack box. But there’s something deeply satisfying about opening the fridge, grabbing a pre-made box, and knowing exactly what’s in it. No preservatives, no weird additives, no guilt. Just good food that my kids actually eat. And the best part? They think it’s a treat. They don’t know it’s cheaper and healthier than the store-bought version. They just know it tastes good.
I hope you give these easy copycat Lunchable snack boxes for kids a try. Customize them however you want—add their favorite fruit, swap the cheese, throw in a silly note or a sticker. Make them yours. And when you do, I’d love to hear about it. Drop a comment below and tell me what combinations your kids loved. Did you try the breakfast version? The taco version? Something totally wild? Share your creations—I’m always looking for new ideas. Happy packing, friends!
Frequently Asked Questions
Can I make these snack boxes the night before?
Absolutely. Assemble the boxes the night before and store them in the refrigerator. Just keep the crackers in a separate bag or container until morning to prevent sogginess. Add an ice pack if you’re packing for school.
How long do these stay fresh in the fridge?
Assembled boxes stay fresh for up to 24 hours. If you keep the components separate, the cheese and meat last 3-4 days, and crackers stay fresh at room temperature for weeks. Fruit is best eaten within 2 days.
Can I use different types of cheese?
Yes! Cheddar, colby jack, Swiss, mozzarella, and gouda all work great. Avoid very soft cheeses like brie or camembert, as they can get messy. Hard cheeses like parmesan are also fine, but they might be too strong for some kids.
Are these snack boxes safe for school nut-free policies?
They can be. Just skip any nuts or nut-based dips like peanut butter. Use sunflower seed butter, hummus, or cheese instead. Always check your school’s specific allergy policy before packing.
What’s the best way to keep crackers crunchy?
Pack them in a separate compartment or a small zipper-lock bag. Don’t combine them with wet ingredients like fruit or dips until you’re ready to eat. If you’re using a bento box, put the crackers in the driest compartment away from any moisture.
Pin This Recipe!
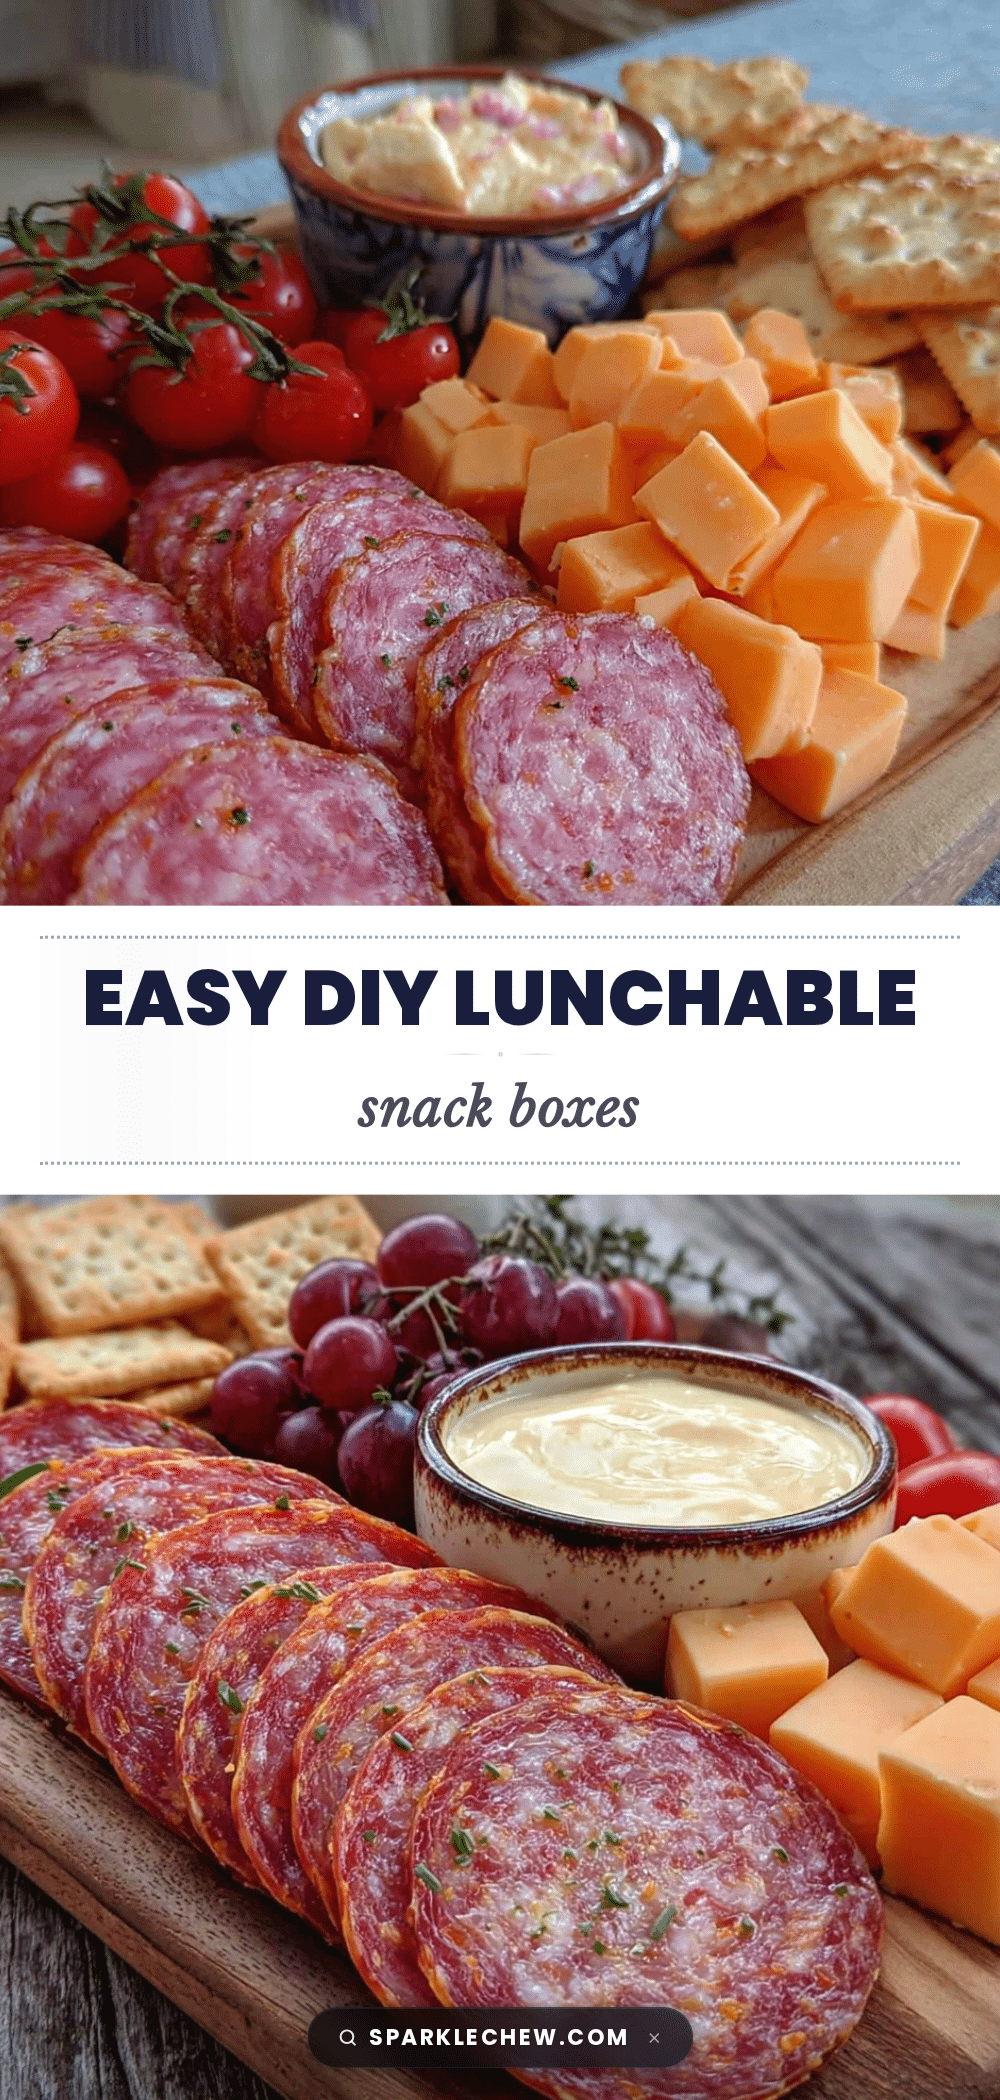
Easy Copycat Lunchable Snack Boxes for Kids

These homemade snack boxes are faster, cheaper, and healthier than store-bought Lunchables. Customize with your favorite crackers, cheese, meat, and fruit for a perfect lunch or snack that kids love.
- Prep Time: 10 minutes
- Cook Time: 0 minutes
- Total Time: 10 minutes
- Yield: 4 servings
- Category: Snack
- Cuisine: American
Ingredients
- Crackers (Ritz or buttery round crackers)
- Sliced cheese (cheddar, colby jack, or Swiss)
- Sliced deli meat (turkey, ham, or roast beef)
- Fresh fruit (grapes, apple slices, or berries)
- Vegetable sticks (carrot, cucumber, or bell pepper strips)
- Dips (hummus, ranch dressing, or yogurt-based dips)
- Sweet treat (a few chocolate chips, a small cookie, or a square of dark chocolate)
- Nuts or seeds (for older kids, optional)
Instructions
- Wash and prep your produce. Wash fruit and vegetables thoroughly and pat dry. Slice apples into wedges and toss with lemon juice to prevent browning. Cut carrots into sticks or rounds.
- Slice the cheese. Cut block cheese into small squares, about 1 inch each. Use mini cookie cutters for fun shapes if desired.
- Prepare the meat. Lay deli meat slices flat, roll each into a tight log, then slice into 1-inch pieces.
- Portion the crackers. Count out 6-8 crackers per box. Keep crackers in a separate compartment or bag until serving.
- Assemble the boxes. Arrange cheese, meat, fruit, and vegetables in separate compartments of a bento box or container. Place crackers in the largest compartment or a separate bag.
- Add any dips or extras. Put dips in a small leak-proof container. Add a treat to the smallest compartment. Close lids and refrigerate until ready to eat.
- Pack and go. These boxes are best eaten within 4 hours of assembly but keep in the fridge for up to 24 hours. Add an ice pack for school lunches.
Notes
Keep crackers separate from wet ingredients until serving to prevent sogginess. Let kids help assemble their own boxes for better eating. Prep cheese and meat in bulk on Sunday for quick assembly during the week. Use sturdy crackers to avoid crumbling.
Nutrition
- Serving Size: 1 box
- Calories: 375
- Sugar: 10
- Sodium: 600
- Fat: 20
- Saturated Fat: 10
- Carbohydrates: 28
- Fiber: 3
- Protein: 18
Keywords: copycat lunchable, homemade lunchable, kids snack boxes, school lunch ideas, easy lunch prep, bento box lunch, healthy snacks for kids


