Love this? Save it for later!
Share the inspiration with your friends
My friend Jenna asked me last week why I couldn’t just skip the peeling step for roasted squash. I stared at her for a solid second, spatula in hand, ready to launch into a whole speech about texture and even cooking and how the skin gets tough. Then I stopped. I mean, honestly—why couldn’t I? I had zero good answers. So I tried it. And let me tell you, the squash came out of the oven looking like something from a fancy restaurant menu, with these gorgeous caramelized edges that the skin actually helped hold together. I had to text Jenna a photo with a lot of embarrassed emojis.
That little kitchen moment changed how I make this Maple Brown Butter Roasted Butternut Squash forever. You know that feeling when you’ve been doing something a certain way for years, and then someone casually suggests a tiny tweak that completely transforms the result? That was this recipe for me. The brown butter gets all nutty and rich, the maple syrup forms these sticky-sweet pockets on the squash, and the whole thing comes together in a way that feels both fancy and completely unfussy. I’ve made it for Thanksgiving, for random Tuesday dinners, and for meal prep that made my coworkers jealous at lunchtime.
This Maple Brown Butter Roasted Butternut Squash has become my go-to side dish for pretty much everything. It’s the kind of recipe that makes you look like you tried really hard when really, you just let good ingredients do their thing. And honestly, that’s my favorite kind of cooking.
Why You’ll Love This Recipe
I’ve tested this Maple Brown Butter Roasted Butternut Squash about seven times to get it exactly right. The first batch was too sweet. The second was too salty. The third—well, I burned the butter and had to start over. But by batch number four, something clicked. The balance of savory brown butter and sweet maple syrup just worked. Here’s why this version stands out:
- Simple Ingredients: No fancy grocery trips needed. You probably have maple syrup and butter in your kitchen right now.
- Quick & Easy: It comes together in under 45 minutes, with only about 10 minutes of active prep. Perfect for busy weeknights.
- Perfect for Entertaining: This dish looks stunning on a holiday table but is simple enough for a casual dinner with friends.
- Crowd-Pleaser: I’ve served this to picky kids and food-snob adults, and everyone goes back for seconds.
- Unbelievably Delicious: The caramelized edges, the nutty brown butter, the hint of maple—it’s next-level comfort food that happens to be pretty good for you.
What makes this recipe different from all the other roasted squash recipes out there is the technique. Browning the butter first adds this deep, almost toasty flavor that plain melted butter just can’t match. And leaving the skin on (thanks, Jenna) means the squash holds its shape better and gets those irresistible caramelized edges without turning to mush. It’s comfort food reimagined—healthier, faster, but with the same soul-soothing satisfaction that makes you close your eyes after the first bite.
What Ingredients You Will Need
This recipe uses simple, wholesome ingredients to deliver bold flavor and satisfying texture without the fuss. Most of these are pantry staples, and the few that aren’t are easy to find at any grocery store.
- Butternut Squash (1 medium, about 2-3 pounds): Look for one with a firm, unblemished skin and a heavy feel for its size. You’ll want to cube it into 1-inch pieces. I recommend buying pre-cut cubes from the store if you’re short on time—just know they tend to be a bit drier, so you might need an extra drizzle of oil.
- Unsalted Butter (4 tablespoons, or 60 grams): This is the star of the show. The browning process transforms regular butter into something magical. I prefer Land O’Lakes or Kerrygold for the best flavor.
- Pure Maple Syrup (3 tablespoons, or 60 ml): Please use real maple syrup, not pancake syrup. The real stuff has a complexity that fake syrup just can’t match. Grade A dark amber works beautifully here.
- Olive Oil (1 tablespoon, or 15 ml): This helps the squash roast evenly and gives the brown butter mixture a little extra richness. Extra virgin is fine, but a lighter olive oil works well too.
- Fresh Thyme (4-5 sprigs): The earthy, slightly floral notes of thyme balance the sweetness perfectly. If you only have dried thyme, use about 1 teaspoon.
- Kosher Salt (1 teaspoon, or 5 grams): I use Diamond Crystal brand. If you’re using table salt, cut the amount in half.
- Black Pepper (½ teaspoon, or 2 grams): Freshly ground is best here—it makes a noticeable difference.
- Optional Garnishes: A sprinkle of flaky sea salt (like Maldon) right before serving, plus some fresh parsley or sage leaves for color.
For a dairy-free version, you can substitute the butter with coconut oil or a high-quality vegan butter. Just note that coconut oil won’t brown the same way, so the flavor will be a bit different—still delicious, just not as nutty. Maple syrup can be swapped with honey or agave nectar if needed, though the flavor profile will shift slightly.
Equipment Needed
You don’t need a lot of fancy equipment for this Maple Brown Butter Roasted Butternut Squash, which is part of what makes it so great. Here’s what you’ll need:
- Large Baking Sheet (half-sheet pan, about 18×13 inches): A rimmed baking sheet is ideal to catch any juices. I’ve used my Nordic Ware sheet pan for years, and it still looks new.
- Parchment Paper or Silicone Baking Mat: This makes cleanup a breeze and helps prevent sticking. Trust me, you don’t want to scrub caramelized maple syrup off your pan.
- Small Saucepan: For browning the butter. A light-colored pan helps you see when the butter turns golden.
- Chef’s Knife: A sharp 8-inch knife makes cutting the squash much easier and safer.
- Cutting Board: A sturdy board with a non-slip bottom is worth its weight in gold.
- Mixing Bowl: For tossing the squash with the brown butter mixture.
- Spatula or Wooden Spoon: For stirring the butter as it browns.
If you don’t have a baking sheet, a large casserole dish or roasting pan will work—just make sure the squash is in a single layer so it roasts evenly. And if you’re using a dark-colored baking sheet, keep an eye on the squash a few minutes early, as dark pans tend to cook faster.
Preparation Method
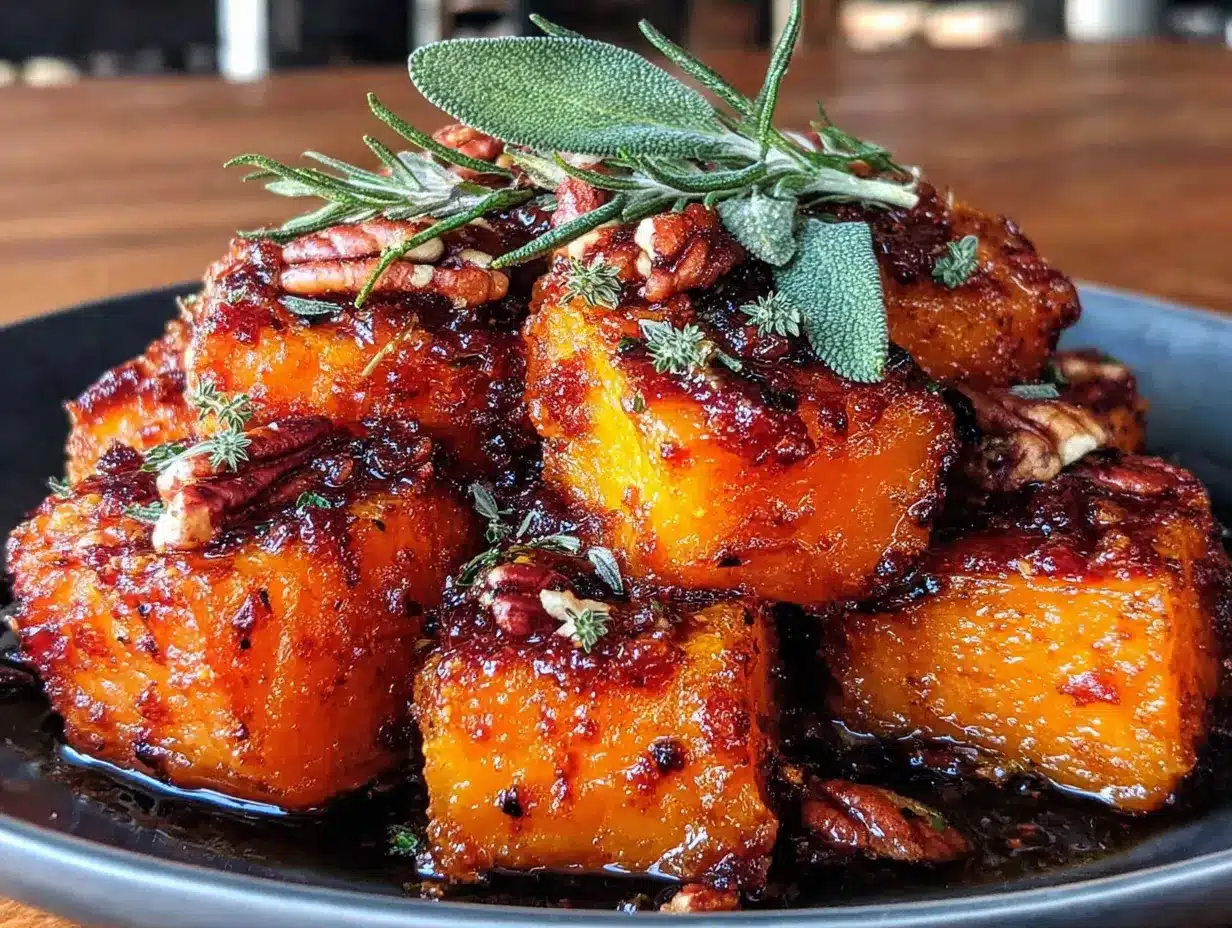
- Preheat your oven to 400°F (200°C). Position the rack in the middle of the oven. Line your baking sheet with parchment paper or a silicone mat. This step is non-negotiable if you want easy cleanup—trust me on this one.
- Prepare the butternut squash. Cut off both ends of the squash, then slice it in half where the narrow neck meets the bulbous bottom. Peel the skin off if you want (I know I said I leave it on now, but if you prefer it peeled, go for it). Cut the squash in half lengthwise and scoop out the seeds with a spoon. Cut the flesh into 1-inch cubes. Try to make them roughly the same size so they cook evenly. This takes about 5-7 minutes once you get the hang of it.
- Brown the butter. Place the 4 tablespoons of butter in a small saucepan over medium heat. Let it melt completely, then continue cooking, swirling the pan occasionally. The butter will foam up, then subside, and you’ll see golden brown specks forming at the bottom. This takes about 4-5 minutes. Watch it carefully—brown butter can go from perfect to burnt in seconds. When it smells nutty and looks amber-colored, remove it from the heat immediately.
- Make the maple brown butter mixture. Pour the browned butter into a mixing bowl. Add the maple syrup, olive oil, kosher salt, and black pepper. Whisk until well combined. The mixture will be warm and smell absolutely incredible at this point. Add the fresh thyme sprigs and let them steep for a minute or two.
- Toss the squash. Add the cubed butternut squash to the bowl with the maple brown butter mixture. Use a spatula to toss everything together until each piece is evenly coated. Don’t be shy—make sure every cube gets some of that goodness.
- Arrange on the baking sheet. Spread the squash in a single layer on your prepared baking sheet. Make sure the pieces aren’t touching each other too much—crowding leads to steaming instead of roasting. Leave the thyme sprigs scattered among the squash pieces.
- Roast for 25-30 minutes. Place the baking sheet in the preheated oven. After 15 minutes, remove the sheet and flip each piece of squash with a spatula. This ensures even browning. Return to the oven and continue roasting for another 10-15 minutes. The squash is done when it’s tender enough to pierce with a fork and the edges are beautifully caramelized and golden brown.
- Serve immediately. Transfer the roasted squash to a serving platter. Sprinkle with flaky sea salt and fresh herbs if desired. Serve hot, warm, or at room temperature—it’s delicious at any temperature.
One thing I learned the hard way: don’t skip the flipping step. My first batch came out with burnt bottoms and undercooked tops because I got lazy. A quick flip halfway through makes all the difference.
Cooking Tips & Techniques
Let me share some things I’ve learned from my fair share of squash mishaps. First off, browning butter seems intimidating, but it’s really not. The key is to keep your heat at medium and watch like a hawk. I once walked away to answer a text, and by the time I came back, my butter was black and smoking. Start over. It happens.
Here’s a trick I wish someone had told me years ago: if you’re struggling to cut a butternut squash, microwave it whole for 2-3 minutes first. It softens the skin just enough to make cutting easier without cooking the flesh. This tip saved me from a trip to the emergency room, honestly.
For the best caramelization, make sure your squash pieces are dry before tossing them with the brown butter mixture. Any excess moisture will steam the squash instead of roasting it. I pat mine dry with a paper towel if they feel damp after cutting.
If you’re making this for a crowd, you can double the recipe easily—just use two baking sheets and rotate them halfway through cooking. Don’t try to cram everything onto one sheet, or you’ll end up with soggy squash. I learned that one the hard way during a Thanksgiving disaster that shall not be named.
Variations & Adaptations
This Maple Brown Butter Roasted Butternut Squash is wonderfully adaptable. Here are some variations I’ve tried and loved:
- Spicy Maple Version: Add ½ teaspoon of red pepper flakes or a pinch of cayenne pepper to the brown butter mixture. The heat balances the sweetness beautifully and adds a surprising kick.
- Herb Swap: Replace the thyme with fresh rosemary or sage. Rosemary gives it a woodsy, almost pine-like flavor, while sage adds an earthy, slightly peppery note. Both are fantastic in fall.
- Nutty Crunch: Sprinkle ¼ cup of toasted pecans or walnuts over the squash during the last 5 minutes of roasting. The crunch adds texture and the nuts get toasted and delicious.
- Balsamic Twist: Add 1 tablespoon of balsamic vinegar to the maple brown butter mixture. The acidity cuts through the sweetness and adds a tangy depth that’s really nice.
- Air Fryer Method: Cook at 375°F (190°C) for 12-15 minutes, shaking the basket halfway through. You’ll get even crispier edges, though you’ll need to work in batches.
For a vegan version, use coconut oil or vegan butter instead of regular butter. The flavor won’t be as nutty, but it’s still delicious. And if you’re watching your sugar intake, you can reduce the maple syrup to 2 tablespoons or use a sugar-free maple syrup alternative.
Serving & Storage Suggestions
This Maple Brown Butter Roasted Butternut Squash is incredibly versatile when it comes to serving. I love it straight from the oven, still warm and with those crispy caramelized edges. But honestly, it’s just as good at room temperature, which makes it perfect for holiday buffets or potlucks where timing is tricky.
For a complete meal, serve it alongside roasted chicken, pork chops, or a hearty grain bowl with quinoa and roasted chickpeas. It also makes a fantastic addition to fall salads—just let it cool completely and toss it with arugula, goat cheese, and a simple vinaigrette. The sweetness of the squash pairs beautifully with the peppery arugula and tangy cheese.
To store leftovers, let the squash cool completely, then transfer it to an airtight container. It will keep in the refrigerator for up to 5 days. The flavors actually meld together and get even better after a day or two. To reheat, spread the squash on a baking sheet and warm it in a 350°F (175°C) oven for about 5-7 minutes. The microwave works in a pinch, but the oven will help restore some of that caramelized texture.
You can also freeze this dish for up to 3 months. Spread the cooled squash on a baking sheet and freeze until solid, then transfer to a freezer-safe bag. Reheat directly from frozen in a 375°F (190°C) oven for about 15 minutes. The texture won’t be quite as crisp as fresh, but it’s still delicious and so convenient to have on hand.
Nutritional Information & Benefits
This Maple Brown Butter Roasted Butternut Squash is a great example of how eating well doesn’t have to feel like a sacrifice. Butternut squash is packed with vitamin A (one cup provides over 450% of your daily needs), vitamin C, potassium, and fiber. It’s also relatively low in calories—about 80 calories per cup of raw squash.
Here’s the approximate nutritional breakdown per serving (about 1 cup):
- Calories: 180
- Total Fat: 10g
- Saturated Fat: 5g
- Carbohydrates: 24g
- Fiber: 4g
- Sugar: 12g (naturally occurring plus a small amount of maple syrup)
- Protein: 2g
The maple syrup adds some sugar, but it’s still a reasonable amount for a side dish. If you’re watching your sugar intake, you can reduce the maple syrup or use a sugar-free alternative. The brown butter adds healthy fats that help your body absorb the fat-soluble vitamins in the squash. This dish is naturally gluten-free and can easily be made dairy-free or vegan with simple substitutions.
Conclusion
This Maple Brown Butter Roasted Butternut Squash has become a staple in my kitchen for good reason. It’s the kind of recipe that feels special enough for holidays but simple enough for a regular Tuesday. The combination of nutty brown butter, sweet maple syrup, and tender caramelized squash is just unbeatable. And honestly, I love that it came from a moment of being wrong—sometimes the best recipes come from letting go of what you think you know.
I hope you give this recipe a try and make it your own. Maybe you’ll add a sprinkle of cinnamon, or swap the thyme for rosemary, or go heavy on the flaky salt like I do. That’s the beauty of cooking—there’s always room to play. When you make it, drop a comment below and let me know how it turned out. Did you try any fun variations? Did your family fight over the last piece? I want to hear all about it. And if you snap a photo, tag me on social media—I love seeing your creations!
Frequently Asked Questions
Can I make this Maple Brown Butter Roasted Butternut Squash ahead of time?
Absolutely! You can roast the squash up to 2 days in advance. Store it in an airtight container in the refrigerator, then reheat it in a 350°F oven for about 5-7 minutes before serving. The caramelized edges won’t be quite as crisp, but the flavor will still be amazing.
Do I have to peel the butternut squash?
Not at all! I actually prefer leaving the skin on now—it helps the squash hold its shape and adds a bit of texture. The skin becomes tender during roasting and is perfectly edible. If you prefer it peeled, go ahead and peel it. The recipe works either way.
Can I use frozen butternut squash for this recipe?
You can, but I don’t recommend it for the best results. Frozen squash releases a lot of water as it thaws, which will steam instead of roast. If you’re in a pinch, thaw the squash completely and pat it very dry with paper towels before tossing it with the brown butter mixture.
What can I substitute for maple syrup?
Honey, agave nectar, or even brown sugar mixed with a little water will work. The flavor will change slightly—honey is floral, agave is milder, and brown sugar adds a deeper molasses note—but any of them will give you that sweet caramelized finish.
How do I know when the butternut squash is done roasting?
The squash is done when it’s tender enough to pierce easily with a fork and the edges are golden brown and caramelized. The pieces should have some give when you press them, but they shouldn’t be mushy. If the edges are getting too dark before the centers are tender, lower your oven temperature to 375°F and continue roasting.
Pin This Recipe!
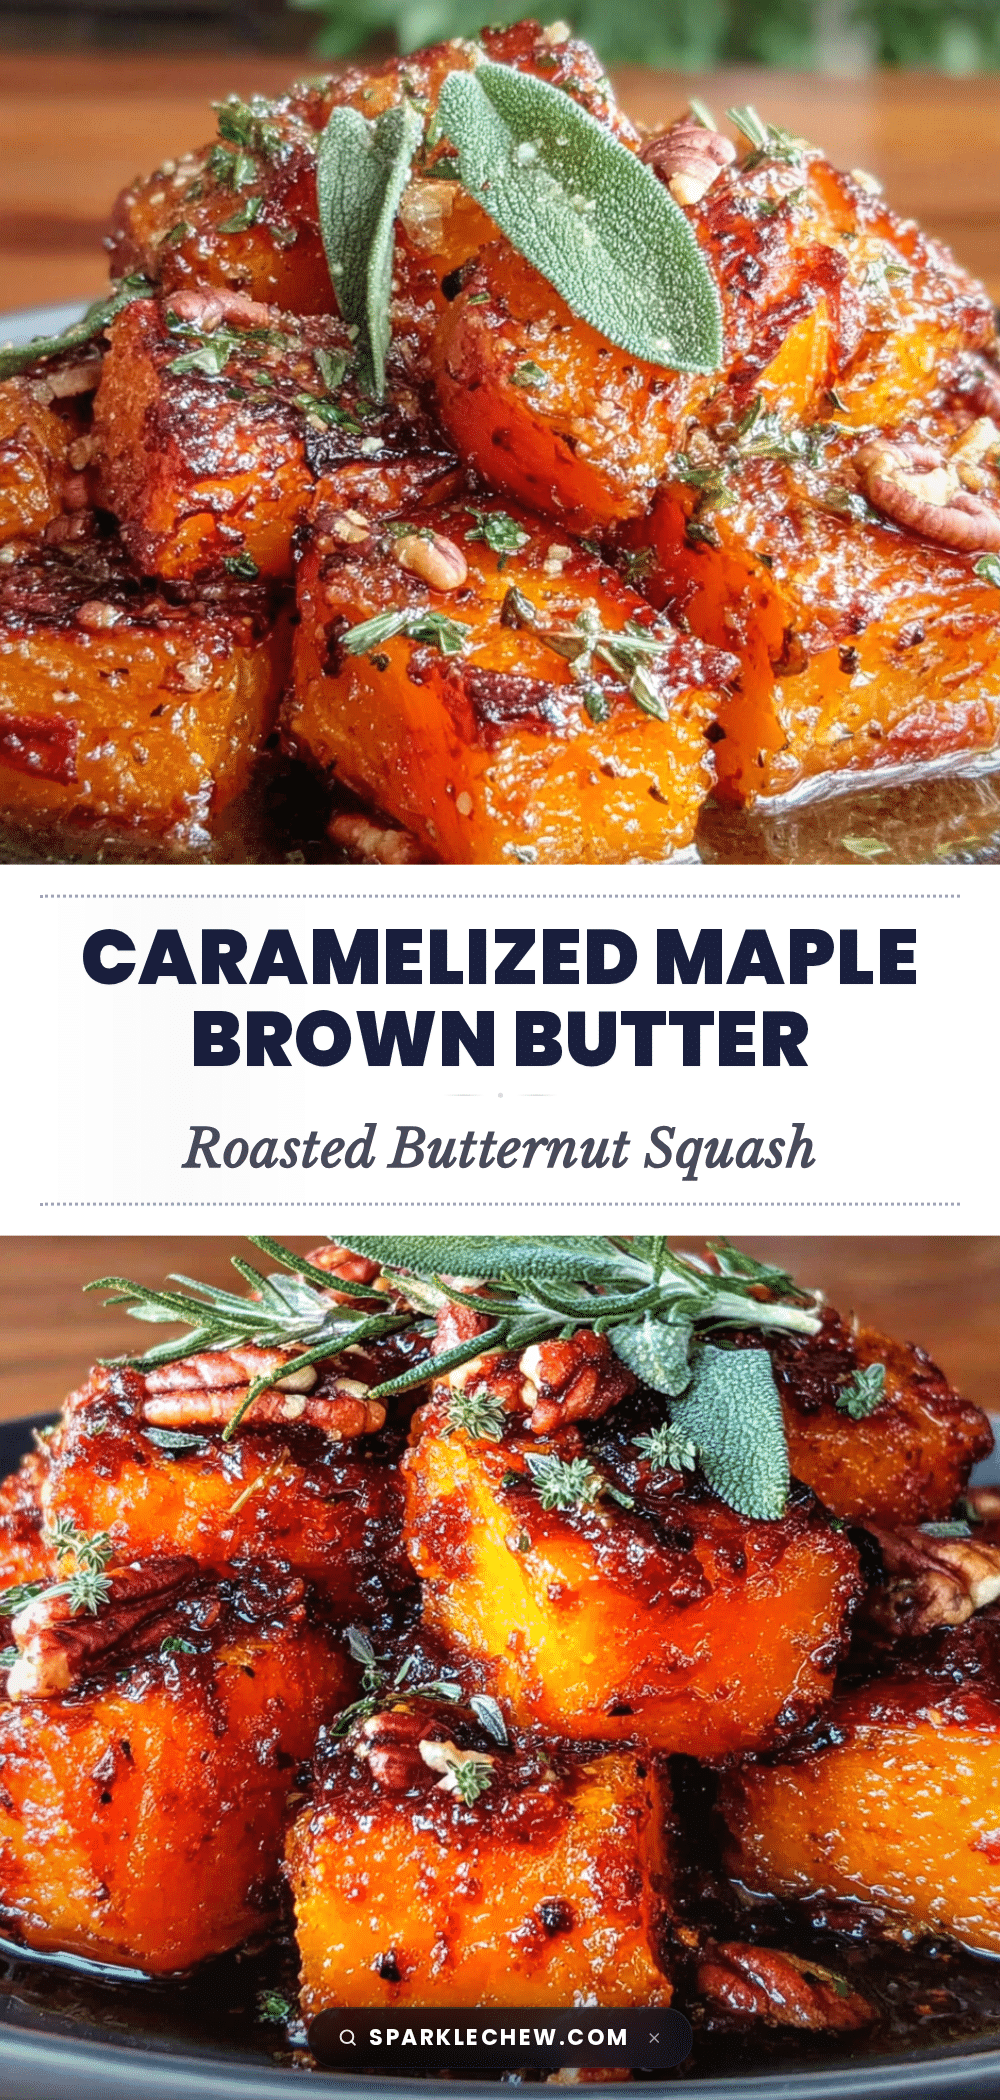
Easy Maple Brown Butter Roasted Butternut Squash
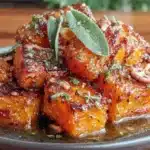
This Maple Brown Butter Roasted Butternut Squash is a simple yet elegant side dish featuring caramelized squash with nutty brown butter and sweet maple syrup. It’s perfect for holidays or weeknight dinners, and the skin-on technique adds texture and prevents mushiness.
- Prep Time: 10 minutes
- Cook Time: 30 minutes
- Total Time: 40 minutes
- Yield: 4 servings 1x
- Category: Side Dish
- Cuisine: American
Ingredients
- 1 medium butternut squash (about 2–3 pounds), cubed into 1-inch pieces
- 4 tablespoons (60 g) unsalted butter
- 3 tablespoons (60 ml) pure maple syrup
- 1 tablespoon (15 ml) olive oil
- 4–5 sprigs fresh thyme (or 1 teaspoon dried)
- 1 teaspoon (5 g) kosher salt (use ½ teaspoon if using table salt)
- ½ teaspoon (2 g) freshly ground black pepper
- Optional: flaky sea salt (e.g., Maldon) and fresh parsley or sage for garnish
Instructions
- Preheat your oven to 400°F (200°C). Position the rack in the middle. Line a large baking sheet with parchment paper or a silicone mat.
- Prepare the butternut squash: Cut off both ends, slice in half where the narrow neck meets the bulbous bottom. Peel if desired (or leave skin on). Cut in half lengthwise, scoop out seeds, and cut flesh into 1-inch cubes.
- Brown the butter: In a small saucepan over medium heat, melt 4 tablespoons butter. Continue cooking, swirling occasionally, until it foams, subsides, and turns amber with golden specks (about 4-5 minutes). Remove from heat immediately.
- Make the maple brown butter mixture: Pour browned butter into a mixing bowl. Add maple syrup, olive oil, salt, and pepper. Whisk until combined. Add thyme sprigs and let steep 1-2 minutes.
- Toss the squash: Add cubed squash to the bowl and toss with a spatula until evenly coated.
- Arrange on baking sheet: Spread squash in a single layer, not touching. Scatter thyme sprigs among pieces.
- Roast for 25-30 minutes: After 15 minutes, flip each piece with a spatula. Continue roasting until tender and caramelized (another 10-15 minutes).
- Serve immediately: Transfer to a platter, sprinkle with flaky sea salt and fresh herbs if desired. Serve hot, warm, or at room temperature.
Notes
For best caramelization, pat squash dry before tossing. Don’t skip flipping halfway through. Brown butter can burn quickly—watch carefully. For a dairy-free version, substitute butter with coconut oil or vegan butter (flavor will differ). Maple syrup can be replaced with honey or agave nectar.
Nutrition
- Serving Size: 1 cup
- Calories: 180
- Sugar: 12
- Sodium: 500
- Fat: 10
- Saturated Fat: 5
- Carbohydrates: 24
- Fiber: 4
- Protein: 2
Keywords: roasted butternut squash, maple brown butter, easy side dish, fall recipe, Thanksgiving side, caramelized squash