Love this? Save it for later!
Share the inspiration with your friends
I was standing in the middle of the baking aisle at my local grocery store last Tuesday when it hit me—that faint, familiar smell of cocoa powder mixing with the scent of roasted peanuts from the bulk section. And suddenly I was twenty-six, sitting cross-legged on my friend Jenna’s apartment floor at midnight, watching her roll what looked like tiny brown snowballs between her palms while she explained, “You don’t even need a mixer for these.”
Jenna was one of those people who never seemed to stress about food. She’d toss things together without measuring, lick peanut butter off her fingers, and somehow end up with something ridiculously good. I, on the other hand, was still at that stage where I followed recipes like they were sacred texts. But that night, exhausted from work and too hungry to care about perfection, I watched her make these no-bake protein balls and thought—okay, maybe I can do this.
Honestly, I forgot about them for years. Then last week, I found myself craving something sweet but not guilty, something I could grab on my way out the door without spilling or burning my tongue. And there it was, that memory of Jenna’s midnight snack session. I grabbed the oats, the peanut butter, the chocolate chips, and went to work. Let me tell you—sometimes the best recipes are the ones you almost forget you knew.
Why You’ll Love This Recipe
These no-bake chocolate peanut butter protein balls aren’t just another snack recipe. They’re the kind of thing you make once and suddenly find yourself making every single week. I’ve tested this version more times than I care to admit, tweaking the ratios until the texture was just right—not too sticky, not too dry, with that perfect balance of rich chocolate and salty peanut butter.
- Quick and Easy: Comes together in under 15 minutes with zero oven time. Seriously, if you can stir, you can make these.
- Simple Ingredients: No fancy protein powders or obscure superfoods here. You probably have most of this in your pantry right now.
- Perfect for Busy Mornings: Grab one on your way out the door, toss it in a lunchbox, or keep a batch in the fridge for that 3 PM energy slump.
- Crowd-Pleaser: I’ve brought these to potlucks, road trips, and even a kids’ soccer game. They disappear fast.
- Unbelievably Satisfying: The combination of oats, peanut butter, and chocolate hits that sweet-salty-crunchy spot in a way that feels indulgent but is actually pretty good for you.
What makes this version different from the dozens of recipes floating around? It’s the texture. I spent three batches figuring out the exact oat-to-peanut-butter ratio so these hold together without being greasy or falling apart. Plus, I swapped in mini chocolate chips instead of regular ones—they distribute more evenly so every bite gets a little chocolate hit. This isn’t just another protein ball recipe. It’s the one you’ll actually keep making.
What Ingredients You Will Need
This recipe uses simple, wholesome ingredients that work together to create a satisfying snack without any fuss. Most of these are pantry staples, which is exactly why I love this recipe—you can make it on a whim without a special trip to the store.
- Rolled oats, 1 cup (90g) — Use old-fashioned rolled oats for the best texture. Quick oats work in a pinch, but they’ll make the balls a bit mushier. I prefer Bob’s Red Mill for consistent quality.
- Creamy peanut butter, ½ cup (130g) — Natural peanut butter works, but make sure it’s well-stirred. For the best texture, use a standard peanut butter like Jif or Skippy—the added stabilizers help the balls hold together better. (I learned this the hard way after a batch that crumbled everywhere.)
- Honey or maple syrup, ¼ cup (60ml) — Honey gives a classic flavor, but maple syrup works beautifully for a vegan option. Both add just enough sweetness without being overpowering.
- Chocolate protein powder, ¼ cup (30g) — I recommend a chocolate whey or plant-based protein powder. If yours is unsweetened, you might want to add an extra tablespoon of honey. My go-to is Orgain chocolate plant-based protein—it blends smoothly without that chalky taste.
- Mini chocolate chips, ¼ cup (45g) — Mini chips distribute better than regular-sized ones. Use dark chocolate chips for a less sweet option, or milk chocolate if you prefer a sweeter bite. Enjoy Life makes great dairy-free mini chips if needed.
- Flaxseed meal, 2 tablespoons (14g) — This is my secret ingredient for extra fiber and omega-3s. It also helps bind everything together. You can skip it or use chia seeds instead, but the texture might be slightly different.
- Vanilla extract, ½ teaspoon — Pure vanilla extract adds warmth and depth. Imitation vanilla works too, but use a little less—it’s stronger.
- Pinch of salt, about ⅛ teaspoon — Only if your peanut butter is unsalted. Salt balances the sweetness and makes the chocolate flavor pop.
Equipment Needed
You don’t need much for this recipe, which is honestly my favorite part. Here’s what you’ll need:
- Large mixing bowl — Any medium-to-large bowl works. I use a ceramic one because it doesn’t slide around on the counter.
- Measuring cups and spoons — For accuracy, especially with the peanut butter. I’ve eyeballed it before, and trust me—it matters.
- Rubber spatula or wooden spoon — Something sturdy enough to mix thick dough. A spatula makes scraping the bowl easier.
- Baking sheet or plate — To hold the rolled balls while you shape them. Line it with parchment paper for easy cleanup.
- Parchment paper (optional but helpful) — Keeps the balls from sticking while they chill.
- Small cookie scoop (optional) — If you want evenly sized balls without getting your hands too messy. I use a 1-tablespoon scoop and it’s perfect.
That’s it. No food processor, no mixer, no oven. Just your hands and a little patience.
Preparation Method
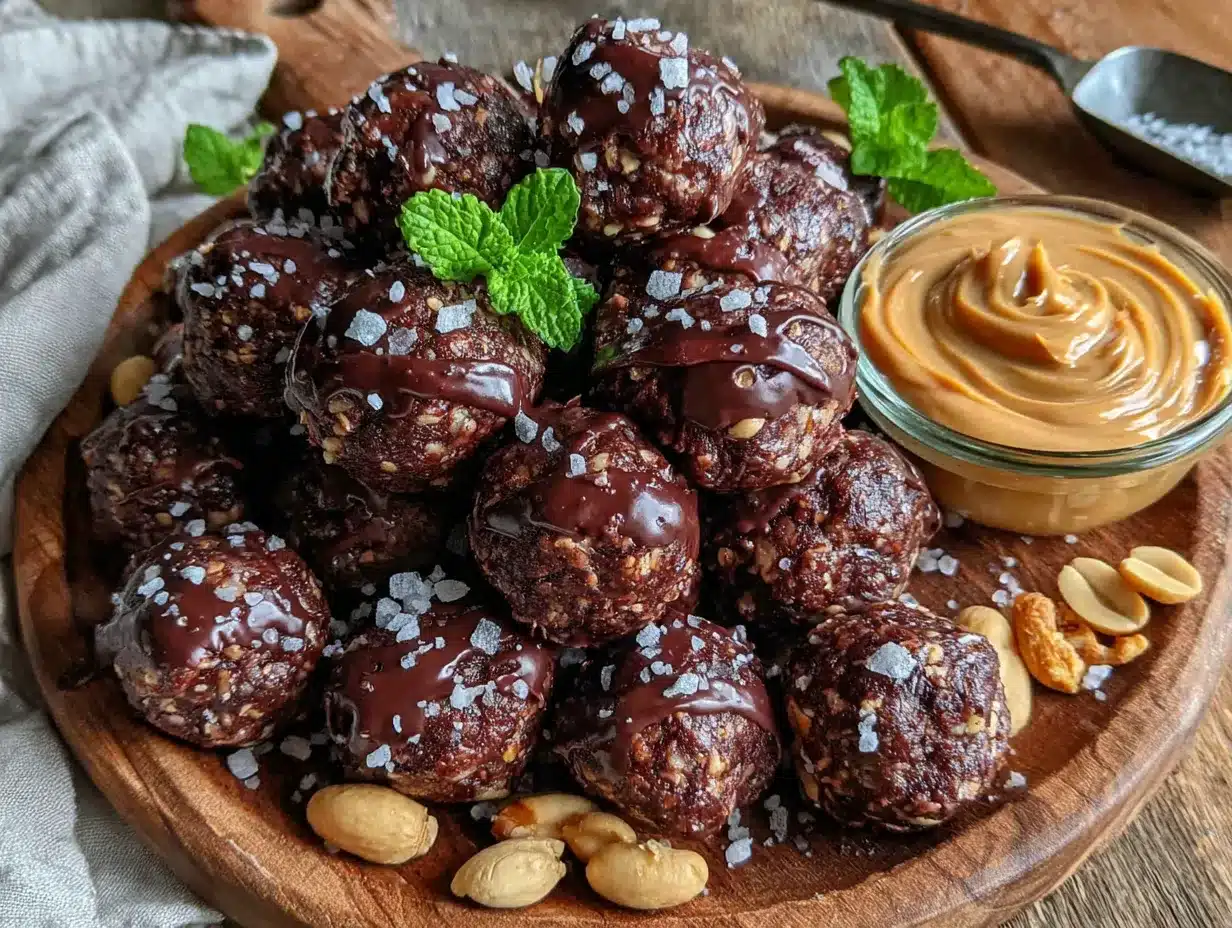
- Combine the dry ingredients. In a large mixing bowl, add 1 cup rolled oats, ¼ cup chocolate protein powder, 2 tablespoons flaxseed meal, and a pinch of salt if using. Whisk them together with a fork until evenly distributed. This step ensures the protein powder doesn’t clump later.
- Add the wet ingredients. Spoon ½ cup creamy peanut butter into the center of the dry mixture. Add ¼ cup honey (or maple syrup) and ½ teaspoon vanilla extract. Don’t stir yet—just let everything sit together for a moment while you get your hands ready.
- Mix until combined. Using a rubber spatula or your clean hands, fold everything together until no dry streaks remain. Start by pressing the peanut butter into the oats, then stir in a circular motion. The mixture will look crumbly at first—keep going. It should come together into a thick, slightly sticky dough. If it feels too dry, add a teaspoon of honey or water. If it’s too sticky, add a tablespoon more oats.
- Fold in the chocolate chips. Sprinkle ¼ cup mini chocolate chips over the dough. Gently fold them in, being careful not to crush them. You want those little pockets of chocolate throughout, not a brown mess.
- Chill the mixture (optional but recommended). Pop the bowl in the fridge for 15-20 minutes. This makes the dough easier to handle and less sticky. I skip this step when I’m impatient, but honestly, it makes a difference—the balls hold their shape better and don’t leave chocolate on your fingers.
- Roll into balls. Scoop about 1 tablespoon of dough and roll it between your palms into a smooth ball. Place each ball on a parchment-lined baking sheet. You should get about 16-18 balls, depending on size. If the dough starts sticking to your hands, lightly wet your palms with water.
- Chill to set. Refrigerate the balls for at least 30 minutes before eating. This lets them firm up and develop that perfect fudge-like texture. I know it’s hard to wait—I’ve definitely eaten one straight from the bowl—but they’re so much better after a chill.
Cooking Tips & Techniques
I’ve made these protein balls more times than I can count, and I’ve definitely learned a few things along the way. Here are the tips I wish someone had told me from the start.
Watch your peanut butter consistency. If your peanut butter is too runny (like some natural brands), the balls won’t hold together. You can fix this by adding an extra tablespoon of oats or letting the mixture sit for 10 minutes before rolling—the oats will absorb some moisture. I once used a brand that was basically oil and ended up with a flat, greasy mess. Not my finest moment.
Use a light touch when rolling. Squeeze too hard and the balls become dense and tough. Gently roll them between your palms with just enough pressure to shape them. Think of it like making meatballs—firm but gentle. This is one of those things that sounds silly until you feel the difference.
Don’t skip the chill time. I know, I know—you want to eat them now. But the fridge does something magical here. It lets the flavors meld together and firms up the texture so they’re more like a truffle than a sticky blob. Plus, they’re way less messy to pack in a lunchbox after they’ve set.
Use a cookie scoop for uniformity. If you’re making these for meal prep, even-sized balls mean even nutritional values and a prettier presentation. A small 1-tablespoon scoop makes the process faster and keeps your hands cleaner. I bought mine for $6 and it’s one of my most-used kitchen tools.
Toast the oats first for extra flavor. Spread the oats on a baking sheet and toast them at 350°F for 8-10 minutes until lightly golden. Let them cool completely before mixing. This adds a nutty, almost caramel-like depth that takes these balls to another level. I do this when I’m making them for guests or when I want to feel fancy.
Variations & Adaptations
One of the best things about this recipe is how flexible it is. Here are some variations I’ve tried and loved:
Vegan version: Use maple syrup instead of honey and dairy-free chocolate chips. Most protein powders are plant-based anyway, so this is an easy swap. I’ve made this for my vegan friend Sarah and she couldn’t tell the difference.
Nut-free option: Swap the peanut butter for sunflower seed butter or tahini. Keep in mind that sunflower seed butter can turn green when mixed with baking soda (not an issue here) but has a stronger flavor. Add an extra tablespoon of honey to balance the bitterness. I tested this with WowButter and it worked great.
Extra protein boost: Add 1-2 tablespoons of collagen peptides or an extra scoop of protein powder. You’ll need to add a splash of milk or water to keep the texture right—start with 1 tablespoon and add more as needed.
Flavor variations: Swap the chocolate protein powder for vanilla and add 2 tablespoons of cocoa powder. Try adding ¼ cup shredded coconut, chopped dried cherries, or a teaspoon of instant espresso powder for a mocha twist. My personal favorite is adding orange zest and a handful of dried cranberries—tastes like a chocolate orange bar.
Lower sugar option: Use unsweetened protein powder and reduce the honey to 2 tablespoons. Add a few drops of stevia or monk fruit sweetener if needed. The chocolate chips can be swapped for sugar-free ones, though I find them a bit waxy.
Serving & Storage Suggestions
These protein balls are best served cold straight from the fridge—they have a firm, fudge-like texture that’s incredibly satisfying. I like to pull them out about 5 minutes before eating so they soften slightly, but that’s personal preference.
For serving, arrange them on a small plate or in a bowl for a party. They look pretty dusted with a little cocoa powder or sea salt flakes. Pair them with a glass of cold almond milk or a hot cup of coffee for the perfect afternoon pick-me-up.
Storage instructions: Keep the balls in an airtight container in the refrigerator for up to 2 weeks. I use a glass container with a tight lid and layer parchment paper between stacks to prevent sticking. They also freeze beautifully—place them in a single layer on a baking sheet, freeze until solid, then transfer to a freezer bag. They’ll keep for up to 3 months.
To thaw, simply move them to the fridge overnight or let them sit at room temperature for 10-15 minutes. I often grab one straight from the freezer and eat it frozen—it’s like a mini ice cream bite, honestly.
One thing I’ve noticed: the flavors actually get better after a day or two in the fridge. The oats soften slightly, the chocolate chips firm up, and everything melds together. So don’t be disappointed if they taste even better on day three.
Nutritional Information & Benefits
Here’s the approximate nutritional breakdown per ball (based on 16 servings):
- Calories: 135
- Protein: 6g
- Carbohydrates: 16g
- Fiber: 3g
- Sugar: 9g
- Fat: 7g
- Saturated Fat: 2g
- Sodium: 55mg
These numbers will vary based on your specific ingredients, but they give you a solid ballpark. The combination of oats, peanut butter, and flaxseed provides a good balance of complex carbs, healthy fats, and protein—perfect for sustained energy without the crash.
The flaxseed meal adds omega-3 fatty acids and extra fiber, which supports digestion and heart health. The oats provide beta-glucan, a type of soluble fiber that helps manage cholesterol. And the peanut butter? It’s packed with protein and healthy monounsaturated fats that keep you full and satisfied.
These are also naturally gluten-free if you use certified gluten-free oats, and the honey can be swapped for maple syrup to make them vegan. Just be aware of the chocolate chips—some brands contain dairy, so check the label if that’s a concern.
Frequently Asked Questions
Can I use quick oats instead of rolled oats?
Yes, but the texture will be softer and less chewy. Quick oats absorb more moisture, so you might need to add an extra tablespoon of oats if the dough feels too sticky. I prefer rolled oats for that satisfying bite.
My dough is too dry and crumbly. What went wrong?
This usually happens if your peanut butter is too thick or if you measured the oats generously. Try adding a tablespoon of honey or a splash of milk (dairy or non-dairy) and mix again. If that doesn’t work, add a little more peanut butter—a teaspoon at a time—until the dough holds together.
Can I make these without protein powder?
Absolutely. Just omit the protein powder and add an extra ¼ cup of oats. The balls will be slightly less protein-packed but still delicious. You could also add 2 tablespoons of cocoa powder for extra chocolate flavor.
How long do these last at room temperature?
They’re fine at room temperature for a few hours, making them great for lunches or road trips. But for longer storage, keep them in the fridge. Without refrigeration, they’ll soften and potentially spoil after a day or two, especially if you used natural peanut butter.
Can I freeze these protein balls?
Yes! Freeze them in a single layer on a baking sheet, then transfer to a freezer bag. They’ll keep for up to 3 months. You can eat them frozen (they’re like little protein fudge bites) or thaw them in the fridge overnight.
Conclusion
These no-bake chocolate peanut butter protein balls are exactly the kind of recipe I love—simple, forgiving, and genuinely useful. They’ve saved me from countless vending machine runs, turned into last-minute hostess gifts, and even made it into my carry-on for flights. Every time I make them, I think about Jenna on her apartment floor, showing me that cooking doesn’t have to be complicated to be good.
I hope you give these a try and make them your own. Maybe you’ll add a little coconut, swap in almond butter, or double the chocolate chips (I won’t judge). That’s the beauty of a recipe like this—it’s a starting point, not a rulebook. If you make them, I’d love to hear how they turn out. Drop a comment below or tag me in your photos. Happy rolling!
Pin This Recipe!
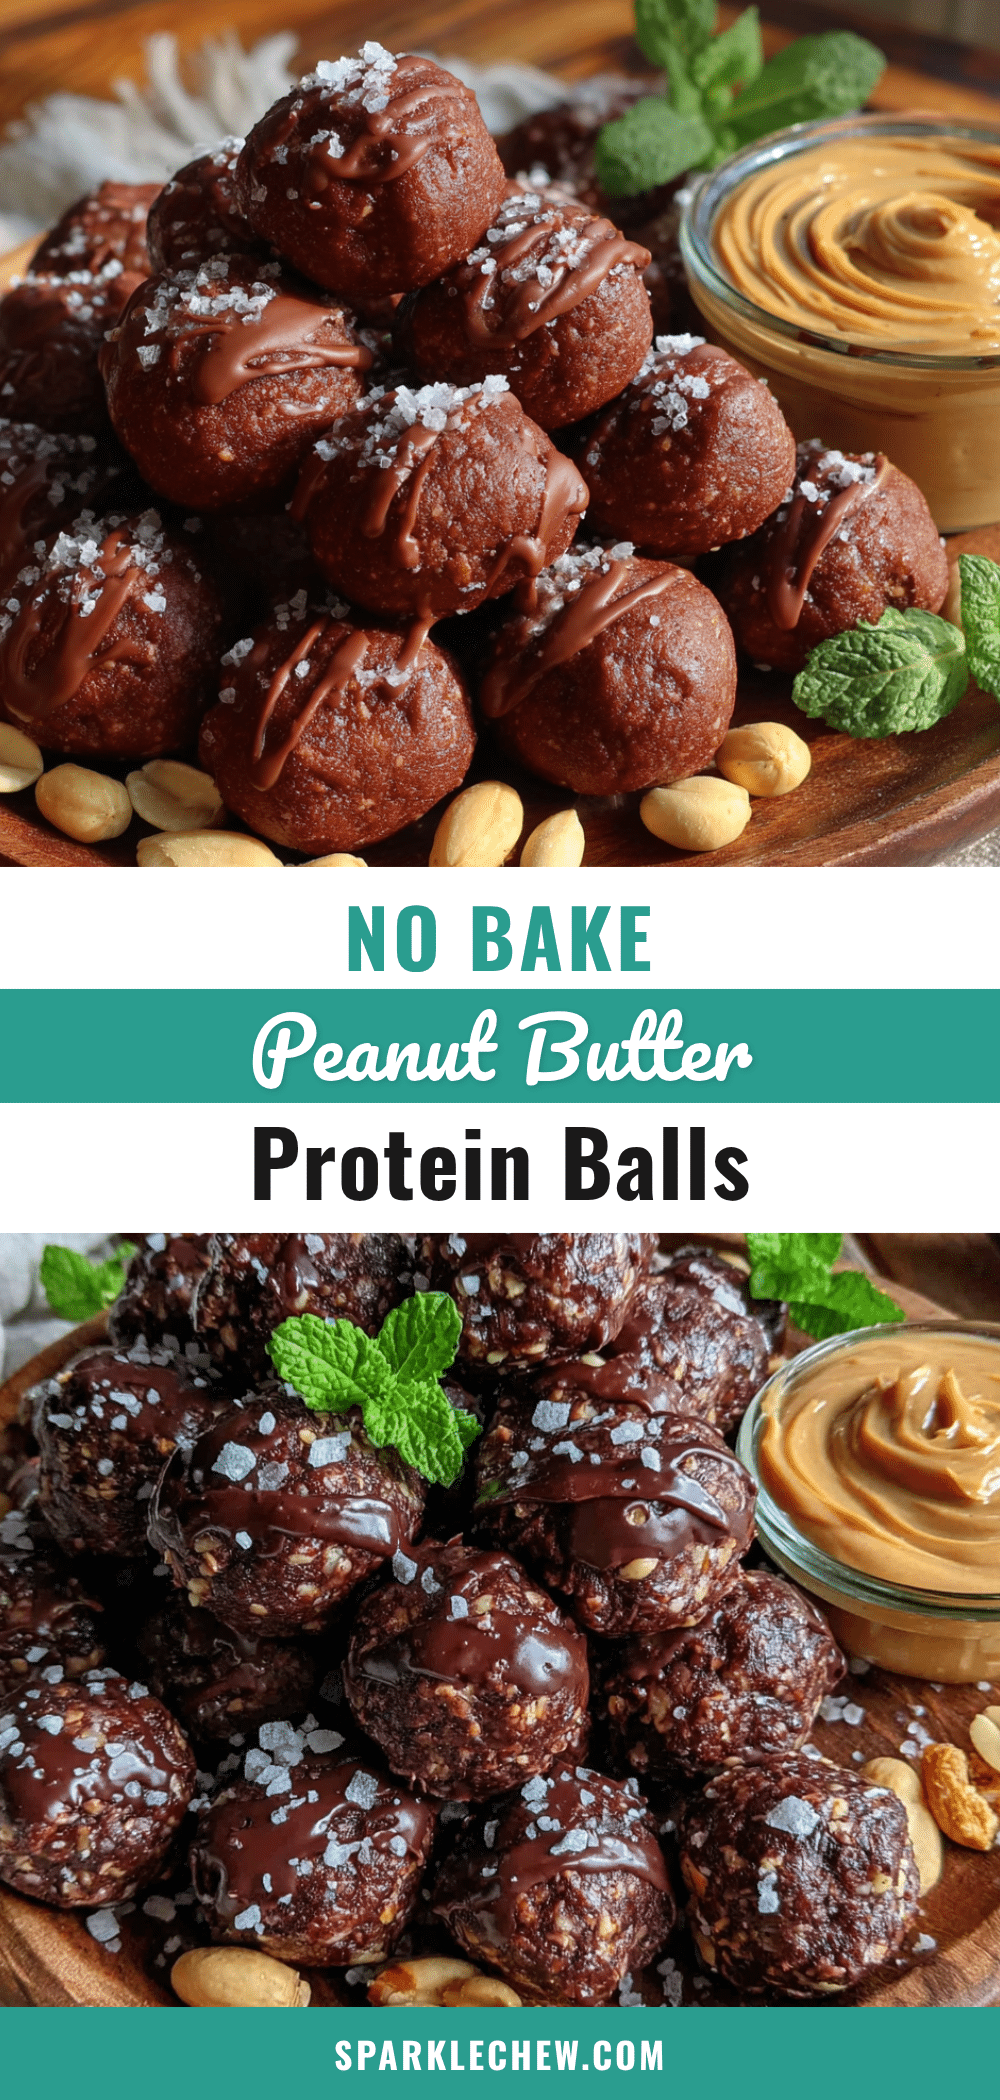
Easy No-Bake Chocolate Peanut Butter Protein Balls

These no-bake chocolate peanut butter protein balls are a quick and easy snack made with simple ingredients. Perfect for busy mornings or a satisfying afternoon pick-me-up, they come together in under 15 minutes with no oven required.
- Prep Time: 15 minutes
- Cook Time: 0 minutes
- Total Time: 45 minutes
- Yield: 16-18 servings 1x
- Category: Snack
- Cuisine: American
Ingredients
- 1 cup (90g) rolled oats
- ½ cup (130g) creamy peanut butter
- ¼ cup (60ml) honey or maple syrup
- ¼ cup (30g) chocolate protein powder
- ¼ cup (45g) mini chocolate chips
- 2 tablespoons (14g) flaxseed meal
- ½ teaspoon vanilla extract
- ⅛ teaspoon salt (if peanut butter is unsalted)
Instructions
- Combine the dry ingredients: In a large mixing bowl, add 1 cup rolled oats, ¼ cup chocolate protein powder, 2 tablespoons flaxseed meal, and a pinch of salt if using. Whisk together with a fork until evenly distributed.
- Add the wet ingredients: Spoon ½ cup creamy peanut butter into the center of the dry mixture. Add ¼ cup honey (or maple syrup) and ½ teaspoon vanilla extract. Do not stir yet.
- Mix until combined: Using a rubber spatula or clean hands, fold everything together until no dry streaks remain. The mixture should come together into a thick, slightly sticky dough. If too dry, add a teaspoon of honey or water; if too sticky, add a tablespoon more oats.
- Fold in the chocolate chips: Sprinkle ¼ cup mini chocolate chips over the dough and gently fold them in.
- Chill the mixture (optional but recommended): Refrigerate the bowl for 15-20 minutes to make the dough easier to handle.
- Roll into balls: Scoop about 1 tablespoon of dough and roll it between your palms into a smooth ball. Place each ball on a parchment-lined baking sheet. You should get about 16-18 balls.
- Chill to set: Refrigerate the balls for at least 30 minutes before eating to firm up and develop a fudge-like texture.
Notes
For best texture, use standard peanut butter (like Jif or Skippy) rather than natural, as added stabilizers help the balls hold together. If dough is too dry, add a teaspoon of honey or water; if too sticky, add a tablespoon more oats. Chilling the dough before rolling makes it easier to handle. The balls can be stored in an airtight container in the refrigerator for up to 2 weeks or frozen for up to 3 months.
Nutrition
- Serving Size: 1 ball
- Calories: 135
- Sugar: 9
- Sodium: 55
- Fat: 7
- Saturated Fat: 2
- Carbohydrates: 16
- Fiber: 3
- Protein: 6
Keywords: no-bake protein balls, chocolate peanut butter protein balls, healthy snack, easy protein balls, gluten-free protein balls