Love this? Save it for later!
Share the inspiration with your friends
There used to be a tiny health food store tucked between a laundromat and a used bookstore on the corner of Elm Street that made the most incredible elderberry gummies. When they closed their doors two summers ago—just a handwritten sign saying “Thanks for the memories”—I honestly panicked a little. Those little ruby-red squares were my secret weapon every cold season, and I never thought to ask for the recipe. After twelve tries—some that tasted like medicine, others that never set properly—I finally got it.
Let me tell you, the first batch that actually worked felt like winning a small lottery. I stood there in my kitchen, peeling a perfectly set gummy off the silicone mold, and I may have let out a little cheer. The texture was exactly right—firm but with that satisfying bounce—and the flavor was pure elderberry without any of that fake-sweet syrupy nonsense. My neighbor Dave knocked on the door because he heard me yelling “Yes!” at 9 PM on a Tuesday. That’s the kind of moment this recipe creates.
These healthy elderberry immune-boosting gummies are everything I wanted them to be: tart, fruity, and actually good for you. No sugar, no gelatin from questionable sources, no weird aftertaste. Just real elderberry concentrate doing its thing in a form that makes you actually want to take them every day. Maybe you’ve been there—staring at a bottle of elderberry syrup, knowing you should take it, but dreading that sticky spoon situation. These gummies solve that problem completely.
I keep making them because they work, plain and simple. Every time I feel that tickle in my throat, I pop a couple of these, and it’s like my immune system gets a little pep talk. Plus, they’re fun to make, which never hurts.
Why You’ll Love This Recipe
I’ve tested this recipe more times than I care to count, and I can tell you with confidence—this is the version that delivers. No more wasting money on store-bought gummies filled with corn syrup and artificial flavors. These are the real deal.
- Truly No Sugar: Most “healthy” gummies still sneak in honey or maple syrup. These use only elderberry concentrate and a touch of monk fruit for sweetness. Your blood sugar will thank you.
- Actually Works: Elderberry has been studied for its immune-supporting properties, and when you make it yourself, you control the potency. No watered-down versions here.
- Kid-Approved: My niece calls them “berry candy” and asks for them by name. If you’ve ever tried to convince a child to take herbal supplements, you know this is a game-changer.
- Simple Ingredients: You need exactly five ingredients, and three of them are probably in your kitchen right now. No weird additives or preservatives.
- Cost-Effective: A bottle of quality elderberry gummies at the health food store runs about $25. A batch of these costs maybe $8 and makes twice as many.
What makes this recipe different from the dozens I tried before? It’s the texture. Most homemade gummies end up either too soft (basically flavored water) or too hard (like chewing on a rubber band). I figured out the exact ratio of gelatin to liquid that gives you that perfect, satisfying chew without any weird stickiness. It took me eight failed batches to get there, but now you get to skip all that trial and error.
This is the kind of recipe that makes you feel like you’re actually taking care of yourself. It’s not just about avoiding sickness—it’s about building resilience, one little gummy at a time. And honestly, when something this good for you tastes this good, you know you’ve found something special.
What Ingredients You Will Need
This recipe uses simple, whole-food ingredients that work together to create a potent immune-boosting treat. No fancy health food store scavenger hunts required.
- Elderberry Concentrate: 1 cup (240 ml) — This is the star of the show. I prefer Sambucol brand for its consistent potency, but any unsweetened elderberry concentrate works. Look for one where elderberry is the only ingredient listed. The deep purple color tells you it’s packed with anthocyanins.
- Grass-Fed Beef Gelatin: 3 tablespoons (about 25 grams) — This is what gives the gummies their structure. I’ve tested this with Great Lakes Gelatin (red can) and it works beautifully. Avoid collagen peptides here—they won’t set the same way. For a vegan version, see the variations section.
- Monk Fruit Sweetener: 2 tablespoons (about 15 grams) — Just enough to take the edge off the tartness without adding sugar. You could also use stevia glycerite, but monk fruit gives a cleaner finish. Adjust to your taste.
- Fresh Lemon Juice: 2 tablespoons (30 ml) — This isn’t just for flavor. The acidity helps activate the gelatin and brightens the elderberry taste. Always use fresh—bottled lemon juice has a flat, metallic note that throws off the whole batch.
- Filtered Water: ¼ cup (60 ml) — Used to bloom the gelatin. Tap water with chlorine can sometimes affect how gelatin sets, so filtered is better if you have it.
A quick note on elderberry concentrate versus syrup: Concentrate is thicker, more potent, and unsweetened. Syrup usually has added sugar or honey and is thinner. For this recipe, you absolutely want concentrate. If you can only find syrup, reduce the monk fruit and expect a slightly softer gummy.
One thing I learned the hard way—don’t skip the lemon juice. My third batch turned out cloudy and didn’t set properly, and I couldn’t figure out why until I realized I’d forgotten it. The acid helps the gelatin molecules align correctly. Trust me on this one.
Equipment Needed
- Silicone Gummy Molds: I use bear-shaped ones because they’re fun, but any shape works. Silicone is essential—plastic or metal molds will leave you fighting to get the gummies out. I got a set of four on Amazon for about $10.
- Small Saucepan: You only need something that holds about 2 cups. A larger pan makes it harder to control the temperature.
- Whisk: A small balloon whisk works best for incorporating the gelatin without lumps. A fork can work in a pinch, but you’ll be whisking longer.
- Glass Measuring Cup: Something with a pour spout makes transferring the mixture into molds much less messy. I use a 2-cup Pyrex.
- Dropper or Small Spoon: For filling those tiny mold cavities without spilling everywhere. A turkey baster actually works great too.
- Refrigerator Space: The gummies need at least 2 hours to set. Make sure you have a flat spot in your fridge.
If you don’t have silicone molds, you can pour the mixture into a small glass dish (about 6×6 inches) and cut it into squares once set. The texture is slightly different, but it works perfectly fine. I did this for my first few batches before I invested in molds.
Preparation Method
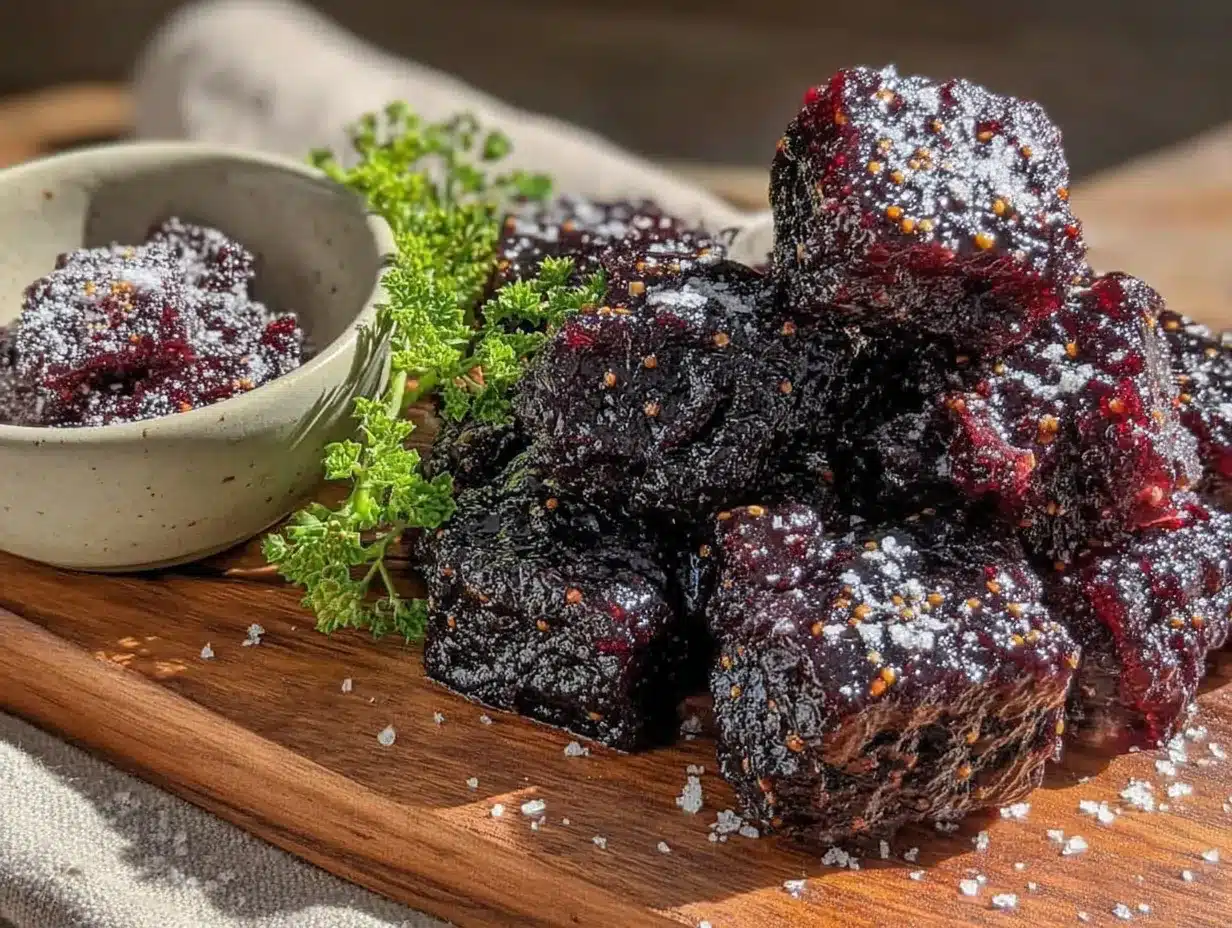
- Bloom the gelatin: Pour the ¼ cup of filtered water into a small bowl. Sprinkle the 3 tablespoons of gelatin evenly over the surface. Do not stir. Let it sit for 5-10 minutes until it becomes a firm, jiggly mass. This is called blooming, and it’s crucial for smooth, lump-free gummies.
- Warm the elderberry concentrate: Pour the elderberry concentrate into your small saucepan. Heat it over low heat—I mean really low, like setting 2 out of 10. You want it warm, not hot. If it starts steaming, it’s too hot. Stir occasionally for about 3 minutes.
- Combine the bloomed gelatin: Once the concentrate is warm (not hot!), add the bloomed gelatin. Whisk gently but constantly until the gelatin is completely dissolved. This takes about 2-3 minutes. The mixture should be smooth with no lumps. If you see any stringy bits, keep whisking.
- Add the sweetener and lemon juice: Whisk in the monk fruit sweetener and fresh lemon juice. Taste the mixture—it should be pleasantly tart with just a hint of sweetness. Remember, the flavor will be slightly muted when cold, so aim for a stronger taste than you think you want.
- Strain the mixture: Pour the liquid through a fine-mesh strainer into your glass measuring cup with a pour spout. This catches any undissolved gelatin bits and ensures perfectly clear gummies. I skipped this step once and ended up with little cloudy specks in every gummy. Not the end of the world, but not ideal.
- Fill the molds: Place your silicone molds on a small baking sheet (this makes them easier to move). Use your dropper or small spoon to fill each cavity. Don’t overfill—leave a tiny bit of space at the top. Tap the baking sheet gently on the counter to release any air bubbles.
- Refrigerate: Carefully transfer the baking sheet to the refrigerator. Let the gummies set for at least 2 hours, but 3 is better. I once got impatient at 90 minutes and ended up with gummies that collapsed when I tried to remove them. Patience pays off here.
- Unmold and store: Once set, gently pop the gummies out of the molds. They should release easily—if they stick, let them sit at room temperature for 5 minutes and try again. Store in an airtight container in the refrigerator.
Cooking Tips & Techniques
The biggest mistake I made early on was overheating the elderberry concentrate. Gelatin is delicate stuff—if you get it above 180°F (82°C), it starts to break down and loses its setting power. I ruined an entire batch this way, ending up with elderberry-flavored liquid that refused to solidify. Now I keep the heat low and use my finger to test the temperature. If it feels warm but not hot, you’re good.
Another thing I learned through trial and error—don’t skip the blooming step. I know it seems fussy, but sprinkling the gelatin over cold water and letting it sit is what prevents lumps. If you dump gelatin directly into warm liquid, you get these awful little gelatin balls that never dissolve. Trust me, I’ve been there.
For the best texture, use a digital kitchen scale to measure your gelatin. Volume measurements can vary depending on how tightly you pack the powder, and even a gram or two makes a difference. I use 25 grams exactly, and my gummies come out perfectly every time.
If you’re making these with kids, get them involved in the filling step. It’s a little messy, but they love seeing the molds fill up. Just keep them away from the hot saucepan.
Variations & Adaptations
- Vegan Version: Substitute the beef gelatin with agar agar powder. Use 2 tablespoons of agar agar, but note that the texture will be firmer and more brittle—more like a jelly than a gummy. You’ll also need to boil the mixture for 1 minute to activate the agar, which changes the process slightly.
- Extra Immune Boost: Add 1 teaspoon of vitamin C powder (ascorbic acid) along with the lemon juice. It adds a bit more tartness but significantly boosts the immune-supporting properties. I do this during cold season.
- Herbal Infusion: Replace ¼ cup of the elderberry concentrate with strong echinacea tea. Brew 2 tea bags in ¼ cup of hot water for 10 minutes, then let it cool before using. This adds another layer of immune support without changing the flavor much.
- Berry Blend: Use half elderberry concentrate and half unsweetened blackberry or blueberry juice. This creates a milder flavor that some kids prefer, while still keeping the elderberry benefits.
- Spiced Version: Add ¼ teaspoon of ground ginger and ⅛ teaspoon of ground cinnamon along with the sweetener. This gives the gummies a warming, cozy flavor that’s perfect for winter months.
I personally love the spiced version during flu season. It makes me feel like I’m eating a little piece of comfort, even when I’m feeling run down.
Serving & Storage Suggestions
These gummies are best enjoyed cold, straight from the fridge. The texture is firmer and more satisfying that way. I keep a small glass jar in my refrigerator door and grab 2-3 gummies each morning during cold season. If you let them sit at room temperature for more than 30 minutes, they’ll start to soften, so only take out what you plan to eat.
For storage, keep them in an airtight container in the refrigerator. They’ll stay fresh for up to 3 weeks, though mine never last that long. You can also freeze them for up to 3 months—just lay them in a single layer on a baking sheet, freeze until solid, then transfer to a freezer bag. Thaw in the refrigerator overnight before eating.
I don’t recommend storing these at room temperature, even for short periods. The gelatin will eventually break down, and you’ll end up with a sticky mess. Trust me, I learned this when I left a batch out during a party and came back to a puddle of elderberry goo.
These pair beautifully with a cup of ginger tea or a warm mug of bone broth. It’s like a little immune-boosting ritual that makes you feel taken care of.
Nutritional Information & Benefits
Per serving (2 gummies): Approximately 15 calories, 0g fat, 3g carbohydrates, 0g sugar, 2g protein. These numbers are estimates and will vary based on your specific ingredients.
The real benefit here is what you’re getting beyond the basic nutrition. Elderberries are packed with anthocyanins, which are powerful antioxidants that help support your immune system. Studies have shown that elderberry can help reduce the duration and severity of cold symptoms when taken regularly.
Lemon juice adds vitamin C, which works synergistically with the elderberry to support immune function. And because there’s no added sugar, you’re not dealing with the blood sugar spikes that come with commercial gummies. This makes them suitable for anyone watching their sugar intake, including those on keto or low-carb diets.
As always, check with your healthcare provider before adding any new supplement to your routine, especially if you’re pregnant, nursing, or have autoimmune conditions.
Conclusion
These healthy elderberry immune-boosting gummies have become a non-negotiable part of my cold-season routine, and I honestly can’t imagine going back to store-bought versions. They’re cheaper, more potent, and free from all the junk you don’t want. Plus, there’s something deeply satisfying about making your own medicine—it connects you to the process in a way that buying a bottle never can.
I’d love to hear how these turn out for you. Did you try any variations? Did your kids love them as much as mine do? Drop a comment below and let me know—your feedback helps me create better recipes for all of us. And if you found this helpful, share it with a friend who’s always fighting off colds. Together, we can make the world a little healthier, one gummy at a time.
Happy cooking, and here’s to a winter full of health and good food!
Frequently Asked Questions
Can I use elderberry syrup instead of concentrate?
You can, but you’ll need to adjust the recipe. Syrup is thinner and usually sweetened, so reduce or omit the monk fruit. You may also need to add a bit more gelatin to get the right texture. Expect a softer gummy overall.
How long do these gummies last?
In an airtight container in the refrigerator, they stay fresh for up to 3 weeks. You can also freeze them for up to 3 months. Just thaw in the fridge overnight before eating.
Can I make these without a gummy mold?
Absolutely! Pour the mixture into a small glass dish (about 6×6 inches) and refrigerate until set. Then cut into small squares with a sharp knife. The texture will be slightly different, but they work perfectly.
Why did my gummies turn out too soft?
This usually happens for one of three reasons: you didn’t bloom the gelatin long enough, you overheated the mixture, or you didn’t use enough gelatin. Try weighing your gelatin on a kitchen scale for more consistent results.
Are these safe for children?
Yes, but always supervise young children when eating gummies to prevent choking. For children under 2, check with your pediatrician first. The recommended serving for kids is 1-2 gummies per day, depending on age and weight.
Pin This Recipe!
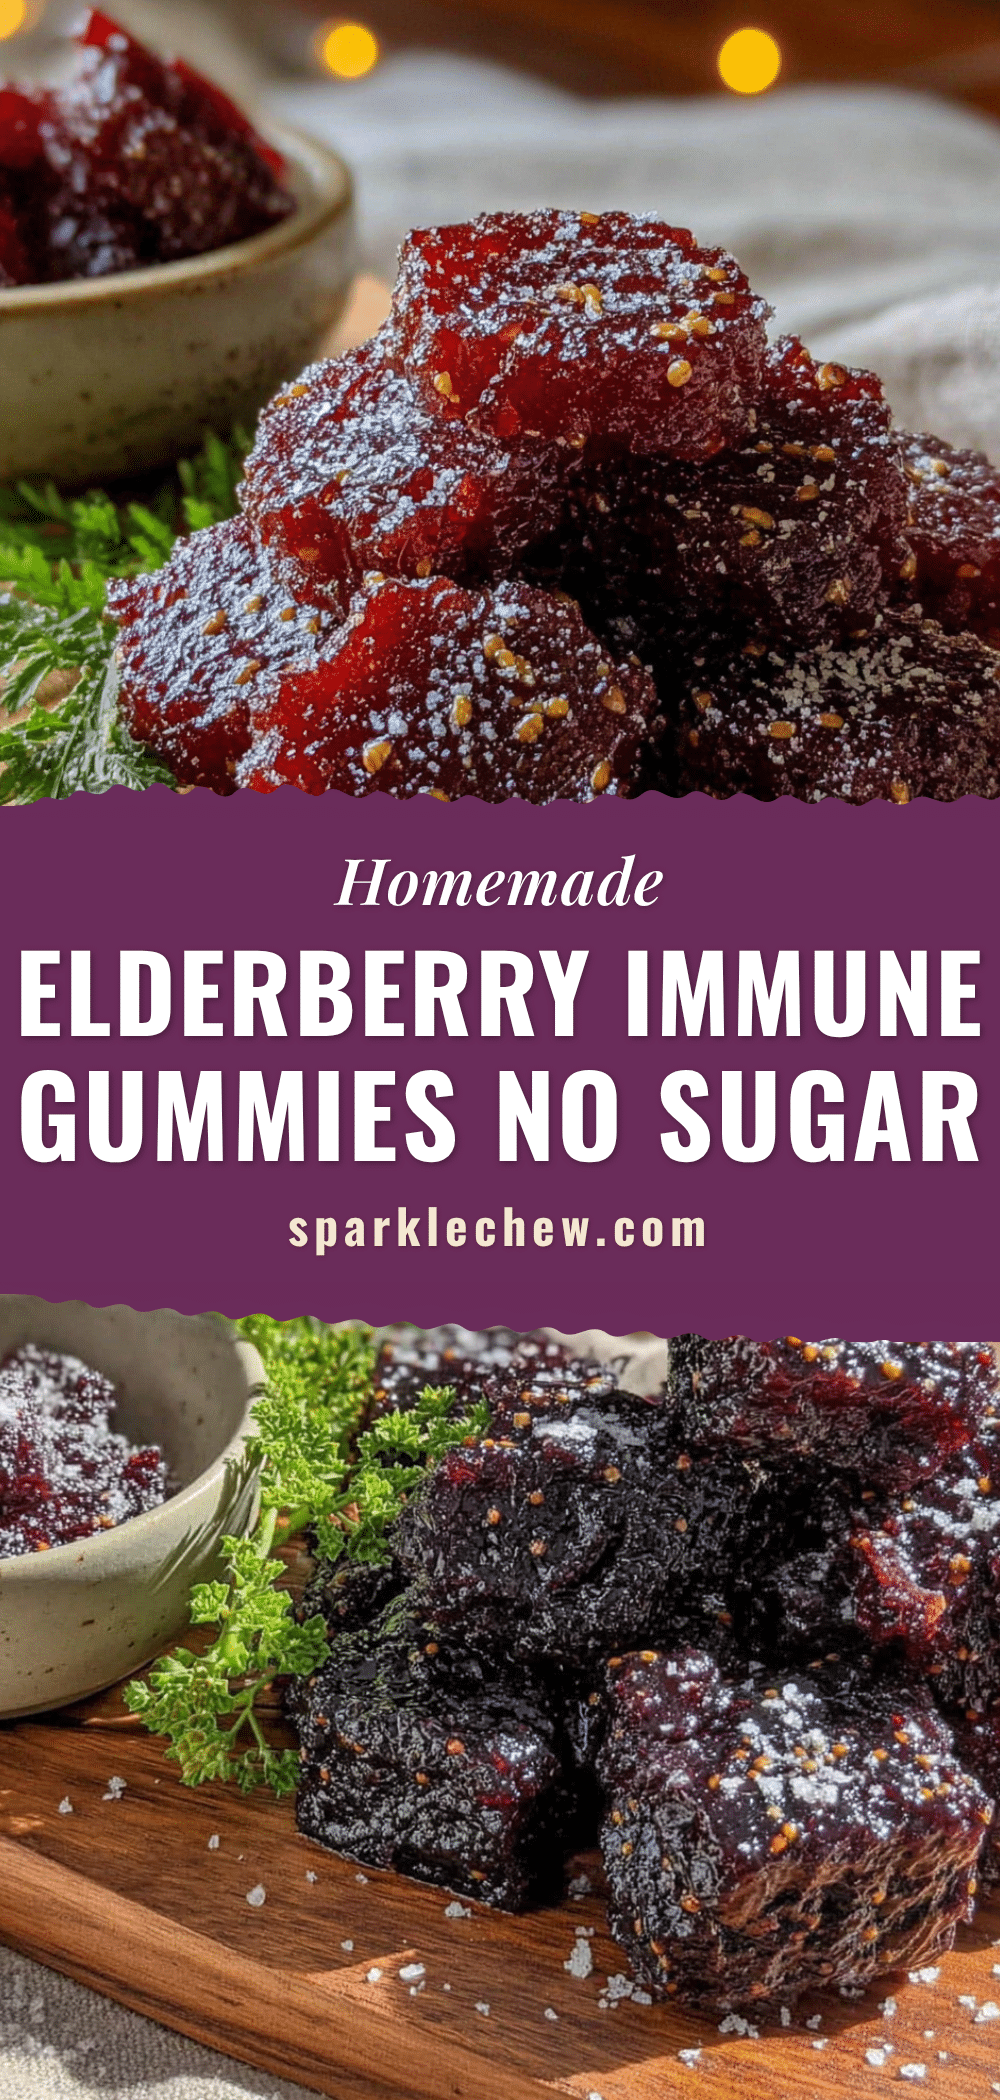
Healthy Elderberry Immune Gummies (Easy No Sugar Recipe)
These healthy elderberry immune-boosting gummies are tart, fruity, and actually good for you. No sugar, no gelatin from questionable sources, no weird aftertaste—just real elderberry concentrate in a fun, kid-approved form.
- Prep Time: 15 minutes
- Cook Time: 5 minutes
- Total Time: 2 hours 20 minutes (includes setting time)
- Yield: 4 servings (approximately 40-50 gummies, depending on mold size) 1x
- Category: Snack
- Cuisine: American
Ingredients
- 1 cup (240 ml) elderberry concentrate (unsweetened, such as Sambucol)
- 3 tablespoons (about 25 grams) grass-fed beef gelatin (such as Great Lakes Gelatin, red can)
- 2 tablespoons (about 15 grams) monk fruit sweetener
- 2 tablespoons (30 ml) fresh lemon juice
- ¼ cup (60 ml) filtered water
Instructions
- Bloom the gelatin: Pour the ¼ cup of filtered water into a small bowl. Sprinkle the 3 tablespoons of gelatin evenly over the surface. Do not stir. Let it sit for 5-10 minutes until it becomes a firm, jiggly mass.
- Warm the elderberry concentrate: Pour the elderberry concentrate into a small saucepan. Heat it over low heat (setting 2 out of 10) until warm, not hot. Stir occasionally for about 3 minutes.
- Combine the bloomed gelatin: Once the concentrate is warm (not hot!), add the bloomed gelatin. Whisk gently but constantly until the gelatin is completely dissolved, about 2-3 minutes. The mixture should be smooth with no lumps.
- Add the sweetener and lemon juice: Whisk in the monk fruit sweetener and fresh lemon juice. Taste the mixture—it should be pleasantly tart with just a hint of sweetness. Remember, the flavor will be slightly muted when cold, so aim for a stronger taste.
- Strain the mixture: Pour the liquid through a fine-mesh strainer into a glass measuring cup with a pour spout. This catches any undissolved gelatin bits and ensures perfectly clear gummies.
- Fill the molds: Place silicone molds on a small baking sheet. Use a dropper or small spoon to fill each cavity. Don’t overfill—leave a tiny bit of space at the top. Tap the baking sheet gently on the counter to release any air bubbles.
- Refrigerate: Carefully transfer the baking sheet to the refrigerator. Let the gummies set for at least 2 hours, but 3 is better.
- Unmold and store: Once set, gently pop the gummies out of the molds. They should release easily—if they stick, let them sit at room temperature for 5 minutes and try again. Store in an airtight container in the refrigerator.
Notes
Do not overheat the elderberry concentrate—gelatin breaks down above 180°F (82°C). Use a digital kitchen scale to measure gelatin for consistent results. For a vegan version, substitute with 2 tablespoons agar agar powder and boil for 1 minute. Store in an airtight container in the refrigerator for up to 3 weeks, or freeze for up to 3 months.
Nutrition
- Serving Size: 2 gummies
- Calories: 15
- Carbohydrates: 3
- Protein: 2
Keywords: elderberry gummies, immune gummies, no sugar gummies, healthy gummies, homemade gummies, elderberry recipe, immune booster, sugar-free gummies, keto gummies, kid-friendly gummies


