Love this? Save it for later!
Share the inspiration with your friends
There used to be a tiny bakery called Sweet Pea’s in the old strip mall near my daughter’s preschool that made the most incredible dirt cups I have ever tasted. When they closed—suddenly, with a hand-painted sign taped to the door that just said “Thank you for the sweet years”—I actually felt a little pang of loss. My three-year-old asked about “the chocolate cups with the worm” for weeks.
After seven tries—some too soupy, some too stiff, one that my husband politely called “a chocolate science experiment”—I finally cracked it. I mean, honestly, I was getting a little obsessive about it. I’d stand in the grocery aisle staring at pudding boxes like they held secrets. My neighbor Karen caught me testing a batch at 10 p.m. on a Tuesday and just shook her head. But here’s the thing: the version I landed on is actually better than the original. It’s creamier, it’s easier, and it uses ingredients I already have in my pantry. Let me tell you, that feels good.
These Kid-Approved Halloween Dirt Cups with Crushed Oreos are the kind of treat that makes kids’ eyes go wide and adults sneak a second one when nobody’s looking. They’re spooky enough for a Halloween party but simple enough that you can whip them up on a random October afternoon when the kids are bouncing off the walls. Maybe you’ve been there, right? The best part is that they come together in about fifteen minutes of actual work. The hardest part is waiting for them to chill in the fridge, which, if you have impatient little ones, might be the real challenge.
Why You’ll Love This Recipe
Look, I’ve tested this recipe more times than I care to admit. I’ve made it with boxed pudding and homemade pudding. I’ve tried different brands of Oreos. I’ve experimented with cream cheese ratios until my family begged me to stop making dirt cups for a while. So trust me when I say this version is the one.
- Quick & Easy: Comes together in under 15 minutes of active time. The fridge does the rest of the work while you handle the chaos of a Halloween week.
- Simple Ingredients: No fancy grocery trips needed. You likely already have cream cheese, milk, and pudding mix in your kitchen. The Oreos and gummy worms are the only special purchases.
- Perfect for Halloween Parties: Great for classroom celebrations, trunk-or-treat events, or a spooky movie night at home. They travel well and don’t require any last-minute assembly.
- Crowd-Pleaser: My kids’ friends devour these. My picky nephew who “doesn’t like desserts” ate three. The adults at our Halloween block party asked for the recipe before I could even set down the tray.
- Unbelievably Delicious: The texture is what gets me every time. The creamy, tangy pudding mixture against the crunchy Oreo “dirt” creates this perfect contrast that keeps you coming back for another spoonful.
This isn’t just another dirt cup recipe you find online. The trick here is blending the cream cheese until it’s completely smooth before adding the pudding mix. Most recipes skip this step, and you end up with little lumps of cream cheese that feel weird in your mouth. Not these cups. They’re silky, rich, and absolutely irresistible.
Honestly, this recipe is the kind that makes you close your eyes after the first bite. It’s comfort food with a spooky twist—faster than baking a cake, but with the same soul-soothing satisfaction. Perfect for impressing other parents at the Halloween party without stressing yourself out.
What Ingredients You Will Need
This recipe uses simple, everyday ingredients that work together to create something genuinely magical. The cream cheese provides richness and structure, the pudding gives that familiar childhood flavor, and the Oreos deliver the crunch and the “dirt” effect that makes these cups so fun.
For the Creamy Pudding Layer
- 8 ounces cream cheese, softened to room temperature (this is important—cold cream cheese will leave lumps)
- 1/2 cup granulated sugar
- 1 teaspoon vanilla extract (I use pure vanilla extract, but imitation works fine too)
- 1 package (3.9 ounces) instant chocolate pudding mix (I recommend Jell-O brand for the most consistent texture)
- 2 cups cold whole milk (2% works too, but whole milk gives the creamiest result)
- 8 ounces Cool Whip, thawed (or homemade whipped cream if you’re feeling fancy)
For the Dirt and Decoration
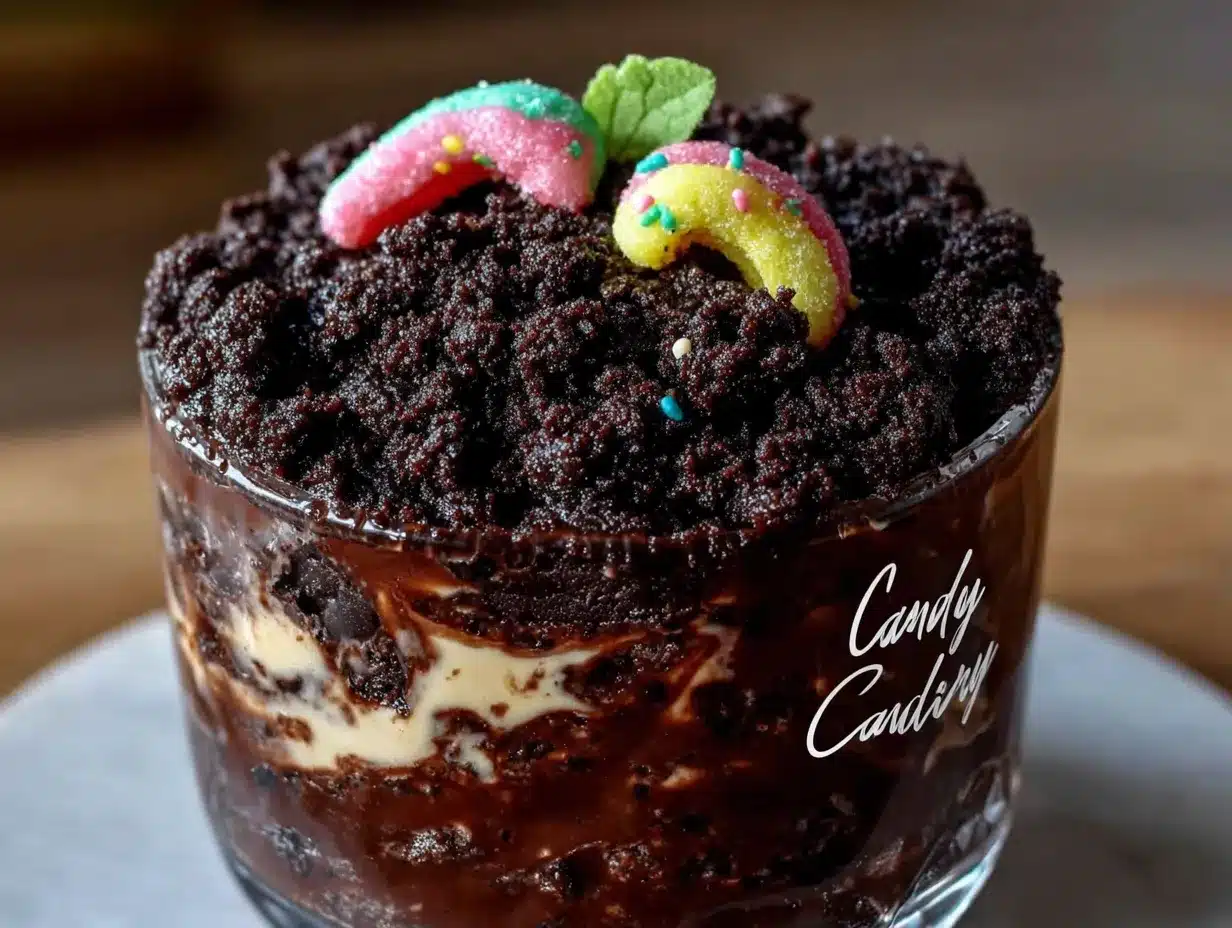
- 1 package (14.3 ounces) Oreo cookies (regular, not double-stuff—you want the cookie-to-cream ratio right)
- Gummy worms (about 2-3 per cup, plus a few extra for snacking)
- Optional: Halloween sprinkles, candy eyeballs, or small plastic spiders for extra spooky vibes
A few notes on ingredient selection: Look for cream cheese that’s in block form, not the spreadable tub kind. The tub version has added water and stabilizers that will make your pudding layer too loose. I’ve tested this with both, and the block cream cheese wins every time.
For the Oreos, you can use generic chocolate sandwich cookies if you’re on a tight budget. I’ve done it. They work fine. But the real Oreos have that distinctive flavor that makes these cups taste like the ones from Sweet Pea’s. If you’re making these for a special occasion, spring for the real thing.
If someone in your family has a dairy sensitivity, you can substitute dairy-free cream cheese and a plant-based milk. I haven’t tested this with dairy-free Cool Whip, but I’ve heard good things about the coconut-based version. The texture might be slightly different, but the spirit of the recipe remains.
Equipment Needed
The beauty of this recipe is that you don’t need anything fancy. Here’s what you’ll need:
- Electric hand mixer or stand mixer (you can do this by hand with a whisk, but your arm will definitely feel it the next day)
- Large mixing bowl
- Medium mixing bowl
- Measuring cups and spoons
- Rubber spatula (for scraping every last bit of that creamy goodness)
- Rolling pin or food processor (for crushing the Oreos—I prefer the rolling pin method because it’s more satisfying)
- Zip-top bag (for the Oreo crumbs)
- Small clear cups or dessert dishes (6 to 8 ounces each—I use plastic cups from the party supply store for Halloween)
If you don’t have a rolling pin, you can crush the Oreos in a food processor using short pulses. Just be careful not to overdo it—you want some texture, not dust. A few pulses, check, a few more, check. That’s the way to go.
For the cups, I’ve used everything from mason jars to recycled yogurt containers. The clear cups are best because you can see the layers, which is half the fun for kids. You can find packs of 50 clear plastic cups at the dollar store for a few bucks. Budget-friendly and adorable.
Preparation Method
Alright, let’s get to the fun part. Here’s how to make these Kid-Approved Halloween Dirt Cups with Crushed Oreos.
- Crush the Oreos. Place the entire package of Oreos (cream filling and all) into a large zip-top bag. Seal it tight—trust me on this, you don’t want Oreo dust all over your kitchen. Use a rolling pin to crush them into fine crumbs. You want a mix of fine powder and small pieces. Set aside about 1/2 cup of the crumbs for the top layer.
- Beat the cream cheese. In a large mixing bowl, beat the softened cream cheese with an electric mixer on medium speed until it’s completely smooth and fluffy. This takes about 2-3 minutes. Scrape down the sides of the bowl with your spatula. This step is crucial—if you skip it, you’ll have lumps of cream cheese in your final cups.
- Add the sugar and vanilla. Add the granulated sugar and vanilla extract to the cream cheese. Beat on medium speed until everything is well combined and smooth. The mixture should look glossy and feel light.
- Make the pudding. In a separate medium bowl, whisk together the instant chocolate pudding mix and cold milk. Whisk for about 2 minutes until the pudding starts to thicken. It will still be fairly loose at this point—that’s normal.
- Combine the mixtures. Add the pudding mixture to the cream cheese mixture. Beat on low speed until just combined. Don’t overmix here, or the texture will get weird. You want everything to come together smoothly.
- Fold in the Cool Whip. Add the thawed Cool Whip to the bowl. Use your rubber spatula to gently fold it in. Fold, don’t stir. You want to maintain the airiness of the Cool Whip so the final texture is light and creamy. Fold until you don’t see any white streaks.
- Assemble the cups. Spoon about 2 tablespoons of the Oreo crumbs into the bottom of each cup. This creates the first layer of “dirt.” Then spoon the creamy pudding mixture on top, filling each cup about three-quarters full. Smooth the top with the back of a spoon.
- Add the top layer. Sprinkle the reserved Oreo crumbs over the top of each cup. You want a generous layer that completely covers the pudding. This is the “dirt” that makes these cups look so fun.
- Chill. Place the cups in the refrigerator for at least 2 hours, but 4 hours is better. Overnight is ideal. The chilling time allows the flavors to meld and the texture to set properly.
- Decorate. Just before serving, poke gummy worms into the “dirt” so they look like they’re crawling out. Add any other Halloween decorations you like. Serve cold.
A quick note: if you’re making these for a classroom party, you can assemble them the night before and add the gummy worms right before serving. The gummy worms will get a little soft if they sit in the pudding too long, which some kids actually prefer, but I like the contrast of the chewy candy against the creamy pudding.
Cooking Tips & Techniques
I learned a few things the hard way so you don’t have to. Here are my best tips for perfect dirt cups every time.
Don’t rush the cream cheese. I know it’s tempting to microwave the cream cheese to soften it quickly. I’ve done it. And I’ve regretted it. Microwaved cream cheese gets hot spots that can mess with the texture. Just take it out of the fridge an hour before you start baking. Set it on the counter and forget about it until you’re ready.
Crush the Oreos with intention. The first time I made these, I went overboard with the food processor and ended up with Oreo dust. It still tasted fine, but it didn’t have that satisfying crunch. You want some small pieces in there. If you’re using the bag-and-rolling-pin method, leave a few larger chunks. Your teeth will thank you.
Layer with care. When you’re spooning the pudding mixture over the Oreo crumbs, try not to disturb the bottom layer. If the crumbs mix into the pudding, you’ll lose that distinct layered look. I use a small spoon and drop the pudding gently in the center, letting it spread on its own.
Make extra. Seriously. These disappear fast. I always make at least two batches for any gathering. They keep well in the fridge for up to three days, so leftovers aren’t a problem. Well, unless you have teenagers. Then there are no leftovers.
Timing is everything. The hardest part of this recipe is waiting. The pudding needs time to set. If you serve them too early, the texture will be loose and soupy. I once served them after only an hour in the fridge, and my son said they tasted like “chocolate soup.” He wasn’t wrong. Give them the full 4 hours if you can.
Variations & Adaptations
One of the best things about this recipe is how easy it is to customize. Here are some variations I’ve tried and loved.
Peanut Butter Dirt Cups. Add 1/3 cup of creamy peanut butter to the cream cheese mixture. Beat it in with the sugar and vanilla. The peanut butter adds richness and a salty-sweet contrast that’s absolutely addictive. Just make sure nobody in your group has a peanut allergy.
Pumpkin Spice Dirt Cups. For a fall twist, add 1 teaspoon of pumpkin pie spice to the pudding mixture. Top with crushed graham crackers instead of Oreos for a different kind of “dirt.” The pumpkin and chocolate combo is surprisingly good—I was skeptical too, but my kids proved me wrong.
Gluten-Free Version. Use gluten-free chocolate sandwich cookies (there are several good brands now) and double-check that your pudding mix is gluten-free. Most instant pudding mixes are, but always read the label. Everything else in the recipe is naturally gluten-free.
Mint Chocolate Dirt Cups. Add 1/2 teaspoon of peppermint extract to the pudding mixture. Use crushed chocolate mint cookies instead of regular Oreos. These are perfect for Christmas or St. Patrick’s Day. My neighbor Karen requested these for her holiday party, and they were gone in twenty minutes.
Individual Parfaits. Instead of cups, layer the mixture in small mason jars for a more elegant presentation. Add extra layers—pudding, crumbs, pudding, crumbs—for a parfait effect. These are great for adult Halloween parties where you want something a little more sophisticated.
Serving & Storage Suggestions
These Kid-Approved Halloween Dirt Cups with Crushed Oreos are best served cold, straight from the refrigerator. The contrast between the cold, creamy pudding and the crunchy Oreo topping is what makes them so satisfying.
For presentation, I like to arrange the cups on a platter or tray with some fake spiderwebs and plastic spiders scattered around. It makes the table look festive without any extra effort. If you’re serving them at a party, label them with a cute sign—”Worm Dirt Cups” always gets a laugh from the kids.
These pair beautifully with other Halloween treats. I often serve them alongside a spooky popcorn mix or pumpkin-shaped sugar cookies for a complete dessert spread. The richness of the dirt cups balances well with something lighter and crunchier.
Storage: Cover the cups with plastic wrap or their lids and store them in the refrigerator for up to 3 days. The texture actually improves after the first day as the flavors meld together. I don’t recommend freezing these—the texture gets icy and weird when thawed.
Reheating: You don’t need to reheat these. In fact, please don’t. They’re meant to be served cold. If they’ve been sitting out for more than 30 minutes, just pop them back in the fridge to firm up before serving.
One thing I’ve noticed: the Oreo crumbs on top will soften over time. That’s not a bad thing—some people actually prefer the softer texture. But if you want that fresh crunch, you can sprinkle a few extra crumbs on top just before serving.
Nutritional Information & Benefits
Let’s be real—these dirt cups are a treat, not a health food. But here’s the estimated nutritional breakdown for one serving (based on 8 servings per batch):
| Nutrient | Amount per Serving |
|---|---|
| Calories | 385 |
| Total Fat | 22g |
| Saturated Fat | 12g |
| Cholesterol | 45mg |
| Sodium | 420mg |
| Total Carbohydrates | 45g |
| Dietary Fiber | 2g |
| Sugars | 32g |
| Protein | 6g |
On the bright side, the cream cheese does provide some protein and calcium. And if you use reduced-fat cream cheese and light Cool Whip, you can shave off about 80 calories per serving. I’ve tested it, and honestly, the taste difference is minimal.
For those with dietary concerns: this recipe contains dairy, gluten (from the Oreos), and soy (in the Oreos and some pudding mixes). It’s not suitable for vegans, but you can make a vegan version using dairy-free cream cheese, plant-based milk, vegan pudding mix, and vegan chocolate cookies.
I’m not going to pretend these are good for you. They’re a Halloween treat, and that’s okay. Sometimes we need desserts that are purely about joy and nostalgia. These dirt cups deliver that in spades.
Conclusion
These Kid-Approved Halloween Dirt Cups with Crushed Oreos are more than just a dessert—they’re a memory in the making. I think about that little bakery that closed, and I smile now instead of feeling sad. Because I’ve got the recipe. And honestly, my version is better.
What I love most about this recipe is how it brings people together. The kids get excited about the gummy worms and the “dirt.” The adults appreciate the creamy, rich flavor. Everyone eats them with a smile. That’s the kind of recipe worth keeping.
Don’t be afraid to make these your own. Add your favorite candies, try different cookie crumbs, experiment with flavors. The base recipe is forgiving and adaptable. I’d love to hear what variations you come up with—drop a comment below and tell me about your Halloween dirt cup creations!
So grab your ingredients, call the kids into the kitchen, and make some mess. These dirt cups are worth every crumb on the floor. Happy Halloween, friends!
Frequently Asked Questions
Can I make these dirt cups ahead of time?
Absolutely! In fact, I recommend it. You can assemble the cups up to 24 hours in advance. Just wait to add the gummy worms until right before serving so they stay firm and chewy.
Can I use homemade pudding instead of instant?
You can, but the texture will be different. Homemade pudding is thinner and won’t set as firmly. If you want to go that route, cook the pudding on the stovetop and let it cool completely before mixing with the cream cheese. It still tastes great, just a bit softer.
How many cups does this recipe make?
This recipe makes about 8 servings if you’re using 6-ounce cups. If you’re using smaller cups for a kids’ party, you might get 10 to 12 servings. I usually double the recipe for any gathering because they go fast.
Can I use something other than Oreos for the dirt?
Sure! Chocolate graham crackers, chocolate wafer cookies, or even crushed chocolate cereal all work well. Each gives a slightly different texture and flavor. My kids actually prefer the version with chocolate graham crackers—don’t tell the Oreo company.
How do I keep the gummy worms from getting soggy?
Add the gummy worms right before serving. If you put them in too early, they’ll absorb moisture from the pudding and get soft. Some kids actually prefer them that way, but for the best texture and appearance, add them at the last minute.
Pin This Recipe!
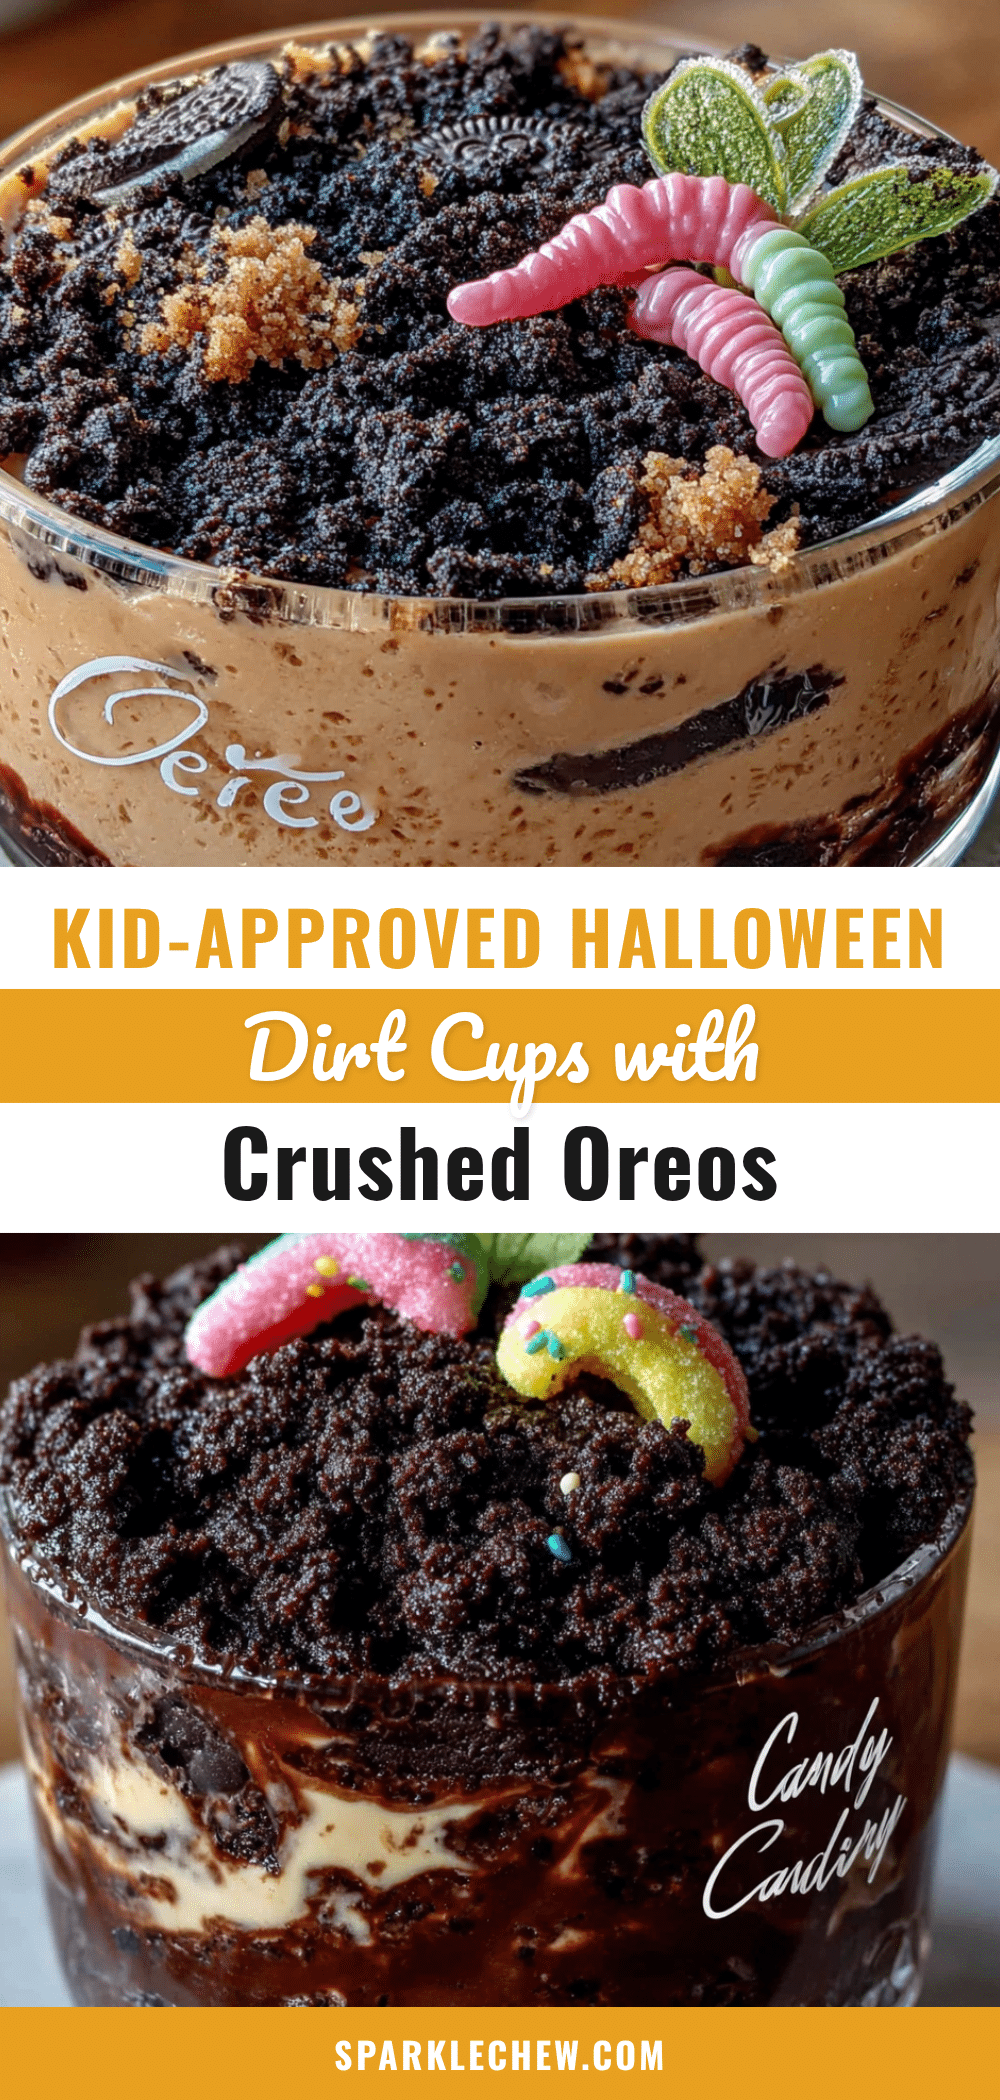
Kid-Approved Halloween Dirt Cups Easy Oreo Dessert
These creamy, no-bake dirt cups feature a silky chocolate pudding mixture layered with crushed Oreo ‘dirt’ and topped with gummy worms. Perfect for Halloween parties, they come together in just 15 minutes of active time and are a guaranteed crowd-pleaser for kids and adults alike.
- Prep Time: 15 minutes
- Cook Time: 0 minutes
- Total Time: 2 hours 15 minutes (includes chilling)
- Yield: 8 servings 1x
- Category: Dessert
- Cuisine: American
Ingredients
- 8 ounces cream cheese, softened to room temperature
- 1/2 cup granulated sugar
- 1 teaspoon vanilla extract
- 1 package (3.9 ounces) instant chocolate pudding mix
- 2 cups cold whole milk
- 8 ounces Cool Whip, thawed
- 1 package (14.3 ounces) Oreo cookies
- Gummy worms (about 2-3 per cup)
- Optional: Halloween sprinkles, candy eyeballs, or small plastic spiders
Instructions
- Crush the Oreos. Place the entire package of Oreos (cream filling and all) into a large zip-top bag. Seal it tight. Use a rolling pin to crush them into fine crumbs. You want a mix of fine powder and small pieces. Set aside about 1/2 cup of the crumbs for the top layer.
- Beat the cream cheese. In a large mixing bowl, beat the softened cream cheese with an electric mixer on medium speed until it’s completely smooth and fluffy, about 2-3 minutes. Scrape down the sides of the bowl with your spatula.
- Add the sugar and vanilla. Add the granulated sugar and vanilla extract to the cream cheese. Beat on medium speed until everything is well combined and smooth.
- Make the pudding. In a separate medium bowl, whisk together the instant chocolate pudding mix and cold milk. Whisk for about 2 minutes until the pudding starts to thicken.
- Combine the mixtures. Add the pudding mixture to the cream cheese mixture. Beat on low speed until just combined.
- Fold in the Cool Whip. Add the thawed Cool Whip to the bowl. Use your rubber spatula to gently fold it in until you don’t see any white streaks.
- Assemble the cups. Spoon about 2 tablespoons of the Oreo crumbs into the bottom of each cup. Then spoon the creamy pudding mixture on top, filling each cup about three-quarters full. Smooth the top with the back of a spoon.
- Add the top layer. Sprinkle the reserved Oreo crumbs over the top of each cup, covering the pudding completely.
- Chill. Place the cups in the refrigerator for at least 2 hours, but 4 hours is better. Overnight is ideal.
- Decorate. Just before serving, poke gummy worms into the ‘dirt’ so they look like they’re crawling out. Add any other Halloween decorations you like. Serve cold.
Notes
Don’t rush the cream cheese—let it soften at room temperature for about an hour. Crush Oreos with intention, leaving some small pieces for texture. Layer carefully to maintain distinct layers. Make extra as they disappear fast. For best texture, chill for at least 4 hours or overnight. Add gummy worms just before serving to keep them firm.
Nutrition
- Serving Size: 1 cup (6-ounce servi
- Calories: 385
- Sugar: 32
- Sodium: 420
- Fat: 22
- Saturated Fat: 12
- Carbohydrates: 45
- Fiber: 2
- Protein: 6
Keywords: Halloween dirt cups, Oreo dessert, no-bake dessert, chocolate pudding cups, gummy worms, kid-friendly Halloween treat