Love this? Save it for later!
Share the inspiration with your friends
My youngest had refused pumpkin for years. “It’s squash, Mom,” she’d say, like that explained everything. Pumpkin pie at Thanksgiving? Pushed aside. Pumpkin bread from the bakery? A hard pass. I’d stopped trying, honestly. Then last October, I made these pumpkin oat muffins just for myself — a sensible breakfast I could grab on my way out the door. I left the batch cooling on the counter while I went to fold laundry, and when I came back, she was standing there, mid-bite, with crumbs all down her shirt. “These are good,” she said, like it was an accusation. I didn’t say a word. I just smiled.
That moment changed everything. She asked for them again the next morning. Then the morning after that. I mean, I’d been making muffins for years — banana, blueberry, even a sad batch of bran that nobody touched. But these? These were different. They weren’t trying to be healthy in a way that tasted like punishment. They were just good muffins that happened to have pumpkin and oats in them. The texture was soft, the flavor was warm and spiced, and they didn’t need a mountain of sugar to get there. Maybe you’ve been there — that quiet victory when a recipe you made for yourself becomes the one your family fights over.
This recipe stayed with me because it proved something I’d suspected for a long time: kids don’t hate vegetables as much as they hate being told something is good for them. These muffins don’t announce themselves as healthy. They just show up, smell amazing, and deliver that cozy, comforting bite everyone wants on a busy morning. And honestly? That’s the best kind of cooking — the kind that changes minds without anyone realizing it happened.
Why You’ll Love This Recipe
I’ve tested this recipe more times than I can count, tweaking the flour ratio, adjusting the spice blend, and even sneaking in extra oats to see how far I could push it. What I landed on is a muffin that delivers on every front — flavor, texture, convenience, and yes, nutrition. Here’s why it works so well for real families:
- Quick & Easy: From start to finish, these muffins come together in about 30 minutes. No stand mixer needed, no complicated techniques — just a bowl, a whisk, and a muffin tin.
- Simple Ingredients: You probably already have most of this in your pantry right now. Canned pumpkin, oats, flour, eggs, a little oil, and basic spices. No weird health food store finds required.
- Perfect for Busy Mornings: These are my go-to for school days when nobody has time to sit down for breakfast. They’re portable, filling, and actually stay good for several days.
- Crowd-Pleaser: My picky eater who “hates pumpkin” asks for these. My husband packs them for work. Even the neighbor’s kids loved them when I dropped off a batch.
- Unbelievably Delicious: The oats give them this tender, almost cake-like texture that you don’t expect from a healthier muffin. The pumpkin keeps them incredibly moist without needing a ton of oil.
What makes these different from every other pumpkin muffin recipe out there? It’s the balance. I spent months figuring out how to reduce the sugar without losing flavor, how to pack in enough oats for fiber without making them dense, and how to get that domed bakery-style top without using excessive fat. This isn’t just another version — it’s the version I make for my own family, week after week.
What Ingredients You Will Need
This recipe uses simple, wholesome ingredients that work together to create a muffin that’s moist, tender, and just sweet enough. Most of these are pantry staples, which makes this an easy last-minute baking project on a rainy afternoon.
For the Muffins
- 1 cup canned pumpkin puree (not pumpkin pie filling — make sure it’s 100% pure pumpkin. Libby’s is my go-to brand for consistent texture)
- 1/2 cup granulated sugar (you can reduce this to 1/3 cup if your family prefers less sweet muffins)
- 1/4 cup brown sugar, packed (adds depth and a hint of molasses flavor)
- 2 large eggs, room temperature (cold eggs can seize the batter, so let them sit out for 15 minutes)
- 1/3 cup vegetable oil (or melted coconut oil for a subtle tropical note)
- 1 teaspoon vanilla extract (pure, not imitation, if you have it)
- 1 cup all-purpose flour (spooned and leveled — don’t scoop directly from the bag)
- 1 cup old-fashioned rolled oats (not quick oats — they get mushy. I prefer Quaker or Bob’s Red Mill)
- 1 teaspoon baking soda
- 1/2 teaspoon baking powder
- 1/2 teaspoon salt
- 2 teaspoons pumpkin pie spice (or make your own: 1 teaspoon cinnamon, 1/2 teaspoon ginger, 1/4 teaspoon nutmeg, 1/4 teaspoon cloves)
Optional Add-Ins
- 1/2 cup chocolate chips (mini chips distribute better and don’t sink to the bottom)
- 1/4 cup chopped pecans or walnuts (toast them first for extra flavor)
- 1/4 cup dried cranberries (adds a nice tart pop against the sweet pumpkin)
Ingredient Selection Tips: When buying pumpkin puree, look for cans that feel heavy for their size — that means less water content. For the oats, stick with old-fashioned rolled oats rather than steel-cut or instant. Steel-cut won’t soften enough during baking, and instant oats turn into paste. If you’re gluten-sensitive, use certified gluten-free oats and substitute the all-purpose flour with a 1:1 gluten-free baking flour blend. I’ve tested this with King Arthur’s Measure for Measure flour and it worked beautifully.
Equipment Needed
You don’t need a fancy kitchen to make these muffins. Here’s what I use every time:
- Standard 12-cup muffin tin (non-stick works best, but light-colored metal gives the most even browning)
- Paper muffin liners (I prefer unbleached parchment liners — they peel off cleanly and look pretty)
- Large mixing bowl (for the wet ingredients)
- Medium mixing bowl (for the dry ingredients)
- Whisk (for combining dry ingredients evenly)
- Rubber spatula (for folding the batter without overmixing)
- 1/4 cup measuring cup or cookie scoop (for evenly portioning the batter)
- Cooling rack (essential for keeping the bottoms from getting soggy)
If you don’t have a cooling rack, you can use the overturned muffin tin — just balance the muffins on the edges. I did this for years before I bought a proper rack, and it works fine. For the muffin liners, the cheap white ones from the grocery store work, but they tend to stick. Spend a dollar more on the parchment-style liners — trust me on this one.
Preparation Method
Preheat your oven to 350°F (175°C). Line your muffin tin with paper liners — this recipe makes exactly 12 standard muffins, so don’t grease the pan unless you’re out of liners.
- Mix the wet ingredients: In a large bowl, whisk together the pumpkin puree, granulated sugar, brown sugar, eggs, vegetable oil, and vanilla extract. Whisk until smooth and well combined — about 30 seconds. The mixture should look glossy and smell like pumpkin pie filling. Don’t worry if it’s a little thin; that’s normal.
- Combine the dry ingredients: In a separate medium bowl, whisk together the all-purpose flour, rolled oats, baking soda, baking powder, salt, and pumpkin pie spice. Whisk for about 15 seconds to break up any clumps and distribute the leavening agents evenly. This step matters more than you think — nobody wants a pocket of baking soda in their muffin.
- Fold the dry into the wet: Pour the dry ingredients into the wet mixture. Use a rubber spatula to fold gently, scraping from the bottom of the bowl. Stop as soon as you see the last streaks of flour disappear. Overmixing will make your muffins tough and dense — I learned this the hard way after a batch of rubbery hockey pucks. The batter will be thick and slightly lumpy from the oats.
- Add any extras: If you’re using chocolate chips, nuts, or dried fruit, fold them in now with just a few strokes. Reserve a handful to sprinkle on top of the muffins before baking — it makes them look bakery-fancy.
- Fill the muffin cups: Divide the batter evenly among the 12 muffin cups. I use a 1/4 cup measuring cup or a cookie scoop to get consistent portions. Fill each cup about 3/4 full — these muffins rise nicely but don’t overflow. If you want taller, domed tops, fill them slightly fuller and accept that you’ll get 11 muffins instead of 12.
- Bake: Place the muffin tin on the center rack of your preheated oven. Bake for 18-22 minutes, or until a toothpick inserted into the center of a muffin comes out clean or with just a few moist crumbs. The tops should be golden brown and spring back when lightly pressed. My oven runs hot, so I check at the 17-minute mark — yours might need the full 22.
- Cool properly: Let the muffins cool in the tin for 5 minutes. This allows them to set so they don’t fall apart when you remove them. Then transfer them to a wire rack to cool completely. If you skip this step and leave them in the tin, the steam will make the bottoms soggy. I’ve made that mistake more times than I’d like to admit.
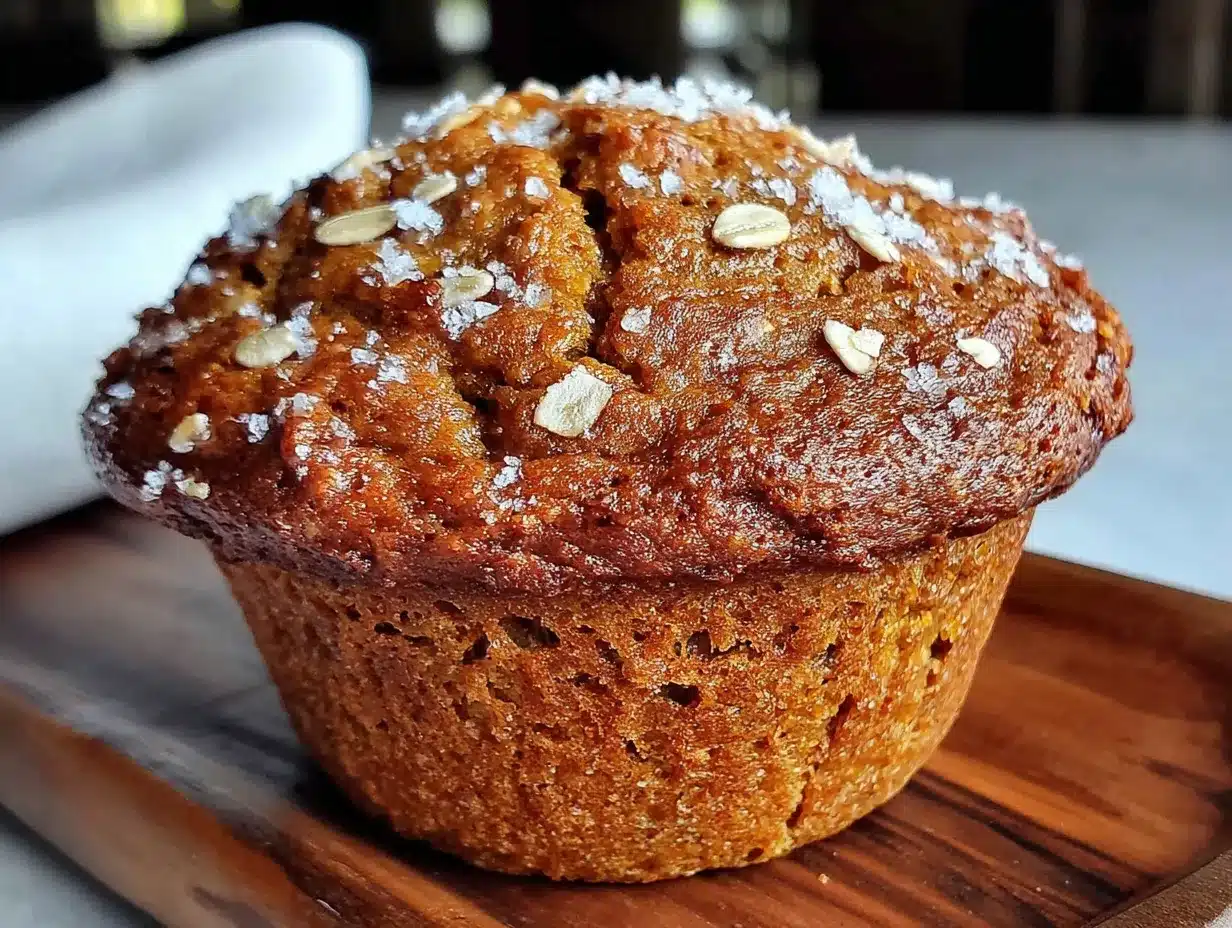
Sensory Cues: During mixing, the batter should smell warmly spiced — cinnamon and nutmeg should be the stars. When the muffins are baking, your kitchen will fill with that cozy autumn scent that makes everyone wander in asking, “What’s for breakfast?” The finished muffins should be golden on top, slightly domed, and feel light when you pick them up. If they feel heavy and dense, you probably overmixed or used too much liquid.
Cooking Tips & Techniques
After making these muffins at least three dozen times (not exaggerating), I’ve picked up a few tricks that make a real difference:
Don’t overmix the batter. This is the number one mistake I see home bakers make. Mix until the flour just disappears — a few small lumps are fine. Overmixing develops gluten, which gives you tough, rubbery muffins instead of tender, fluffy ones. I stir about 12-15 strokes with my spatula and stop. That’s it.
Room temperature ingredients matter. Cold eggs and cold pumpkin can make the batter seize up, leading to uneven baking. I set my eggs and pumpkin on the counter 20 minutes before I start. If I forget, I place the eggs in a bowl of warm water for 5 minutes and microwave the pumpkin for 15 seconds. It’s not the end of the world if you use cold ingredients, but room temperature gives you a smoother, more consistent batter.
Use a cookie scoop for even muffins. I bought a #20 cookie scoop (about 3 tablespoons) specifically for muffins, and it changed my baking life. Every muffin is the same size, so they bake evenly. No more tiny ones that dry out while the big ones are still raw in the middle. If you don’t have a scoop, use a 1/4 cup measure and level it off.
Let the batter rest. Here’s a trick I learned from a pastry chef friend: let the batter sit for 10 minutes before baking. This gives the oats time to absorb some moisture, resulting in a more tender texture. It also allows the baking soda to activate, which helps the muffins rise higher. I usually mix the batter, clean up my dishes, and then fill the muffin cups.
Check for doneness with your finger. The toothpick test is reliable, but I also like to gently press the top of a muffin. If it springs back, it’s done. If your fingerprint stays, give it another 2 minutes. This method works especially well for muffins with add-ins like chocolate chips, where a toothpick might hit a melted chip and give you a false reading.
Variations & Adaptations
One of the best things about this recipe is how flexible it is. I’ve tried several variations over the years, and here are the ones that worked best:
Gluten-Free Version
Swap the all-purpose flour with a 1:1 gluten-free baking blend that contains xanthan gum. I’ve tested this with King Arthur’s Measure for Measure and Cup4Cup, and both worked perfectly. Make sure your oats are certified gluten-free as well. The texture is slightly more delicate, so let them cool completely before handling.
Dairy-Free Version
The recipe as written is already dairy-free — no butter or milk required. Just double-check your chocolate chips if you’re adding them, as some brands contain milk solids. Enjoy Life makes excellent dairy-free chips that taste just like the real thing.
Lower Sugar Version
Reduce the granulated sugar to 1/3 cup and use only 2 tablespoons of brown sugar. The muffins won’t be as sweet, but the pumpkin and spices provide plenty of natural flavor. I’ve also tried replacing the sugar with 1/4 cup maple syrup, but you’ll need to reduce the oil by 1 tablespoon to compensate for the extra liquid.
Pumpkin Chocolate Chip Muffins
This is my personal favorite variation. Fold in 1/2 cup of mini chocolate chips (dark or semi-sweet) along with the dry ingredients. The mini chips distribute more evenly than regular-sized ones and don’t sink to the bottom. My kids claim these taste like dessert, which is fine by me — they’re still getting oats and pumpkin.
Apple Pumpkin Muffins
Finely dice one small apple (peeled) and fold it into the batter along with 1/2 teaspoon of cinnamon. The apple adds little bursts of sweetness and moisture. I use Honeycrisp or Fuji apples for the best texture. This variation is especially good in the fall when apples are in season.
Serving & Storage Suggestions
These muffins are incredibly versatile when it comes to serving. Here’s how I handle them in my own kitchen:
Serving Temperature: They’re best at room temperature or slightly warm. If you’re serving them fresh from the oven, let them cool for at least 10 minutes so the structure sets. A warm muffin with a pat of butter melting into it? That’s pure comfort.
Breakfast Pairings: Serve alongside a scrambled egg and some fruit for a balanced breakfast. They also pair beautifully with a hot cup of coffee or a glass of cold milk. On busy mornings, I grab one and eat it in the car — they’re sturdy enough to hold up to travel.
Storage: Store leftover muffins in an airtight container at room temperature for up to 4 days. I line the container with a paper towel to absorb excess moisture, which keeps the muffins from getting soggy. Change the paper towel every other day if they last that long.
Freezing: These muffins freeze beautifully. Let them cool completely, then place them in a single layer in a freezer-safe bag or container. They’ll keep for up to 3 months. To thaw, leave them on the counter for an hour, or microwave for 20-30 seconds. I always keep a stash in the freezer for last-minute school lunches or unexpected guests.
Reheating: For the best texture, reheat muffins in a 300°F oven for 5-7 minutes. The microwave works in a pinch, but it can make them rubbery. If you’re in a hurry, slice the muffin in half and toast it — the edges get slightly crispy while the inside stays soft.
Flavor Development: Here’s something interesting — these muffins actually taste better the next day. The spices have time to meld, and the oats continue to soften. I often make a batch the night before I plan to serve them, and they’re always a hit at breakfast.
Nutritional Information & Benefits
I’m not a nutritionist, but I’ve done my research on the ingredients in this recipe. Here’s what you’re getting in each muffin (based on 12 muffins without add-ins):
| Nutrient | Per Muffin |
|---|---|
| Calories | 185 |
| Total Fat | 7g |
| Saturated Fat | 1g |
| Cholesterol | 31mg |
| Sodium | 210mg |
| Total Carbohydrates | 28g |
| Dietary Fiber | 3g |
| Sugars | 13g |
| Protein | 4g |
Health Benefits: Pumpkin is packed with vitamin A (great for eye health), fiber, and antioxidants. Oats provide soluble fiber that helps with heart health and keeps you feeling full longer. The eggs add protein, and the oil provides healthy fats. Compared to a typical bakery muffin that can have 400+ calories and 20+ grams of sugar, these are a much better choice for everyday eating.
Dietary Considerations: This recipe is dairy-free as written. It can be made gluten-free with the right flour substitution. It’s also nut-free if you skip the optional pecans or walnuts. The sugar content is moderate — about 13 grams per muffin — which is reasonable for a breakfast treat. If you’re watching your sugar intake, try the lower sugar variation mentioned above.
Conclusion
These pumpkin oat muffins have earned a permanent spot in my weekly baking rotation. They’re the kind of recipe that proves you don’t have to choose between food that tastes good and food that’s good for you. My kids eat them without complaint, my husband packs them for work, and I feel good about serving them — that’s a win in any parent’s book.
I encourage you to make these your own. Add chocolate chips if that’s what your family loves. Swap in whole wheat flour for extra fiber. Throw in some chopped apple or dried cranberries. The base recipe is forgiving and adaptable, which is exactly what a busy home cook needs.
If you try these, I’d love to hear how they turned out. Drop a comment below and let me know if your picky eaters were converted too. And if you have a variation that worked particularly well, share it — we’re all in this together, figuring out how to feed our families well without spending all day in the kitchen.
Happy baking, friends. Your breakfasts are about to get a whole lot better.
Frequently Asked Questions
Can I use quick oats instead of rolled oats?
You can, but the texture will be different. Quick oats are more finely chopped, so they’ll absorb liquid faster and create a softer, almost mushy texture. Rolled oats give the muffins a nice chewy texture and more structure. If you only have quick oats, reduce the liquid slightly by using 1 tablespoon less oil.
Can I make these muffins ahead of time?
Absolutely. In fact, they taste even better the next day. Bake them up to 3 days in advance and store them in an airtight container at room temperature. You can also freeze them for up to 3 months. I often make a double batch on Sunday and we eat them all week.
Why did my muffins turn out dense and heavy?
This usually happens for one of two reasons: overmixing the batter or using too much flour. Mix only until the dry ingredients are incorporated — a few lumps are fine. When measuring flour, spoon it into the measuring cup and level it off with a knife. Scooping directly from the bag can pack in way too much flour.
Can I use fresh pumpkin instead of canned?
Yes, but you’ll need to cook and puree it first. Fresh pumpkin has more water content than canned, so you’ll want to drain it in a fine-mesh strainer for about 30 minutes after pureeing. I find canned pumpkin more convenient and consistent, but fresh works beautifully if you have the time.
How do I get taller, bakery-style muffin tops?
For taller muffins, fill the cups almost to the top — about 7/8 full instead of 3/4. You’ll get 11 muffins instead of 12, but they’ll have those gorgeous domed tops. You can also let the batter rest for 10 minutes before baking, which helps the muffins rise higher. Starting the oven at 400°F for the first 5 minutes, then reducing to 350°F, creates an initial burst of steam that pushes the tops up.
Pin This Recipe!
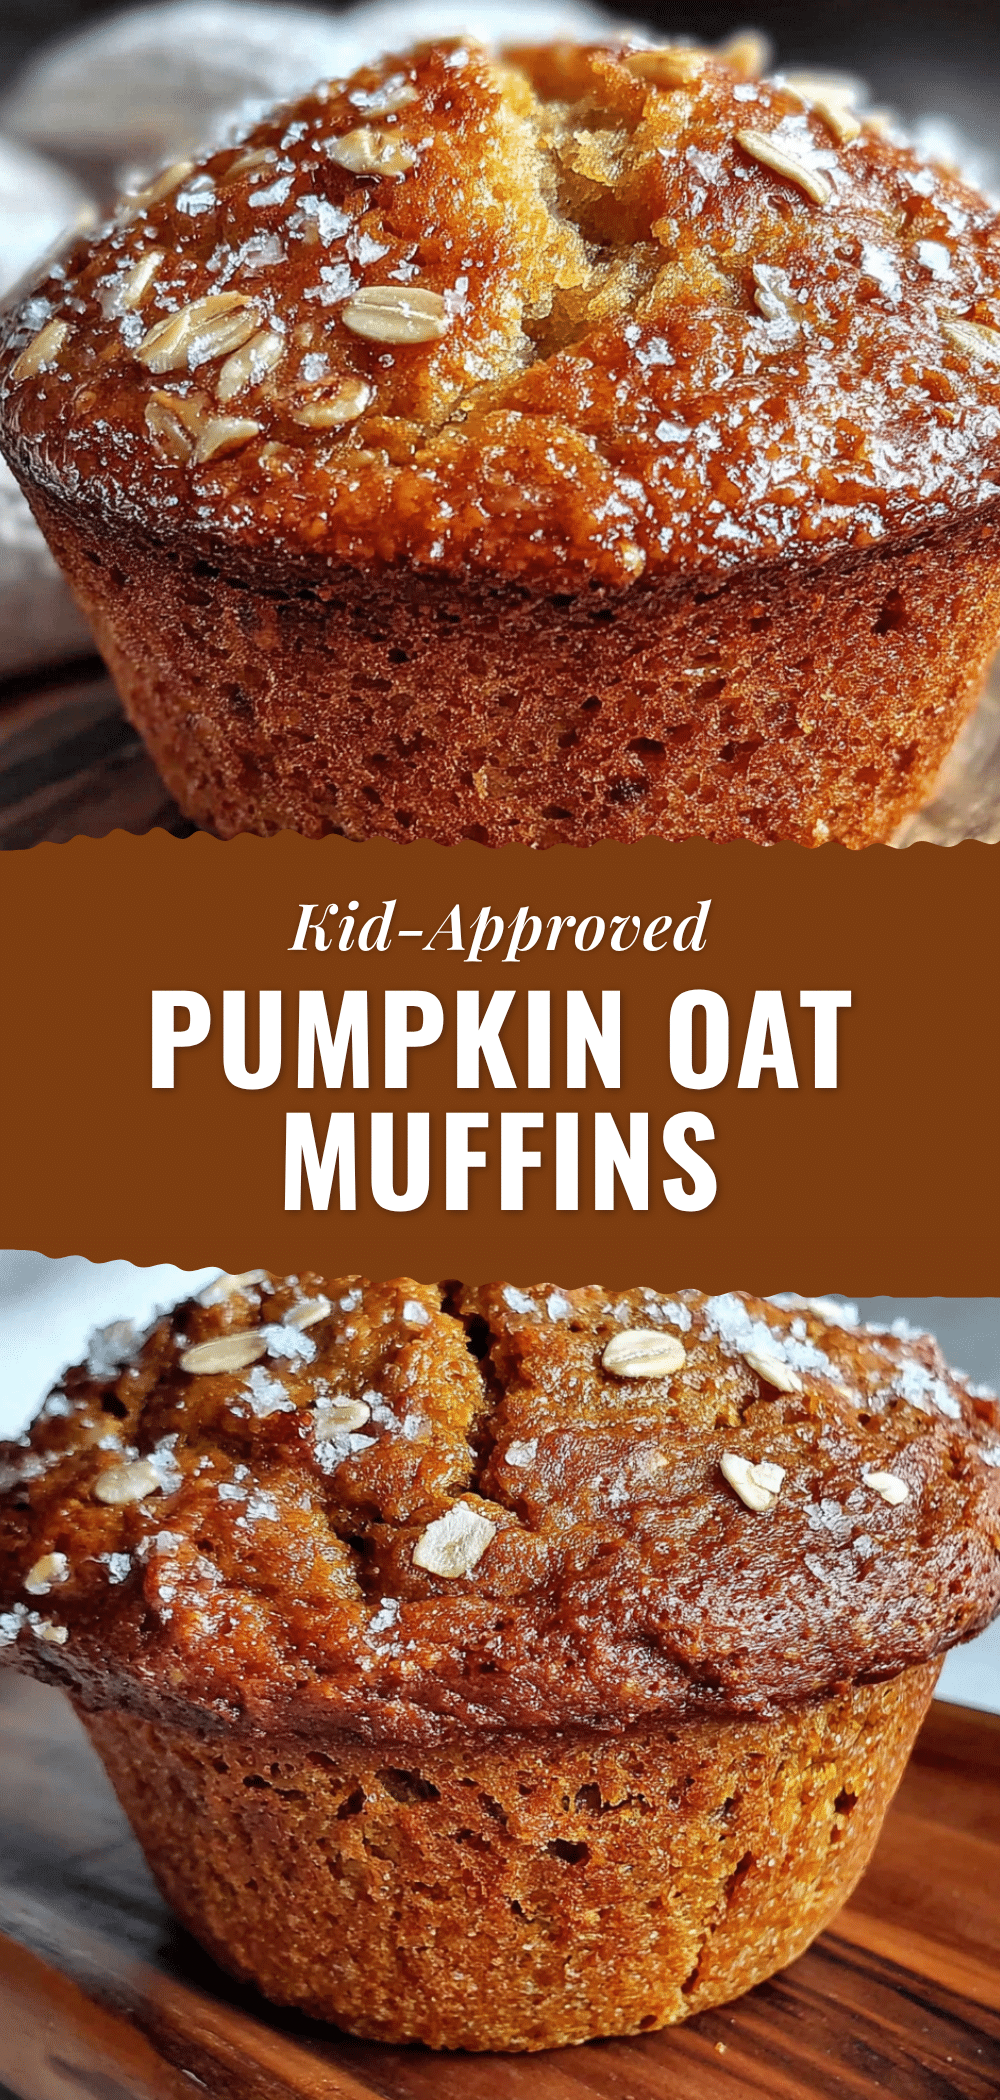
Kid-Approved Healthy Pumpkin Oat Muffins (Easy Recipe)
These pumpkin oat muffins are moist, tender, and perfectly spiced, made with simple ingredients like pumpkin puree, oats, and warm spices. They’re a healthy, kid-approved breakfast that comes together in about 30 minutes.
- Prep Time: 10 minutes
- Cook Time: 20 minutes
- Total Time: 30 minutes
- Yield: 12 muffins 1x
- Category: Breakfast
- Cuisine: American
Ingredients
- 1 cup canned pumpkin puree (not pumpkin pie filling)
- 1/2 cup granulated sugar
- 1/4 cup brown sugar, packed
- 2 large eggs, room temperature
- 1/3 cup vegetable oil (or melted coconut oil)
- 1 teaspoon vanilla extract
- 1 cup all-purpose flour (spooned and leveled)
- 1 cup old-fashioned rolled oats
- 1 teaspoon baking soda
- 1/2 teaspoon baking powder
- 1/2 teaspoon salt
- 2 teaspoons pumpkin pie spice
- 1/2 cup chocolate chips (optional)
- 1/4 cup chopped pecans or walnuts (optional)
- 1/4 cup dried cranberries (optional)
Instructions
- Preheat oven to 350°F (175°C). Line a 12-cup muffin tin with paper liners.
- In a large bowl, whisk together pumpkin puree, granulated sugar, brown sugar, eggs, vegetable oil, and vanilla extract until smooth and glossy, about 30 seconds.
- In a separate medium bowl, whisk together flour, rolled oats, baking soda, baking powder, salt, and pumpkin pie spice for about 15 seconds.
- Pour dry ingredients into wet mixture. Fold gently with a rubber spatula until just combined (12-15 strokes). Do not overmix; a few lumps are fine.
- If using, fold in chocolate chips, nuts, or dried fruit with a few strokes. Reserve a handful to sprinkle on top.
- Divide batter evenly among 12 muffin cups, filling each about 3/4 full. Use a 1/4 cup measure or cookie scoop for even portions.
- Bake on center rack for 18-22 minutes, until a toothpick inserted in center comes out clean or with a few moist crumbs. Tops should be golden and spring back when pressed.
- Cool in tin for 5 minutes, then transfer to a wire rack to cool completely.
Notes
For taller, bakery-style tops, fill cups 7/8 full (yields 11 muffins). Let batter rest 10 minutes before baking for a more tender texture. Muffins taste even better the next day. Store in an airtight container at room temperature for up to 4 days, or freeze for up to 3 months.
Nutrition
- Serving Size: 1 muffin
- Calories: 185
- Sugar: 13
- Sodium: 210
- Fat: 7
- Saturated Fat: 1
- Carbohydrates: 28
- Fiber: 3
- Protein: 4
Keywords: pumpkin muffins, oat muffins, healthy muffins, kid-friendly, easy breakfast, fall baking