Love this? Save it for later!
Share the inspiration with your friends
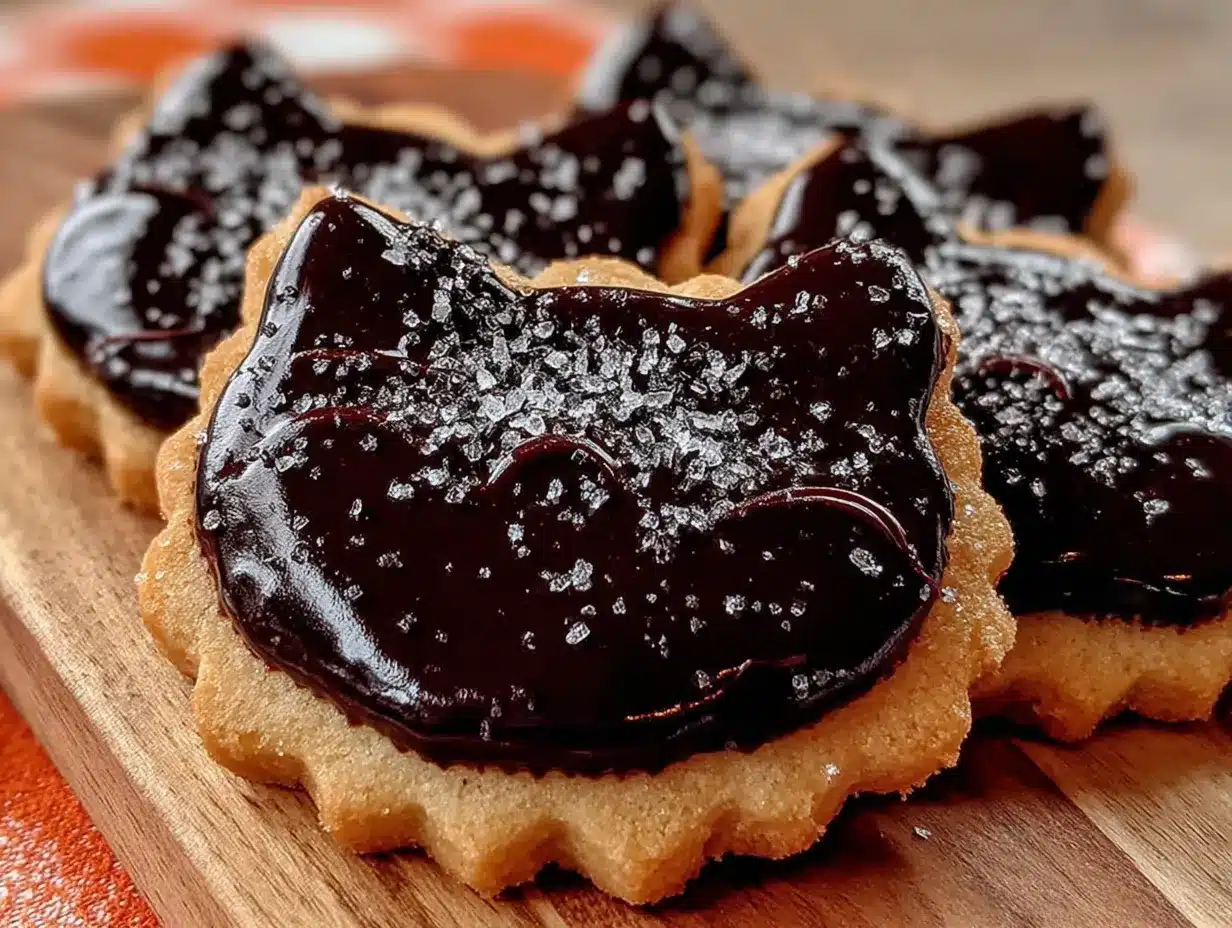
I was halfway through a stack of unread emails at my desk job when my coworker, Mark—the guy who only ever ate microwaved burritos for lunch—casually mentioned he’d spent his weekend baking. I nearly choked on my coffee. Mark? The same Mark who once asked if “cream of tartar” was a fancy soup? He shrugged and said his niece wanted Halloween cookies, and he’d found a recipe for black cat sugar cookies that he “couldn’t mess up.” He described the glossy royal icing, the way the black cookie contrasted with bright orange eyes, and how the whole kitchen smelled like vanilla and butter. I scribbled his description on a sticky note, and honestly, that sticky note is still taped inside my recipe binder. It was the last place I expected to find baking inspiration, but there it was—a perfect, no-fuss cookie that looked like it came from a professional bakery. Maybe you’ve had that moment where the best recipe comes from the most unlikely source. These black cat sugar cookies are exactly that: a simple, buttery dough that holds its shape, paired with a royal icing that dries to a perfect shine. They’ve become my go-to for Halloween parties, and every time I make them, I think of Mark and his burrito-fueled baking revelation.
Why You’ll Love This Recipe
Let me tell you, I’ve tested a lot of sugar cookie recipes over the years. Some spread into blobs, some tasted like cardboard, and some required a chill time longer than my attention span. These black cat sugar cookies? They’re different. They’re the kind of cookie that makes you look like a baking pro with minimal effort.
- Quick & Easy: The dough comes together in about 15 minutes, and the chilling time is just 30 minutes. You can have cookies from mixer to oven in under an hour.
- Simple Ingredients: No weird specialty items. Butter, sugar, flour, eggs, vanilla—stuff you probably already have in your pantry.
- Perfect for Halloween: These are the star of any spooky spread. Kids love them, adults sneak them, and they’re guaranteed to get snapped up at parties.
- Crowd-Pleaser: I’ve brought these to three different Halloween gatherings, and every single time, someone asks for the recipe. They’re that good.
- Unbelievably Delicious: The cookie itself is tender, buttery, and just sweet enough. The royal icing adds a satisfying snap and a glossy finish that looks like glass.
What makes this recipe stand out from the dozens of other sugar cookie recipes out there is the technique. I use a small amount of cream of tartar in the dough—it prevents the cookies from spreading and keeps the edges razor-sharp. That means your black cat shapes will actually look like cats, not blobs. Plus, the royal icing recipe is foolproof. It dries hard, so you can stack these cookies without smudging, and it holds its shape perfectly for piping those cute little cat faces. Honestly, this is the kind of recipe that makes you close your eyes after the first bite. It’s comfort food with a spooky twist—simple, satisfying, and totally memorable.
What Ingredients You Will Need
This recipe uses simple, wholesome ingredients to deliver bold flavor and a perfect texture. Most of these are pantry staples, which is exactly what you want when a last-minute Halloween craving hits.
For the Black Cat Sugar Cookies
- Unsalted butter, softened (1 cup / 2 sticks) — I prefer using Kerrygold for its rich flavor, but any good-quality butter works.
- Granulated sugar (1 cup / 200g) — Adds sweetness and helps with spreading control.
- Large egg (1, room temperature) — Binds the dough together.
- Vanilla extract (1 teaspoon) — Pure vanilla extract gives the best flavor, but imitation works in a pinch.
- All-purpose flour (2 ½ cups / 315g) — Spoon and level for accuracy; don’t scoop directly from the bag.
- Baking powder (½ teaspoon) — Helps the cookies puff slightly without spreading.
- Cream of tartar (½ teaspoon) — This is the secret ingredient. It stabilizes the dough and prevents spreading.
- Salt (¼ teaspoon) — Balances the sweetness.
- Black food coloring (gel, not liquid) — I recommend Americolor Super Black or Wilton Color Right in black. Liquid coloring will make the dough too sticky. You’ll need about 1-2 teaspoons of gel coloring to achieve a deep black.
For the Royal Icing
- Powdered sugar (2 cups / 240g) — Sift it first to avoid lumps.
- Meringue powder (2 tablespoons) — This gives the icing structure and helps it dry hard. You can find it at craft stores or online.
- Warm water (3-4 tablespoons) — Add slowly; you might need slightly more or less depending on humidity.
- Vanilla extract (½ teaspoon) — Optional, but adds a nice flavor.
- Orange and white gel food coloring — For the cat eyes and details.
Ingredient Tips: For the black food coloring, gel is non-negotiable. Liquid coloring will add too much moisture and mess with the dough’s texture. If you can’t find black gel coloring, you can use a mix of brown and blue gels to create a deep charcoal color. Also, make sure your butter is truly softened—leave it on the counter for about an hour. Cold butter won’t cream properly, and melted butter will make the cookies spread.
Equipment Needed
You don’t need a fancy bakery setup for these cookies. Here’s what you’ll need:
- Stand mixer or hand mixer — A stand mixer with the paddle attachment makes creaming butter and sugar a breeze, but a hand mixer works just fine. I’ve made these with both, and the results are identical.
- Rolling pin — I prefer a wooden rolling pin with thickness rings (the ones that snap on the ends). They guarantee even thickness every time. If you don’t have one, use two wooden spoons or chopsticks as guides on either side of the dough.
- Cat-shaped cookie cutter — Any size works, but I find that a 3-inch cutter is perfect for this recipe. You can find them online or at craft stores during Halloween season.
- Baking sheets — Two large sheets, preferably light-colored aluminum. Dark pans can cause the bottoms to brown too quickly.
- Parchment paper or silicone baking mats — Parchment paper is my go-to. It prevents sticking and makes cleanup a dream.
- Piping bags or squeeze bottles — For the royal icing. Disposable piping bags are cheap and easy. If you don’t have them, a zip-top bag with the corner snipped off works perfectly.
- Small round piping tip (size 2 or 3) — For detailed work on the cat faces.
- Cooling rack — Essential for letting the royal icing dry without sticking to a flat surface.
Budget-Friendly Tip: If you don’t want to invest in piping tips, you can use a toothpick to spread the icing and draw details. It takes a little longer, but the results are charmingly rustic.
Preparation Method
Let’s get baking. Follow these steps, and you’ll have a batch of perfect black cat sugar cookies in no time.
- Cream the butter and sugar. In a large mixing bowl, beat the softened butter and granulated sugar together on medium speed until light and fluffy, about 3-4 minutes. Scrape down the sides of the bowl halfway through. You want the mixture to look pale and airy—this is where the texture starts.
- Add the egg and vanilla. Beat in the egg and vanilla extract until fully combined. The mixture might look slightly curdled at this point—that’s totally normal. Don’t panic.
- Mix the dry ingredients. In a separate bowl, whisk together the flour, baking powder, cream of tartar, and salt. This ensures the leavening agents are evenly distributed.
- Combine wet and dry. Gradually add the dry ingredients to the wet mixture, mixing on low speed. Stop as soon as the dough comes together—overmixing will make the cookies tough. The dough will be soft and slightly sticky.
- Add the black coloring. Add the black gel food coloring, ½ teaspoon at a time, and mix on low until the color is even. I usually need about 1 ½ teaspoons of Americolor Super Black to get a true black. Pro tip: wear disposable gloves if you’re kneading the color in by hand—your fingers will thank you.
- Chill the dough. Divide the dough in half, flatten each half into a disk, wrap in plastic wrap, and refrigerate for at least 30 minutes. This is non-negotiable. Chilling firms up the butter and prevents spreading. If you skip this step, your cats will look more like blobs.
- Preheat and prepare. Preheat your oven to 350°F (175°C). Line two baking sheets with parchment paper or silicone mats.
- Roll and cut. On a lightly floured surface, roll one disk of dough to ¼-inch thickness. Flour your rolling pin lightly to prevent sticking. Use your cat-shaped cutter to cut out as many cookies as possible. Gather the scraps, re-roll, and cut more. Repeat with the second disk.
- Bake. Place the cookies about 1 inch apart on the prepared baking sheets. Bake for 8-10 minutes, rotating the pans halfway through. The cookies are done when the edges are just barely set and the tops look dry. They should not be brown—remember, they’re black cats! Let them cool on the baking sheet for 5 minutes, then transfer to a cooling rack to cool completely.
- Make the royal icing. In a medium bowl, whisk together the powdered sugar and meringue powder. Add 3 tablespoons of warm water and the vanilla extract. Beat on medium speed for 4-5 minutes until the icing is thick, glossy, and forms stiff peaks. The consistency should be like toothpaste. If it’s too thick, add water ½ teaspoon at a time. If it’s too thin, add more powdered sugar.
- Color and pipe. Divide the icing into bowls. Leave most of it white (for the base), and color a small portion orange (for the eyes). Transfer the white icing to a piping bag fitted with a small round tip. Outline each cookie, then flood the inside with a thinner consistency of icing (add a few drops of water to the remaining white icing until it flows like honey). Use a toothpick to spread it into the corners.
- Add the details. While the white icing is still wet, pipe small orange dots for the eyes and a tiny pink or white nose. Use a toothpick to drag the icing slightly to create whiskers. Let the cookies dry at room temperature for at least 4 hours, or overnight. The icing should be completely hard to the touch before you stack them.
Sensory Cue: When the cookies are done, they should smell like vanilla and butter, and the edges should feel firm but the centers will still be slightly soft. They’ll firm up as they cool.
Cooking Tips & Techniques
I’ve made these cookies more times than I can count, and I’ve learned a few things the hard way. Here are my best tips for perfect results every time.
Don’t skip the cream of tartar. This is the single most important ingredient for shape retention. It strengthens the gluten structure and prevents the cookies from spreading. I once forgot to add it, and my cats looked like melted puddles. Learn from my mistake.
Chill the cut-out shapes. If you have time, pop the cut-out cookies back in the fridge for 10 minutes before baking. This extra chill time ensures the butter is completely cold, which means less spreading. It’s a game-changer for detailed shapes.
Use a light-colored baking sheet. Dark pans absorb more heat and can cause the bottoms of your cookies to brown before the tops are set. If you only have dark pans, reduce the oven temperature by 25°F and bake a minute or two longer.
Royal icing consistency is everything. For outlining, your icing should be thick enough to hold a peak. For flooding, it should be thin enough that a ribbon of icing sinks back into the bowl within 10 seconds when you lift the spoon. Getting this right takes practice, but it’s worth it. Too thick, and it won’t self-level. Too thin, and it will run off the edges.
Work in batches. Don’t try to pipe all the cookies at once. The icing can dry out in the piping bag. Cover any icing you’re not using with a damp paper towel to keep it from crusting.
Multitasking tip: While the dough is chilling, make your royal icing and prepare your piping bags. That way, when the cookies are cool, you can start decorating immediately.
Variations & Adaptations
One of the best things about this recipe is how versatile it is. Here are a few ways to switch things up.
Gluten-Free Version: Substitute the all-purpose flour with a 1:1 gluten-free baking flour blend that contains xanthan gum. I’ve used King Arthur Measure for Measure with great results. The texture is slightly more crumbly, but the taste is still fantastic.
Vegan Adaptation: Replace the butter with vegan butter (like Earth Balance), use a flax egg (1 tablespoon ground flaxseed + 3 tablespoons water), and use a vegan royal icing recipe with aquafaba (the liquid from a can of chickpeas) instead of meringue powder. The cookies will be a bit softer, but they still hold their shape.
Different Shapes: Don’t limit yourself to cats! This dough works beautifully with any cookie cutter. Try ghosts, pumpkins, bats, or even simple circles for a spooky full moon effect. Just adjust the baking time slightly if the shapes are very different sizes.
Flavor Variations: Add ½ teaspoon of almond extract along with the vanilla for a subtle nutty flavor. Or, swap the vanilla for lemon zest and a tablespoon of lemon juice for a bright, citrusy twist. I tried a chocolate version once by replacing ¼ cup of the flour with cocoa powder—it was divine, but the black coloring didn’t show as well.
Spiced Version: Add 1 teaspoon of cinnamon and ½ teaspoon of nutmeg to the dry ingredients for a warm, fall-inspired flavor. It pairs beautifully with the royal icing.
Serving & Storage Suggestions
These cookies are best served at room temperature. The royal icing should be completely dry and hard to the touch, which gives a satisfying snap when you bite into them. Arrange them on a platter with other Halloween treats—think candy corn, pumpkin-shaped Rice Krispie treats, or a bowl of caramel apples.
For Presentation: I love stacking these on a black or orange cake stand. The contrast of the white icing details against the black cookie is striking. You can also tie them with a ribbon and give them as party favors—just slide them into a clear cellophane bag and tie with a twist tie.
Storage: Store the undecorated cookies in an airtight container at room temperature for up to a week. Once decorated with royal icing, let the icing dry completely (overnight is best), then stack them between layers of parchment paper in an airtight container. They’ll stay fresh for up to two weeks—though they never last that long in my house.
Freezer Instructions: You can freeze the baked, undecorated cookies for up to three months. Place them in a single layer on a baking sheet, freeze until solid, then transfer to a freezer-safe bag. Thaw at room temperature before decorating. You can also freeze the raw dough disks for up to three months—just thaw overnight in the fridge before rolling and cutting.
Reheating: These cookies don’t need reheating, but if you want a slightly warm cookie, pop one in a 300°F oven for 2-3 minutes. Don’t microwave them—the icing will get sticky and melt.
Nutritional Information & Benefits
Let’s be real: these are a treat, not a health food. But here’s the estimated nutritional breakdown per cookie (based on a 3-inch cutter, yields about 24 cookies):
- Calories: 145
- Fat: 7g
- Carbohydrates: 20g
- Protein: 2g
- Sugar: 12g
Ingredient Benefits: The butter provides a small amount of vitamin A, and the egg adds a bit of protein. The cream of tartar is a natural byproduct of winemaking and acts as a stabilizer—no weird chemicals here. If you use natural food coloring (like activated charcoal or black cocoa powder), you can avoid artificial dyes altogether. I’ve tested a version with black cocoa powder, and while the color is more of a dark gray, the chocolate flavor is incredible.
Dietary Considerations: This recipe contains gluten, dairy, and eggs. For a gluten-free option, see the variations section. The royal icing is naturally dairy-free and gluten-free if you use certified gluten-free powdered sugar.
Personally, I believe in balance. These cookies are a celebration, and sometimes you just need a little sweetness in your life. Enjoy them, share them, and don’t stress about the numbers.
Conclusion
These black cat sugar cookies with royal icing are more than just a Halloween treat—they’re a little piece of edible art. The buttery, tender cookie paired with the glossy, hard-drying icing is a combination that never gets old. Whether you’re making them for a costume party, a school bake sale, or just a cozy night in, they’re guaranteed to bring smiles.
I love how forgiving this recipe is. Even if your piping skills are a little shaky, the cookies still look adorable. And honestly, the imperfections are what make them charming. So go ahead—customize them. Make them spooky, make them silly, make them your own. Add a little witch hat, give them a crooked smile, or pipe on some tiny whiskers. The possibilities are endless.
I’d love to see your creations! Drop a comment below and tell me how your black cat cookies turned out. Did you try a variation? Did your kids help decorate? Share your photos and stories—I read every single comment, and nothing makes me happier than seeing this recipe come to life in your kitchens.
Happy Halloween, and happy baking!
Frequently Asked Questions
Why did my sugar cookies spread into blobs?
This usually happens for three reasons: the dough wasn’t chilled long enough, the butter was too soft, or you skipped the cream of tartar. Make sure you chill the dough for at least 30 minutes, use properly softened butter (not melted), and don’t leave out the cream of tartar. Also, try chilling the cut-out shapes for 10 minutes before baking.
Can I use liquid food coloring instead of gel?
I wouldn’t recommend it. Liquid food coloring adds too much moisture to the dough, which can make it sticky and cause the cookies to spread. Gel food coloring is concentrated and won’t affect the texture. You can find it at most craft stores or online.
How do I get the royal icing to dry faster?
Royal icing dries best at room temperature with good air circulation. You can speed things up by placing the cookies in front of a fan (on low) for about an hour. Don’t put them in the fridge—the condensation will ruin the glossy finish. If you’re in a humid climate, it might take longer, so plan ahead.
Can I freeze the decorated cookies?
Yes, but with caution. Let the royal icing dry completely (overnight), then place the cookies in a single layer in an airtight container with parchment paper between layers. Freeze for up to one month. Thaw in the container at room temperature to prevent condensation from forming on the icing.
My royal icing is too runny. Can I fix it?
Absolutely. If your icing is too thin, just add more sifted powdered sugar, one tablespoon at a time, until it reaches the right consistency. If it’s too thick, add water a few drops at a time. Remember, you need two consistencies: a thick one for outlining and a thinner one for flooding. Keep that in mind as you adjust.
Pin This Recipe!
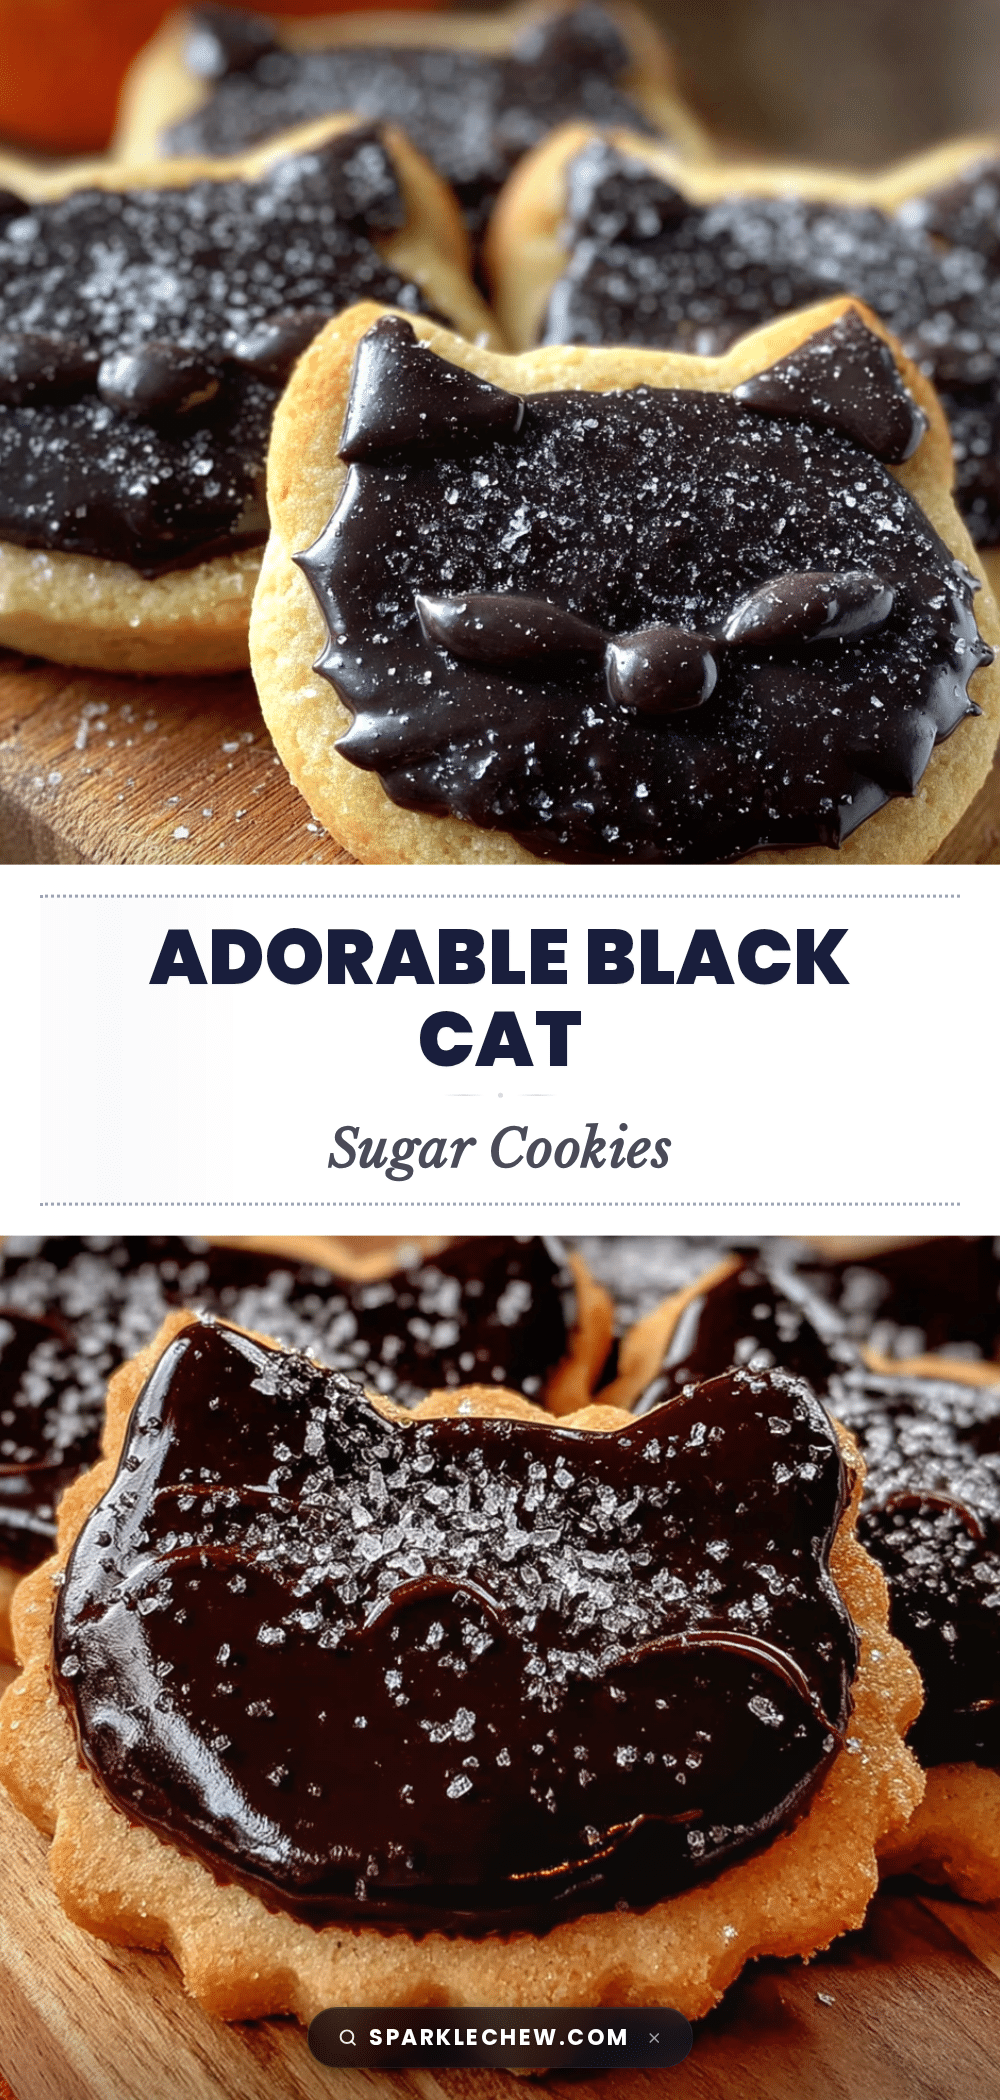
Perfect Black Cat Sugar Cookies: Easy Royal Icing Recipe

These black cat sugar cookies are a simple, buttery dough that holds its shape, paired with a royal icing that dries to a perfect shine. They’ve become my go-to for Halloween parties, and every time I make them, I think of Mark and his burrito-fueled baking revelation.
- Prep Time: 15 minutes
- Cook Time: 10 minutes
- Total Time: 55 minutes (includes 30 minutes chilling)
- Yield: 24 servings 1x
- Category: Dessert
- Cuisine: American
Ingredients
- 1 cup (2 sticks) unsalted butter, softened
- 1 cup (200g) granulated sugar
- 1 large egg, room temperature
- 1 teaspoon vanilla extract
- 2 ½ cups (315g) all-purpose flour
- ½ teaspoon baking powder
- ½ teaspoon cream of tartar
- ¼ teaspoon salt
- 1–2 teaspoons black gel food coloring (e.g., Americolor Super Black or Wilton Color Right)
- 2 cups (240g) powdered sugar, sifted
- 2 tablespoons meringue powder
- 3–4 tablespoons warm water
- ½ teaspoon vanilla extract (optional)
- Orange and white gel food coloring
Instructions
- Cream the butter and sugar. In a large mixing bowl, beat the softened butter and granulated sugar together on medium speed until light and fluffy, about 3-4 minutes. Scrape down the sides of the bowl halfway through.
- Add the egg and vanilla. Beat in the egg and vanilla extract until fully combined. The mixture might look slightly curdled—that’s normal.
- Mix the dry ingredients. In a separate bowl, whisk together the flour, baking powder, cream of tartar, and salt.
- Combine wet and dry. Gradually add the dry ingredients to the wet mixture, mixing on low speed. Stop as soon as the dough comes together—overmixing will make the cookies tough.
- Add the black coloring. Add the black gel food coloring, ½ teaspoon at a time, and mix on low until the color is even. I usually need about 1 ½ teaspoons of Americolor Super Black to get a true black.
- Chill the dough. Divide the dough in half, flatten each half into a disk, wrap in plastic wrap, and refrigerate for at least 30 minutes.
- Preheat and prepare. Preheat your oven to 350°F (175°C). Line two baking sheets with parchment paper or silicone mats.
- Roll and cut. On a lightly floured surface, roll one disk of dough to ¼-inch thickness. Use your cat-shaped cutter to cut out as many cookies as possible. Gather the scraps, re-roll, and cut more. Repeat with the second disk.
- Bake. Place the cookies about 1 inch apart on the prepared baking sheets. Bake for 8-10 minutes, rotating the pans halfway through. The cookies are done when the edges are just barely set and the tops look dry. Let them cool on the baking sheet for 5 minutes, then transfer to a cooling rack to cool completely.
- Make the royal icing. In a medium bowl, whisk together the powdered sugar and meringue powder. Add 3 tablespoons of warm water and the vanilla extract. Beat on medium speed for 4-5 minutes until the icing is thick, glossy, and forms stiff peaks. Adjust consistency as needed.
- Color and pipe. Divide the icing into bowls. Leave most of it white (for the base), and color a small portion orange (for the eyes). Transfer the white icing to a piping bag fitted with a small round tip. Outline each cookie, then flood the inside with a thinner consistency of icing. Use a toothpick to spread it into the corners.
- Add the details. While the white icing is still wet, pipe small orange dots for the eyes and a tiny pink or white nose. Use a toothpick to drag the icing slightly to create whiskers. Let the cookies dry at room temperature for at least 4 hours, or overnight.
Notes
Don’t skip the cream of tartar—it prevents spreading. Chill the cut-out shapes for 10 minutes before baking for best results. Use a light-colored baking sheet to avoid over-browning. Royal icing consistency is key: thick for outlining, thin for flooding. Work in batches to prevent icing from drying out.
Nutrition
- Serving Size: 1 cookie
- Calories: 145
- Sugar: 12
- Sodium: 50
- Fat: 7
- Saturated Fat: 4
- Carbohydrates: 20
- Protein: 2
Keywords: black cat sugar cookies, Halloween cookies, royal icing, sugar cookies, easy cookie recipe, spooky cookies


