Love this? Save it for later!
Share the inspiration with your friends
My roommate Jenna asked why I couldn’t just use the food processor instead of mashing bananas by hand. I started to explain why that wouldn’t work — something about texture and over-mixing. Then I stopped. Honestly, I had no good reason except that’s how my grandmother did it, and I’d never questioned the method. So I shrugged and handed her the machine.
The bread came out perfect. Maybe even better than usual. The texture was somehow lighter, more uniform, and the banana flavor was still front and center. I stood there eating a slice still warm from the pan, butter melting into every bite, feeling a little humbled and a lot delighted. Jenna just raised an eyebrow and said, “Told you.”
That moment changed how I think about this recipe. I’ve been making small-batch banana bread for years — it’s my go-to when I have one sad, overripe banana sitting on the counter and I don’t want to commit to a full loaf. But I’d gotten stuck in my ways, you know? The food processor trick was a revelation. It’s faster, less messy, and the crumb turns out incredibly tender. I mean, I still mash by hand sometimes when I want those little pockets of banana throughout, but now I have options.
This perfect small-batch banana bread recipe is the one I keep coming back to. It’s the kind that fills your kitchen with that warm, sweet smell that makes neighbors suddenly stop by. It uses exactly one banana, a few pantry staples, and comes together in under an hour. Maybe you’ve been there — staring at a single browning banana, not wanting to waste it, but not needing a whole loaf either. This one’s for you.
Why You’ll Love This Recipe
I’ve tested this small-batch banana bread more times than I care to admit. I’ve made it with different fats, different sweeteners, different mixing methods. This version is the winner — the one that balances ease, flavor, and texture perfectly.
- Quick & Easy: From start to oven in about 10 minutes. No stand mixer needed, just a bowl and a whisk. Or a food processor, if you’re feeling rebellious.
- Simple Ingredients: You probably have everything already. Flour, sugar, butter, egg, baking soda, salt, and one sad banana. No fancy extracts or specialty flours required.
- Perfect for Small Households: This makes exactly one loaf. No leftovers that go dry before you finish them. No temptation to eat an entire full-size loaf in two days (not that I’ve done that).
- Freezer-Friendly: Make it now, freeze slices for later. It thaws beautifully and tastes just-baked when reheated.
- Unbelievably Moist: The combination of melted butter and that single ripe banana creates a crumb that’s tender, not dense. It stays moist for days — if it lasts that long.
What makes this recipe different from every other banana bread out there? It’s scaled down without sacrificing anything. Most small-batch recipes end up dry or bland because they don’t adjust the ratios properly. I spent weeks tweaking the balance of wet to dry ingredients, testing different banana ripeness levels, and figuring out the exact baking time for a smaller loaf. This isn’t just a half-sized version of a full recipe — it’s built from the ground up to be perfect at this scale.
This is the recipe that makes you close your eyes after the first bite. It’s comfort food at its simplest — a warm slice of something sweet, made from ingredients you already have, with minimal effort and maximum reward.
What Ingredients You Will Need
This small-batch banana bread uses simple, wholesome ingredients that work together to create something greater than the sum of their parts. Most of these are pantry staples, which is exactly the point.
- 1 very ripe banana (about 120g, peeled) — The riper, the better. You want it heavily speckled with brown spots, or even completely brown. This is non-negotiable for maximum sweetness and moisture. I’ve found that one medium-large banana yields exactly the right amount of mashed banana for this loaf.
- 1/2 cup all-purpose flour (60g) — Spoon and level it for accuracy. Scooping directly from the bag packs in too much flour and makes the bread dry. For a whole wheat option, use 1/4 cup all-purpose and 1/4 cup whole wheat pastry flour.
- 1/4 cup granulated sugar (50g) — Regular white sugar works perfectly here. It adds just enough sweetness without overwhelming the banana flavor. You can reduce this to 3 tablespoons if your banana is extremely ripe and sweet.
- 3 tablespoons unsalted butter (42g), melted and slightly cooled — Butter gives this bread its rich flavor and tender crumb. I prefer unsalted so I can control the salt level. If you only have salted butter, reduce the added salt to 1/8 teaspoon.
- 1 large egg — This is crucial for structure and moisture. Let it come to room temperature before using — cold egg can seize the melted butter. Place it in a bowl of warm water for 5 minutes if you’re in a hurry.
- 1/4 teaspoon baking soda — This is the only leavening agent you need. Make sure it’s fresh — test it by dropping a pinch into vinegar; it should bubble vigorously.
- 1/4 teaspoon salt — Don’t skip this. Salt enhances the banana flavor and balances the sweetness. I use fine sea salt for even distribution.
- 1/2 teaspoon vanilla extract (optional but recommended) — It rounds out the flavors and makes the banana taste more banana-y. Trust me on this one.
- Optional add-ins: 1/4 cup chopped walnuts, pecans, or chocolate chips. Fold them in gently at the end. I’m a purist most days, but a handful of dark chocolate chips never hurt anybody.
For the best results, I recommend using King Arthur Flour for consistent protein content and Land O’Lakes butter for reliable fat content. These small choices matter when you’re working with such a small batch — every ingredient pulls its weight.
Equipment Needed
You don’t need much for this recipe, which is part of its charm. Here’s what you’ll need:
- One 8×4-inch loaf pan — This is the sweet spot for a single-banana loaf. A 9×5-inch pan will work but your bread will be shorter and bake faster. I’ve used both; the 8×4 gives you those nice tall slices that look like they came from a bakery.
- Mixing bowls — One large bowl for dry ingredients and one medium bowl for wet ingredients. Or just one bowl if you’re doing the food processor method.
- Whisk or fork — For mixing the dry ingredients and combining the wet ingredients. Nothing fancy needed.
- Rubber spatula — For folding everything together without over-mixing. This is your best friend for getting every last bit of batter into the pan.
- Measuring cups and spoons — For accuracy. I prefer metal measuring cups for dry ingredients and glass for liquids.
- Food processor or potato masher — For mashing the banana. The food processor gives you a smoother puree; the potato masher leaves those lovely little chunks. Your choice.
- Cooling rack — Essential for even cooling. If you don’t have one, you can use the wire rack from your oven, or even chopsticks laid across a baking sheet in a pinch.
- Parchment paper (optional) — Lining the pan makes removal effortless. I do this every time because I hate fighting with stuck bread.
I bought my 8×4-inch pan at a thrift store for two dollars, and it works better than any fancy brand I’ve tried. Don’t overthink the equipment — use what you have.
Preparation Method
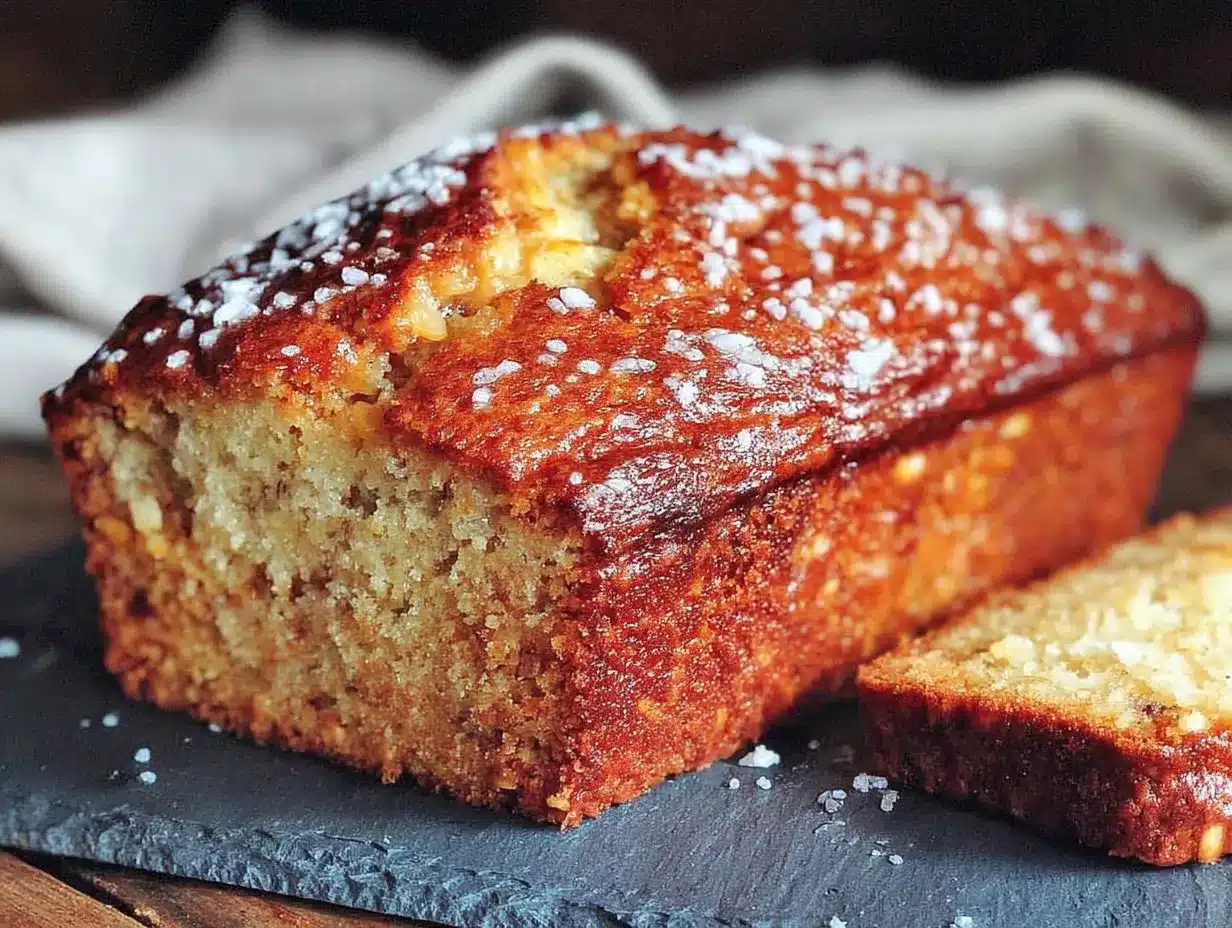
- Preheat your oven to 350°F (175°C). Position the rack in the center. While it’s heating, line your 8×4-inch loaf pan with parchment paper, leaving some overhang on the long sides. This creates handles for lifting the bread out later. Spray any exposed sides with nonstick spray.
- Mash your banana. In a medium bowl, mash the banana with a fork until mostly smooth with some small lumps remaining. Or, if you’re using the food processor method Jenna taught me, pulse it until smooth — about 10 seconds. You should have about 1/3 cup of mashed banana. Set it aside.
- Melt the butter. In a small microwave-safe bowl, melt the butter in 15-second intervals until just melted. Let it cool for 2-3 minutes — you don’t want it hot enough to cook the egg when you mix them together.
- Whisk the dry ingredients. In a separate bowl, whisk together the flour, baking soda, and salt. Make sure they’re well combined so the baking soda distributes evenly. I always give this a good 15 seconds of whisking.
- Mix the wet ingredients. To the bowl with the mashed banana, add the melted butter, sugar, egg, and vanilla extract. Whisk until smooth and well combined. The mixture should look glossy and uniform. If it looks curdled, your butter was too warm — don’t worry, it’ll still work.
- Combine wet and dry. Pour the wet ingredients into the dry ingredients. Use your rubber spatula to fold them together gently. Stir just until you no longer see streaks of flour — about 10 to 12 strokes. A few small lumps are fine. Over-mixing at this stage develops gluten and makes the bread tough. I’ve ruined batches by being too enthusiastic here.
- Fold in add-ins (if using). Gently fold in your walnuts, pecans, or chocolate chips with just a few more strokes. Don’t overdo it.
- Transfer to the pan. Scrape the batter into your prepared loaf pan. Use the spatula to spread it evenly. The batter will be thick — that’s normal. It should fill the pan about halfway.
- Bake for 35-40 minutes. Place the pan on the center rack. Bake until a toothpick inserted in the center comes out clean or with just a few moist crumbs. Start checking at 35 minutes. The top should be golden brown and spring back when lightly touched. My oven runs hot, so I usually check at 33 minutes.
- Cool in the pan. Place the pan on a cooling rack and let the bread cool for 10 minutes. This allows it to set so it doesn’t fall apart when you remove it.
- Remove and cool completely. Use the parchment overhang to lift the bread out of the pan. Transfer it to the cooling rack and let it cool completely before slicing — about 1 hour. I know it’s tempting to slice into it warm, but it will be gummy and fall apart. Trust the process.
Sensory cues to watch for: When you mix the wet and dry ingredients, the batter should look like a thick, slightly lumpy cake batter. During baking, your kitchen will fill with that unmistakable banana bread aroma around the 25-minute mark. The top should be a deep golden brown, and the edges will pull away slightly from the pan. If you tap the top gently, it should feel firm and springy.
Cooking Tips & Techniques
After making this small-batch banana bread probably fifty times, here’s what I’ve learned the hard way:
The banana matters more than anything. I cannot stress this enough. A barely ripe banana will give you bland, dry bread. You want it so ripe that you’d never eat it plain. If your banana isn’t ripe enough, you can speed things up by placing it on a baking sheet in a 300°F oven for 15-20 minutes until the skin turns black. Let it cool before using. I’ve done this in desperation and it works surprisingly well.
Don’t over-mix. This is the most common mistake. Mix until the flour just disappears. Those few lumps are your friends — they’ll bake out and leave you with a tender crumb. I once kept stirring to get it “perfectly smooth” and ended up with banana bread that could have doubled as a doorstop.
Weigh your ingredients if you can. Flour is notoriously inconsistent when measured by volume. A kitchen scale costs about fifteen dollars and will transform your baking. One cup of all-purpose flour should weigh 120 grams. If you’re scooping directly from the bag, you could be adding 150 grams or more without realizing it.
Room temperature ingredients matter. The egg and banana should be at room temperature. Cold ingredients don’t emulsify properly with the melted butter, leading to a denser texture. Set everything out 30 minutes before you start.
Use the toothpick test correctly. Insert it into the center of the loaf, not the edge. If it comes out clean, it’s done. If there are wet crumbs, give it another 2-3 minutes. Remember that the bread continues to cook from residual heat after you remove it from the oven, so slightly underdone is better than overdone.
Let it cool completely. I know, I already said this. But I’ve cut into warm banana bread more times than I’d like to admit, and every time I regret it. The texture needs that cooling time to set properly. Use that hour to clean up your kitchen and brew a cup of coffee.
Variations & Adaptations
This small-batch banana bread is endlessly adaptable. Here are some of my favorite variations:
Chocolate Chip Banana Bread: Fold in 1/4 cup of semi-sweet or dark chocolate chips along with the dry ingredients. I prefer mini chocolate chips because they distribute more evenly. My friend Sarah adds a tablespoon of cocoa powder to the flour mixture for a double-chocolate version that’s dangerously good.
Vegan Version: Replace the butter with 3 tablespoons of coconut oil (melted) or neutral vegetable oil. Replace the egg with a flax egg (1 tablespoon ground flaxseed mixed with 3 tablespoons water, let sit for 5 minutes until gelled). The texture will be slightly denser but still delicious. I tested this for a vegan friend and was surprised at how well it worked.
Gluten-Free Option: Substitute the all-purpose flour with a 1:1 gluten-free baking flour blend that contains xanthan gum. I’ve had good results with Bob’s Red Mill 1-to-1 Baking Flour. Don’t use almond flour or coconut flour — they have different absorption rates and will change the texture completely.
Spiced Version: Add 1/2 teaspoon of cinnamon, 1/4 teaspoon of nutmeg, and a pinch of ground ginger to the dry ingredients. This gives the bread a warm, cozy flavor that’s perfect for fall. I sometimes add a tablespoon of brown sugar along with the granulated sugar for extra depth.
Nutty Twist: Toast 1/4 cup of chopped walnuts or pecans in a dry skillet over medium heat for 3-4 minutes until fragrant. Let them cool before folding into the batter. Toasting brings out their oils and adds a wonderful crunch. I prefer walnuts for their slightly bitter note that balances the sweetness.
Streusel Topping: Mix 2 tablespoons flour, 2 tablespoons brown sugar, 1 tablespoon cold butter (cut into small pieces), and 1/4 teaspoon cinnamon. Use your fingers to work the butter into the flour mixture until it resembles coarse crumbs. Sprinkle over the batter before baking. This adds a lovely crunchy top that makes the bread feel fancy.
Serving & Storage Suggestions
This small-batch banana bread is best served slightly warm or at room temperature. Here’s how to make the most of it:
Serving ideas: A thick slice with a pat of salted butter melting into it is my personal favorite. For breakfast, try it toasted with a drizzle of honey or maple syrup. For dessert, warm a slice and top it with a scoop of vanilla ice cream and a drizzle of caramel sauce. It’s also excellent alongside a cup of coffee or tea in the afternoon.
Storage: Wrap the cooled loaf tightly in plastic wrap or aluminum foil and store at room temperature for up to 3 days. I prefer wrapping it in plastic wrap first, then foil for extra protection. Do not refrigerate — the cold temperature will dry it out and make it stale faster. I learned this the hard way after refrigerating a loaf and finding it dry the next day.
Freezing: This bread freezes beautifully. For a whole loaf, wrap it tightly in plastic wrap, then foil, then place it in a freezer bag. It will keep for up to 3 months. For individual servings, slice the bread first, then wrap each slice in plastic wrap and store them in a freezer bag. This way you can grab a slice whenever you want without thawing the whole loaf.
Reheating: To revive frozen or day-old bread, place a slice in a 300°F oven for 5-7 minutes, or pop it in the toaster. The heat brings back that fresh-baked texture and makes the edges slightly crispy. Microwaving works in a pinch but can make the bread rubbery — I only do this when I’m in a hurry.
Flavor development: Interestingly, this banana bread actually tastes better the day after baking. The flavors meld together and the banana flavor becomes more pronounced. If you can resist eating it all on day one, you’ll be rewarded on day two.
Nutritional Information & Benefits
While this small-batch banana bread is definitely a treat, it does offer some nutritional benefits worth noting. Here’s the estimated breakdown per slice (assuming 8 slices per loaf):
| Nutrient | Amount per slice |
|---|---|
| Calories | 175 |
| Total Fat | 8g |
| Saturated Fat | 4.5g |
| Carbohydrates | 24g |
| Sugar | 12g |
| Protein | 3g |
| Fiber | 1g |
Bananas are a good source of potassium, vitamin B6, and vitamin C. They also contain resistant starch, which acts as a prebiotic and supports gut health. The butter provides vitamin A and healthy fats that help your body absorb fat-soluble vitamins. The egg adds high-quality protein and choline, which supports brain health.
This recipe is naturally vegetarian and can be made vegan or gluten-free with the substitutions mentioned above. It contains dairy (butter), eggs, and gluten in its standard form. If you’re watching your sugar intake, you can reduce the sugar to 3 tablespoons without significantly affecting the texture, though the bread will be less sweet.
I like to think of this as a breakfast bread rather than a dessert — it’s sweet enough to satisfy a craving but not so indulgent that you feel guilty having a slice with your morning coffee. Everything in moderation, right?
Conclusion
This perfect small-batch banana bread is proof that you don’t need a lot of ingredients, time, or effort to make something wonderful. It started with a roommate who challenged my assumptions and ended up becoming one of my most-made recipes. That’s the thing about cooking — sometimes the best discoveries come from letting go of what you think you know.
I hope you’ll give this recipe a try the next time you have a single sad banana sitting on your counter. Customize it with your favorite add-ins, make it your own, and don’t be afraid to experiment. Maybe you’ll discover your own Jenna moment — a tweak that makes the recipe even better.
I’d love to hear how it turns out for you. Did you add chocolate chips? Try the vegan version? Burn your first batch because you forgot to set a timer? (Been there.) Drop a comment below and share your experience. And if you loved it, please share this recipe with a friend who needs a little comfort baking in their life. Happy baking, friends!
Frequently Asked Questions
Can I use frozen banana for this recipe?
Absolutely! Thaw the banana completely at room temperature or in the microwave. You’ll notice it releases a lot of liquid when thawed — don’t drain it off. That liquid is full of banana flavor and moisture. Just mash it right along with the liquid and proceed with the recipe. The texture will be slightly more tender, which is actually lovely.
Why did my banana bread sink in the middle?
This usually happens for one of three reasons: the batter was over-mixed, the banana wasn’t ripe enough, or the bread was underbaked. Make sure you’re mixing just until combined, using a very ripe banana, and baking until a toothpick comes out clean. Also, avoid opening the oven door during the first 25 minutes of baking — the temperature fluctuation can cause the center to collapse.
Can I double this recipe?
Yes! Double all the ingredients and bake in a 9×5-inch loaf pan. Increase the baking time to 50-60 minutes, checking for doneness at the 50-minute mark. You may need to tent the top with foil halfway through to prevent over-browning. The doubled recipe also works well as muffins — bake at 350°F for 18-22 minutes.
How do I know when my banana is ripe enough?
Look for a banana with heavy brown speckling or completely brown skin. It should feel soft when you squeeze it gently. If you can smell the banana through the peel, it’s perfect. The banana should be so soft that you can mash it easily with a fork. If it resists mashing, it’s not ready yet.
Can I make this without an egg?
Yes, you have several options. A flax egg (1 tablespoon ground flaxseed mixed with 3 tablespoons water) works well and adds a nice nutty flavor. You can also use 1/4 cup of unsweetened applesauce or 1/4 cup of mashed banana (in addition to the banana already in the recipe). The applesauce version will be slightly denser and more moist, while the extra banana version will have a stronger banana flavor.
Pin This Recipe!
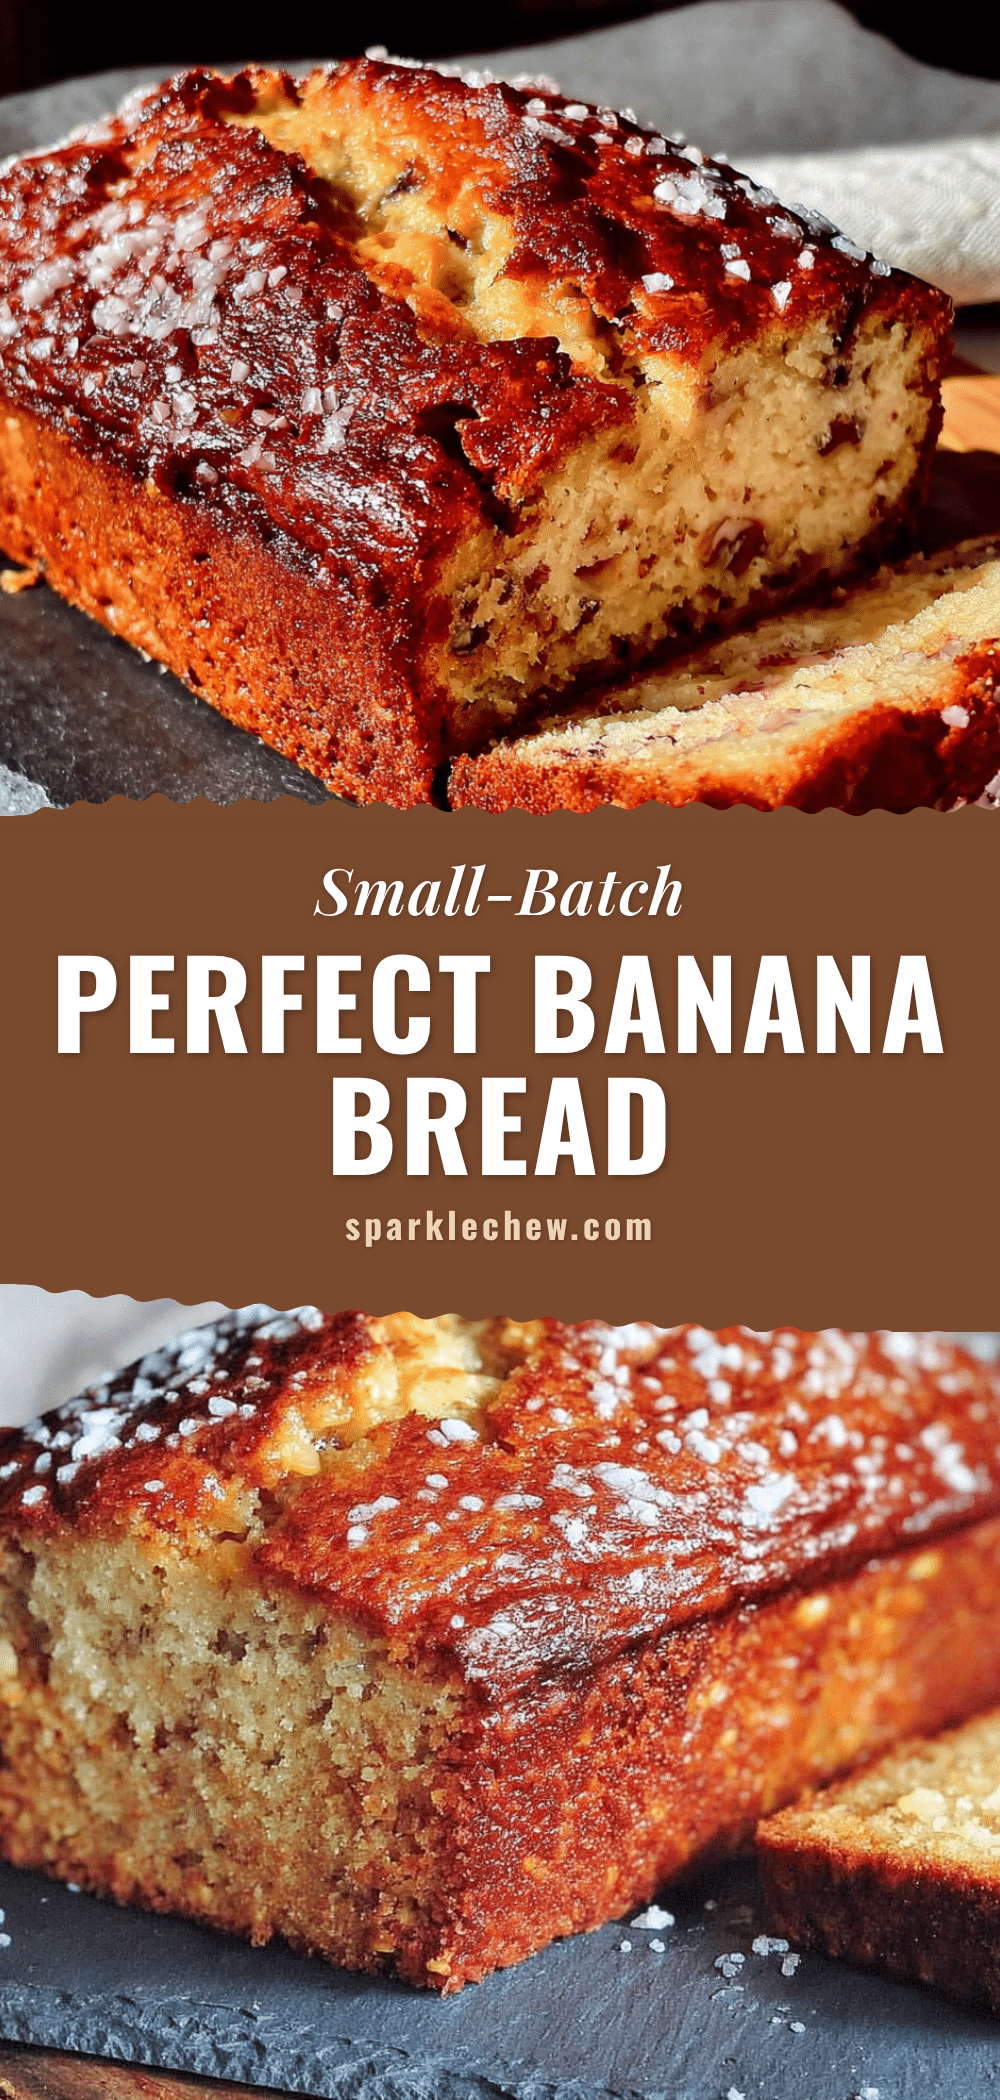
Perfect Small-Batch Banana Bread: Easy One-Loaf Recipe
This small-batch banana bread uses exactly one banana and comes together in under an hour. It’s quick, easy, and yields a tender, moist loaf perfect for small households.
- Prep Time: 10 minutes
- Cook Time: 35-40 minutes
- Total Time: 1 hour 10 minutes
- Yield: 8 servings 1x
- Category: Dessert
- Cuisine: American
Ingredients
- 1 very ripe banana (about 120g, peeled)
- 1/2 cup all-purpose flour (60g)
- 1/4 cup granulated sugar (50g)
- 3 tablespoons unsalted butter (42g), melted and slightly cooled
- 1 large egg
- 1/4 teaspoon baking soda
- 1/4 teaspoon salt
- 1/2 teaspoon vanilla extract (optional but recommended)
- Optional add-ins: 1/4 cup chopped walnuts, pecans, or chocolate chips
Instructions
- Preheat your oven to 350°F (175°C). Position the rack in the center. Line your 8×4-inch loaf pan with parchment paper, leaving some overhang on the long sides. Spray any exposed sides with nonstick spray.
- Mash your banana. In a medium bowl, mash the banana with a fork until mostly smooth with some small lumps remaining. Or, pulse in a food processor until smooth — about 10 seconds. Set aside.
- Melt the butter. In a small microwave-safe bowl, melt the butter in 15-second intervals until just melted. Let it cool for 2-3 minutes.
- Whisk the dry ingredients. In a separate bowl, whisk together the flour, baking soda, and salt until well combined.
- Mix the wet ingredients. To the bowl with the mashed banana, add the melted butter, sugar, egg, and vanilla extract. Whisk until smooth and well combined.
- Combine wet and dry. Pour the wet ingredients into the dry ingredients. Use a rubber spatula to fold them together gently. Stir just until no streaks of flour remain — about 10 to 12 strokes. A few small lumps are fine.
- Fold in add-ins (if using). Gently fold in walnuts, pecans, or chocolate chips with just a few more strokes.
- Transfer to the pan. Scrape the batter into the prepared loaf pan. Use the spatula to spread it evenly. The batter will be thick and should fill the pan about halfway.
- Bake for 35-40 minutes. Place the pan on the center rack. Bake until a toothpick inserted in the center comes out clean or with just a few moist crumbs. Start checking at 35 minutes. The top should be golden brown and spring back when lightly touched.
- Cool in the pan. Place the pan on a cooling rack and let the bread cool for 10 minutes.
- Remove and cool completely. Use the parchment overhang to lift the bread out of the pan. Transfer to the cooling rack and let cool completely before slicing — about 1 hour.
Notes
Use a very ripe banana for best sweetness and moisture. Do not over-mix the batter. Let the bread cool completely before slicing to avoid a gummy texture. The bread tastes even better the day after baking.
Nutrition
- Serving Size: 1 slice
- Calories: 175
- Sugar: 12
- Fat: 8
- Saturated Fat: 4.5
- Carbohydrates: 24
- Fiber: 1
- Protein: 3
Keywords: small-batch banana bread, one banana banana bread, easy banana bread, moist banana bread, single loaf banana bread


