Love this? Save it for later!
Share the inspiration with your friends
I was standing in the checkout line at the hardware store last Tuesday when the woman ahead of me dropped her purse. A small tin of homemade cookies rolled out—and the smell hit me like a wave. Brown butter. Warm, nutty, almost caramel-like. And suddenly I was eight years old at my Aunt Flo’s kitchen table in the middle of July, watching her scrape browned butter bits from the bottom of a pan with a rubber spatula. She’d let me lick it, and I remember thinking this was what grown-up magic tasted like. She passed away a few years ago, and I’d never tried to make her cookies myself. Honestly, I was scared I’d mess them up. But standing there in that dusty aisle, I knew I had to try.
So I went home, grabbed my smallest mixing bowl, and set out to recreate that exact feeling—not just the cookie, but the moment. The quiet afternoon. The sticky summer heat. The way she’d wink at me and say, “This is the secret.” I burned the first batch of butter. Made a mess of flour on the counter. Almost gave up. But then—on the third try—that familiar smell filled my kitchen, and I closed my eyes. Maybe you’ve been there, chasing a taste you can’t quite name. This is that cookie.
This isn’t a huge batch meant to feed a crowd. It’s a small batch, just six perfect cookies, made with brown butter and a little patience. It’s the kind of recipe you make on a Tuesday when you need to remember something good.
Why You’ll Love This Recipe
Let me tell you—I’ve tested this one more times than I’d like to admit. I’m a home cook, not a pastry chef, and I wanted a cookie that felt special without requiring a stand mixer or a trip to a specialty store. This recipe delivers that and more.
- Small Batch, Big Flavor: Just six cookies. No leftovers tempting you all week, no waste. Perfect for a quiet night or a small gathering.
- Brown Butter Magic: That nutty, toasty flavor takes these from ordinary to unforgettable. It’s one ingredient, but it changes everything.
- Simple Ingredients: You likely have everything in your pantry right now. Butter, sugar, flour, an egg, chocolate chips. That’s it.
- Perfect for Hosting: Want to impress guests without spending hours in the kitchen? These come together in about 30 minutes. Serve them warm with a glass of milk or a scoop of vanilla ice cream—instant showstopper.
- Crowd-Pleaser: I brought these to a potluck last month, and someone asked for the recipe before they even finished chewing. They’re that good.
- Foolproof for Beginners: If you can brown butter (and I’ll show you how), you can make these. No special techniques required.
What makes these different from every other chocolate chip cookie recipe? It’s the brown butter, yes—but it’s also the resting time. Letting the dough sit for 10 minutes before baking lets the flavors meld and the butter re-solidify just enough. The result is a cookie that’s crispy on the edges, chewy in the middle, and absolutely packed with toasty, caramel-like richness. It’s comfort food reimagined—faster, smaller, but with the same soul-soothing satisfaction. Perfect for impressing guests without stress, or turning a simple Tuesday into something memorable.
What Ingredients You Will Need
This recipe uses simple, wholesome ingredients to deliver bold flavor and satisfying texture without the fuss. Most of these are pantry staples, though you might need to grab a fresh stick of butter.
- Unsalted butter, 5 tablespoons (70g) – The star of the show. Browning it brings out a nutty, almost hazelnut-like flavor. I prefer using unsalted so I can control the salt level. If you only have salted, reduce the added salt by a pinch.
- All-purpose flour, ¾ cup (90g) – Standard AP flour works perfectly here. No need for bread flour or cake flour—keep it simple. Spoon and level your flour for accuracy; scooping directly can pack it down and make cookies dry.
- Granulated sugar, ¼ cup (50g) – Adds sweetness and helps with spreading. I’ve tried coconut sugar here, and it works but makes the cookies darker and slightly less sweet.
- Light brown sugar, packed, ¼ cup (50g) – This gives moisture and a hint of molasses flavor that pairs beautifully with brown butter. Dark brown sugar works too, for an even deeper flavor.
- One large egg yolk – Just the yolk! It adds richness and tenderness without making the dough too wet. Save the white for an omelet or freeze it.
- Vanilla extract, ½ teaspoon – Pure vanilla is best, but imitation works in a pinch. It rounds out the nutty notes from the butter.
- Baking soda, ¼ teaspoon – Helps the cookies spread just enough and gives them a slight lift.
- Salt, ¼ teaspoon – Balances sweetness and enhances the brown butter flavor. I use fine sea salt. For a flaky finish, sprinkle a little extra on top before baking.
- Semi-sweet chocolate chips, ⅓ cup (60g) – I recommend Ghirardelli or Guittard for the best melt and flavor. You can also chop a chocolate bar for irregular puddles of chocolate. Milk chocolate makes them sweeter; dark chocolate (60-70%) adds a nice bitterness.
Substitution note: For a dairy-free version, use vegan butter (I like Miyoko’s) and dairy-free chocolate chips. The brown butter flavor will be slightly different—less nutty—but still delicious. Gluten-free? Swap the flour with a 1:1 gluten-free baking blend. Add an extra tablespoon of flour if the dough seems too sticky.
Equipment Needed
You don’t need fancy tools for these cookies. I’ve made them in a tiny apartment kitchen with a fork and a cereal bowl. Here’s what you’ll want:
- Small saucepan – For browning the butter. A light-colored pan helps you see the color change. I use a stainless steel one.
- Mixing bowl – Any medium bowl works. Glass or ceramic is fine.
- Whisk or fork – For mixing the dough. A fork works in a pinch, but a whisk incorporates the egg yolk better.
- Rubber spatula – To scrape every last bit of browned butter from the pan. Don’t skip this—it’s where the flavor lives.
- Baking sheet – A rimmed sheet is best. Line it with parchment paper or a silicone baking mat for easy cleanup.
- Cookie scoop or tablespoon – For even-sized cookies. A #40 scoop (about 1.5 tablespoons) is perfect.
- Cooling rack – Optional but helps cookies cool evenly without soggy bottoms.
Budget tip: If you don’t have a cookie scoop, use two spoons to portion the dough. No cooling rack? Let cookies cool on the baking sheet for 5 minutes, then transfer to a plate.
Preparation Method
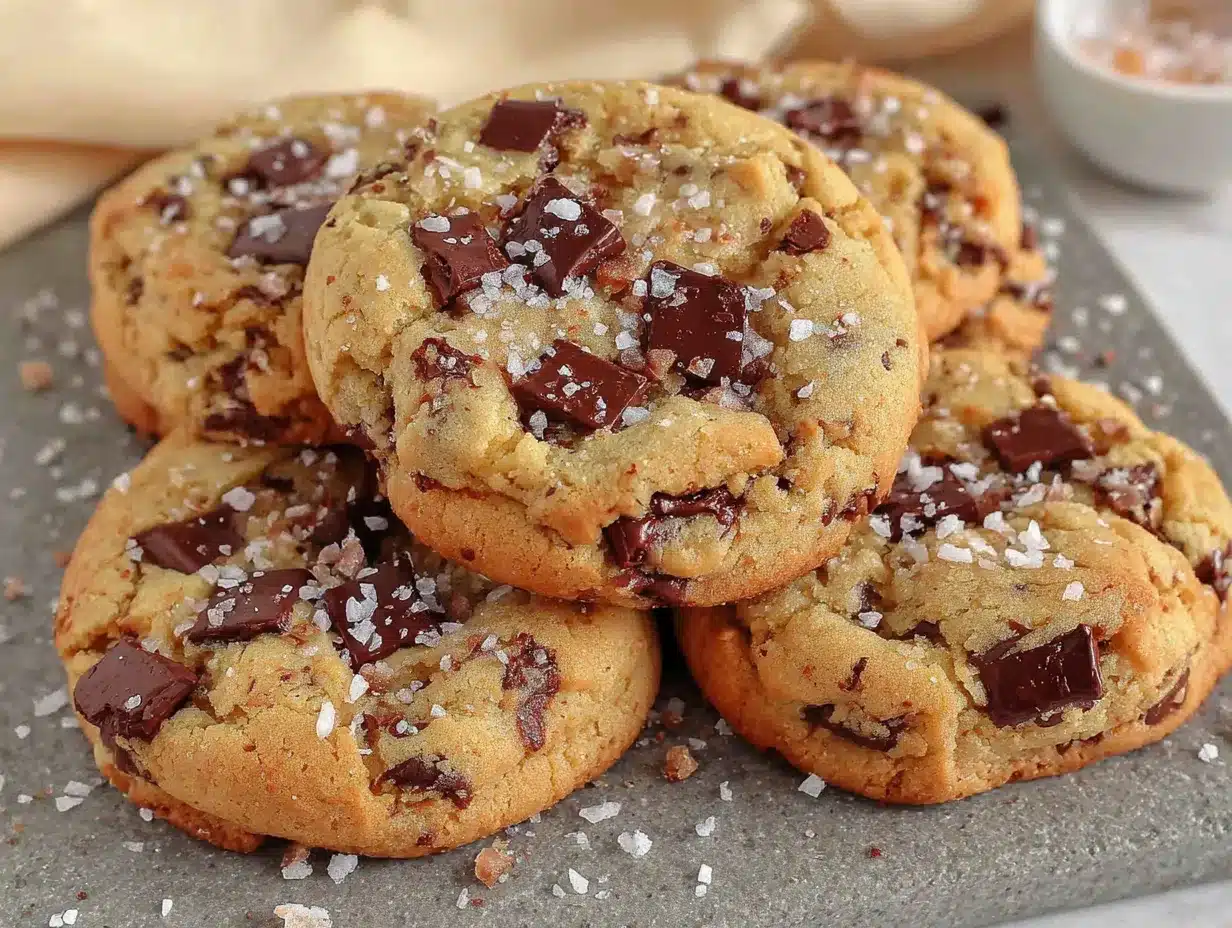
Let’s make these cookies. Take your time with the brown butter—it’s the heart of the recipe.
- Brown the butter: Place the 5 tablespoons of unsalted butter in a small saucepan over medium heat. Stir occasionally with a rubber spatula or wooden spoon. After about 3-4 minutes, the butter will start to foam and turn golden. Watch closely—it can go from perfect to burnt in seconds. When you see brown specks forming at the bottom and smell a nutty aroma, remove it from the heat immediately. Pour the browned butter into a heatproof bowl (including all the brown bits) and let it cool for 5 minutes. Don’t skip the cooling step, or the hot butter will cook the egg yolk.
- Mix sugars and butter: Add the ¼ cup granulated sugar and ¼ cup packed light brown sugar to the warm browned butter. Whisk until smooth and combined. The mixture will look a bit grainy—that’s normal. Let it cool another 2 minutes.
- Add egg yolk and vanilla: Whisk in the egg yolk and ½ teaspoon vanilla extract. The mixture should be thick and glossy. If it looks separated, keep whisking—it will come together.
- Combine dry ingredients: In a small bowl, whisk together the ¾ cup all-purpose flour, ¼ teaspoon baking soda, and ¼ teaspoon salt. Make sure there are no lumps.
- Mix dry into wet: Add the flour mixture to the butter mixture. Stir with a spatula until just combined. A few streaks of flour are okay—overmixing makes cookies tough. Fold in the ⅓ cup chocolate chips until evenly distributed.
- Rest the dough: Cover the bowl with plastic wrap or a plate and let it rest at room temperature for 10 minutes. This step is crucial—it lets the brown butter re-solidify slightly, which prevents the cookies from spreading too thin. The dough will be soft but scoopable.
- Preheat oven: While the dough rests, preheat your oven to 350°F (175°C). Line a baking sheet with parchment paper.
- Scoop and shape: Using a cookie scoop or tablespoon, portion the dough into 6 equal balls (about 1.5 tablespoons each). Place them 2 inches apart on the prepared baking sheet. If you want bakery-style cookies, gently press a few extra chocolate chips onto the tops of the dough balls.
- Bake: Bake for 10-12 minutes, or until the edges are golden brown and the centers look slightly underdone and puffy. The cookies will continue to set as they cool. For softer cookies, bake for 10 minutes; for crispier edges, go to 12.
- Cool: Let the cookies cool on the baking sheet for 5 minutes. Then transfer them to a cooling rack (or a plate) to cool completely—if you can wait that long. I usually sneak one warm.
Sensory cues: When browning the butter, listen for a gentle sizzle, then a quieter bubbling. The smell will shift from plain butter to something like toasted nuts. When the cookies are done, the kitchen will smell like a bakery. The edges should be set and golden, but the centers will still look soft and slightly puffy.
Cooking Tips & Techniques
I’ve burned more butter than I care to admit. Here’s what I’ve learned so you don’t have to.
Watch the butter like a hawk. Brown butter can go from perfect to acrid in about 15 seconds. Use a light-colored pan so you can see the color change. Swirl the pan occasionally, and when you see amber specks and smell that nutty aroma, pull it off the heat immediately. Pour it into a bowl right away—the hot pan will keep cooking it otherwise.
Don’t skip the resting time. I know, you want cookies now. But that 10-minute rest is non-negotiable. Without it, the warm butter makes the dough too soft, and your cookies will spread into flat, greasy discs. Trust me—I’ve made that mistake on a Friday night when I was impatient. The rested dough yields thick, chewy cookies with crispy edges.
Use a cookie scoop for even baking. Uneven-sized cookies bake unevenly—some burn, some are underdone. A #40 scoop gives you consistent portions. If you don’t have one, use two spoons to shape the dough into equal balls.
Chill the dough if you have time. While 10 minutes at room temperature works, chilling the dough for 30 minutes in the fridge gives you even thicker cookies with more developed flavor. The brown butter flavor deepens as it sits. I’ve done this for dinner parties, and guests always rave about the texture.
Bake one test cookie first. If you’re unsure about your oven’s hot spots, bake a single cookie first. Check it at 10 minutes. Adjust the baking time for the rest of the batch. This saved me when I used a friend’s oven that ran 25°F hot.
Common mistake: Overmixing the dough. Stir just until the flour disappears. Overworking it develops gluten, making cookies tough and cakey. We want chewy, not bread-like.
Variations & Adaptations
This recipe is a great base for experimentation. Here are some variations I’ve tried and loved.
Double Chocolate: Replace 1 tablespoon of flour with 1 tablespoon of unsweetened cocoa powder. Use white chocolate chips instead of semi-sweet. The brown butter + cocoa combo is ridiculously good—like a fancy brownie in cookie form.
Add Toasted Nuts: Toast ¼ cup of chopped pecans or walnuts in a dry pan for 3-4 minutes until fragrant. Let them cool, then fold them in with the chocolate chips. The crunch adds a lovely texture, and the nuts amplify the nutty brown butter flavor. I made these for a holiday party, and they disappeared first.
Gluten-Free Version: Swap the all-purpose flour with a 1:1 gluten-free baking blend (I like Bob’s Red Mill). Add an extra tablespoon of flour if the dough seems too sticky. The cookies will be slightly more tender but still delicious.
Vegan Adaptation: Use vegan butter (Miyoko’s works best) and a flax egg (1 tablespoon ground flaxseed + 3 tablespoons water, let sit for 5 minutes). The brown butter flavor will be milder, but the cookies are still chewy and satisfying. Use dairy-free chocolate chips.
Flavor Twists: Add ½ teaspoon of cinnamon or a pinch of flaky sea salt on top before baking. For a holiday version, add ¼ teaspoon of nutmeg and use white chocolate chips with dried cranberries. I tried a cardamom version once—unexpected but lovely with the brown butter.
Different Chocolate: Use milk chocolate for sweeter cookies, dark chocolate (60-70%) for a more sophisticated flavor, or a chopped chocolate bar for irregular chocolate puddles. Peanut butter chips are also fantastic here.
Serving & Storage Suggestions
These cookies are best served warm, when the chocolate is still melty and the edges are crisp. Let them cool on the baking sheet for 5 minutes, then transfer to a plate. For an extra indulgence, serve with a glass of cold milk, a scoop of vanilla ice cream, or a drizzle of caramel sauce.
For a gathering: Arrange the cookies on a wooden board or a pretty plate. Sprinkle a little flaky sea salt on top for visual appeal. Pair with coffee, tea, or a dessert wine like a late-harvest Riesling. They’re also perfect alongside a cheese board—the sweetness balances aged cheddar or blue cheese beautifully.
Storage: Store leftover cookies in an airtight container at room temperature for up to 3 days. Place a slice of bread in the container to keep them soft—the bread absorbs excess moisture and releases it slowly. Replace the bread slice after a day if needed.
Freezing: You can freeze the baked cookies for up to 3 months. Wrap each cookie individually in plastic wrap, then place them in a freezer bag. Thaw at room temperature for 15 minutes, or reheat in a 300°F oven for 5 minutes. The brown butter flavor holds up well.
Freezing dough: Portion the dough into balls, place them on a baking sheet, and freeze until solid. Transfer to a freezer bag. Bake from frozen, adding 2-3 minutes to the baking time. This is my go-to for unexpected guests—fresh cookies in 15 minutes.
Flavor development: These cookies actually taste better the next day. The brown butter flavor deepens as it sits. If you can resist eating them all, save a couple for day two—you’ll be surprised at how the flavors meld.
Nutritional Information & Benefits
Per cookie (based on 6 cookies): approximately 280 calories, 16g fat, 34g carbohydrates, 3g protein, 1g fiber, 18g sugar. These are estimates and will vary based on specific ingredients used.
Health highlights: Brown butter contains conjugated linoleic acid (CLA), which has been linked to some health benefits in moderate amounts. Dark chocolate (if you use it) is rich in antioxidants and flavonoids. The recipe uses less sugar than many cookie recipes, and the small batch size helps with portion control.
Dietary considerations: This recipe contains gluten, dairy, and eggs. For gluten-free and vegan options, see the variations section above. The cookies are naturally nut-free (unless you add nuts) and can be made lower in sugar by using a sugar substitute like monk fruit sweetener—though the texture will change slightly.
My perspective: I don’t believe in “guilt-free” desserts. Food is about joy, connection, and sometimes indulgence. These cookies are a treat, and that’s okay. The small batch size means you can enjoy one or two without a week’s worth of leftovers tempting you. Balance is everything.
Conclusion
This recipe started with a random smell in a hardware store and a memory of my Aunt Flo. It ended with six perfect cookies that taste like comfort, patience, and a little bit of magic. I hope you make them on a day when you need something good—a Tuesday, a rainy afternoon, or a quiet evening when you want to treat yourself.
Don’t be afraid to make them your own. Add nuts, swap the chocolate, or sprinkle on some sea salt. The beauty of a small batch is that you can experiment without commitment. And if you burn the butter the first time? Try again. I did. It’s worth it.
I’d love to hear how yours turn out. Drop a comment below and tell me your favorite variation, or share a photo on Pinterest. Let’s keep the cookie love going. Happy baking!
Frequently Asked Questions
Can I use salted butter instead of unsalted?
Yes, but reduce the added salt to just a pinch (about ⅛ teaspoon). Salted butter varies in salt content, so taste the dough before adding extra salt. The cookies might be slightly saltier, which some people love.
Why did my cookies spread too thin?
This usually happens if the dough wasn’t rested long enough, or if the butter was too warm when mixed. Make sure to let the browned butter cool for 5 minutes before adding the sugars, and rest the dough for a full 10 minutes. If your kitchen is warm, chill the dough for 20 minutes instead.
Can I make a double batch?
Absolutely. Simply double all ingredients. Brown the butter in two batches (or use a larger pan) to ensure even browning. The baking time stays the same—just make sure the cookies are spaced 2 inches apart on the baking sheet.
Can I use all brown sugar instead of granulated?
You can, but the cookies will be softer, chewier, and slightly darker. Brown sugar adds moisture and a deeper molasses flavor. If you prefer a crisper cookie, stick with the mix of granulated and brown sugar.
How do I know when the cookies are done?
The edges should be golden brown and set, while the centers still look slightly soft and puffy. They will continue to cook on the hot baking sheet after you remove them from the oven. For soft cookies, bake for 10 minutes; for crispier edges, go to 12 minutes. The smell is also a good indicator—when the kitchen smells like a bakery, they’re close.
Pin This Recipe!
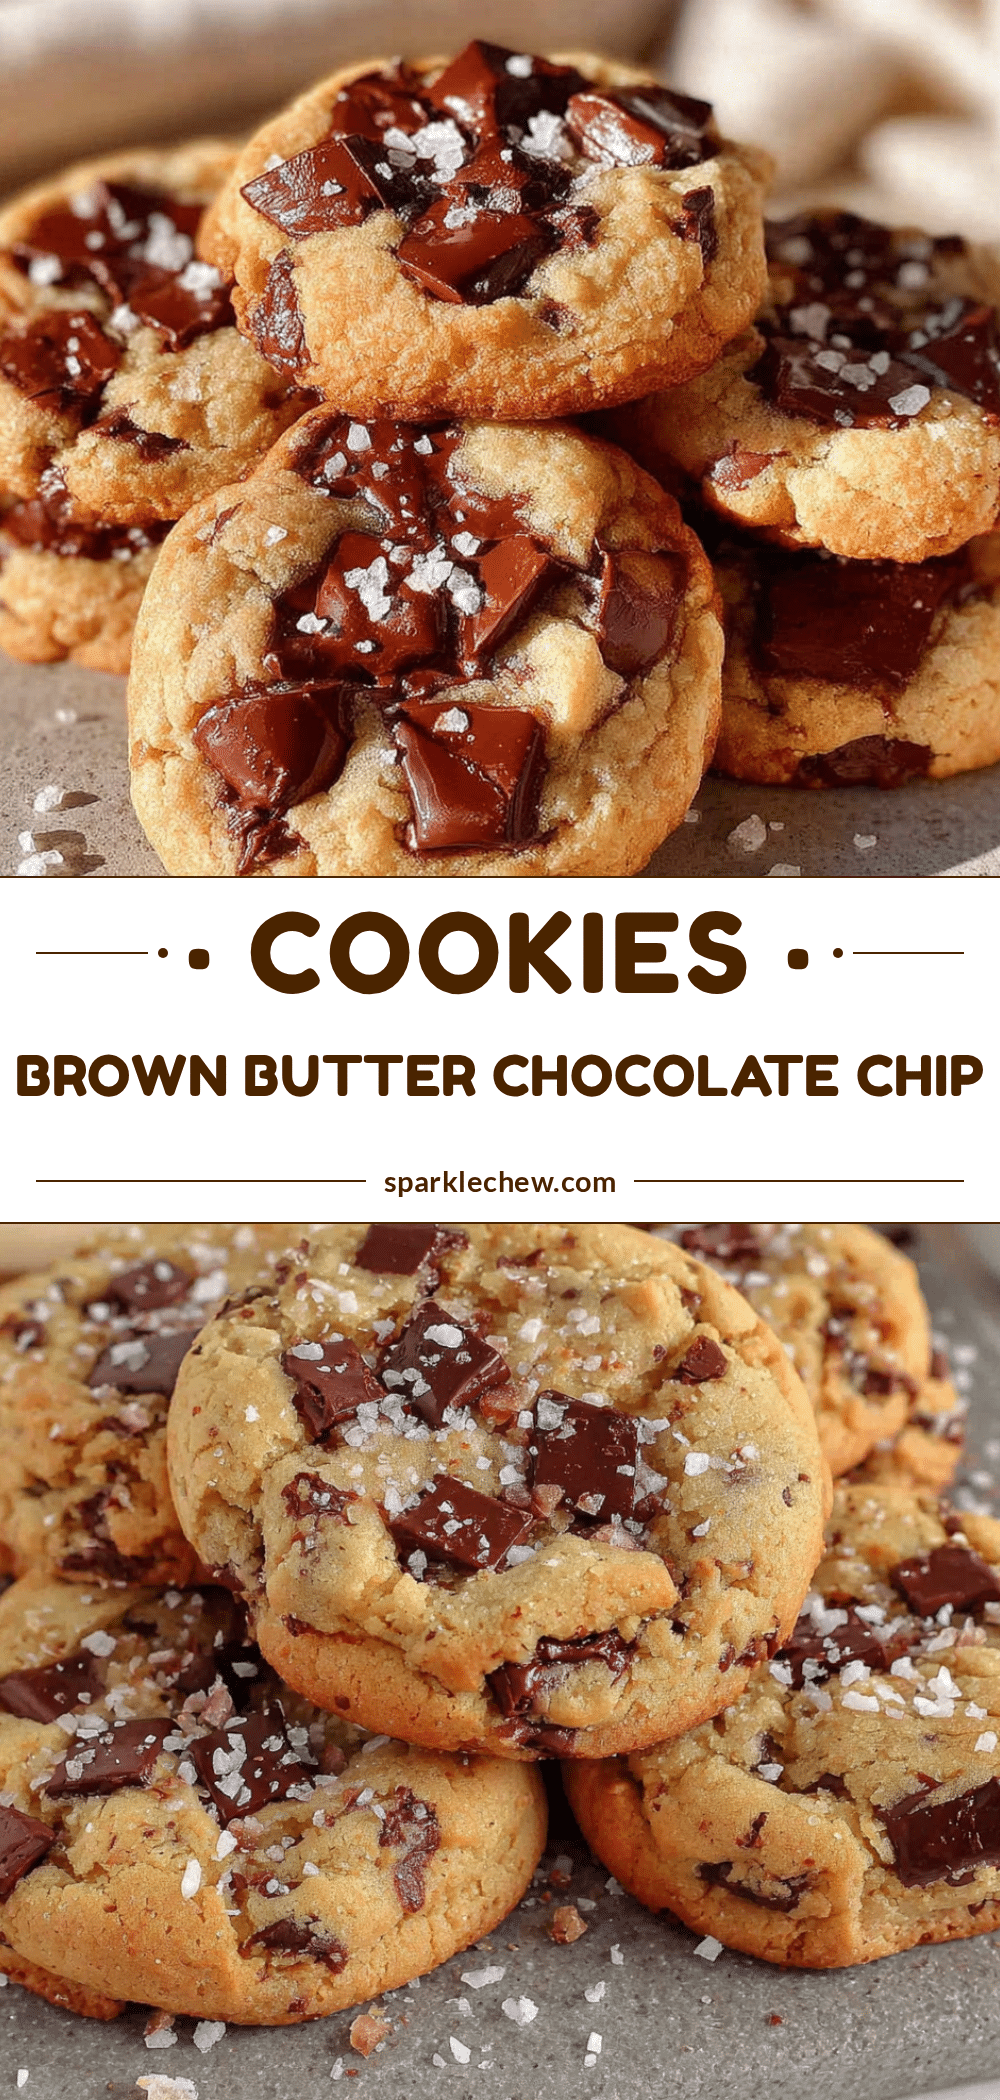
Perfect Small Batch Brown Butter Chocolate Chip Cookies

A small batch recipe for six perfect chocolate chip cookies made with nutty brown butter. These cookies are crispy on the edges, chewy in the middle, and packed with toasty, caramel-like richness—perfect for a quiet night or a small gathering.
- Prep Time: 15 minutes
- Cook Time: 12 minutes
- Total Time: 27 minutes
- Yield: 6 servings 1x
- Category: Dessert
- Cuisine: American
Ingredients
- 5 tablespoons (70g) unsalted butter
- ¾ cup (90g) all-purpose flour
- ¼ cup (50g) granulated sugar
- ¼ cup (50g) packed light brown sugar
- 1 large egg yolk
- ½ teaspoon vanilla extract
- ¼ teaspoon baking soda
- ¼ teaspoon salt
- ⅓ cup (60g) semi-sweet chocolate chips
Instructions
- Brown the butter: Place 5 tablespoons unsalted butter in a small saucepan over medium heat. Stir occasionally with a rubber spatula. After 3-4 minutes, when the butter foams, turns golden, and smells nutty with brown specks forming, remove from heat immediately. Pour into a heatproof bowl (including all brown bits) and let cool for 5 minutes.
- Mix sugars and butter: Add ¼ cup granulated sugar and ¼ cup packed light brown sugar to the warm browned butter. Whisk until smooth and combined. Let cool another 2 minutes.
- Add egg yolk and vanilla: Whisk in the egg yolk and ½ teaspoon vanilla extract until thick and glossy.
- Combine dry ingredients: In a small bowl, whisk together ¾ cup all-purpose flour, ¼ teaspoon baking soda, and ¼ teaspoon salt.
- Mix dry into wet: Add flour mixture to butter mixture. Stir with a spatula until just combined (a few streaks of flour are okay). Fold in ⅓ cup chocolate chips until evenly distributed.
- Rest the dough: Cover the bowl and let rest at room temperature for 10 minutes.
- Preheat oven: While dough rests, preheat oven to 350°F (175°C). Line a baking sheet with parchment paper.
- Scoop and shape: Using a cookie scoop or tablespoon, portion dough into 6 equal balls (about 1.5 tablespoons each). Place 2 inches apart on prepared baking sheet. Optionally press extra chocolate chips onto tops.
- Bake: Bake for 10-12 minutes, until edges are golden brown and centers look slightly underdone and puffy.
- Cool: Let cookies cool on baking sheet for 5 minutes, then transfer to a cooling rack or plate.
Notes
Watch the butter closely when browning—it can go from perfect to burnt in seconds. Don’t skip the 10-minute dough rest; it prevents cookies from spreading too thin. For thicker cookies, chill dough for 30 minutes. Bake one test cookie first if unsure about oven temperature. Cookies taste even better the next day as flavors meld.
Nutrition
- Serving Size: 1 cookie
- Calories: 280
- Sugar: 18
- Sodium: 180
- Fat: 16
- Saturated Fat: 10
- Carbohydrates: 34
- Fiber: 1
- Protein: 3
Keywords: small batch cookies, brown butter chocolate chip cookies, easy cookie recipe, homemade cookies, chocolate chip cookies