Love this? Save it for later!
Share the inspiration with your friends
This was supposed to be a batch of scones. I had the cold butter cubed, the flour measured, and I was feeling pretty good about myself for being so organized on a Sunday morning. Then I grabbed the buttermilk instead of the heavy cream, dumped it in before my brain caught up, and stood there staring at a sticky, slack dough that was absolutely not going to hold a triangle shape. I was already running late for a brunch I’d promised to bring something—anything—baked to. The oven was preheated, the clock was ticking, and I had a bowl of what looked like a complete baking failure.
Honestly, I almost scraped the whole thing into the trash. But I figured, what’s the worst that could happen? I patted the dough out anyway, folded it over itself like I’d seen my grandmother do with her pie crust, cut some rough rounds, and threw them in the oven. I didn’t even bother to rotate the pan midway because I was too busy panicking about what to grab from the store as a backup. When the timer went off, I pulled out the most golden, craggy, impossibly tall biscuits I’d ever made. They were flaky, tender, and had that perfect tangy buttermilk flavor. My scone failure turned into my go-to biscuit recipe, and I haven’t made scones since. Maybe you’ve been there—staring at a kitchen mistake that somehow turns into your signature dish. That’s exactly how these quick flaky buttermilk biscuits came to be, and I keep making them because they’re forgiving, fast, and genuinely foolproof.
Why You’ll Love This Recipe
Let me tell you why these quick flaky buttermilk biscuits have earned a permanent spot in my weekly rotation. First off, they come together in under 30 minutes from start to finish. I mean it—from the moment you pull the butter out of the fridge to the moment you’re pulling apart a steaming biscuit, it’s a half-hour commitment. That’s faster than ordering takeout in some neighborhoods.
- Quick & Easy: No resting, no rising, no complicated folds. Just mix, pat, cut, and bake. Perfect for those mornings when you wake up craving something warm but don’t have an hour to spare.
- Simple Ingredients: You probably have everything already. Flour, butter, buttermilk, baking powder, salt. That’s it. No specialty flours, no obscure leaveners, no trips to three different stores.
- Perfect for Any Occasion: These biscuits work for breakfast with jam, for lunch as a sandwich base, or for dinner alongside soup or roast chicken. They’re the definition of versatile.
- Crowd-Pleaser: I’ve brought these to potlucks, family dinners, and casual brunches. They disappear every single time. Kids love them, adults fight over the last one.
- Unbelievably Delicious: The outside is golden and slightly crisp, while the inside is tender and flaky with those distinct buttermilk tangy notes. It’s comfort food that feels special without being fussy.
What makes this recipe different from the dozens of other biscuit recipes out there is the technique. Instead of cutting the butter in until it resembles peas, I use a coarser method that leaves distinct butter flakes throughout the dough. When those butter pieces hit the hot oven, they create steam pockets that lift the dough into delicate, flaky layers. It’s not just another biscuit—it’s the one that makes you close your eyes after the first bite because it’s that good.
What Ingredients You Will Need
This recipe relies on a handful of pantry staples that work together to create something genuinely greater than the sum of their parts. Each ingredient plays a specific role, so understanding them helps you nail these quick flaky buttermilk biscuits every time.
- All-Purpose Flour (2 cups / 250g): Standard all-purpose flour gives these biscuits the perfect structure. I prefer King Arthur Flour for its consistent protein content, but any brand works. Don’t use bread flour—it’ll make the biscuits tough. And don’t use cake flour—they’ll be too delicate and won’t hold their shape.
- Cold Unsalted Butter (1 stick / 113g): This is non-negotiable. The butter must be cold—straight from the fridge, cut into small cubes. I sometimes pop my butter cubes in the freezer for 10 minutes before starting. The cold butter creates steam as it melts in the oven, which is what gives you those flaky layers. I use unsalted so I can control the salt level myself.
- Cold Buttermilk (3/4 cup / 180ml): Buttermilk is the secret weapon here. Its acidity reacts with the baking powder to give extra lift, and it adds that signature tangy flavor. Shake the carton before measuring because it separates. If you don’t have buttermilk, you can make a quick substitute by adding 1 tablespoon of lemon juice or white vinegar to 3/4 cup of regular milk and letting it sit for 5 minutes. It’s not quite the same, but it works in a pinch.
- Baking Powder (1 tablespoon / 14g): Make sure your baking powder is fresh. I’m serious—check the date. Old baking powder won’t give you the rise you need. I use double-acting baking powder, which means it reacts once when mixed with liquid and again when heated.
- Granulated Sugar (1 tablespoon / 12g): Just a touch of sugar balances the tangy buttermilk and helps with browning. It doesn’t make the biscuits sweet—it just rounds out the flavor.
- Salt (1 teaspoon / 6g): Salt is crucial for flavor. Without it, your biscuits will taste flat and one-dimensional. I use fine sea salt. If you use kosher salt, you might need a bit more.
That’s genuinely it. Six ingredients, and you’re on your way to the best quick flaky buttermilk biscuits of your life. No eggs, no cream of tartar, no fuss.
Equipment Needed
You don’t need a fancy kitchen to make these biscuits. Here’s what you’ll actually use:
- Large Mixing Bowl: Any bowl works, but a wide one gives you room to work the dough without spilling flour everywhere.
- Pastry Cutter or Two Forks: I prefer a pastry cutter for cutting the butter into the flour because it’s faster and keeps my hands warm. If you don’t have one, two forks or even your fingertips work—just work quickly so the butter stays cold.
- Baking Sheet: A rimmed baking sheet is ideal. Line it with parchment paper for easy cleanup. I’ve used ungreased sheets in a pinch, but the bottoms brown faster.
- 2.5-Inch Biscuit Cutter or Glass: A sharp biscuit cutter gives you clean edges that help the biscuits rise tall. A drinking glass works too, but it might compress the edges slightly. Don’t twist the cutter—press straight down and lift.
- Bench Scraper (Optional): This makes cleaning up flour mess much easier, and it’s great for folding the dough. But a spatula works fine.
- Pastry Brush (Optional): For brushing melted butter on top before baking. You can also just use a spoon.
I’ve made these biscuits with nothing but a bowl, a fork, and a coffee mug as a cutter. They still turned out great. Don’t let missing equipment stop you.
Preparation Method
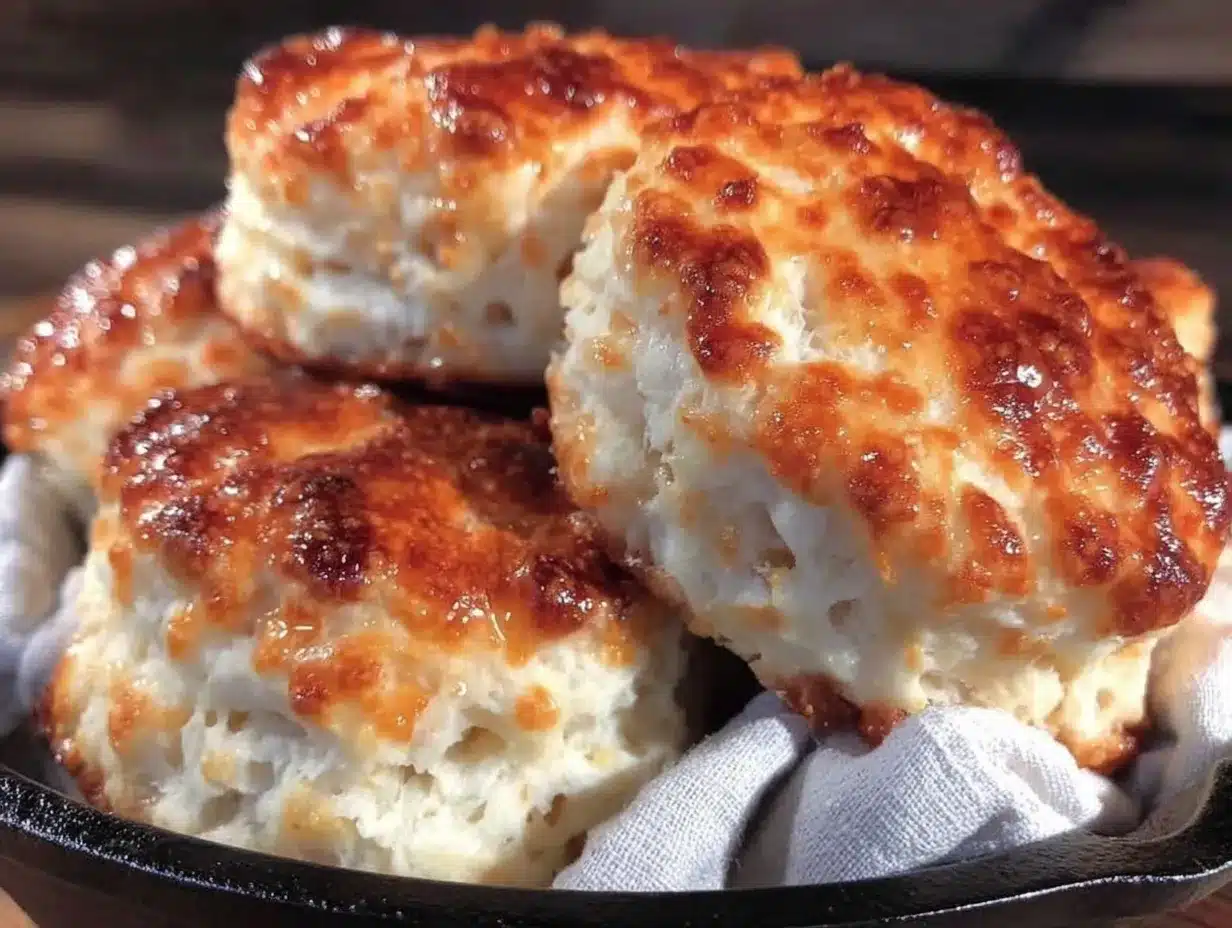
Let’s walk through this step by step. I’ll include all the little tricks I’ve learned from making these quick flaky buttermilk biscuits dozens of times.
- Preheat your oven to 450°F (230°C). Get that oven hot. Biscuits need high heat to create steam quickly, which gives you that dramatic rise. Place your oven rack in the middle position. Line your baking sheet with parchment paper.
- Mix the dry ingredients. In your large bowl, whisk together 2 cups (250g) all-purpose flour, 1 tablespoon (14g) baking powder, 1 tablespoon (12g) sugar, and 1 teaspoon (6g) salt. Make sure everything is evenly distributed. I sometimes sift it if I’m feeling fancy, but whisking works just fine.
- Cut in the cold butter. Take your 1 stick (113g) of cold butter and cut it into small cubes—about 1/2 inch each. Drop them into the flour mixture. Using your pastry cutter or two forks, cut the butter into the flour until the mixture looks like coarse meal with some pea-sized butter pieces remaining. Here’s the key: you want visible butter flakes. If you overwork it until it looks like sand, your biscuits won’t be flaky. Those visible butter chunks are what create the layers.
- Add the buttermilk. Make a well in the center of your flour-butter mixture. Pour in 3/4 cup (180ml) cold buttermilk all at once. Stir with a fork or spatula until the dough just comes together. It will look shaggy and messy—that’s perfect. Don’t overmix. Stop when you no longer see dry flour patches.
- Turn out and fold. Dump the shaggy dough onto a lightly floured surface. Sprinkle a little flour on top of the dough too. Gently pat it into a rectangle about 1/2 inch thick. Now here’s the technique that makes these biscuits special: fold the dough in half like you’re closing a book. Pat it down to 1/2 inch again. Fold again. Do this a total of 4 to 5 times. This creates those distinct flaky layers. Don’t knead—just fold and pat.
- Pat to final thickness. After your last fold, pat the dough into a circle or rectangle that’s about 3/4 inch thick. If you want taller biscuits, go for 1 inch thick. Just remember they’ll spread a bit as they bake.
- Cut the biscuits. Dip your biscuit cutter in flour before each cut. Press straight down without twisting—twisting seals the edges and prevents the biscuits from rising as high. Cut as many as you can, placing them on your prepared baking sheet about 1 inch apart. For softer sides, place them closer together. For crispier edges, space them out more. Gather the scraps, gently pat them together, and cut more biscuits. Don’t overwork the scraps or they’ll be tough.
- Bake immediately. Place the baking sheet in the preheated oven. Bake for 12 to 15 minutes, or until the biscuits are golden brown on top and have risen beautifully. My oven runs hot, so I check at 12 minutes. The bottoms should be golden too. If they’re browning too fast on top, tent loosely with foil.
- Brush with melted butter (optional). As soon as they come out of the oven, brush the tops with melted butter. This gives them that glossy, bakery-style finish and adds a rich flavor. Let them cool on the baking sheet for 5 minutes before serving.
Your kitchen will smell like a dream at this point. Try not to eat three before anyone else gets a chance.
Cooking Tips & Techniques
After making these quick flaky buttermilk biscuits more times than I can count, I’ve collected some hard-won wisdom. Let me save you from my mistakes.
Keep everything cold. This is the single most important tip. Cold butter creates steam, steam creates layers, layers create flaky biscuits. If your kitchen is warm, chill your bowl and flour for 10 minutes before starting. I’ve even frozen my butter and grated it into the flour—works beautifully.
Don’t overmix the dough. I cannot stress this enough. Overmixing develops gluten, and developed gluten makes tough biscuits. Mix until the dough just comes together. It’s okay if it looks a little rough. Actually, it’s better that way.
Use a sharp cutter. A dull cutter or glass will press the edges together, sealing them and preventing that tall rise. Dip your cutter in flour between cuts for clean edges. And remember—no twisting.
Fresh baking powder matters. I learned this the hard way when I made a batch that came out like hockey pucks. Baking powder loses its potency over time. If yours has been sitting in your pantry for more than six months, buy a new can. It’s cheap insurance.
Let the dough rest. If you have an extra 10 minutes, let your cut biscuits rest in the fridge before baking. This firms up the butter again and gives you an even better rise. I do this when I’m making them for company.
Bake at high heat. 450°F isn’t a suggestion—it’s a requirement. Lower temperatures won’t create the steam burst you need for flaky layers. Trust the heat.
I once forgot to add the baking powder entirely. Those biscuits were sad, dense little discs. But you know what? I learned to triple-check my ingredients before starting. We all have those days.
Variations & Adaptations
These quick flaky buttermilk biscuits are incredibly adaptable. Here are some variations I’ve tried and loved:
Cheese and Herb Biscuits: Add 1 cup (120g) of shredded sharp cheddar cheese and 2 tablespoons of chopped fresh chives or parsley to the dry ingredients before adding the buttermilk. The cheese melts into the layers and creates these savory, irresistible pockets. I make these when I’m serving soup or chili.
Sweet Cinnamon Sugar Biscuits: Mix 2 tablespoons of sugar with 1 teaspoon of cinnamon. After brushing the baked biscuits with melted butter, sprinkle the cinnamon sugar mixture over the top. They’re like a cross between a biscuit and a cinnamon roll. Dangerous, honestly.
Whole Wheat Version: Substitute half the all-purpose flour with whole wheat flour. Whole wheat absorbs more liquid, so you might need an extra tablespoon or two of buttermilk. The biscuits will be denser and nuttier, but still delicious. I use white whole wheat flour for a milder flavor.
Gluten-Free Adaptation: Use a good gluten-free all-purpose flour blend that contains xanthan gum. Cup4Cup and King Arthur’s gluten-free blend both work well. The texture will be slightly more tender and less flaky, but they’re still satisfying. Add an extra tablespoon of buttermilk if the dough seems dry.
Vegan Version: Substitute the butter with cold vegan butter or coconut oil (solid, not melted). Use unsweetened almond milk or oat milk mixed with 1 tablespoon of lemon juice instead of buttermilk. Let the vegan milk mixture sit for 5 minutes to curdle before using. The biscuits won’t rise quite as tall, but they’re still flaky and delicious.
I once made a batch with everything bagel seasoning pressed into the tops before baking. They were gone in ten minutes. Don’t be afraid to experiment—biscuits are forgiving.
Serving & Storage Suggestions
These quick flaky buttermilk biscuits are best served warm, straight from the oven. The contrast between the crisp exterior and the tender, steamy interior is at its peak within the first 30 minutes. But let’s be real—they’re still amazing at room temperature.
Serving Ideas: Split them open and slather with salted butter and honey. Use them as the base for strawberry shortcake. Make breakfast sandwiches with eggs, cheese, and bacon. Serve them alongside fried chicken with a drizzle of hot honey. They’re also incredible with sausage gravy—just tear them apart and pour the gravy right over the top.
Storage: Store leftover biscuits in an airtight container at room temperature for up to 2 days. After that, they start to dry out. Don’t refrigerate them—the fridge actually speeds up staling. If you need to keep them longer, freeze them.
Freezing: Cool the biscuits completely, then wrap them individually in plastic wrap and place them in a freezer bag. They’ll keep for up to 3 months. To reheat, unwrap and place in a 350°F oven for 8 to 10 minutes, or until warmed through. You can also microwave them for 20 seconds, but they won’t be as crisp.
Reheating: The best way to revive day-old biscuits is in the oven. Wrap them in foil and heat at 350°F for 5 to 7 minutes. The foil traps steam and brings back some of that fresh-baked tenderness. For a crispier exterior, unwrap the foil for the last 2 minutes.
These biscuits actually taste better the next day if you’re using them for sandwiches. The texture firms up just enough to hold fillings without falling apart. I’ve made them specifically for breakfast sandwiches and they hold up beautifully.
Nutritional Information & Benefits
Let’s be honest—biscuits are a treat, not a health food. But knowing what’s in them helps you enjoy them mindfully. Here’s the approximate nutritional breakdown for one biscuit (based on 8 biscuits per batch):
- Calories: 220
- Total Fat: 12g
- Saturated Fat: 7g
- Carbohydrates: 24g
- Fiber: 1g
- Sugar: 2g
- Protein: 4g
- Sodium: 380mg
These numbers will vary based on the specific brands you use and any additions like cheese or extra butter. The buttermilk does add some calcium and probiotics (if you’re using cultured buttermilk), but the main nutritional takeaway is that these are an indulgence. And that’s okay. Food is about enjoyment, connection, and comfort.
If you’re watching your sodium, you can reduce the salt to 1/2 teaspoon. If you’re monitoring saturated fat, try using half the butter and substituting the other half with cold coconut oil. The texture will be slightly different, but they’ll still be delicious.
Conclusion
These quick flaky buttermilk biscuits have saved me more times than I can count. They’ve been my last-minute potluck contribution, my lazy Sunday morning ritual, and my go-to comfort food after a long week. They’re proof that you don’t need complicated techniques or fancy ingredients to create something genuinely special. Just six ingredients, a hot oven, and 30 minutes.
I hope you make these your own. Add cheese, sprinkle on herbs, or keep them classic with a pat of butter and a drizzle of honey. However you make them, they’ll be better than anything you can buy at the store. And if you mess up the first batch—like I did with my scone disaster—don’t give up. Sometimes the best recipes come from the biggest mistakes.
I’d love to hear how yours turn out. Leave a comment below and let me know what variation you tried, or tag me in your photos on social media. Happy baking, friend!
Frequently Asked Questions
Can I use self-rising flour instead of all-purpose flour?
Yes, you can. If using self-rising flour, omit the baking powder and salt from the recipe. Self-rising flour already contains both. The biscuits will be slightly softer and might not rise quite as tall, but they’ll still be delicious. I’ve done this when I’m out of baking powder and it works fine.
Why did my biscuits turn out dense and flat?
This usually happens for one of three reasons: your butter was too warm, you overmixed the dough, or your baking powder is old. Cold butter is crucial for creating steam pockets. Overmixing develops gluten, which makes biscuits tough instead of flaky. And old baking powder loses its lifting power. Check all three next time and you’ll see a big difference.
Can I make the dough ahead of time?
You can, but for the best results, I recommend cutting the biscuits and refrigerating them on the baking sheet for up to 2 hours before baking. If you need to prep further ahead, freeze the cut biscuits on a baking sheet, then transfer them to a freezer bag. Bake from frozen, adding 2 to 3 minutes to the baking time. The texture is still excellent.
What’s the best way to get tall biscuits?
Three things help: make sure your dough is at least 3/4 inch thick before cutting, don’t twist your biscuit cutter, and place the biscuits close together on the baking sheet so they push against each other as they rise. Also, using a sharp, straight-edged cutter makes a big difference. A fluted cutter can seal the edges and limit rise.
Can I use buttermilk powder instead of liquid buttermilk?
Absolutely. If you have buttermilk powder, mix it with water according to the package directions to make 3/4 cup of buttermilk. Or you can add the dry powder to your flour mixture and use regular milk as the liquid. I keep buttermilk powder in my pantry for exactly this reason—it’s great to have on hand when you don’t want to buy a whole carton.
Pin This Recipe!
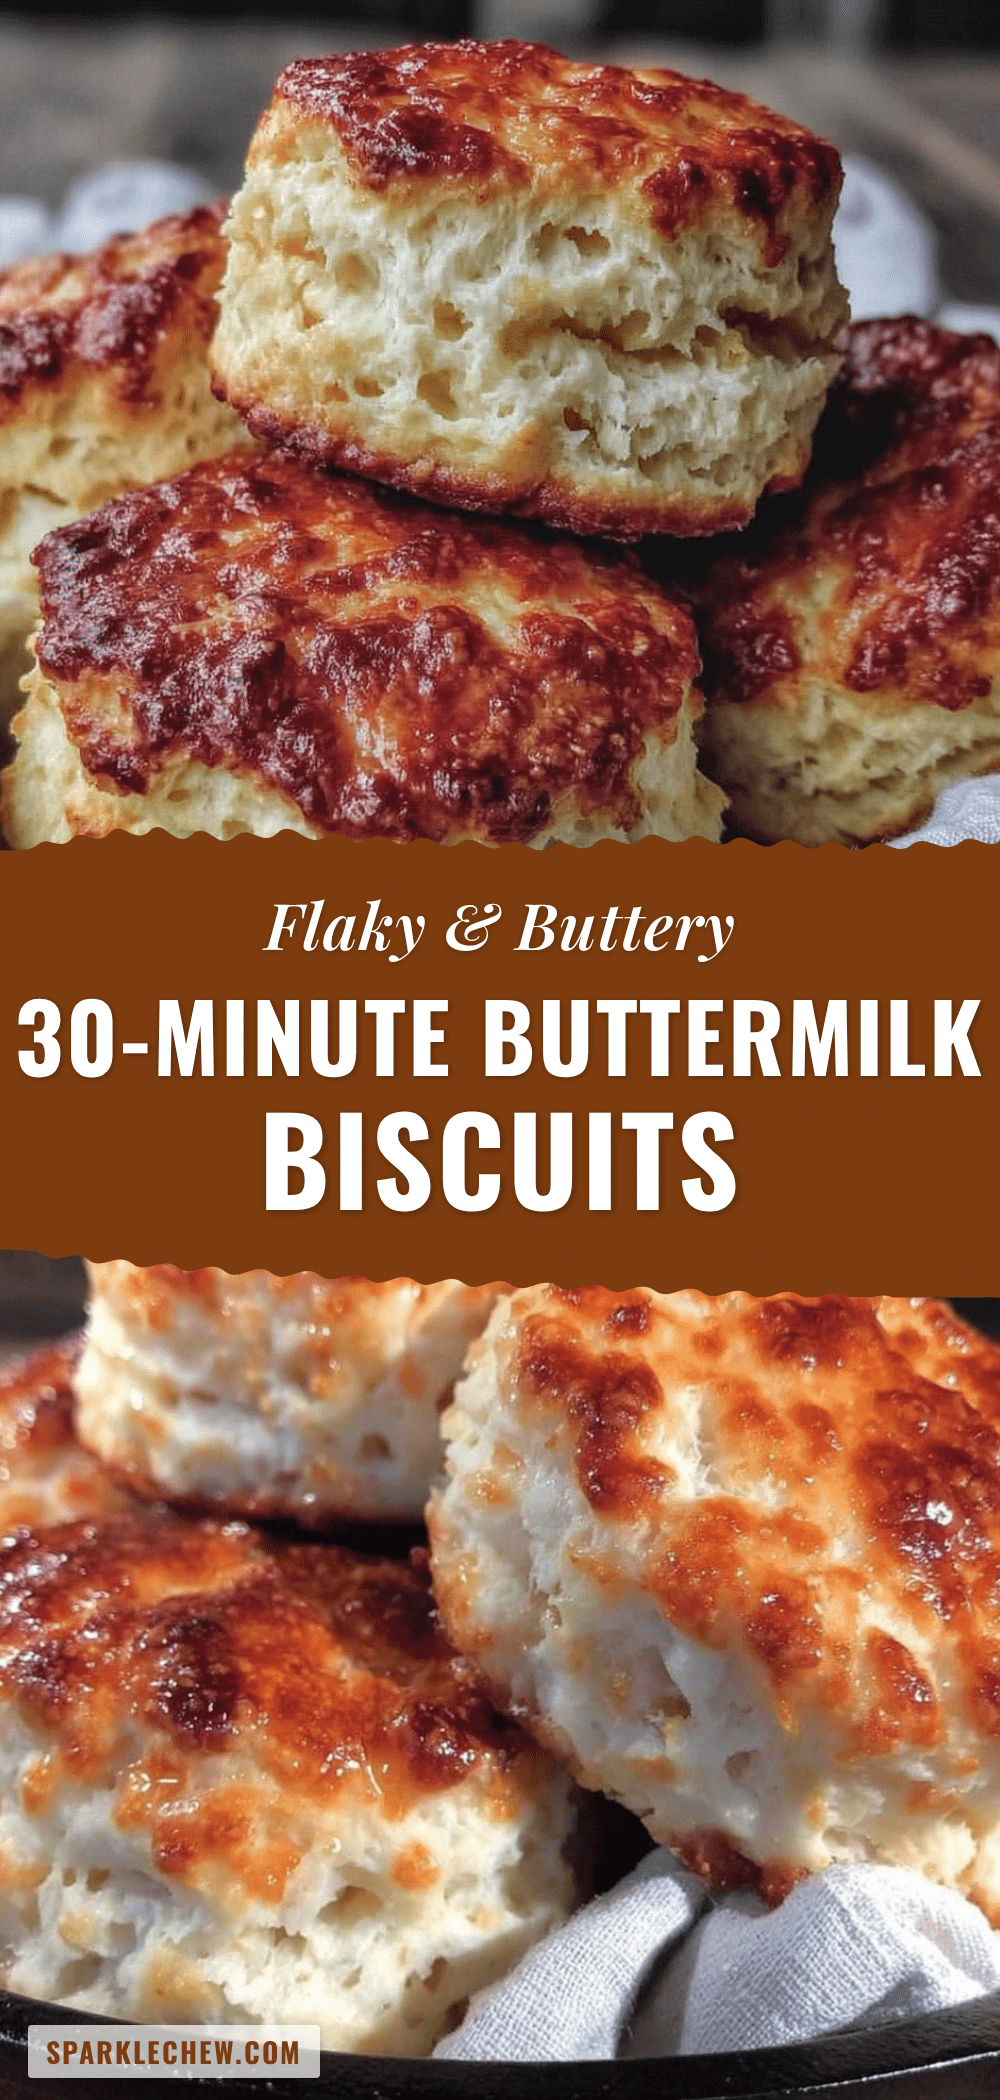
Quick Flaky Buttermilk Biscuits in 30 Minutes
These quick flaky buttermilk biscuits come together in under 30 minutes with just six simple ingredients. They’re golden, tender, and impossibly flaky—perfect for breakfast, brunch, or dinner.
- Prep Time: 15 minutes
- Cook Time: 12-15 minutes
- Total Time: 30 minutes
- Yield: 8 servings 1x
- Category: Bread
- Cuisine: American
Ingredients
- 2 cups (250g) all-purpose flour
- 1 stick (113g) cold unsalted butter, cut into small cubes
- 3/4 cup (180ml) cold buttermilk
- 1 tablespoon (14g) baking powder
- 1 tablespoon (12g) granulated sugar
- 1 teaspoon (6g) fine sea salt
Instructions
- Preheat your oven to 450°F (230°C). Place the oven rack in the middle position. Line a baking sheet with parchment paper.
- In a large bowl, whisk together 2 cups (250g) all-purpose flour, 1 tablespoon (14g) baking powder, 1 tablespoon (12g) sugar, and 1 teaspoon (6g) salt.
- Cut the cold butter into small cubes (about 1/2 inch each) and drop them into the flour mixture. Using a pastry cutter or two forks, cut the butter into the flour until the mixture looks like coarse meal with some pea-sized butter pieces remaining. Do not overwork.
- Make a well in the center of the flour-butter mixture. Pour in 3/4 cup (180ml) cold buttermilk all at once. Stir with a fork or spatula until the dough just comes together. It will look shaggy—do not overmix.
- Turn the dough out onto a lightly floured surface. Sprinkle a little flour on top. Gently pat it into a rectangle about 1/2 inch thick. Fold the dough in half like closing a book. Pat down to 1/2 inch again. Repeat folding and patting 4 to 5 times total.
- After the last fold, pat the dough into a circle or rectangle about 3/4 inch thick (or 1 inch for taller biscuits).
- Dip a 2.5-inch biscuit cutter in flour. Press straight down without twisting to cut biscuits. Place them on the prepared baking sheet about 1 inch apart. Gather scraps, gently pat together, and cut more biscuits.
- Bake immediately for 12 to 15 minutes, until golden brown on top and risen. If browning too fast, tent loosely with foil.
- Optional: Brush tops with melted butter as soon as they come out of the oven. Let cool on the baking sheet for 5 minutes before serving.
Notes
Keep all ingredients cold for best flakiness. Do not overmix the dough. Use fresh baking powder. For taller biscuits, place them close together on the baking sheet. Let cut biscuits rest in the fridge for 10 minutes before baking for an even better rise.
Nutrition
- Serving Size: 1 biscuit
- Calories: 220
- Sugar: 2
- Sodium: 380
- Fat: 12
- Saturated Fat: 7
- Carbohydrates: 24
- Fiber: 1
- Protein: 4
Keywords: buttermilk biscuits, quick biscuits, flaky biscuits, homemade biscuits, easy biscuit recipe, 30-minute biscuits


