Love this? Save it for later!
Share the inspiration with your friends
The office potluck was in less than an hour, and I’d completely blanked on bringing something. Everyone else would be showing up with their slow-cooked stews and elaborate desserts, the kind that clearly took days of planning. Me? I had about ten minutes, a pressure cooker, and some random ingredients from my fridge that didn’t exactly scream “gourmet.” Honestly, I was panicking, pacing around the kitchen with a cracked mixing bowl in one hand and a soggy grocery list in the other. You know that feeling when time just slips away, and suddenly you’re left scrambling to pull something together that won’t embarrass you? Yeah, that was me.
But then, I remembered a quick fix I’d been tinkering with — a pressure cooker Mongolian beef recipe that promised tender meat and a sauce so good it practically begged to be eaten with rice. I threw together the sauce from pantry staples, popped the beef in the cooker, and prayed. Five minutes later, the kitchen smelled like a street food stall in Chinatown, and I swear, even my grumpy coworker asked for seconds. That recipe stuck with me, not because it was fancy, but because it worked under pressure — literally!
Maybe you’ve been there, too, trying to impress the crowd with nothing but a ticking clock and a hope. The quick tender pressure cooker Mongolian beef is my go-to solution when I need a fast, flavorful meal without the fuss. It’s simple, reliable, and honestly, a little bit of a lifesaver when you’re racing the clock. Let me tell you, it’s stayed in my rotation ever since — for potlucks, weeknight dinners, or that random Tuesday when you realize you’re starving and the takeout guys are nowhere in sight.
Why You’ll Love This Recipe
Trust me, after testing this quick tender pressure cooker Mongolian beef recipe through several frantic weeknights and last-minute gatherings, I can vouch for its reliability and flavor. I’ve fine-tuned the sauce balance and cooking times to nail that perfect tender texture every time. Here’s why you’re going to want this recipe in your arsenal:
- Quick & Easy: Ready in under 30 minutes, it’s perfect for those busy days when you want something delicious without spending hours in the kitchen.
- Simple Ingredients: No need for exotic spices or hard-to-find items — just common pantry staples and a few fresh bits.
- Perfect for Weeknights & Potlucks: Whether it’s a casual dinner or a last-minute office party, this dish impresses without the stress.
- Crowd-Pleaser: Kids and adults alike love the sweet-savory sauce and tender beef texture — it’s comfort food that feels a little fancy.
- Unbelievably Tender: Using the pressure cooker means the beef comes out melt-in-your-mouth soft, no hours of simmering required.
- Flavorful Sauce: The combination of soy sauce, brown sugar, garlic, and ginger hits all the right notes — sweet, salty, and a tad spicy.
This isn’t just any Mongolian beef recipe. The magic is in the timing and the pressure cooking method that seals in juices and caramelizes the sauce just right. I’ve played with other versions, but this one always wins for taste and speed. Plus, the recipe’s flexibility means you can tweak the heat or sweetness to your liking without losing that signature tender bite. Honestly, once you try this, you’ll understand why I keep coming back to it when the clock’s ticking and hunger’s winning.
What Ingredients You Will Need
This quick tender pressure cooker Mongolian beef uses straightforward, easy-to-find ingredients that work together to create a rich, flavorful dish. Most of these are pantry staples, and a few fresh items bring the brightness and zing. You can usually find everything in your local grocery or Asian market, and substitutions are easy if needed.
- Beef: 1 pound (450g) flank steak, thinly sliced against the grain (for tenderness). If you prefer, sirloin or skirt steak works, too.
- Vegetable Oil: 2 tablespoons (for searing and sautéing; I like using canola or avocado oil)
- Garlic: 3 cloves, minced (fresh is best for that punchy aroma)
- Ginger: 1 tablespoon, freshly grated (adds warmth and sharpness to the sauce)
- Soy Sauce: ½ cup (120ml) — I recommend low-sodium for controlled saltiness
- Brown Sugar: ⅓ cup (70g), packed (the key to that signature caramelized sweetness)
- Water: ¼ cup (60ml) (to help deglaze and create sauce)
- Cornstarch: 2 tablespoons (for thickening the sauce; mix with a little cold water before adding)
- Green Onions: 3 stalks, sliced thinly (for garnish and fresh bite)
- Red Pepper Flakes: Optional, ¼ teaspoon (for a subtle heat kick, adjust to taste)
Substitution Notes: For gluten-free, swap soy sauce with tamari. If you want a low-sugar version, reduce the brown sugar and balance with a splash of honey or maple syrup. I once tried coconut aminos instead of soy sauce for a slightly different flavor and loved it!
Equipment Needed
- Pressure Cooker or Instant Pot: Essential for speeding up the tenderizing process. If you don’t have one, a heavy-bottomed skillet and longer cooking can work, but it won’t be as quick.
- Sharp Knife: For slicing the beef thinly; a good, sharp blade makes a huge difference in texture.
- Cutting Board: Preferably wooden or plastic, stable for safe slicing.
- Mixing Bowls: For combining the sauce ingredients and tossing beef in cornstarch.
- Measuring Cups and Spoons: Accuracy helps balance the sauce flavors.
- Wooden Spoon or Silicone Spatula: For stirring without scratching your cooker.
If you’re on a budget, a basic stovetop pressure cooker works just fine, and you don’t need fancy extras. I’ve used my trusty Instant Pot for years, but the classic stovetop model gives you more hands-on control. Keep your pressure cooker lid gasket clean and replace it as needed for a tight seal — this little step saved me from a lot of steam mishaps!
Preparation Method
- Slice the Beef: Start by trimming any excess fat from the flank steak. Slice it thinly against the grain into strips about ¼ inch (6 mm) thick. This helps keep the beef tender after cooking. Take about 10 minutes for this step.
- Toss with Cornstarch: In a medium bowl, sprinkle the beef strips with 2 tablespoons cornstarch and toss well to coat evenly. This creates a light crust and thickens the sauce later. Set aside.
- Prepare the Sauce: In a small bowl, mix ½ cup soy sauce, ⅓ cup brown sugar, ¼ cup water, minced garlic, and grated ginger. Stir until the sugar dissolves. This mixture will become the rich, flavorful sauce.
- Sear the Beef: Heat 2 tablespoons vegetable oil in your pressure cooker using the sauté function or on the stovetop over medium-high heat. Add half the beef strips in a single layer (don’t overcrowd), and sear until browned on both sides, about 2 minutes per side. Remove and repeat with the remaining beef. This caramelization adds depth.
- Sauté Aromatics: With the beef removed, add the garlic and ginger to the pot and sauté for 30 seconds until fragrant. Don’t let them burn — adjust heat accordingly.
- Add Sauce and Beef: Pour the sauce mixture back into the pot, scraping up any brown bits stuck to the bottom (this is flavor gold). Return all the seared beef to the pot and stir to coat.
- Pressure Cook: Seal the lid and set your pressure cooker to high pressure for 10 minutes. This short cooking time is all it takes to get that melt-in-your-mouth texture.
- Release Pressure and Thicken: Carefully do a quick release of the pressure once cooking is done. Open the lid, switch back to sauté mode, and stir the beef. If the sauce seems thin, mix 1 tablespoon cornstarch with 2 tablespoons cold water and add gradually, stirring until the sauce thickens to your liking.
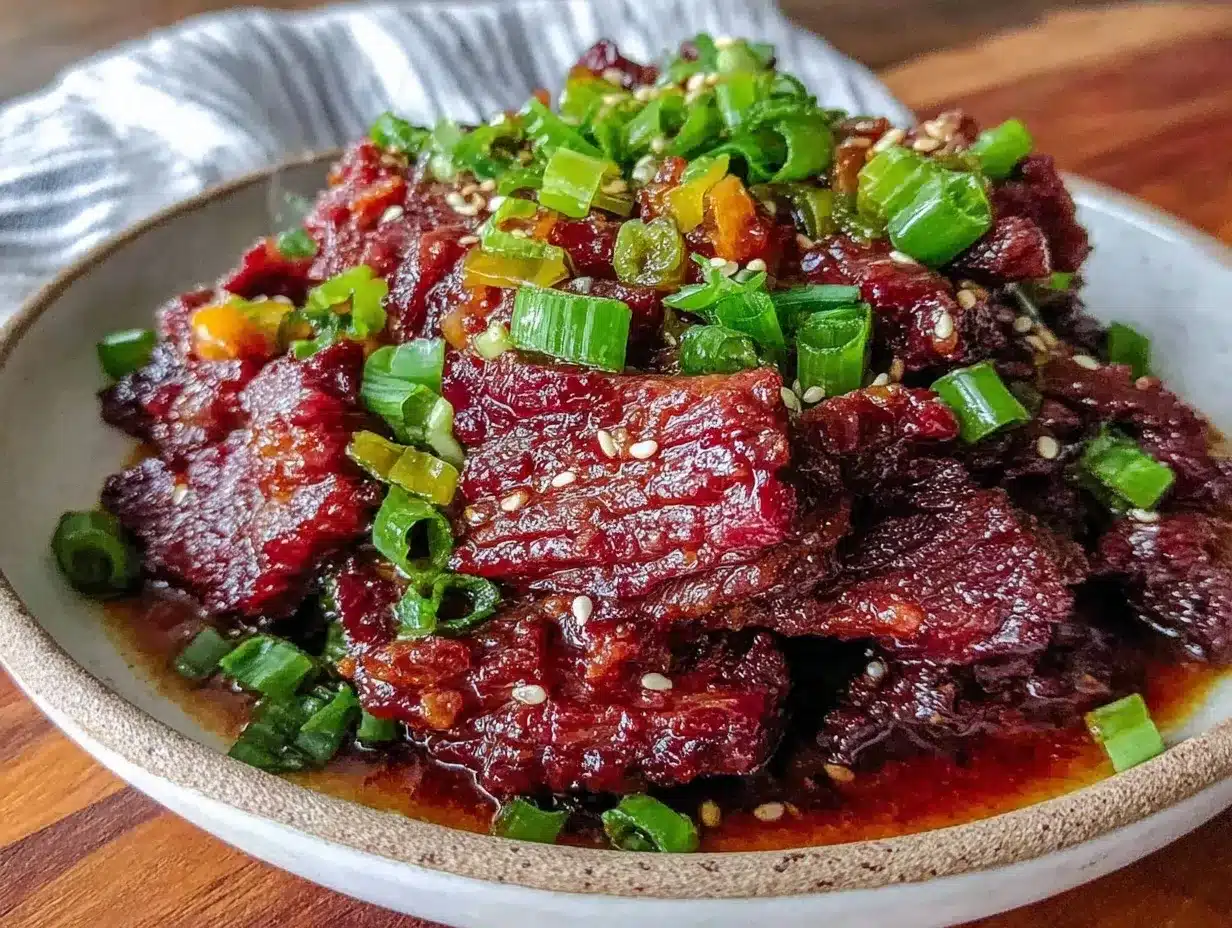
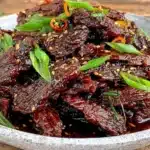
- Finish and Garnish: Stir in sliced green onions and a pinch of red pepper flakes if desired. Serve immediately over steamed rice or your favorite noodles.
Tip: If you prefer extra veggies, toss in some sliced bell peppers or shredded carrots during the sauté step. Just keep an eye on timing so they stay crisp-tender.
Cooking Tips & Techniques
When working with beef in a pressure cooker, timing is everything. Overcooking can turn your tender meat into something chewy and sad. I learned this the hard way after one rushed attempt that ended with a pot of tough beef stew. Stick to the 10-minute pressure cook time and trust the process.
Make sure to slice your beef thinly and against the grain — this is a game-changer for tenderness. If your slices are too thick or cut with the grain, no sauce can rescue the chewiness.
Don’t skip the searing step! It might be tempting to toss everything in and pressure cook, but browning the beef first adds caramelized flavor that makes this dish sing.
Use fresh garlic and ginger rather than powders for that bright, authentic kick. If you’re short on time, pre-grated ginger from the refrigerated section can work in a pinch, but fresh is best.
When thickening the sauce, add cornstarch slurry slowly and stir constantly—too much at once can create lumps. If that happens, just whisk vigorously or use a fine mesh strainer to smooth it out.
Variations & Adaptations
- Low-Carb Option: Skip the brown sugar and use a sugar-free sweetener like erythritol or monk fruit. Serve over cauliflower rice instead of steamed white rice.
- Spicy Kick: Add extra red pepper flakes or a dash of sriracha to the sauce for a fiery twist.
- Vegetarian Version: Substitute thinly sliced seitan or firm tofu for the beef. Cook slightly less time to avoid overcooking.
- Seasonal Veggies: Add snap peas, broccoli florets, or shredded carrots during the sauté step for more texture and color.
- Cooking Method Swap: If you don’t have a pressure cooker, use a heavy skillet to sear the beef, then simmer with sauce for 20-25 minutes until tender, stirring occasionally.
One variation I tried was adding a splash of hoisin sauce for a richer, slightly smoky flavor — it was a hit at a casual dinner and gave the sauce a deeper color, too.
Serving & Storage Suggestions
This quick tender pressure cooker Mongolian beef is best served hot over fluffy steamed jasmine rice or your favorite noodles. Garnish with extra green onions or sesame seeds for a pretty finish. I like pairing it with a simple cucumber salad or steamed broccoli to balance the richness.
Leftovers store well in an airtight container in the refrigerator for up to 3 days. The flavors meld and deepen overnight, so sometimes I actually prefer it reheated the next day. To reheat, warm gently in a skillet over low-medium heat, adding a splash of water or broth if the sauce thickened too much.
You can freeze cooked Mongolian beef in portions for up to 2 months. Thaw overnight in the fridge and reheat as above. Just note that fresh green onions are best added after reheating for a burst of freshness.
Nutritional Information & Benefits
Per serving (based on 4 servings): approximately 320 calories, 25g protein, 15g carbohydrates, 12g fat.
The beef provides a solid dose of iron and protein to keep you energized. Garlic and ginger offer anti-inflammatory benefits and support digestion — little bonuses in a tasty meal. Using a low-sodium soy sauce helps keep the salt levels reasonable, and swapping white rice for brown rice adds fiber.
This recipe is naturally gluten-friendly if you use tamari sauce and corn starch, and can be adjusted for low-carb diets as noted. Just watch out for soy allergies, and substitute coconut aminos if needed.
I appreciate this recipe because it balances comfort, nutrition, and speed — a rare combo in weeknight cooking.
Conclusion
Whether you’re staring down the clock before a big event or just craving something tender and flavorful fast, this quick tender pressure cooker Mongolian beef recipe has your back. It’s simple enough to whip up on a hectic weeknight but tastes like you spent hours fussing over it. I love how adaptable it is, letting you tweak sweetness, spice, and sides to suit your mood.
Give it a try and see how it fits your routine — I bet it’ll become your go-to when you want that perfect balance of ease and taste. If you make this recipe, I’d love to hear how you customized it or what sides you paired it with. Drop a comment or share your version — let’s keep the kitchen conversation going!
Remember, great meals don’t always need hours or fancy ingredients — sometimes, a little pressure and a few simple steps are all it takes.
FAQs
Can I use a different cut of beef for this recipe?
Yes! Flank steak is ideal for tenderness, but sirloin or skirt steak also work well. Just slice thinly against the grain for best results.
What if I don’t have a pressure cooker?
You can make this in a skillet or Dutch oven, searing the beef and simmering the sauce for 20-25 minutes until tender, though it won’t be quite as quick.
How do I make this recipe spicier?
Add extra red pepper flakes, a dash of sriracha, or a chopped fresh chili when sautéing the garlic and ginger.
Can I prepare this recipe ahead of time?
Absolutely! It stores well in the fridge for up to 3 days and tastes even better reheated. Just add fresh green onions after warming.
Is this recipe gluten-free?
It can be! Use tamari instead of soy sauce and make sure your cornstarch is gluten-free. This keeps the sauce safe for gluten-sensitive diets.
Pin This Recipe!
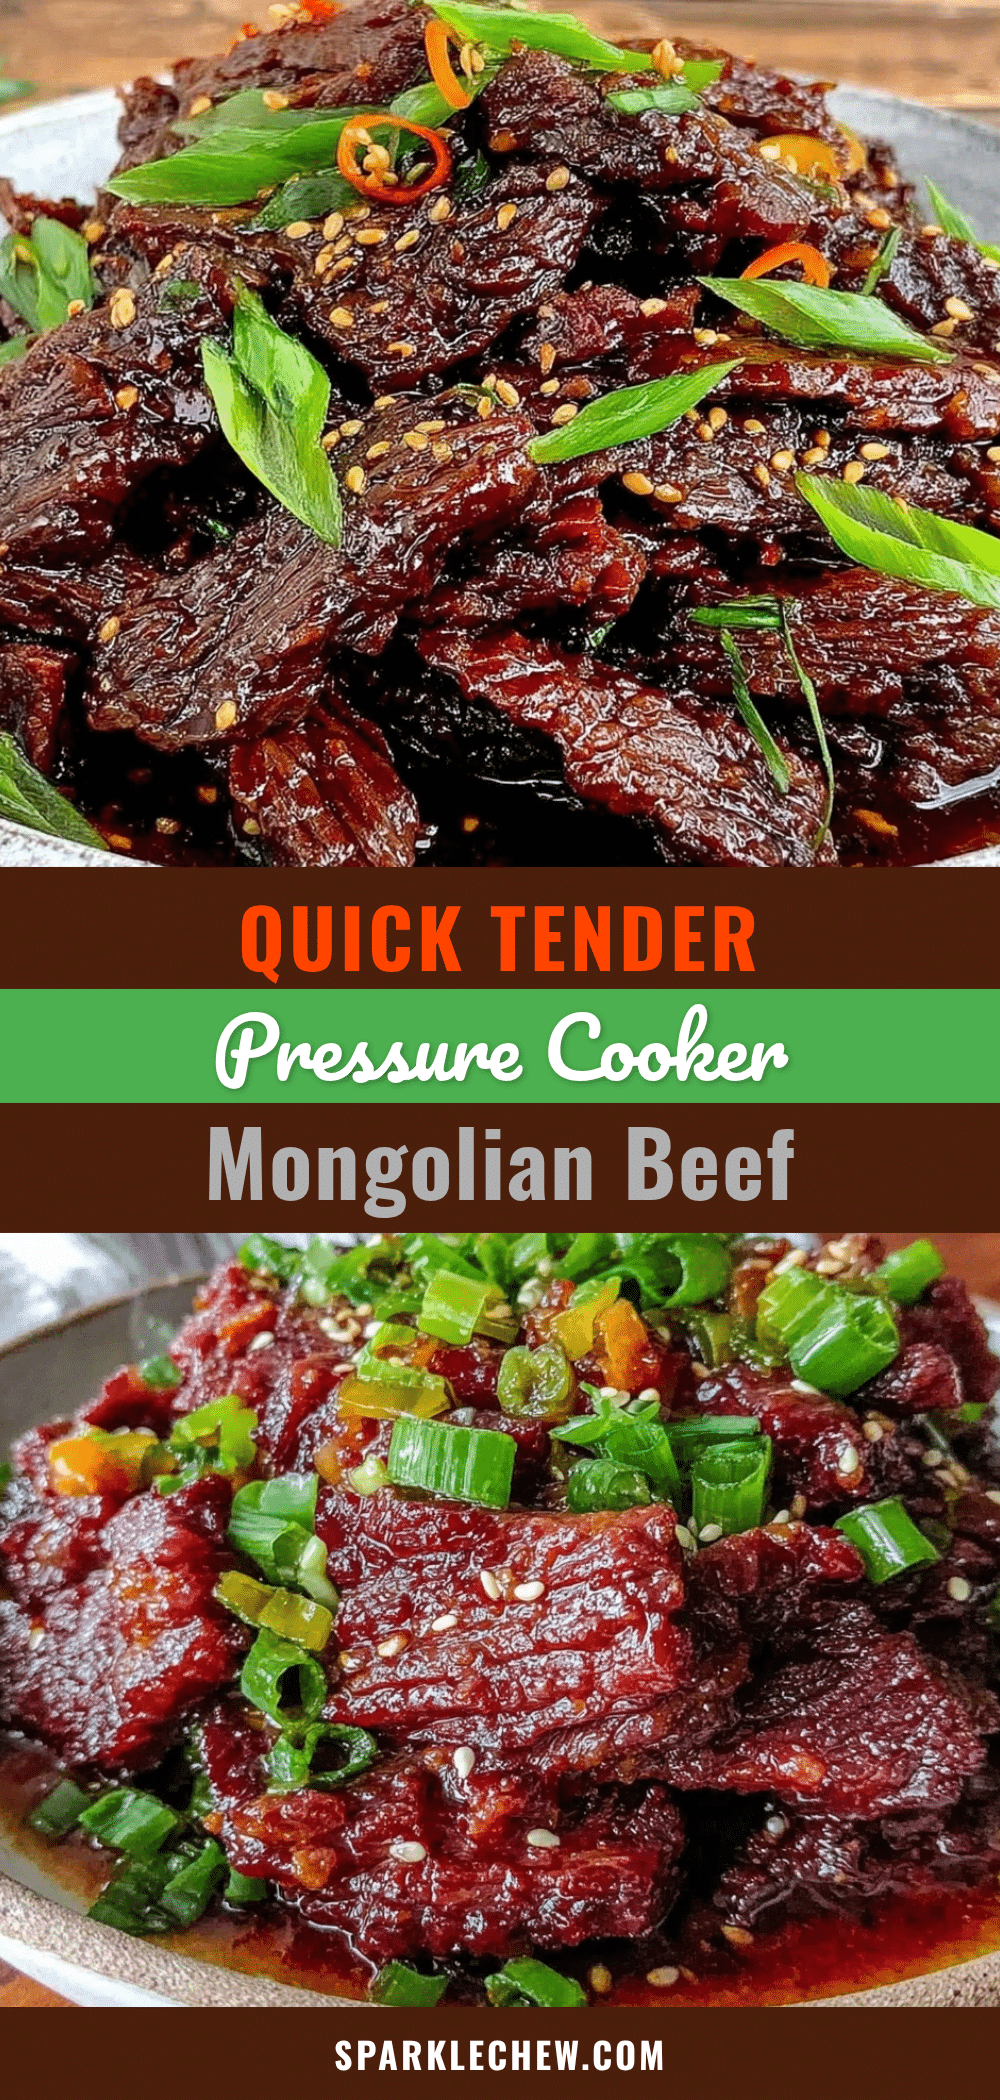
Quick Tender Pressure Cooker Mongolian Beef Recipe Easy and Delicious in 30 Minutes
A fast and flavorful Mongolian beef recipe made tender using a pressure cooker, ready in under 30 minutes. Perfect for busy weeknights and potlucks with a sweet-savory sauce.
- Prep Time: 10 minutes
- Cook Time: 20 minutes
- Total Time: 30 minutes
- Yield: 4 servings 1x
- Category: Main Course
- Cuisine: Asian
Ingredients
- 1 pound flank steak, thinly sliced against the grain
- 2 tablespoons vegetable oil (canola or avocado oil preferred)
- 3 cloves garlic, minced
- 1 tablespoon freshly grated ginger
- ½ cup soy sauce (low-sodium recommended)
- ⅓ cup brown sugar, packed
- ¼ cup water
- 2 tablespoons cornstarch
- 3 stalks green onions, sliced thinly
- ¼ teaspoon red pepper flakes (optional)
Instructions
- Trim any excess fat from the flank steak and slice thinly against the grain into strips about ¼ inch thick.
- In a medium bowl, toss the beef strips with 2 tablespoons cornstarch to coat evenly. Set aside.
- In a small bowl, mix soy sauce, brown sugar, water, minced garlic, and grated ginger until sugar dissolves.
- Heat vegetable oil in the pressure cooker using sauté function or stovetop over medium-high heat.
- Add half the beef strips in a single layer and sear until browned on both sides, about 2 minutes per side. Remove and repeat with remaining beef.
- Add garlic and ginger to the pot and sauté for 30 seconds until fragrant.
- Pour the sauce mixture into the pot, scraping up any browned bits. Return all seared beef to the pot and stir to coat.
- Seal the lid and pressure cook on high for 10 minutes.
- Perform a quick release of pressure. Open lid and switch to sauté mode.
- If sauce is thin, mix 1 tablespoon cornstarch with 2 tablespoons cold water and add gradually, stirring until thickened.
- Stir in sliced green onions and red pepper flakes if desired. Serve immediately over steamed rice or noodles.
Notes
Slice beef thinly against the grain for tenderness. Do not skip searing to develop flavor. Use fresh garlic and ginger for best taste. Add cornstarch slurry slowly to avoid lumps. For gluten-free, substitute soy sauce with tamari and ensure cornstarch is gluten-free. Variations include adding vegetables during sauté or using sugar-free sweeteners for low-carb.
Nutrition
- Serving Size: 1 serving (approxima
- Calories: 320
- Fat: 12
- Carbohydrates: 15
- Protein: 25
Keywords: Mongolian beef, pressure cooker, quick recipe, tender beef, weeknight dinner, easy dinner, sweet-savory sauce