Love this? Save it for later!
Share the inspiration with your friends
My sister swore she hated pumpkin desserts. For years. Every Thanksgiving, she’d push the pumpkin pie around her plate, making polite excuses about being “too full.” Then one rainy October afternoon, I was testing a batch of these cookies just for myself—honestly, I wasn’t even planning to share. I turned around from the sink and caught her sneaking a second one from the cooling rack, cinnamon sugar dusted across her chin like she’d been caught in some kind of delicious crime scene.
“These don’t count,” she mumbled through a mouthful of cookie. “They’re not really pumpkin.” And that’s when I knew I had something special. These soft-baked pumpkin snickerdoodle cookies with cinnamon sugar coating walk that perfect line between two worlds. They have that unmistakable pumpkin warmth, sure, but they don’t scream “fall dessert” the way a slice of pie does. They’re sneaky like that—comforting and familiar, but with just enough seasonal magic to make you pause after the first bite.
Maybe you’ve had that moment where you want fall flavors without committing to a whole production. I mean, I love a good pumpkin bread as much as anyone, but sometimes you just want a single cookie that tastes like October without the fuss. These cookies deliver exactly that. They’re soft in the middle, slightly crisp around the edges, and rolled in that classic cinnamon sugar coating we all grew up loving. The pumpkin keeps them incredibly tender for days—if they last that long, which let me tell you, they rarely do in my house.
I keep coming back to this recipe because it solved a problem I didn’t even know I had. It gave me permission to enjoy pumpkin flavor without the baggage of traditional expectations. And watching my pumpkin-skeptic sister reach for a third cookie? That sealed the deal.
Why You’ll Love This Recipe
I’ve tested this recipe more times than I care to admit. The first batch came out flat. The second was too cakey. The third batch? That was the one where I finally stood in my kitchen, took a bite, and actually said “there you are” out loud to a cookie. Here’s what makes these soft-baked pumpkin snickerdoodle cookies with cinnamon sugar coating worth every single attempt:
- Quick & Easy: From start to finish, you’re looking at about 30 minutes. No chilling required, no complicated techniques—just mix, roll, bake, and try not to burn your tongue on the first one.
- Simple Ingredients: You probably have most of this stuff already. Butter, sugar, flour, eggs, cinnamon. The only “special” ingredient is canned pumpkin, and honestly, that’s practically a pantry staple come September.
- Perfect for Fall Gatherings: These cookies show up at every potluck, tailgate, and cozy night in I host. They travel well, they look beautiful on a plate, and they make your whole kitchen smell like heaven.
- Crowd-Pleaser: I’ve watched pumpkin lovers and pumpkin skeptics alike reach for seconds. The snickerdoodle base is so familiar that even people who “don’t like pumpkin” get hooked before they realize what’s happening.
- Unbelievably Soft: The pumpkin keeps these cookies tender for days. We’re talking the kind of soft that makes you close your eyes after the first bite. It’s comfort food at its finest.
What makes this recipe different from the dozens of other pumpkin cookie recipes out there? It’s the texture. Most pumpkin cookies turn out cakey and dry by day two. By using a specific ratio of pumpkin to butter and a technique I picked up from years of baking failures, these stay soft-baked and chewy. The cinnamon sugar coating adds that signature snickerdoodle crackle on top while the inside stays pillowy. It’s the best of both worlds, and honestly, I don’t think I’ll ever make a plain snickerdoodle again.
This recipe isn’t just good—it’s the kind that makes you text a friend a photo with the caption “you need these in your life.” It’s fall flavors without the stress, and that’s something we could all use more of.
What Ingredients You Will Need
This recipe uses simple, wholesome ingredients to deliver that perfect soft-baked texture and warm spiced flavor. Most of these are pantry staples, which means you can whip up a batch whenever the craving hits without a special trip to the store.
For the Cookies
- 1/2 cup (1 stick) unsalted butter, softened — Make sure it’s truly softened, not melted. Room temperature butter creams better with the sugar and gives you that tender crumb.
- 3/4 cup granulated sugar — Adds sweetness and helps create that slightly crisp edge.
- 1/4 cup packed light brown sugar — Adds moisture and a hint of molasses flavor that pairs beautifully with pumpkin.
- 1/2 cup canned pumpkin puree — Not pumpkin pie filling! Just plain pumpkin puree. I prefer Libby’s for consistent texture, but any brand works.
- 1 large egg, room temperature — Room temperature egg blends more evenly into the batter.
- 1 teaspoon vanilla extract — Pure vanilla makes a difference here. Skip the imitation stuff if you can.
- 2 cups all-purpose flour — Spoon and level your flour for the most accurate measurement. Scooping directly can pack in too much.
- 1 teaspoon baking soda — Helps the cookies spread just enough without going flat.
- 1/2 teaspoon baking powder — Gives them that gentle lift for a soft interior.
- 1/2 teaspoon salt — Balances the sweetness and enhances the spices.
- 2 teaspoons ground cinnamon — The backbone of that snickerdoodle flavor.
- 1/2 teaspoon ground nutmeg — Freshly grated if you have it, but pre-ground works perfectly fine.
- 1/4 teaspoon ground ginger — Adds warmth without being overpowering.
- 1/4 teaspoon ground cloves — Just a pinch for depth. Easy to overdo, so measure carefully.
For the Cinnamon Sugar Coating
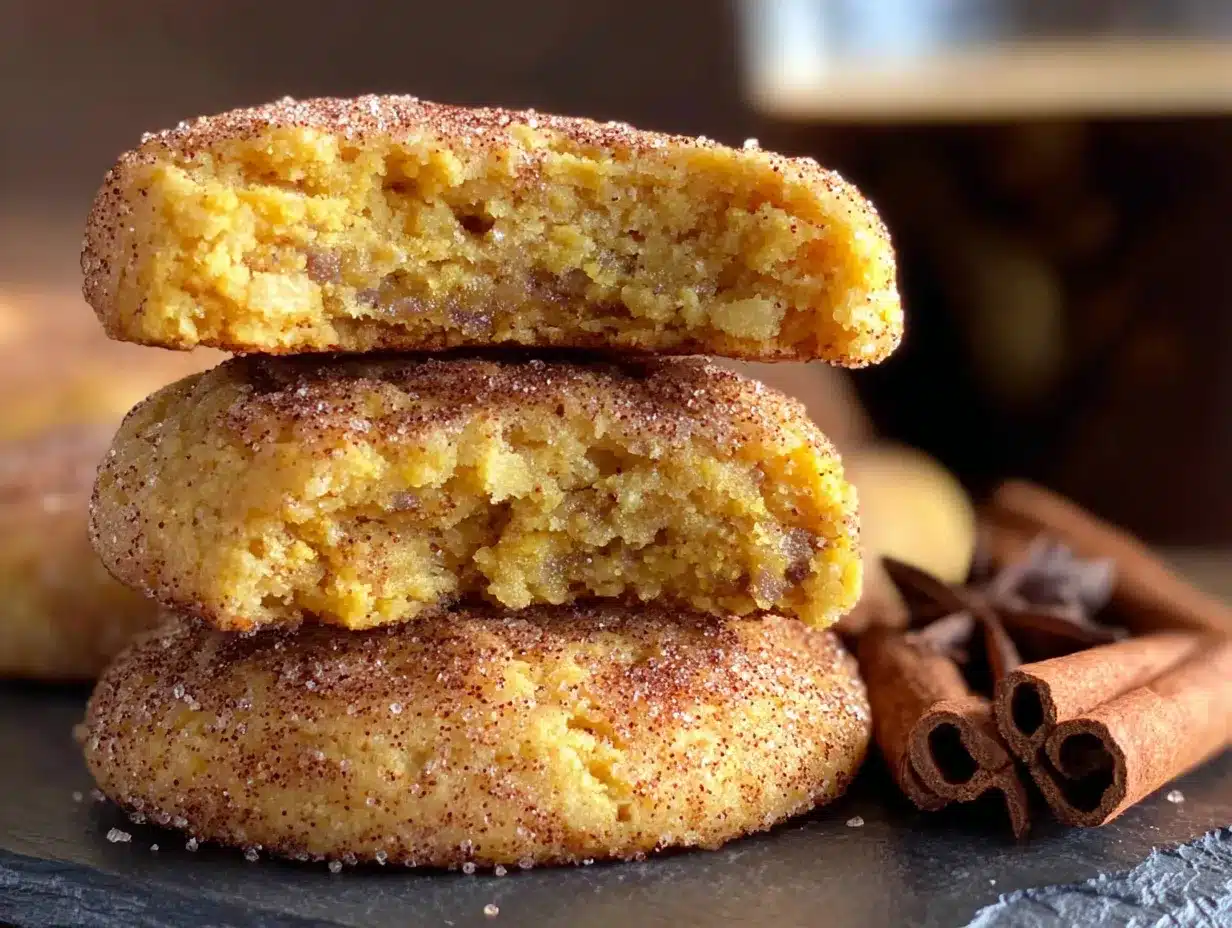
- 1/4 cup granulated sugar — Creates that sparkly, slightly crunchy exterior.
- 2 teaspoons ground cinnamon — Use a good quality cinnamon here. It’s the star of the coating.
Substitution Notes: If you’re dairy-free, you can use vegan butter sticks—just make sure they’re softened, not melted. For a gluten-free version, swap the all-purpose flour with a 1:1 gluten-free baking flour blend. I’ve tested this with King Arthur Measure for Measure and it worked beautifully, though the cookies were slightly less tender. If you don’t have all the individual spices, you can substitute 3 teaspoons of pumpkin pie spice for the cinnamon, nutmeg, ginger, and cloves—just know the flavor will be slightly less nuanced.
Equipment Needed
You don’t need anything fancy here, which is part of why I love this recipe so much. Here’s what you’ll want to have on hand:
- Large mixing bowl — Any bowl works, but I prefer a wide one for easy mixing. My go-to is a simple glass mixing bowl.
- Medium mixing bowl — For whisking dry ingredients together.
- Electric hand mixer or stand mixer — You can do this by hand with a wooden spoon, but a mixer makes creaming the butter and sugar much easier. I’ve done both, and the mixer saves about five minutes of arm fatigue.
- Rubber spatula — For scraping down the sides of the bowl and folding in the dry ingredients.
- Measuring cups and spoons — Accurate measurements matter in baking. Use dry measuring cups for flour and sugar, liquid measuring cups for the pumpkin.
- Baking sheets — Two standard half-sheet pans work perfectly. If you only have one, just bake in batches.
- Parchment paper or silicone baking mat — Nonstick is essential here. The cookies will spread slightly, and parchment makes cleanup effortless. I prefer parchment because it’s disposable and gives slightly crisper bottoms.
- Small bowl — For mixing the cinnamon sugar coating.
- Cooling rack — Lets air circulate around the cookies so they cool evenly without getting soggy on the bottom.
- Cookie scoop (optional but helpful) — A 1.5-tablespoon scoop gives you uniform cookies that bake evenly. I use my OXO scoop for everything.
Budget Tip: If you don’t have a cookie scoop, just use two spoons to portion the dough. It’s not as pretty, but the cookies will taste exactly the same. And honestly, slightly imperfect cookies have more character anyway.
Preparation Method
Alright, let’s make some cookies. I’ve broken this down step by step so you can follow along without any surprises. Trust me, I’ve made every mistake possible with this recipe so you don’t have to.
- Preheat your oven to 350°F (175°C). Line two baking sheets with parchment paper or silicone mats. Do this first so your oven is ready when you are.
- In a medium bowl, whisk together the dry ingredients. Combine 2 cups all-purpose flour, 1 teaspoon baking soda, 1/2 teaspoon baking powder, 1/2 teaspoon salt, 2 teaspoons cinnamon, 1/2 teaspoon nutmeg, 1/4 teaspoon ginger, and 1/4 teaspoon cloves. Whisk until everything is evenly distributed. This ensures you don’t get a pocket of baking soda in one cookie—learned that one the hard way.
- In a large bowl, cream the butter and sugars. Using your hand mixer or stand mixer fitted with the paddle attachment, beat 1/2 cup softened unsalted butter with 3/4 cup granulated sugar and 1/4 cup packed light brown sugar on medium speed until light and fluffy. This takes about 2-3 minutes. You’re looking for a pale, airy texture. Scrape down the sides and bottom of the bowl with your spatula halfway through.
- Add the pumpkin, egg, and vanilla. Beat in 1/2 cup pumpkin puree, 1 large egg, and 1 teaspoon vanilla extract on medium speed until fully combined. The mixture will look slightly curdled at this point—don’t panic, that’s normal. The pumpkin and butter don’t fully emulsify, and that’s actually what gives these cookies their tender texture. Scrape the bowl again.
- Gradually add the dry ingredients. Add the flour mixture in two additions, mixing on low speed just until combined after each. Stop as soon as you don’t see any more streaks of flour. Overmixing at this stage develops gluten and makes your cookies tough. We want soft, remember?
- Make the cinnamon sugar coating. In a small bowl, stir together 1/4 cup granulated sugar and 2 teaspoons cinnamon. Set it next to your baking sheets.
- Portion and roll the dough. Using a cookie scoop or two spoons, scoop about 1.5 tablespoons of dough. Roll it into a ball between your palms—the dough will be slightly sticky, so work quickly. Drop the ball into the cinnamon sugar mixture and roll it around until completely coated. Place on the prepared baking sheet, spacing them about 2 inches apart. I fit 12 cookies per sheet.
- Bake for 10-12 minutes. The cookies should look puffed and slightly cracked on top. The edges will be set but the centers will still look soft and slightly underdone. That’s exactly what you want. They’ll continue cooking on the hot baking sheet after you pull them out. For softer cookies, bake closer to 10 minutes. For slightly firmer edges, go for 12.
- Cool on the baking sheet for 5 minutes. This step is crucial. If you try to move them immediately, they’ll fall apart. After 5 minutes, transfer them to a wire cooling rack to cool completely. The centers will set as they cool, leaving you with that perfect soft-baked texture.
- Repeat with remaining dough. If you’re reusing the same baking sheet, let it cool completely before placing new dough on it. A hot sheet will cause the butter to melt too quickly, and your cookies will spread too much.
Pro tip from my third failed batch: If your dough feels too sticky to roll, pop it in the fridge for 15 minutes. It’ll firm up just enough to handle without becoming difficult to work with. And if you’re like me and eat raw cookie dough (no judgment here), keep in mind this dough contains raw flour and egg—so maybe save that indulgence for another recipe.
Cooking Tips & Techniques
I’ve burned through a lot of butter perfecting these soft-baked pumpkin snickerdoodle cookies with cinnamon sugar coating. Here’s what I learned so you can skip the trial and error.
Don’t overmix the dough. This is probably the most common mistake I see. When you add the flour, mix just until it disappears. Overmixing develops gluten, and gluten makes cookies tough and dense instead of soft and tender. I speak from experience—batch number four was basically a hockey puck.
Measure your flour correctly. Spoon it into your measuring cup and level it off with a knife. Scooping directly from the bag packs in way too much flour, which dries out your cookies. I did this for years and wondered why my baked goods were always a little off. A kitchen scale is even better—240 grams of flour is your target.
Room temperature ingredients matter. I know, I know, nobody has time to wait for butter to soften. But cold butter doesn’t cream properly with sugar, and cold egg can seize up your batter. If you’re in a hurry, cut your butter into small cubes and let it sit for 15 minutes. Put your egg in a bowl of warm water for 5 minutes. It makes a real difference in the final texture.
Bake one sheet at a time. If you crowd both sheets in the oven at once, the heat circulates unevenly and your cookies will bake at different rates. I learned this when I tried to speed things up and ended up with half-burnt, half-raw cookies. Not my finest moment. If you only have one oven rack, just bake in batches.
Rotate the pan halfway through. About the 5-minute mark, spin your baking sheet 180 degrees. Ovens have hot spots, and this simple step ensures even browning. My oven runs hotter on the left side, so this tip saved me from a lot of uneven batches.
Let them cool properly. I know the smell is torture, but those 5 minutes on the baking sheet are non-negotiable. The cookies are fragile right out of the oven, and moving them too soon will leave you with a crumbly mess. Trust the process. They’ll be worth the wait.
Variations & Adaptations
One of the things I love most about this recipe is how flexible it is. Here are some ways I’ve adapted it depending on my mood, my pantry, or who I’m baking for.
Gluten-Free Version: Substitute the all-purpose flour with a 1:1 gluten-free baking blend. I’ve tested this with both Bob’s Red Mill and King Arthur Measure for Measure, and both worked well. The cookies will be slightly more delicate, so handle them gently when transferring to the cooling rack. Add an extra tablespoon of flour if the dough feels too sticky.
Dairy-Free Version: Use vegan butter sticks like Miyoko’s or Earth Balance. Make sure they’re softened but not melted. The texture will be nearly identical, though the flavor is slightly less rich. I made these for a friend with a dairy allergy and she couldn’t tell the difference.
Extra Spiced Version: If you’re like me and can’t get enough fall flavor, add 1/4 teaspoon of cardamom and a pinch of black pepper to the dry ingredients. The cardamom adds this floral warmth, and the pepper gives a subtle heat that plays beautifully with the cinnamon sugar coating. It sounds weird, I know, but trust me on this one.
Chocolate Chip Pumpkin Snickerdoodles: Fold in 1/2 cup of white chocolate chips or semi-sweet chocolate chips after the flour is incorporated. The white chocolate version tastes like a pumpkin spice latte in cookie form. The semi-sweet version cuts through the sweetness in the best way.
Pumpkin Cream Cheese Filling: For a showstopper version, make a cream cheese filling by beating 4 ounces of softened cream cheese with 2 tablespoons of powdered sugar and 1/2 teaspoon vanilla. Sandwich it between two cooled cookies. This turns them into whoopie pie-style treats that disappear at parties.
Air Fryer Adaptation: You can bake these in an air fryer at 325°F for 6-8 minutes. Work in batches and don’t overcrowd the basket. The tops won’t brown as much, but the texture stays perfectly soft. I tested this during a particularly hot summer when I refused to turn on my oven.
Serving & Storage Suggestions
These soft-baked pumpkin snickerdoodle cookies with cinnamon sugar coating are best served slightly warm, when the centers are still soft and the cinnamon sugar coating is perfectly set. I like to pair them with a cold glass of milk or a hot cup of coffee—the contrast between warm cookie and cold drink is pure comfort.
For a fall dessert spread, arrange them on a wooden board with apple slices, caramel dip, and maybe some spiced nuts. They also make excellent ice cream sandwiches. Just sandwich a scoop of vanilla or cinnamon ice cream between two cookies, roll the edges in extra cinnamon sugar, and freeze for 30 minutes. Trust me, this is dangerous knowledge.
Storage: Keep these cookies in an airtight container at room temperature for up to 5 days. Place a piece of bread in the container to help maintain moisture—the cookies will absorb it and stay soft. Change the bread every other day if they last that long. Do not refrigerate them, as the cold air will dry them out.
Freezing: These freeze beautifully. You have two options. First, freeze the baked cookies in a single layer on a baking sheet, then transfer to a freezer bag for up to 3 months. Thaw at room temperature for about 20 minutes. Second, freeze the unbaked dough balls (before rolling in cinnamon sugar) on a baking sheet, then transfer to a freezer bag. When you’re ready to bake, roll the frozen dough balls in cinnamon sugar and add 2-3 minutes to the baking time. This is my favorite trick for having fresh cookies on demand.
The flavors actually develop and deepen after a day or two. The spices meld together, and the texture stays remarkably soft. I actually prefer these on day two, when they’ve had time to settle into themselves. If you can resist eating them all right away, that is.
Nutritional Information & Benefits
Each cookie (based on 24 cookies) contains approximately:
- Calories: 145
- Total Fat: 6g
- Saturated Fat: 3.5g
- Carbohydrates: 22g
- Sugar: 12g
- Fiber: 1g
- Protein: 2g
- Sodium: 95mg
These numbers are estimates based on standard ingredient brands. Actual values will vary depending on substitutions and exact measurements.
Health Benefits: Pumpkin is packed with vitamin A (in the form of beta-carotene), which supports eye health and immune function. It’s also a good source of fiber, which helps with digestion and keeps you feeling full longer. The cinnamon in the coating has anti-inflammatory properties and may help regulate blood sugar levels. While these are still a treat (I mean, they’re cookies), you’re getting a little nutritional boost from the star ingredient.
Dietary Considerations: This recipe contains gluten, dairy, and eggs. For gluten-free and dairy-free options, check the variations section above. The cookies are nut-free as written, making them safe for school snacks and gatherings where nut allergies are a concern.
I’m not a nutritionist, and I firmly believe that cookies are meant to be enjoyed without guilt. But if you’re someone who likes to know what’s in your food, this information might help you feel a little better about reaching for a second one.
Conclusion
These soft-baked pumpkin snickerdoodle cookies with cinnamon sugar coating have earned a permanent spot in my fall baking rotation. They’re everything I want in a seasonal treat—warm, spiced, tender, and just sweet enough without being overwhelming. They’ve converted pumpkin skeptics, impressed cookie snobs, and made my kitchen smell like October for three years running.
What I love most about this recipe is how approachable it is. You don’t need any fancy equipment or hard-to-find ingredients. You don’t need to plan ahead or chill the dough. You just need 30 minutes and a willingness to get a little flour on your counter. And honestly, isn’t that the kind of baking we all need more of?
I’d love to hear how these turn out for you. Did you try any of the variations? Did you add chocolate chips or stuff them with cream cheese? Did your pumpkin-skeptic loved one get caught sneaking one from the cooling rack? Drop a comment below and let me know. And if you share a photo on Pinterest or Instagram, tag me—I want to see your cinnamon sugar-coated creations.
Go ahead, preheat that oven. Your new favorite fall cookie is waiting.
Frequently Asked Questions
Can I use fresh pumpkin instead of canned?
You can, but I don’t recommend it for this recipe. Canned pumpkin has a consistent moisture content that’s crucial for the texture. Fresh pumpkin puree tends to be more watery, which can make your cookies spread too much and turn out gummy. If you must use fresh, roast and drain the pumpkin very well, squeezing out as much liquid as possible through a cheesecloth.
Why did my cookies turn out flat?
Flat cookies usually mean one of three things: your butter was too soft or melted, you overmixed the dough, or your baking soda is old. Make sure your butter is softened but not greasy, mix just until combined, and check that your baking soda is fresh (it should fizz when dropped in vinegar).
Can I make the dough ahead of time?
Absolutely. You can refrigerate the dough (without the cinnamon sugar coating) for up to 48 hours. When you’re ready to bake, let it sit at room temperature for 10 minutes to soften slightly, then roll in the cinnamon sugar and bake as directed. Chilled dough actually produces slightly thicker cookies with a more developed flavor.
How do I know when the cookies are done baking?
Look for edges that are set and golden, with centers that still look slightly soft and puffy. The tops will have a few cracks. If the centers look completely set and dry, you’ve overbaked them. Remember, they’ll continue cooking on the hot baking sheet for 5 minutes after you pull them out.
Can I double this recipe?
Yes, this recipe doubles beautifully. Just make sure you have enough baking sheets to avoid overcrowding. If you’re making a double batch, I recommend baking one sheet at a time on the middle rack for the most even results. You can also freeze half the dough balls for later—future you will thank you.
Pin This Recipe!
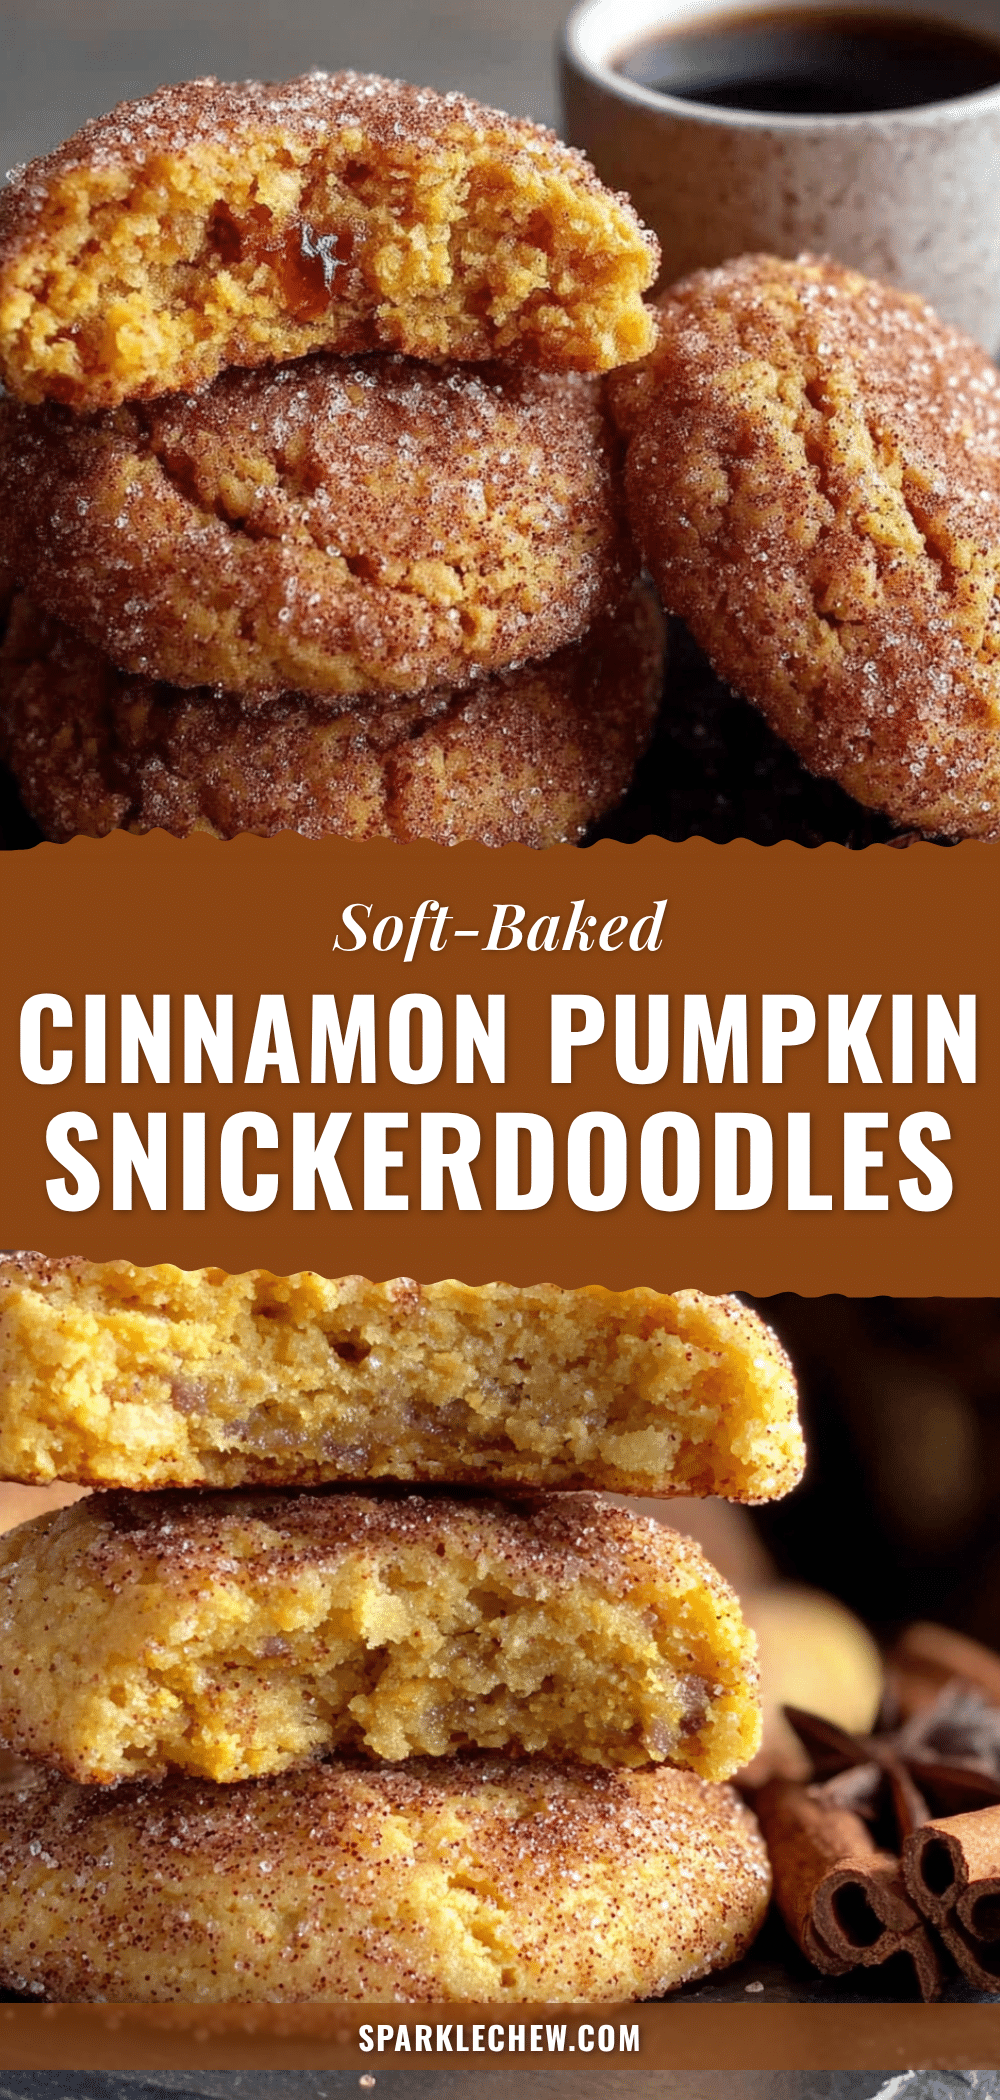
Soft-Baked Pumpkin Snickerdoodle Cookies: Easy Fall Recipe

These soft-baked pumpkin snickerdoodle cookies with cinnamon sugar coating walk that perfect line between two worlds. They have that unmistakable pumpkin warmth, but they don’t scream ‘fall dessert’ the way a slice of pie does.
- Prep Time: 15 minutes
- Cook Time: 12 minutes
- Total Time: 27 minutes
- Yield: 24 servings 1x
- Category: Dessert
- Cuisine: American
Ingredients
- 1/2 cup (1 stick) unsalted butter, softened
- 3/4 cup granulated sugar
- 1/4 cup packed light brown sugar
- 1/2 cup canned pumpkin puree
- 1 large egg, room temperature
- 1 teaspoon vanilla extract
- 2 cups all-purpose flour
- 1 teaspoon baking soda
- 1/2 teaspoon baking powder
- 1/2 teaspoon salt
- 2 teaspoons ground cinnamon
- 1/2 teaspoon ground nutmeg
- 1/4 teaspoon ground ginger
- 1/4 teaspoon ground cloves
- 1/4 cup granulated sugar (for coating)
- 2 teaspoons ground cinnamon (for coating)
Instructions
- Preheat your oven to 350°F (175°C). Line two baking sheets with parchment paper or silicone mats.
- In a medium bowl, whisk together the dry ingredients: 2 cups all-purpose flour, 1 teaspoon baking soda, 1/2 teaspoon baking powder, 1/2 teaspoon salt, 2 teaspoons cinnamon, 1/2 teaspoon nutmeg, 1/4 teaspoon ginger, and 1/4 teaspoon cloves.
- In a large bowl, cream the butter and sugars. Using a hand mixer or stand mixer with paddle attachment, beat 1/2 cup softened unsalted butter with 3/4 cup granulated sugar and 1/4 cup packed light brown sugar on medium speed until light and fluffy, about 2-3 minutes. Scrape down the bowl halfway through.
- Add the pumpkin, egg, and vanilla. Beat in 1/2 cup pumpkin puree, 1 large egg, and 1 teaspoon vanilla extract on medium speed until fully combined. The mixture may look slightly curdled—this is normal.
- Gradually add the dry ingredients in two additions, mixing on low speed just until combined after each. Do not overmix.
- Make the cinnamon sugar coating: In a small bowl, stir together 1/4 cup granulated sugar and 2 teaspoons cinnamon.
- Portion and roll the dough: Using a cookie scoop or two spoons, scoop about 1.5 tablespoons of dough. Roll into a ball between your palms, then roll in the cinnamon sugar mixture until completely coated. Place on prepared baking sheets, spacing them about 2 inches apart.
- Bake for 10-12 minutes. The cookies should look puffed and slightly cracked on top, with edges set and centers still soft.
- Cool on the baking sheet for 5 minutes, then transfer to a wire cooling rack to cool completely.
- Repeat with remaining dough. If reusing the same baking sheet, let it cool completely before placing new dough on it.
Notes
If dough feels too sticky to roll, refrigerate for 15 minutes. For softer cookies, bake closer to 10 minutes; for firmer edges, go for 12. Do not overmix the dough. Measure flour by spooning and leveling. Room temperature ingredients are important. Bake one sheet at a time for even results. Rotate the pan halfway through baking. Let cookies cool on the baking sheet for 5 minutes before transferring.
Nutrition
- Serving Size: 1 cookie
- Calories: 145
- Sugar: 12
- Sodium: 95
- Fat: 6
- Saturated Fat: 3.5
- Carbohydrates: 22
- Fiber: 1
- Protein: 2
Keywords: pumpkin snickerdoodle cookies, soft-baked pumpkin cookies, fall cookie recipe, pumpkin dessert, snickerdoodle cookies, cinnamon sugar cookies, easy pumpkin cookies


