Love this? Save it for later!
Share the inspiration with your friends
I was elbow-deep in a bag of Halloween candy last October—testing quality control, obviously—when a single green gummy worm slipped through my fingers and landed on the counter. And I froze. Not because of the candy, but because of the way it curled there, all twisted and slightly sinister. Suddenly I was eight years old at my Aunt Claire’s kitchen table, and she was sliding a baking sheet toward me with these pale, knobby cookies that looked exactly like severed fingers. I screamed. She laughed. And then I ate six of them.
That memory hit me so hard I almost forgot about the gummy worm. Honestly, I hadn’t thought about those witch finger cookies in years. But once the image was in my head, I couldn’t shake it. I spent the next three days texting my cousin, digging through old recipe boxes, and burning two batches of butter cookies before I got them right. The thing is, I didn’t just want the recipe—I wanted that specific feeling. The one where something looks creepy enough to make you hesitate, but tastes so good you forget your own name.
These spooky witch finger sugar cookies are exactly that. They’re buttery, slightly crisp on the edges, and soft in the middle. And yes, they look genuinely unsettling—which is the whole point. Maybe you’ve had that moment where a Halloween treat looks more like a prop than food? That’s what we’re going for here. I’ve tested these cookies six different ways to make sure they hold their shape, don’t spread into blobs, and actually taste like something you’d want to eat beyond October 31st. Let me tell you, it took some trial and error. But now I’ve got the version I keep coming back to, year after year.
Why You’ll Love This Recipe
These aren’t just another Halloween cookie. I mean, sure, there are a million spooky recipes out there. But most of them sacrifice flavor for looks, or they fall apart the minute you try to move them. Not these. I’ve spent enough time in my kitchen testing butter-to-flour ratios to know what works, and this recipe delivers on every level.
- Quick & Easy: From mixing bowl to oven in about 30 minutes. The chilling time is the only waiting period, and it’s totally worth it.
- Simple Ingredients: Butter, sugar, flour, eggs, almond extract—you probably have most of this in your pantry right now.
- Perfect for Halloween Parties: These are the cookies that make people do a double-take. Every single time.
- Crowd-Pleaser: Kids love the creepy factor. Adults love the buttery, almond-infused flavor. Everyone wins.
- Unbelievably Delicious: The texture is that perfect balance between tender and sturdy. And the almond extract gives them this almost marzipan-like quality that’s completely addictive.
What makes this recipe different? It’s the technique. Most witch finger cookies use a basic sugar cookie dough that spreads too much in the oven. I’ve adjusted the butter content and added a brief chilling step that keeps every finger looking exactly like—well, a finger. No blobs. No melted knuckles. Just perfectly creepy cookies that actually taste amazing.
This is the kind of recipe that makes you close your eyes after the first bite. It’s Halloween comfort food—buttery, sweet, and just a little bit wicked. Perfect for impressing guests without spending all day in the kitchen, or turning a simple October evening into something memorable.
What Ingredients You Will Need
This recipe uses simple, wholesome ingredients to deliver that perfect buttery cookie texture with just enough almond flavor to make things interesting. Most of these are pantry staples, which means you can whip up a batch on a whim without a special grocery trip.
- Unsalted butter, softened (1 cup / 2 sticks) — I prefer using European-style butter like Kerrygold for richer flavor, but any unsalted butter works fine. The softening step is crucial, so don’t microwave it unless you want flat cookies.
- Granulated sugar (1 cup / 200g) — Regular white sugar gives these cookies their delicate crisp edges. No need for anything fancy here.
- Large egg (1, room temperature) — Cold eggs can seize up your butter mixture, so let it sit out for about 20 minutes before starting.
- Almond extract (1 teaspoon) — This is the secret ingredient. It gives the cookies that distinctive marzipan-like flavor that makes them taste bakery-quality. Pure almond extract is worth the splurge.
- Vanilla extract (1 teaspoon) — Balances the almond flavor and adds depth.
- All-purpose flour (2 ½ cups / 315g) — Spoon and level your flour for the most accurate measurement. Scooping directly from the bag can pack in too much flour and make the cookies dry.
- Baking powder (½ teaspoon) — Just enough to give them a slight lift without puffing up too much.
- Salt (¼ teaspoon) — Don’t skip this. Salt enhances sweetness and balances the butter.
- Sliced almonds (about 60 pieces) — These become the fingernails. Look for whole sliced almonds, not slivered ones, since you want that oval shape. (adds the creepy factor)
- Red food coloring gel (optional, for blood effect) — A dab at the base of each almond fingernail gives that freshly-manicured-with-blood look. Totally optional but highly recommended for maximum spook factor.
For the almond extract, I’ve tried several brands and always come back to Nielsen-Massey. It’s pure, not artificial, and the flavor difference is noticeable. If you’re nut-free, you can substitute the almond extract with additional vanilla extract and add a pinch of cinnamon for warmth. The sliced almonds can be replaced with small slivers of dried apricot or even half a cashew for the fingernail effect.
Equipment Needed
You don’t need any fancy equipment for these cookies, which is part of their charm. Here’s what you’ll need:
- Electric mixer (stand or handheld) — You can cream the butter and sugar by hand, but it takes some elbow grease. I’ve done both, and the mixer gives a fluffier result with less effort.
- Large mixing bowl — Glass or stainless steel works best. Avoid plastic bowls if you can, since they can retain grease and affect your butter mixture.
- Baking sheets (2) — Light-colored aluminum sheets give the most even browning. Dark sheets can over-brown the bottoms.
- Parchment paper or silicone baking mats — Non-negotiable for these cookies. They need to release easily from the pan without breaking.
- Sharp knife or bench scraper — For shaping the finger indentations and knuckle marks.
- Small offset spatula — Makes transferring the shaped cookies much easier. I learned this the hard way after breaking three fingers trying to use my hands.
- Cooling rack — Essential for getting that perfect texture. Cookies left on the hot baking sheet continue cooking and can become overdone.
If you don’t have a stand mixer, a handheld electric mixer works perfectly. I actually prefer my handheld mixer for this recipe because the dough is stiff enough that a stand mixer can struggle with the last bit of flour incorporation. And if you don’t have an offset spatula? A butter knife works in a pinch—just be gentle.
Preparation Method
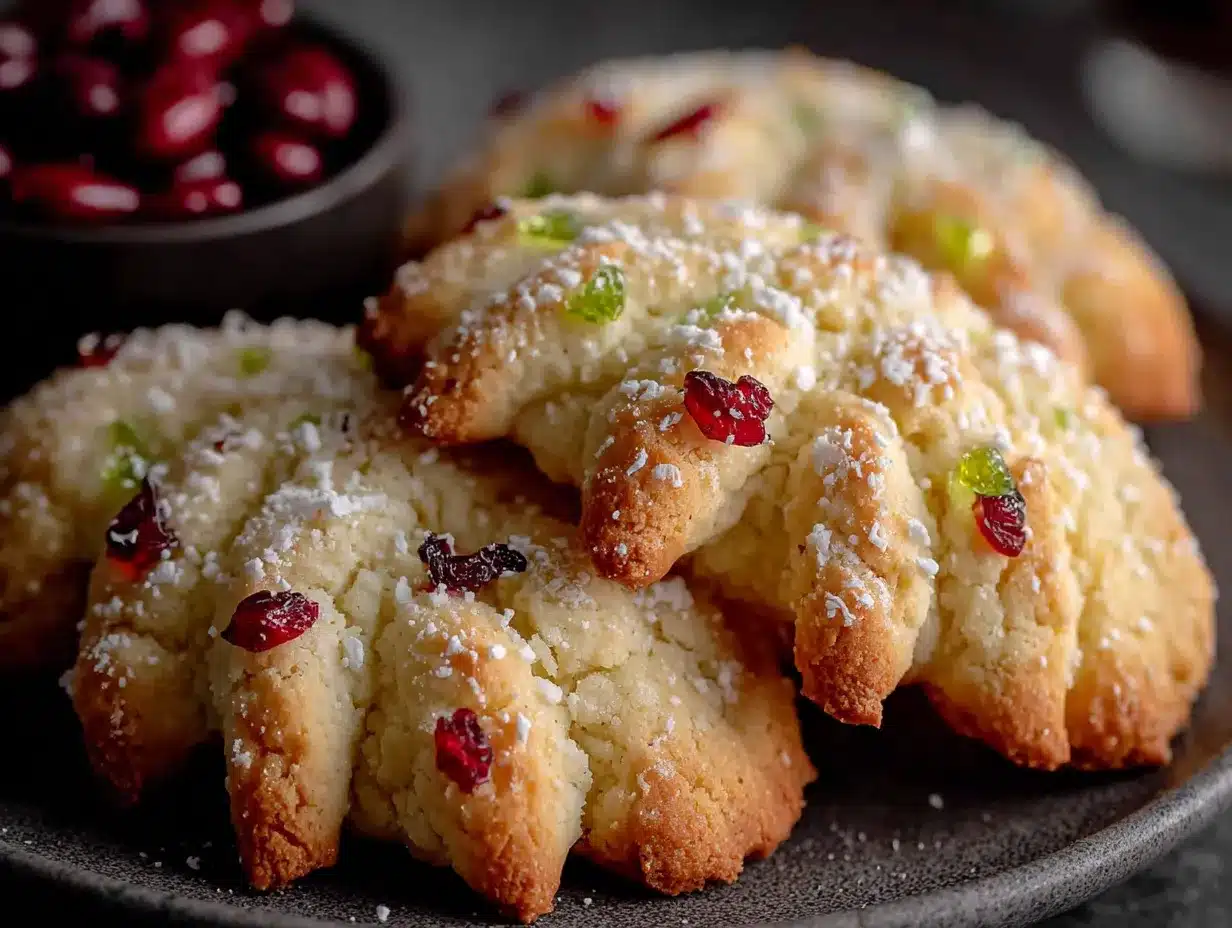
Let’s make some fingers. This recipe makes about 30 cookies, depending on how thick you shape them. Plan for about 30 minutes of active prep time plus 30 minutes of chilling.
- Cream the butter and sugar (3-4 minutes). In your large mixing bowl, beat the softened butter and granulated sugar together until light and fluffy. You want it to look pale yellow and almost doubled in volume. Scrape down the sides of the bowl halfway through.
- Add the wet ingredients. Beat in the egg, almond extract, and vanilla extract until fully combined. The mixture might look slightly curdled at this point—that’s okay. Don’t panic.
- Mix the dry ingredients. In a separate bowl, whisk together the flour, baking powder, and salt. Add this to the wet mixture in two additions, mixing on low speed until just combined. The dough will be stiff and slightly crumbly. If it looks too dry, add one teaspoon of milk. If it’s too sticky, add one tablespoon of flour.
- Chill the dough (30 minutes). Wrap the dough in plastic wrap and refrigerate for at least 30 minutes. This step is non-negotiable. I skipped it once thinking I was saving time, and my fingers spread into creepy-looking sausages instead of actual fingers. Learn from my mistakes.
- Preheat your oven to 350°F (175°C). Line your baking sheets with parchment paper.
- Shape the fingers. Take a heaping tablespoon of dough (about 25g) and roll it into a log shape about 3 inches long and ¾ inch thick. Place it on the prepared baking sheet. Repeat with remaining dough, spacing the fingers about 2 inches apart—they don’t spread much, but they need some breathing room.
- Create the finger details. Using a sharp knife, gently press indentations into each finger to create knuckle marks. You want two or three lines, depending on how long your finger is. Don’t cut all the way through—just deep enough to leave a visible indent. Then, use the knife tip to make tiny lines near the tip of the finger for fingerprints.
- Add the fingernails. Press one sliced almond into the tip of each finger, pointed end toward the knuckle. The almond should sit flush against the dough. If it’s sticking up, press it in a bit more.
- Bake for 10-12 minutes, or until the edges are just barely golden. The centers should still look slightly pale. They’ll continue cooking on the sheet after you pull them out.
- Cool completely (15 minutes). Let the cookies rest on the baking sheet for 5 minutes, then transfer to a cooling rack. Don’t try to move them while they’re hot—they’re fragile and will break.
- Add the blood effect (optional). Once completely cool, use a toothpick to dab a tiny amount of red food coloring gel at the base of each almond fingernail. Less is more here. You want it to look like a small cuticle injury, not a crime scene.
A few things to watch for: If your dough feels too soft to shape after chilling, pop it back in the fridge for 10 more minutes. If the almond fingernails fall off during baking, you didn’t press them in firmly enough. And if your cookies spread too much, your butter was probably too warm when you started—next time, chill it for the full 30 minutes.
Cooking Tips & Techniques
After six batches of testing, I’ve learned a few things that make these cookies turn out perfectly every time. Here’s what I wish I’d known from the start.
Temperature is everything. I cannot stress this enough. Your butter needs to be softened but not melted. If you can press your finger into it and leave an indent without it collapsing, you’re good. If it’s greasy or shiny, it’s too warm. Cold butter won’t cream properly, and warm butter will make your cookies spread into puddles. Room temperature eggs matter too—cold eggs can seize up your butter mixture and create a grainy texture.
The chilling step is not optional. I know, I know. You’re in a hurry. But trust me on this one. The 30-minute chill firms up the butter enough that the cookies hold their shape during baking. Without it, your carefully crafted knuckle marks will disappear, and your fingers will look more like fat little sausages. I learned this the hard way when I made a batch for my neighbor’s Halloween party and had to call them “mummy fingers” instead because they were so misshapen.
Shape them consistently. Use a kitchen scale if you have one—25g per finger is the sweet spot. If you’re eyeballing it, aim for a shape that’s slightly thicker at the bottom and tapers at the top, just like a real finger. The more uniform they are, the more evenly they’ll bake.
Watch the oven like a hawk. These cookies go from perfectly baked to overdone in about 60 seconds. Start checking at the 10-minute mark. The edges should be just barely golden, and the centers should still look slightly pale and soft. They’ll firm up as they cool.
Multitasking strategy: While the dough is chilling, line your baking sheets and set out your sliced almonds. While the first batch bakes, shape the second batch. And while the cookies cool, clean up your workspace—this dough can get sticky if it sits out too long.
Variations & Adaptations
One of the best things about this recipe is how flexible it is. Here are a few variations I’ve tried and loved.
Gluten-Free Version: Substitute the all-purpose flour with a 1:1 gluten-free baking flour blend. I’ve used Bob’s Red Mill with great results. Just add an extra tablespoon of flour to account for the different absorption rates. The texture will be slightly more crumbly, but the flavor is still spot-on.
Vegan Adaptation: Replace the butter with vegan butter sticks (not tub margarine—too much water content). Use a flax egg (1 tablespoon ground flaxseed mixed with 3 tablespoons water, let sit for 5 minutes). The cookies will be a bit less tender, but they still hold their shape beautifully.
Chocolate Witch Fingers: Add ¼ cup of cocoa powder to the dry ingredients and reduce the flour by 2 tablespoons. These look like chocolate-dipped fingers and taste incredible. I made these for a friend’s Harry Potter-themed party, and they disappeared faster than the regular ones.
Spooky Color Variations: Add green food coloring for zombie fingers, purple for alien fingers, or leave them pale for classic witch fingers. I’ve done a rainbow batch before, and kids absolutely lose their minds over them.
Flavor Twists: Swap the almond extract for peppermint extract for a wintery version, or add ½ teaspoon of cinnamon and ¼ teaspoon of nutmeg for a warm spice version. The peppermint version is amazing for Christmas—just call them “Frosty Fingers” or something equally ridiculous.
Nut-Free Fingernails: Use dried apricot slivers or half a cashew instead of sliced almonds. The apricots give a slightly chewy texture that’s actually pretty nice, and the cashews look surprisingly realistic.
Serving & Storage Suggestions
These cookies are best served at room temperature, arranged on a platter that looks appropriately creepy. I like to scatter them on a black serving board with some fake spiderwebs and plastic spiders. The contrast makes the pale fingers really pop.
For a full Halloween spread, pair them with a batch of hot apple cider or a pumpkin spice latte. They also go surprisingly well with a glass of cold milk—the sweetness balances the buttery richness perfectly. If you’re serving them at a party, arrange them on a platter with the fingertips pointing outward, like hands reaching out of the ground. It’s morbid and hilarious.
Storage: Store these cookies in an airtight container at room temperature for up to 5 days. Layer them with parchment paper to prevent the almond fingernails from breaking off. Do not refrigerate them—the moisture will make them soft and the almond extract flavor will fade.
Freezing: You can freeze the shaped, unbaked dough for up to 3 months. Place the fingers on a baking sheet and freeze until solid, then transfer to a freezer bag. Bake directly from frozen, adding 2-3 minutes to the baking time. The baked cookies also freeze well for up to 2 months—just thaw them at room temperature for about 20 minutes before serving.
One thing I’ve noticed: these cookies actually taste better the next day. The almond extract mellows out and blends with the vanilla, creating a more rounded flavor. So if you can resist eating them all on day one, you’re in for a treat on day two.
Nutritional Information & Benefits
Let’s be real—these are cookies, not health food. But here’s the breakdown if you’re curious. Per cookie (based on 30 cookies): approximately 130 calories, 7g fat, 16g carbohydrates, 2g protein, 9g sugar. The almond extract adds no significant calories but does provide a tiny amount of antioxidants.
The sliced almonds on top actually add some nutritional value—almonds are rich in vitamin E, magnesium, and healthy monounsaturated fats. So there’s that. And if you use European-style butter, you’re getting more conjugated linoleic acid, which has some potential health benefits. I’m reaching here, I know.
Dietary considerations: This recipe contains wheat (gluten), dairy, eggs, and tree nuts (almonds). For a nut-free version, skip the almond extract and use the nut-free fingernail alternatives mentioned above. For a lower-sugar version, you can reduce the sugar to ¾ cup, but the texture will be slightly less tender.
From a wellness perspective, I believe in balance. These cookies are a once-a-year treat for most people, and there’s something to be said for the joy they bring. Halloween is about fun and creativity, and these cookies deliver both. Enjoy them without guilt—just maybe don’t eat an entire batch in one sitting. Trust me, I’ve done it, and it’s not pretty.
Conclusion
These spooky witch finger sugar cookies are everything I want in a Halloween recipe—creepy, delicious, and surprisingly easy to make. They’ve become a yearly tradition in my kitchen, and I honestly look forward to making them more than any other holiday treat. There’s something so satisfying about watching people’s faces when they see a platter of severed fingers and realize they’re actually cookies.
I hope you give these a try. Customize them however you like—add different colors, try new flavors, make them as gory or as subtle as you want. The beauty of this recipe is that it’s a canvas for your creativity. And honestly? The imperfections make them better. A crooked finger here, a slightly burnt knuckle there—it all adds to the realism.
I’d love to hear how yours turn out. Drop a comment below and tell me about your Halloween baking adventures. Did your kids love them? Did your coworkers scream? Did you accidentally eat six before anyone noticed? (No judgment here.) Tag me in your photos on social media—I genuinely get excited seeing other people’s versions of this recipe.
Happy Halloween, and happy baking. May your cookies be creepy and your butter be soft.
Frequently Asked Questions
Can I make these cookies ahead of time?
Absolutely. You can bake them up to 5 days in advance and store them in an airtight container. Or freeze the shaped dough for up to 3 months and bake fresh when you’re ready.
Why did my cookies spread into blobs?
Your butter was probably too warm, or you skipped the chilling step. Make sure your butter is softened but not melted, and always chill the dough for at least 30 minutes before baking.
Can I use margarine instead of butter?
I don’t recommend it. Margarine has a higher water content, which will make your cookies spread more and affect the texture. Stick with unsalted butter for the best results.
How do I make the almond fingernails stay on?
Press them firmly into the dough before baking. If they still fall off, you can use a tiny dab of royal icing or melted white chocolate as “glue” after baking.
Can I make these cookies without almond extract?
Yes. Substitute the almond extract with additional vanilla extract or add a pinch of cinnamon for warmth. The flavor will be different but still delicious.
Pin This Recipe!
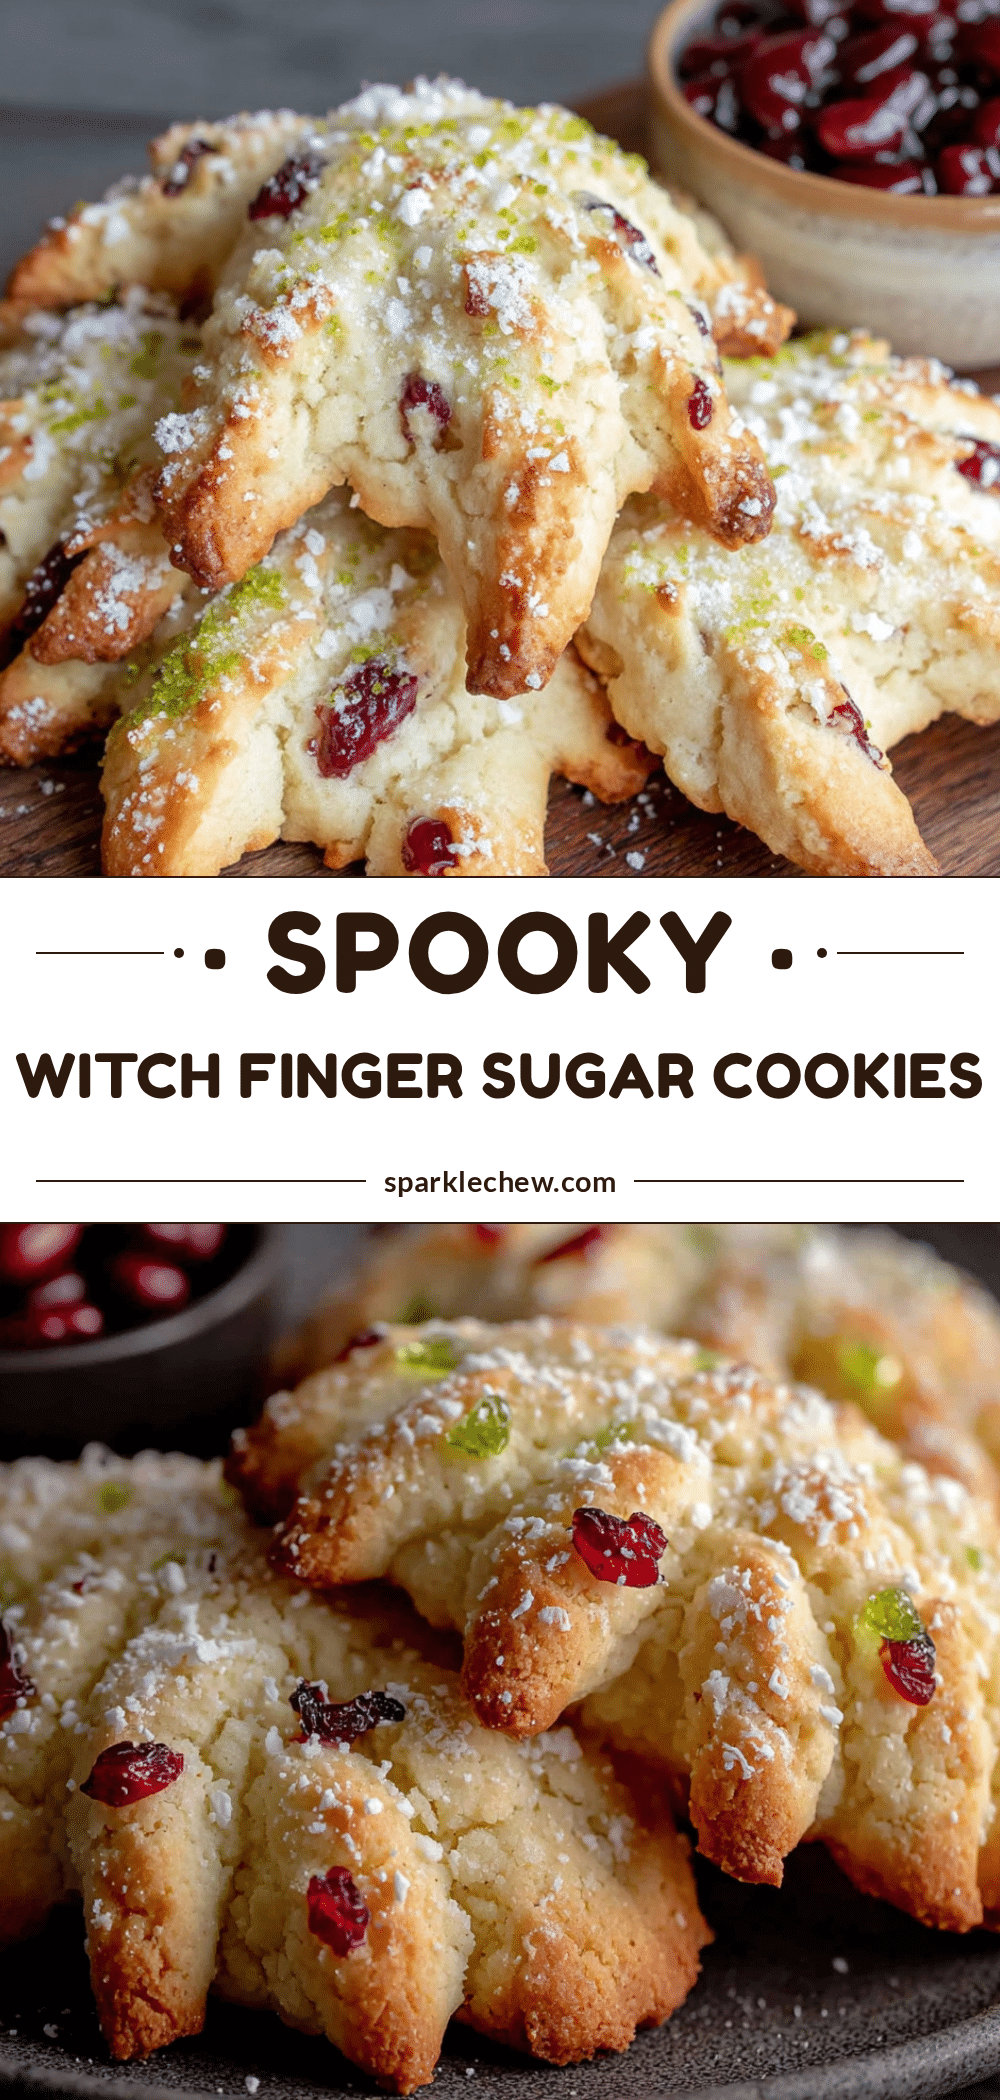
Spooky Witch Finger Sugar Cookies: Best Easy Halloween Recipe

These buttery, almond-infused sugar cookies are shaped like creepy witch fingers with almond fingernails. They’re perfectly crisp on the edges, soft in the middle, and guaranteed to be the hit of any Halloween party.
- Prep Time: 30 minutes
- Cook Time: 12 minutes
- Total Time: 1 hour 12 minutes (includes 30 minutes chilling)
- Yield: 30 cookies 1x
- Category: Dessert
- Cuisine: American
Ingredients
- 1 cup (2 sticks) unsalted butter, softened
- 1 cup (200g) granulated sugar
- 1 large egg, room temperature
- 1 teaspoon almond extract
- 1 teaspoon vanilla extract
- 2 ½ cups (315g) all-purpose flour
- ½ teaspoon baking powder
- ¼ teaspoon salt
- About 60 sliced almonds (for fingernails)
- Red food coloring gel (optional, for blood effect)
Instructions
- Cream the butter and sugar together in a large mixing bowl until light and fluffy, about 3-4 minutes. Scrape down the sides halfway through.
- Beat in the egg, almond extract, and vanilla extract until fully combined. The mixture may look slightly curdled.
- In a separate bowl, whisk together the flour, baking powder, and salt. Add to the wet mixture in two additions, mixing on low speed until just combined. The dough will be stiff and slightly crumbly.
- Wrap the dough in plastic wrap and refrigerate for at least 30 minutes. This step is essential to prevent spreading.
- Preheat oven to 350°F (175°C). Line baking sheets with parchment paper.
- Take a heaping tablespoon of dough (about 25g) and roll into a log shape about 3 inches long and ¾ inch thick. Place on prepared baking sheet. Repeat, spacing fingers about 2 inches apart.
- Using a sharp knife, gently press indentations into each finger to create knuckle marks (2-3 lines). Use the knife tip to make tiny lines near the tip for fingerprints.
- Press one sliced almond into the tip of each finger, pointed end toward the knuckle, so it sits flush against the dough.
- Bake for 10-12 minutes, until edges are just barely golden. Centers should still look slightly pale.
- Let cookies rest on baking sheet for 5 minutes, then transfer to a cooling rack to cool completely.
- Once cool, use a toothpick to dab a tiny amount of red food coloring gel at the base of each almond fingernail for a blood effect (optional).
Notes
Temperature is crucial: butter should be softened but not melted. Chilling the dough for at least 30 minutes is non-negotiable to prevent spreading. For best results, use a kitchen scale to portion 25g per finger. Cookies taste even better the next day as flavors meld. Store in an airtight container at room temperature for up to 5 days. Freeze shaped unbaked dough for up to 3 months.
Nutrition
- Serving Size: 1 cookie
- Calories: 130
- Sugar: 9
- Sodium: 45
- Fat: 7
- Saturated Fat: 4
- Carbohydrates: 16
- Fiber: 0.5
- Protein: 2
Keywords: Halloween cookies, witch finger cookies, sugar cookies, spooky cookies, Halloween dessert, creepy cookies, almond cookies, easy Halloween recipe


