Love this? Save it for later!
Share the inspiration with your friends
There used to be a tiny bakery tucked between a laundromat and a thrift store on the south side of town called “Martha’s Last Slice.” They made these perfect chocolate chip cookies—thin, crispy at the edges, chewy in the middle, with pools of melted chocolate that would stain your fingers. When they closed suddenly two summers ago (the landlord tripled the rent, honestly), I went through a real mourning period. I mean, I actually drove by the empty storefront three times hoping it was a mistake.
After twelve tries—and I’m not exaggerating, twelve separate batches with varying degrees of disaster—I finally got it. The secret, I discovered, wasn’t in some fancy technique or imported butter. It was in the ratio. And the chill time. And the fact that you don’t need a whole pound of butter to get that perfect texture. This small-batch version is the one I landed on, and let me tell you, it’s the closest I’ve ever come to Martha’s magic.
Maybe you’ve been there—craving that one specific cookie from a place that no longer exists. Or maybe you just want four perfect cookies without committing to a dozen. Either way, this recipe is for you. The power went out halfway through my fourth test batch, and I finished baking them in a toaster oven. That’s when I knew this recipe was something special—it survived my chaos.
Why You’ll Love This Recipe
Let’s be honest—most cookie recipes make way too many cookies for a Tuesday night. You end up eating seven because they’re there, and then you feel weird about it. This one solves that problem completely.
- Quick & Easy: From craving to cookie in under 30 minutes. No stand mixer required, no chilling if you’re impatient (though I’ll tell you why you shouldn’t skip it).
- Simple Ingredients: You probably have everything in your kitchen right now. Butter, sugar, an egg, flour, chocolate chips. That’s it.
- Perfect for Weeknights: When you want something warm and sweet but don’t want to spend an hour in the kitchen. This is your answer.
- Crowd-Pleaser: I’ve made these for neighbors, coworkers, and my skeptical brother-in-law who “doesn’t do small cookies.” He ate four.
- Unbelievably Delicious: The texture is that perfect balance—crispy edges, soft center, melty chocolate. It’s comfort food at its finest.
What makes this different from every other cookie recipe? It’s the technique. We’re using melted butter instead of softened, which gives you that chewy texture without waiting for butter to come to room temperature. And the ratio of brown sugar to white sugar is specifically calibrated for small batches—it’s not just a scaled-down version of a full recipe. I tested this six different ways to get it right.
This recipe isn’t just good—it’s the kind that makes you close your eyes after the first bite. It’s weeknight comfort food that feels special without any of the stress.
What Ingredients You Will Need
This recipe uses simple, everyday ingredients to deliver that bakery-quality flavor without any fuss. Most of these are pantry staples, and I’ve included notes on substitutions where they actually work.
- Unsalted butter, melted (4 tablespoons, or 57 grams) — I use Kerrygold for the flavor, but any unsalted butter works. Melting the butter is key here—it gives you that chewy texture without needing to cream it with sugar.
- Granulated sugar (3 tablespoons, or 38 grams) — This adds sweetness and helps with spreading. Don’t reduce it too much or the cookies won’t spread properly.
- Light brown sugar, packed (3 tablespoons, or 42 grams) — This is where the chewiness comes from. Dark brown sugar works too, but your cookies will be slightly darker and more molasses-y.
- Large egg yolk (1 yolk, save the white for breakfast) — Using just the yolk gives you richness without making the cookies cakey. If you use the whole egg, your cookies will be puffier and less dense.
- Vanilla extract (½ teaspoon) — Pure vanilla makes a difference here. I’ve tried imitation and it’s fine, but pure vanilla gives that warm, complex flavor.
- All-purpose flour (½ cup, or 60 grams) — Spoon and level it—don’t scoop directly from the bag or you’ll get too much flour. I learned this the hard way on batch number three.
- Baking soda (¼ teaspoon) — Make sure it’s fresh. If your baking soda is older than six months, your cookies won’t spread right.
- Salt (¼ teaspoon) — I use fine sea salt. If you use kosher salt, you might need a bit more. Salt makes the chocolate taste better—don’t skip it.
- Semi-sweet chocolate chips (⅓ cup, or 60 grams) — I prefer Ghirardelli for the size and meltability. You can use dark chocolate, milk chocolate, or even chop up a chocolate bar for those fancy pools of chocolate.
One thing I want to mention about the chocolate—if you have time, chop half a chocolate bar instead of using all chips. The irregular pieces melt differently and give you those gorgeous chocolate puddles. Batch number seven taught me that.
Equipment Needed
The beauty of this recipe is that you don’t need much. Here’s what you’ll need:
- Mixing bowl — Any medium bowl works. I use a glass one because I can see if everything’s mixed properly.
- Whisk — For combining the wet ingredients. A fork works in a pinch, but a whisk gives you smoother results.
- Rubber spatula — For folding in the flour and chocolate chips. A wooden spoon works too, but the spatula gets every bit of dough.
- Baking sheet — A half-sheet pan is perfect. If you only have a dark nonstick pan, watch your cookies closely—they’ll brown faster.
- Parchment paper or silicone baking mat — Parchment is my go-to. It prevents sticking and makes cleanup a breeze. Silicone mats work great too.
- Cookie scoop or tablespoon — For evenly sized cookies. I use a 1.5-tablespoon scoop for consistent results. A regular spoon works, but your cookies might be different sizes.
- Cooling rack — Optional but recommended. Letting cookies cool on the pan for 5 minutes, then transferring to a rack, gives you that perfect texture.
I’ve made these in a toaster oven during that power outage, and they turned out fine. The baking time was a bit shorter, so keep an eye on them.
Preparation Method
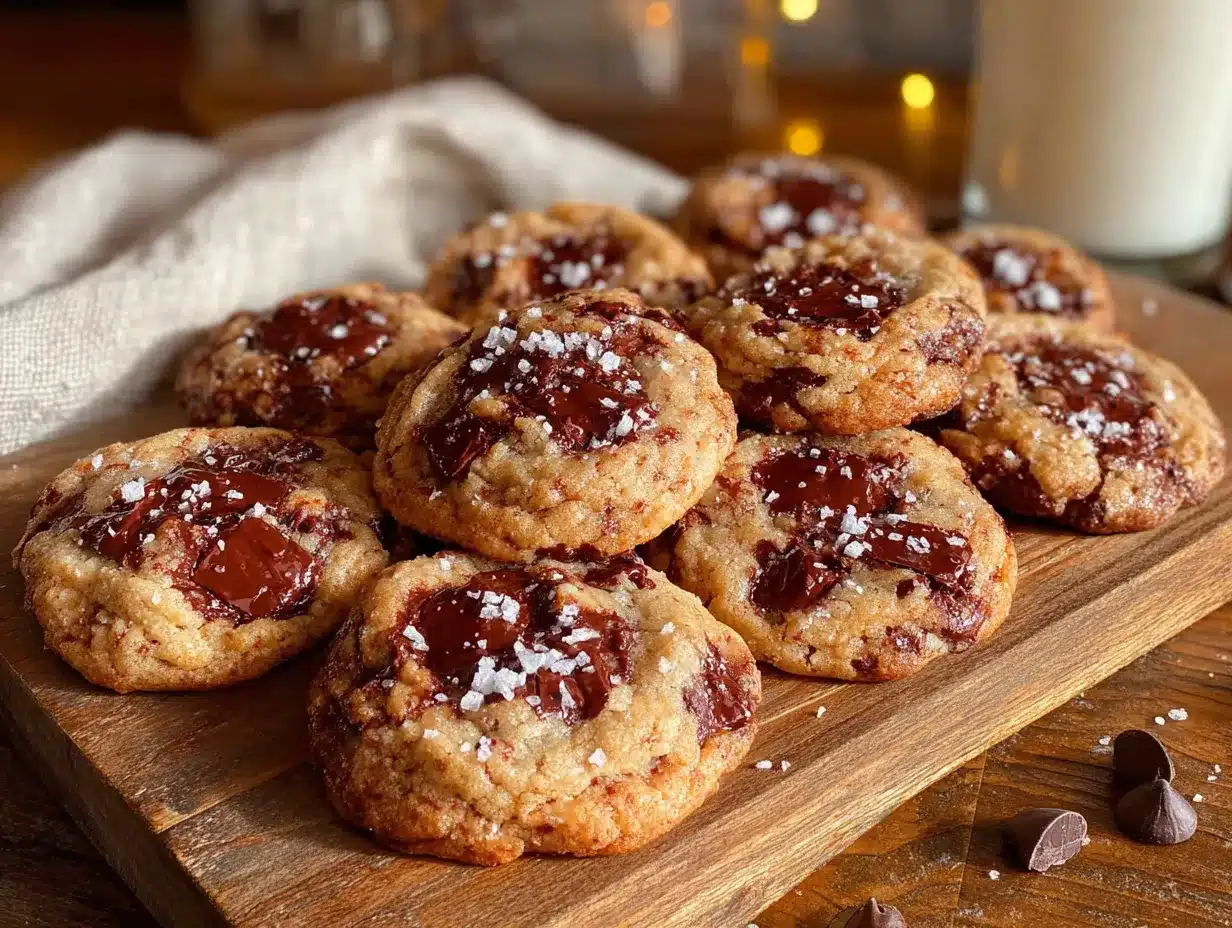
Let’s make some cookies. This whole process takes about 25 minutes from start to finish.
- Preheat your oven to 350°F (175°C). Line a baking sheet with parchment paper. Do this first so the oven is ready when your dough is.
- Melt the butter. In a microwave-safe bowl, melt 4 tablespoons of butter in 20-second intervals. You want it melted but not hot—just warm enough to liquefy. Let it cool for a minute while you measure everything else.
- Combine the sugars and butter. Add 3 tablespoons granulated sugar and 3 tablespoons packed brown sugar to the melted butter. Whisk until smooth and glossy, about 30 seconds. It should look like wet sand. If it separates, don’t panic—just keep whisking.
- Add the egg yolk and vanilla. Drop in 1 egg yolk and ½ teaspoon vanilla extract. Whisk vigorously until the mixture is thick and pale, about 1 minute. This is where the texture starts to come together. It should look like caramel.
- Mix the dry ingredients. In a small bowl, whisk together ½ cup flour, ¼ teaspoon baking soda, and ¼ teaspoon salt. Make sure there are no lumps—baking soda clumps are the worst.
- Combine wet and dry. Add the flour mixture to the butter mixture. Fold gently with a rubber spatula until just combined. Stop when you can’t see any more white flour streaks. Overmixing makes tough cookies—I learned this on batch number two.
- Fold in the chocolate chips. Add ⅓ cup chocolate chips and fold a few times until evenly distributed. The dough will be soft and slightly greasy—that’s normal.
- Chill the dough (optional but recommended). Pop the bowl in the fridge for 10 minutes. This prevents the cookies from spreading too much and gives you that perfect thickness. If you’re in a hurry, skip it—your cookies will just be thinner and crispier.
- Scoop the dough. Use a 1.5-tablespoon scoop to portion the dough into 4 equal balls. Place them on the prepared baking sheet, spaced about 3 inches apart. They spread quite a bit, so give them room.
- Bake. Bake for 10-12 minutes, rotating the pan halfway through. The cookies are done when the edges are golden brown and the centers look slightly underbaked and puffy. They’ll continue cooking on the pan after you take them out.
- Cool. Let the cookies rest on the baking sheet for 5 minutes. This is crucial—they’re fragile right out of the oven. After 5 minutes, transfer them to a cooling rack. Or just eat one warm. I won’t judge.
One thing I want you to know—the first time I made these, I forgot to add the sugar. Yes, the entire sugar. I realized it when I tasted the dough and it was just… sad. Don’t be like me. Double-check your ingredients before you start mixing.
Cooking Tips & Techniques
After twelve batches, I’ve learned a few things that make these cookies consistently perfect.
Use melted butter, not softened. This is the biggest game-changer. Melted butter gives you that chewy, dense texture without needing to cream it with sugar. It also means you don’t have to wait for butter to come to room temperature—instant gratification.
Weigh your flour if you can. I know, I know, it’s extra work. But flour is notoriously inconsistent when measured by volume. One cup can be anywhere from 120 to 150 grams depending on how you scoop. For this recipe, 60 grams of flour is perfect. Too much flour and your cookies will be cakey instead of chewy.
Don’t overbake. This is the most common mistake. The cookies should look slightly underdone when you pull them out of the oven. The centers will be puffy and soft, and the edges will be just barely golden. They set up as they cool, so resist the urge to bake them until they look “done.” I ruined batch number five this way.
Chill the dough if you have time. Even 10 minutes makes a difference. Chilled dough spreads less and gives you thicker, chewier cookies. If you skip the chill, your cookies will be thinner and crispier—still delicious, just different.
Use a cookie scoop for even baking. Consistent size means consistent baking. If one cookie is twice as big as another, it’ll be underdone when the small one is burnt. A scoop takes the guesswork out.
Let them cool on the pan. I know it’s tempting to move them immediately, but those 5 minutes on the hot pan are what set the structure. Move them too soon and they’ll fall apart. Trust me on this one—batch number eight was a crumbly mess.
Variations & Adaptations
This recipe is incredibly flexible. Here are some ways to change it up:
Double Chocolate Chip: Replace 1 tablespoon of flour with 1 tablespoon of cocoa powder. Use dark chocolate chips instead of semi-sweet. You get a rich, fudgy cookie that tastes like a brownie’s cousin.
Nutty Crunch: Add 2 tablespoons of chopped toasted walnuts or pecans along with the chocolate chips. Toast them first in a dry pan for 3-4 minutes—it brings out the flavor. I did this for batch number ten and it was a revelation.
Gluten-Free Option: Substitute the all-purpose flour with a 1:1 gluten-free baking flour blend. I’ve used Bob’s Red Mill and King Arthur with good results. The texture will be slightly more delicate, but the flavor is spot on.
Vegan Adaptation: Use vegan butter (I like Miyoko’s) and replace the egg yolk with 1 tablespoon of aquafaba (the liquid from a can of chickpeas) mixed with ½ teaspoon of cornstarch. It works surprisingly well—batch number eleven was for a vegan friend and she couldn’t tell the difference.
Spiced Version: Add ¼ teaspoon of cinnamon and a pinch of nutmeg to the flour mixture. It gives the cookies a warm, cozy flavor that’s perfect for fall. I make these when the weather turns cold.
Serving & Storage Suggestions
These cookies are best served warm, about 5-10 minutes after they come out of the oven. The chocolate is still melty, the edges are crispy, and the center is soft and gooey. Pair them with a glass of cold milk, a cup of coffee, or a scoop of vanilla ice cream for the ultimate dessert experience.
If you’re serving them at room temperature, they’re still fantastic. The texture changes slightly—the edges become less crispy and the center firms up—but they’re still delicious.
Storage: Keep leftover cookies in an airtight container at room temperature for up to 3 days. Place a slice of bread in the container to keep them soft—the cookies will absorb moisture from the bread. Replace the bread slice every day.
Freezing: You can freeze the baked cookies for up to 3 months. Wrap each cookie individually in plastic wrap, then place them in a freezer bag. Thaw at room temperature for about 30 minutes, or pop them in a 300°F oven for 5 minutes to re-crisp the edges.
Freezing the dough: This is my favorite trick. Scoop the dough into balls, place them on a parchment-lined baking sheet, and freeze until solid. Transfer the frozen dough balls to a freezer bag. When you want cookies, bake them straight from frozen—just add 2-3 minutes to the baking time. Perfect for those late-night cravings.
The flavors actually develop over time. Day-old cookies have a deeper, more complex flavor than fresh-baked ones. If you can resist eating them all, try one the next day—you’ll be surprised.
Nutritional Information & Benefits
Per cookie (based on 4 cookies per batch):
| Nutrient | Amount |
|---|---|
| Calories | ~280 |
| Total Fat | 16g |
| Saturated Fat | 10g |
| Carbohydrates | 33g |
| Sugar | 22g |
| Protein | 4g |
| Fiber | 1g |
| Sodium | 180mg |
These numbers are estimates and will vary based on your specific ingredients. The good news? You’re only making four cookies, so portion control is built right in.
Dark chocolate contains antioxidants and can help with heart health when consumed in moderation. The butter provides vitamin A, and the egg yolk offers choline, which supports brain function. Is this a health food? No. But it’s a small batch of something that makes you happy, and that counts for something.
If you’re watching your sugar intake, you can reduce the granulated sugar to 2 tablespoons, but the texture will be slightly different. For a lower-fat option, substitute half the butter with unsweetened applesauce—the cookies will be more cake-like but still tasty.
Conclusion
These small-batch chocolate chip cookies are everything I loved about Martha’s Last Slice—crispy edges, chewy centers, and melty chocolate in every bite. They come together in under 30 minutes with ingredients you probably already have, and they give you exactly four perfect cookies. No more, no less.
I’ve made this recipe on busy Tuesday nights, lazy Sunday afternoons, and even in a toaster oven during a power outage. It’s survived my worst cooking mistakes and still delivered. That’s the kind of recipe you keep in your back pocket.
Try them as written, or make them your own with one of the variations. Add nuts, swap the chocolate, throw in some cinnamon—this recipe is forgiving and flexible. That’s the beauty of small batches—you can experiment without wasting a whole dozen.
I’d love to hear how yours turn out. Drop a comment below and let me know if you added your own twist, or if you finally recreated that cookie from your favorite bakery that closed too soon. Happy baking!
Frequently Asked Questions
Can I use a whole egg instead of just the yolk?
You can, but the cookies will be puffier and more cake-like. The yolk gives you that dense, chewy texture. If you use the whole egg, reduce the flour by 1 tablespoon to compensate for the extra moisture.
Why did my cookies spread too much?
This usually happens for one of three reasons: the butter was too warm, you skipped the chill time, or you used too little flour. Next time, chill the dough for at least 10 minutes and make sure you’re measuring your flour correctly.
Can I double this recipe?
Absolutely. Just double every ingredient. The baking time might increase by a minute or two since you’ll have more cookies on the pan. I regularly make a double batch for parties.
How do I get that bakery-style look with pools of chocolate?
Instead of using all chocolate chips, chop a chocolate bar into irregular pieces. The different sizes melt at different rates, creating those gorgeous chocolate puddles. I like using a dark chocolate bar with at least 60% cocoa.
Can I make these without an oven?
Yes! I’ve made them in a toaster oven and even in an air fryer. For an air fryer, bake at 325°F for 6-8 minutes. For a toaster oven, follow the regular oven instructions but check them a minute or two early. They brown faster in smaller spaces.
Pin This Recipe!
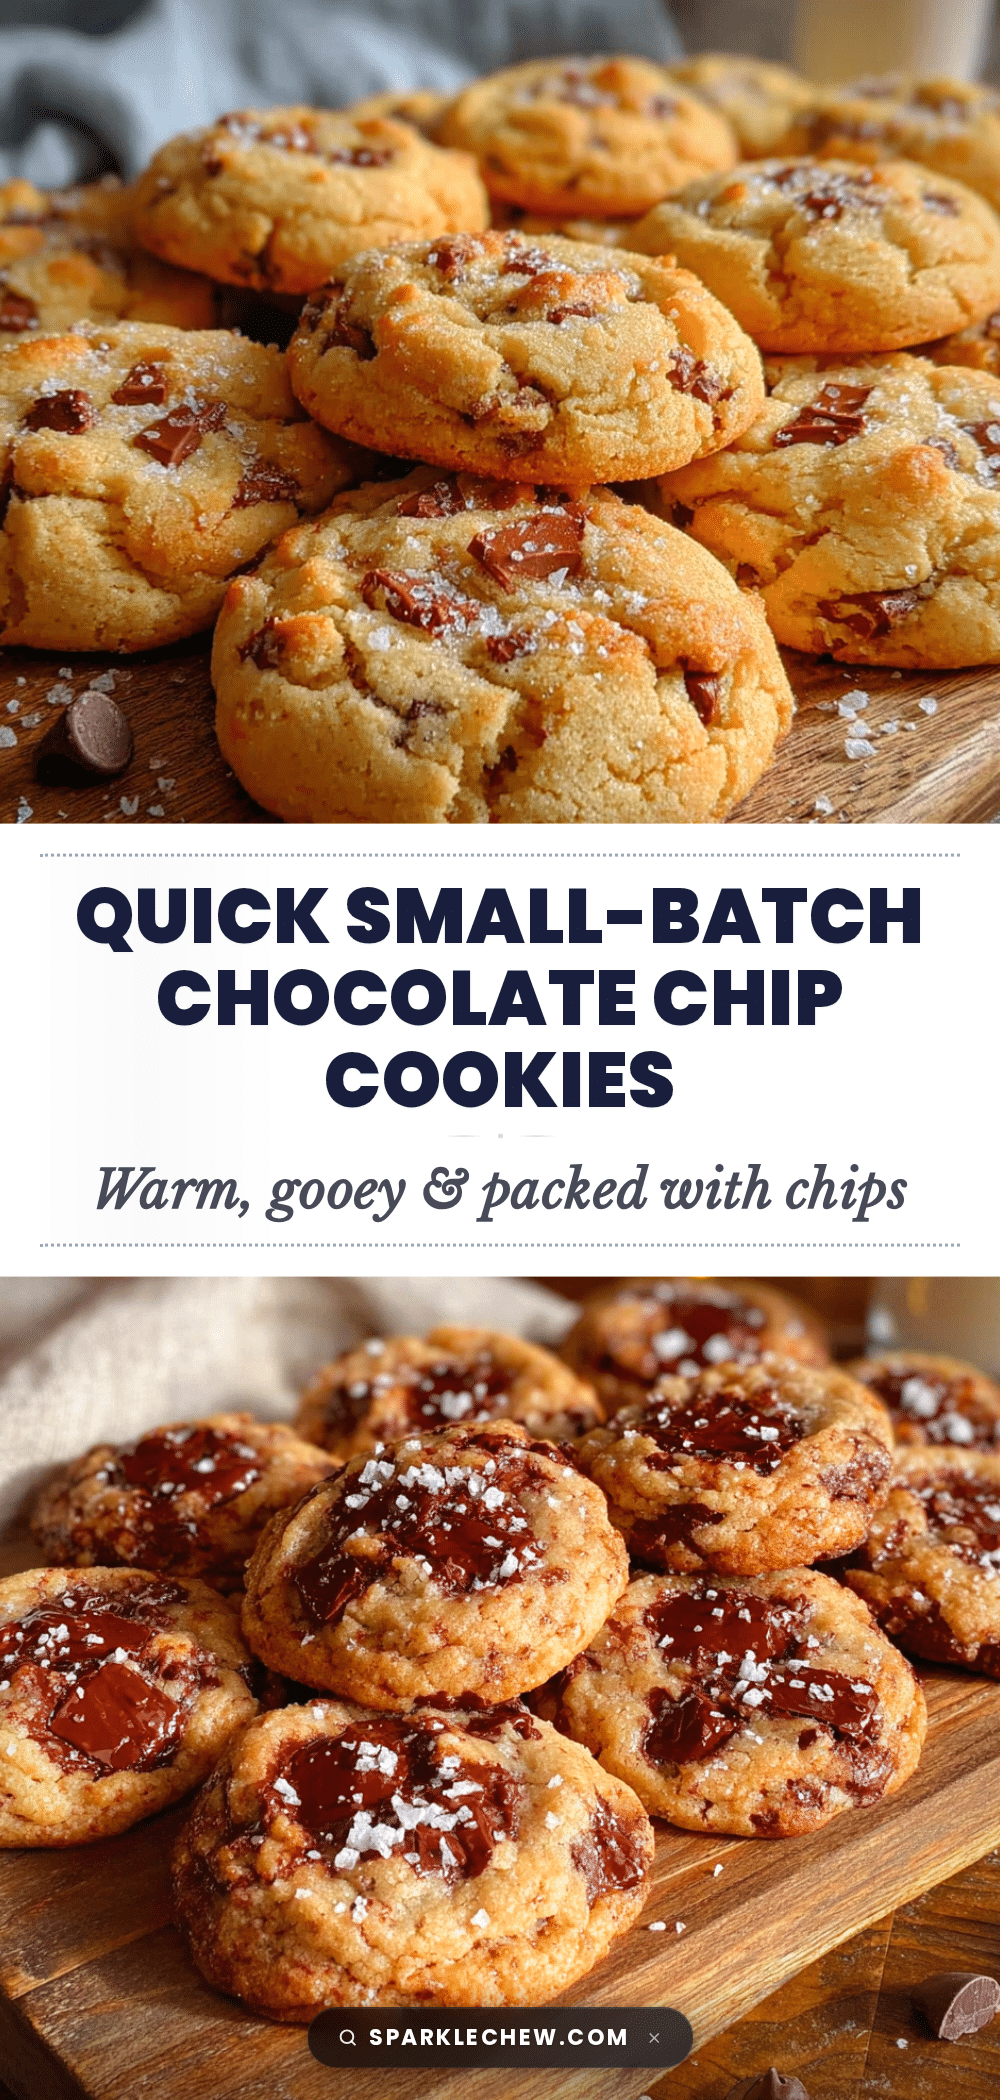
Best Easy Small-Batch Chocolate Chip Cookies

These small-batch chocolate chip cookies are everything you loved about Martha’s Last Slice—crispy edges, chewy centers, and melty chocolate in every bite. They come together in under 30 minutes with ingredients you probably already have, and they give you exactly four perfect cookies.
- Prep Time: 15 minutes
- Cook Time: 12 minutes
- Total Time: 27 minutes
- Yield: 4 servings 1x
- Category: Dessert
- Cuisine: American
Ingredients
- 4 tablespoons unsalted butter, melted (57 grams)
- 3 tablespoons granulated sugar (38 grams)
- 3 tablespoons light brown sugar, packed (42 grams)
- 1 large egg yolk
- ½ teaspoon vanilla extract
- ½ cup all-purpose flour (60 grams)
- ¼ teaspoon baking soda
- ¼ teaspoon salt
- ⅓ cup semi-sweet chocolate chips (60 grams)
Instructions
- Preheat your oven to 350°F (175°C). Line a baking sheet with parchment paper.
- Melt the butter in a microwave-safe bowl in 20-second intervals. Let it cool for a minute.
- Add the granulated sugar and brown sugar to the melted butter. Whisk until smooth and glossy, about 30 seconds.
- Add the egg yolk and vanilla extract. Whisk vigorously until the mixture is thick and pale, about 1 minute.
- In a small bowl, whisk together the flour, baking soda, and salt.
- Add the flour mixture to the butter mixture. Fold gently with a rubber spatula until just combined.
- Fold in the chocolate chips until evenly distributed.
- Chill the dough in the fridge for 10 minutes (optional but recommended).
- Scoop the dough into 4 equal balls using a 1.5-tablespoon scoop. Place them on the prepared baking sheet, spaced about 3 inches apart.
- Bake for 10-12 minutes, rotating the pan halfway through. The edges should be golden brown and the centers slightly underbaked.
- Let the cookies rest on the baking sheet for 5 minutes, then transfer to a cooling rack.
Notes
For best results, use melted butter and chill the dough for 10 minutes. Don’t overbake—cookies should look slightly underdone when removed from the oven. For bakery-style pools of chocolate, chop a chocolate bar instead of using all chips.
Nutrition
- Serving Size: 1 cookie
- Calories: 280
- Sugar: 22
- Sodium: 180
- Fat: 16
- Saturated Fat: 10
- Carbohydrates: 33
- Fiber: 1
- Protein: 4
Keywords: small-batch chocolate chip cookies, easy cookie recipe, 4 cookies, chewy cookies, crispy edges


