Love this? Save it for later!
Share the inspiration with your friends
I was standing in the spice aisle of my local grocery store last January when a woman coughed behind me — that deep, rattling kind that makes you wince in sympathy. And just like that, I was twelve years old again, sitting at my Nonna Elena’s kitchen table in the middle of a Pittsburgh winter. She had this little blue pot on the stove, and the whole apartment smelled like something between a healing balm and a promise. I didn’t know it then, but she was making roasted garlic honey. Honestly, I thought she was just making dinner smell amazing.
That memory hit me so hard I almost forgot why I was at the store in the first place. I mean, I’d walked in for dish soap. Instead, I left with three heads of garlic and a jar of local honey, determined to recreate that golden elixir I hadn’t thought about in twenty years. Let me tell you, my first attempt was a mess — I burned the garlic so badly my husband thought I was trying to smoke the house. But I kept at it, because that smell, that feeling of being wrapped in something warm and protective, stayed with me.
Maybe you’ve been there — that moment when a random scent or sound pulls you right back to a kitchen you haven’t seen in years. That’s what this homemade roasted garlic honey is for me. It’s not just a recipe; it’s a way of holding onto someone who taught me that the best medicine doesn’t come from a pharmacy. It comes from patience, good ingredients, and a little bit of faith. And honestly, it works better than any cough syrup I’ve ever tried.
This roasted garlic honey for cold season has become my go-to every winter, and I keep a jar in my pantry year-round now. It’s the kind of thing you don’t realize you need until you’re sniffling on the couch and wishing someone would bring you a spoonful of something that actually helps.
Why You’ll Love This Recipe
This isn’t just another garlic honey recipe you’ll find floating around the internet. I’ve tested this version at least a dozen times, tweaking temperatures and timing until I got it exactly right. Here’s why this one stands out:
- Simple Ingredients : You only need two main ingredients — garlic and honey. That’s it. No fancy trips to a specialty store required.
- Natural Immunity Support : Both garlic and honey have been used for centuries to support the immune system. This combination is like nature’s little cold-fighting team.
- Incredibly Versatile : Use it in tea, drizzle it on toast, stir it into salad dressings, or take it by the spoonful when you feel a cold coming on.
- Long Shelf Life : Properly stored, this roasted garlic honey for cold season lasts for months in your pantry. Make it once and have it ready whenever you need it.
- Surprisingly Delicious : The roasting process mellows the garlic’s sharp bite and transforms it into something sweet, buttery, and almost jam-like. Mixed with honey, it’s honestly addictive.
What makes this recipe different from others is the roasting technique. Most recipes just combine raw garlic with honey and let it ferment. That’s great, but it takes weeks. My version gives you that deep, caramelized flavor in about an hour, plus the honey absorbs all that roasted goodness. It’s comfort food meets cold remedy, and it’s the kind of thing you’ll find yourself making even when nobody’s sick.
What Ingredients You Will Need
This recipe uses incredibly simple ingredients, but quality matters here since there are only two main players. Let me walk you through what you’ll need and why each ingredient matters.
- 3 whole heads of garlic (look for firm, tight-skinned bulbs with no soft spots — I prefer organic garlic from the farmers market when it’s in season, but grocery store garlic works fine too)
- 1 cup raw honey (this is important — raw, unfiltered honey retains more of its natural enzymes and beneficial properties. I like using local honey from a nearby apiary, but any good quality raw honey will do. Avoid the processed stuff in the plastic bear bottles)
- Optional: 1 sprig fresh rosemary or thyme (adds a lovely herbal note that pairs beautifully with the garlic and honey. Not necessary, but highly recommended)
- Optional: Pinch of red pepper flakes (if you want a little warmth and extra sinus-clearing power — I add this to about half my batches)
- Pinch of sea salt (just a tiny bit helps balance the sweetness and brings out the garlic’s natural flavors)
A quick note on honey selection: I’ve tested this recipe with several different honeys, and my personal favorite is a mild wildflower honey. It’s not too floral or overpowering, so the roasted garlic really shines. If you use a strong honey like buckwheat or manuka, the flavor will be more intense and earthy. Both work great, just know what you’re getting into.
For the garlic, fresh is non-negotiable. I made the mistake of using older garlic that was starting to sprout once, and the roasted result had a bitter edge that ruined the whole batch. Take the extra minute to pick good heads — your future sick self will thank you.
Equipment Needed
You don’t need a ton of fancy equipment for this recipe, which is part of what makes it so approachable. Here’s what I use:
- Small baking dish or ramekin (something just big enough to hold the garlic heads snugly — I use a 4-inch ceramic dish that belonged to my grandmother)
- Aluminum foil (to cover the dish while the garlic roasts)
- Sharp knife (to cut the tops off the garlic heads — a serrated knife works best for this)
- Small saucepan (for gently warming the honey if needed)
- Glass jar with tight-fitting lid (for storing your finished roasted garlic honey — a 4-ounce or 8-ounce mason jar works perfectly)
- Cooling rack (optional but helpful for letting the roasted garlic cool before handling)
If you don’t have a small baking dish, a muffin tin works great — just place each garlic head in its own cup. And if you’re using a larger dish, that’s fine too, just know the garlic might take a few extra minutes to roast since there’s more air circulating around it. I learned that the hard way when I used a 9×13 pan and ended up with undercooked garlic.
Preparation Method
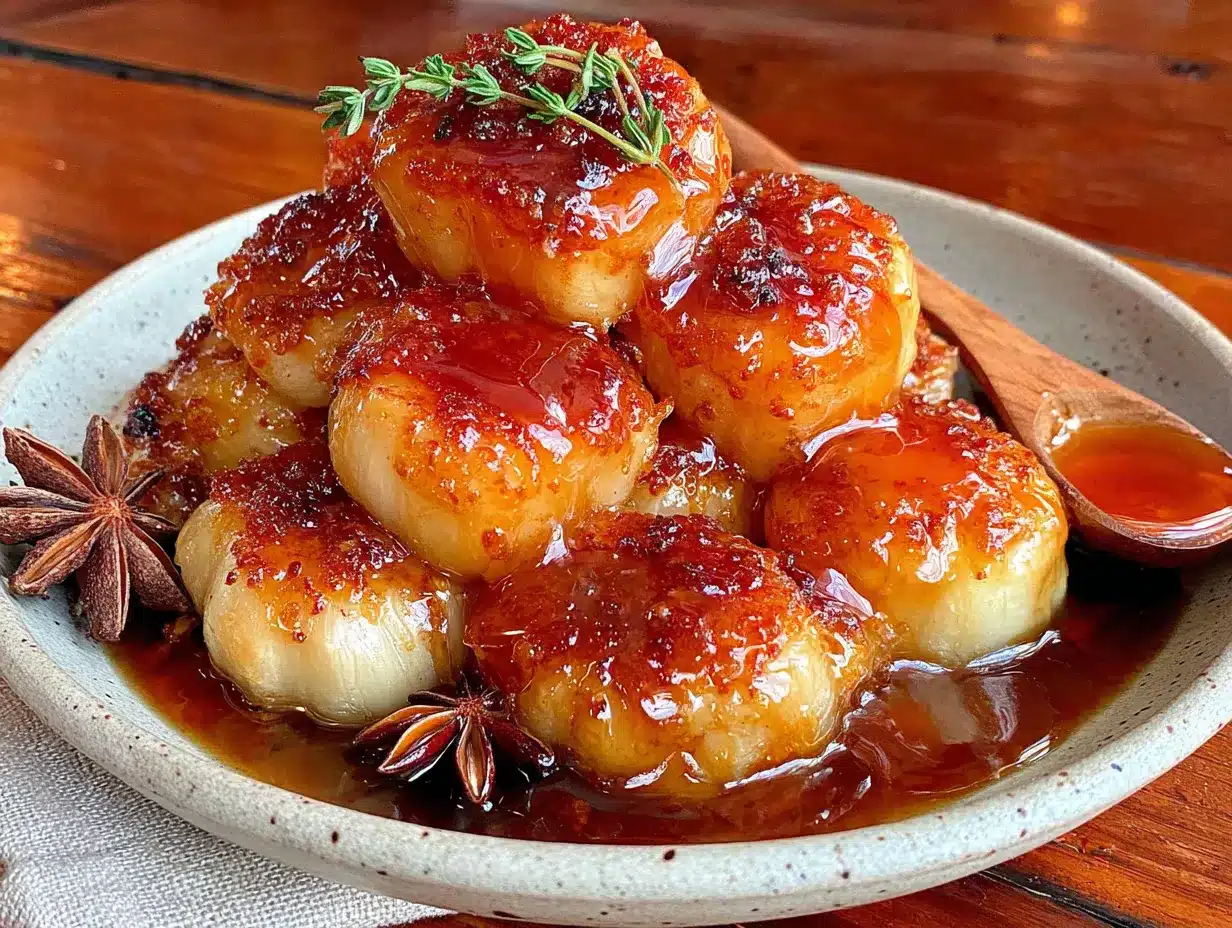
Let me walk you through this step by step. Take your time with the roasting — rushing it is the number one mistake people make.
- Preheat your oven to 400°F (200°C). While it’s heating, peel away the loose, papery outer layers from each head of garlic, but leave the cloves themselves intact and connected at the root.
- Cut about 1/4 inch off the top of each garlic head to expose the individual cloves. Don’t cut too low or you’ll lose too much of each clove. You want just the tips exposed so the honey can seep in later.
- Place the garlic heads cut-side up in your baking dish. Drizzle a tiny bit of olive oil over each exposed top — just enough to lightly coat. Sprinkle with a pinch of sea salt.
- Cover the dish tightly with aluminum foil and roast for 40-45 minutes. The garlic is done when the cloves are soft, golden, and easily pierced with a knife. They should feel like softened butter when you press them.
- Remove from the oven and let cool completely — this takes about 15-20 minutes. Don’t skip this step! Handling hot garlic will burn your fingers, and adding hot garlic to honey can affect the honey’s beneficial properties.
- Once cool enough to handle, squeeze the roasted garlic cloves out of their skins. They should pop right out. Discard the skins and place the soft, caramelized cloves in a small saucepan.
- Add your honey to the saucepan and warm over the lowest possible heat for 2-3 minutes, stirring gently. You’re not cooking the honey — just warming it enough to help it combine with the garlic. If the honey gets too hot (above 95°F or so), it can lose some of its beneficial enzymes.
- Mash the garlic into the honey using a fork or the back of a spoon. I like to leave some small chunks for texture, but you can make it as smooth as you prefer. If you’re adding herbs or red pepper flakes, stir them in now.
- Pour the mixture into your clean glass jar and let it cool completely before sealing. Store in a cool, dark place or in the refrigerator.
Your kitchen is going to smell incredible during this process — that sweet, savory, slightly caramelized aroma is pure comfort. I always feel better just from the smell alone, honestly.
Cooking Tips & Techniques
After making this roasted garlic honey for cold season more times than I can count, I’ve picked up a few tricks that make a real difference.
Don’t rush the roasting. I know 40 minutes feels like forever when you’re eager to get this done, but under-roasted garlic will have that sharp, pungent bite that defeats the whole purpose. You want the cloves to be soft enough to spread like butter. If they’re still firm at the 40-minute mark, give them another 5-10 minutes. Trust your nose and your fork.
Watch your honey temperature. This was my biggest learning curve. I ruined my first batch by getting the honey too hot, which made it crystallize weirdly and lose that lovely floral flavor. Warm it gently, and if you’re not sure, err on the side of cooler rather than hotter. You can always stir a bit longer to help everything combine.
Let the garlic cool completely before squeezing. I know, I know, you’re excited. But hot garlic will burn your fingertips in a way that makes typing the next day absolutely miserable. Ask me how I know. Give it those full 15-20 minutes on the cooling rack.
Use a glass jar, not plastic. The honey can react with plastic over time, and glass keeps everything fresh longer. Plus, it looks prettier on your counter.
Label your jar with the date. This stuff keeps for months, but it’s nice to know when you made it. I use a piece of masking tape and a Sharpie — very fancy, I know.
Variations & Adaptations
One of the best things about this recipe is how easy it is to adapt. Here are some variations I’ve tried and loved:
Spicy Cold-Fighter Version: Add 1/2 teaspoon of red pepper flakes and a thin slice of fresh ginger to the jar before pouring in the honey mixture. The ginger adds an extra warming kick, and the heat from the pepper flakes helps clear sinuses. I make this version every January and it’s my absolute favorite.
Herbal Infusion: Add a sprig of fresh rosemary, thyme, or sage to the jar. Let it infuse for at least a week before using. The herbs add another layer of complexity and their own immune-supporting properties. My friend Sarah swears by the sage version for sore throats.
Lemon-Garlic Honey: Add the zest of one lemon (make sure it’s organic and thoroughly washed) to the honey mixture. The brightness of the lemon cuts through the sweetness beautifully and adds vitamin C to the mix. This version is amazing in tea.
For Kids: If you’re making this for little ones, skip the spicy additions and consider using a milder honey like clover or orange blossom. You can also blend the garlic more thoroughly so there are no visible chunks — some kids are suspicious of anything that looks like it might be healthy.
Vegan Option: While traditional honey isn’t vegan, you can substitute with maple syrup or agave nectar. The flavor will be different — maple syrup adds a lovely woodsy note — but the concept works beautifully. Just note that maple syrup doesn’t have the same antimicrobial properties as honey.
Serving & Storage Suggestions
This roasted garlic honey for cold season is incredibly versatile. Here’s how I use and store mine:
For Cold Relief: Take 1 teaspoon straight off the spoon when you feel a cold coming on, or stir it into hot water with a squeeze of lemon for a soothing tea. I keep a jar on my nightstand during cold season so I can grab it easily in the middle of the night.
In Cooking: Drizzle it over roasted vegetables, brush it on chicken or pork before roasting, stir it into salad dressings, or spread it on warm crusty bread with butter. The sweet-savory combination is absolutely addictive.
Storage: Keep your jar in a cool, dark place like your pantry or a kitchen cabinet away from the stove. It will keep for 3-4 months at room temperature. If you live in a warm climate or want it to last longer, store it in the refrigerator — it will thicken but still be usable. Just let it come to room temperature before using, or warm the jar gently in a bowl of warm water.
Flavor Development: The flavor actually gets better after about a week. The honey continues to absorb the garlic’s essence, becoming deeper and more complex. I always try to make this at least a week before I think I might need it.
Reheating Note: If your honey crystallizes over time (this is natural and doesn’t mean it’s gone bad), just place the sealed jar in a bowl of warm water for 10-15 minutes and stir. Never microwave honey — it can destroy its beneficial properties and create hot spots that could burn you.
Nutritional Information & Benefits
While I’m not a doctor or nutritionist, I can share what I’ve learned about the benefits of these simple ingredients. Garlic has been studied for its immune-supporting properties, thanks to compounds like allicin that have antimicrobial effects. Raw honey contains antioxidants and has been used for centuries to soothe sore throats and calm coughs.
Here’s an approximate nutritional breakdown per 1-tablespoon serving (assuming the garlic is evenly distributed):
- Calories: 60-65
- Carbohydrates: 17g
- Sugar: 16g (mostly from honey)
- Vitamin C: trace amounts from garlic
- Manganese: small amounts from honey
This recipe is naturally gluten-free, dairy-free, and nut-free. If you’re concerned about potential allergens, note that some people with severe pollen allergies may react to raw honey. Also, infants under 1 year old should not consume honey due to the risk of botulism. Always check with your healthcare provider before using any home remedy, especially if you’re pregnant, nursing, or have underlying health conditions.
I personally love that this recipe lets me feel proactive about my health during cold season. There’s something deeply satisfying about knowing I have a jar of this golden goodness ready to go when the sniffles start.
Conclusion
This homemade roasted garlic honey for cold season has become a staple in my kitchen, and I honestly can’t imagine winter without it. It’s one of those rare recipes that’s both practical and deeply comforting — a little jar of sunshine on the grayest January day. Whether you’re fighting off a cold or just want something delicious to drizzle on your morning toast, this recipe delivers.
I’d love to hear how yours turns out! Did you add any herbs or spices? Do you take it by the spoonful or stir it into tea? Drop a comment below and let me know — your variations might inspire someone else to try something new. And if you found this helpful, share it with a friend who could use a little extra immune support this season.
Stay warm, stay healthy, and keep a jar of this close by. You never know when you’ll need it.
Frequently Asked Questions
Can I use pre-peeled garlic cloves instead of whole heads?
You can, but the results won’t be quite as good. Whole heads of garlic protect the cloves during roasting, keeping them moist and tender. Pre-peeled cloves tend to dry out and can become tough or bitter. If you’re in a pinch, wrap the pre-peeled cloves in foil with a little olive oil before roasting.
How long does roasted garlic honey last?
Stored properly in a sealed glass jar in a cool, dark place, it will last 3-4 months. In the refrigerator, it can last up to 6 months. The honey might crystallize over time, but that’s natural — just warm the jar gently in warm water to restore its liquid consistency.
Can I make this without roasting the garlic?
Absolutely, but it’s a different recipe. Raw garlic honey is made by combining raw garlic cloves with honey and letting it ferment for several weeks. It has a much stronger, sharper flavor and is more potent medicinally. The roasted version is milder, sweeter, and ready to use immediately.
Is this safe for children?
Children over 1 year old can safely consume this in small amounts — about 1/2 teaspoon per day as a preventive measure or when they’re feeling under the weather. Never give honey to infants under 12 months old due to the risk of infant botulism. Always consult your pediatrician before using home remedies.
Can I use this in cooking or just for cold relief?
Both! This roasted garlic honey is incredibly versatile. Use it in salad dressings, glaze roasted vegetables or meats, spread it on toast or biscuits, stir it into marinades, or add a spoonful to stir-fries. Just remember that heating it above 140°F will destroy some of honey’s beneficial enzymes, so save the raw applications for when you want maximum immune support.
Pin This Recipe!
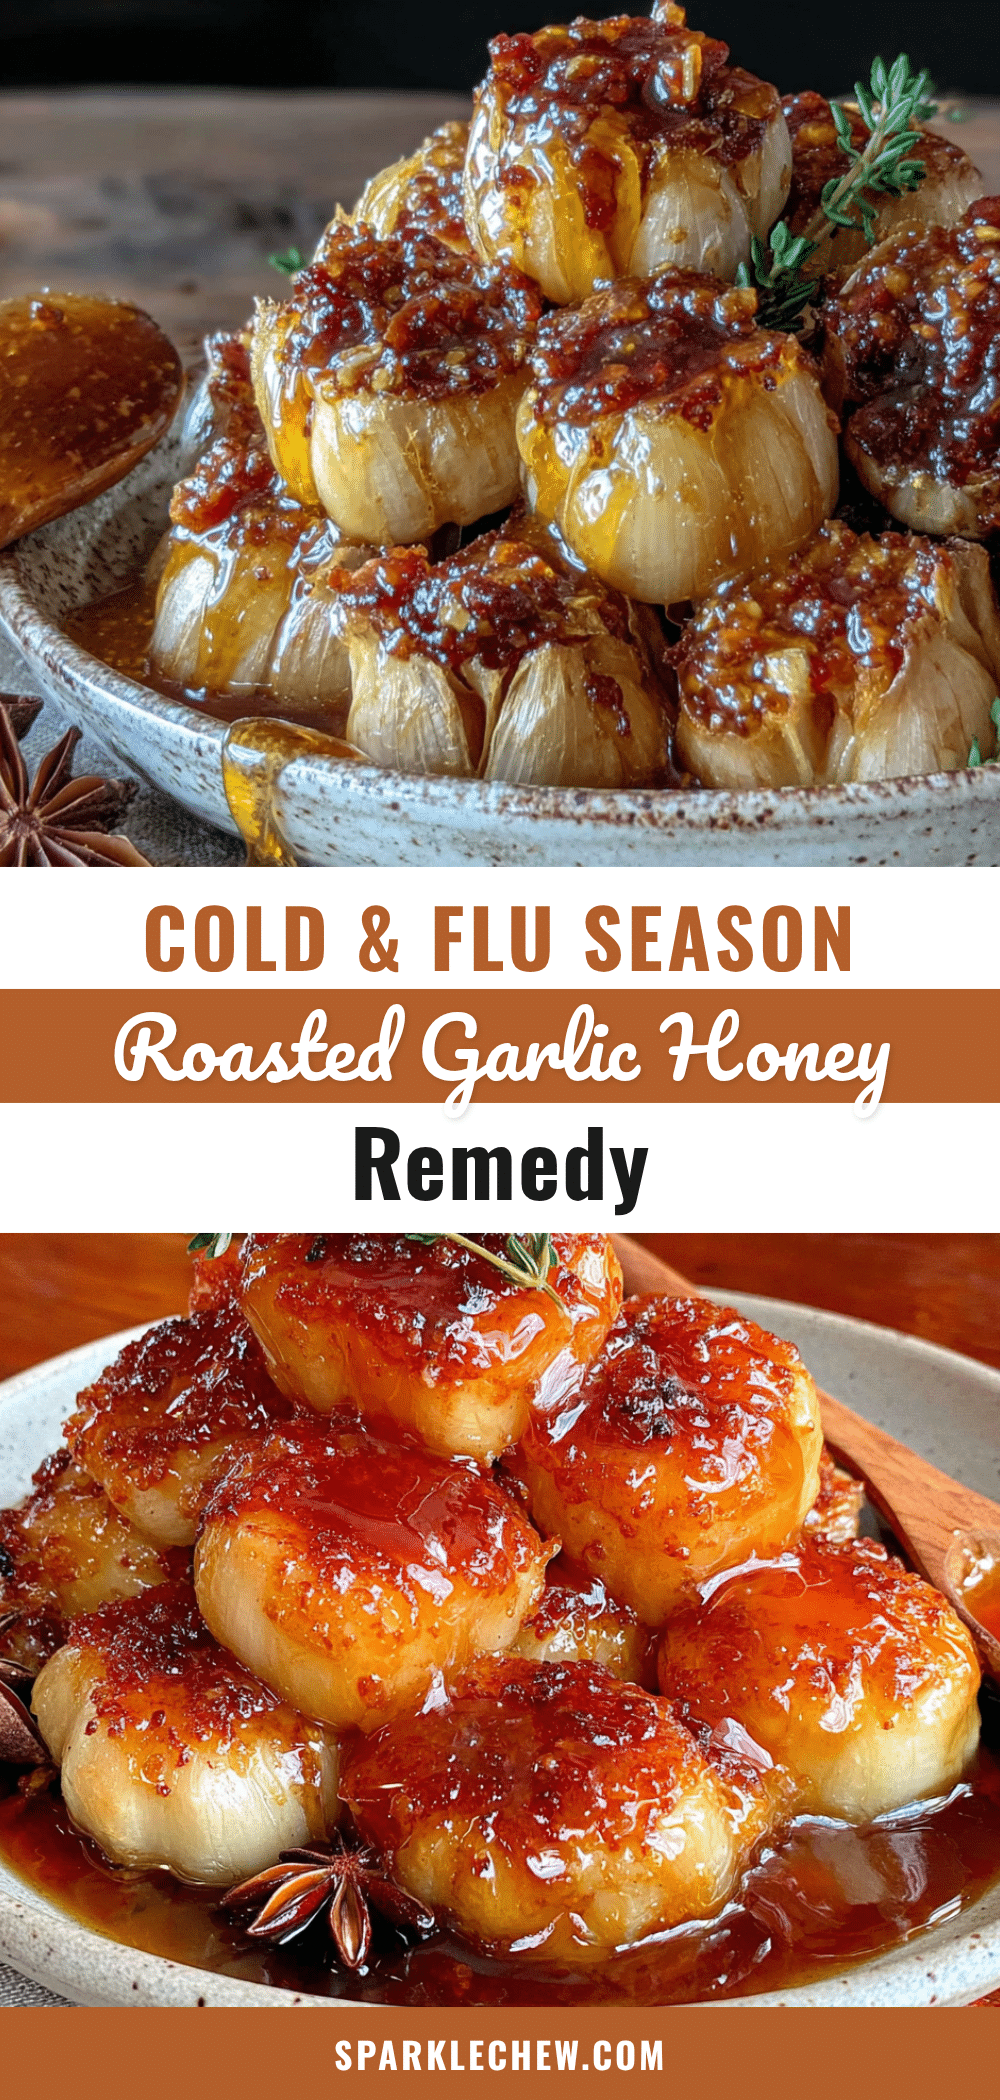
Best Homemade Roasted Garlic Honey for Cold Season Relief

This homemade roasted garlic honey is a comforting cold remedy that combines caramelized garlic with raw honey for a sweet, savory elixir. Perfect for tea, toast, or taking by the spoonful when you need immune support.
- Prep Time: 10 minutes
- Cook Time: 45 minutes
- Total Time: 55 minutes
- Yield: 4 servings 1x
- Category: Condiment
- Cuisine: Italian-American
Ingredients
- 3 whole heads of garlic
- 1 cup raw honey
- 1 sprig fresh rosemary or thyme (optional)
- Pinch of red pepper flakes (optional)
- Pinch of sea salt
Instructions
- Preheat your oven to 400°F (200°C). Peel away the loose, papery outer layers from each head of garlic, leaving the cloves intact and connected at the root.
- Cut about 1/4 inch off the top of each garlic head to expose the individual cloves.
- Place the garlic heads cut-side up in a small baking dish. Drizzle a tiny bit of olive oil over each exposed top and sprinkle with a pinch of sea salt.
- Cover the dish tightly with aluminum foil and roast for 40-45 minutes, until the cloves are soft, golden, and easily pierced with a knife.
- Remove from the oven and let cool completely, about 15-20 minutes.
- Once cool enough to handle, squeeze the roasted garlic cloves out of their skins. Discard the skins and place the soft cloves in a small saucepan.
- Add the honey to the saucepan and warm over the lowest possible heat for 2-3 minutes, stirring gently. Do not overheat.
- Mash the garlic into the honey using a fork or the back of a spoon. If using herbs or red pepper flakes, stir them in now.
- Pour the mixture into a clean glass jar and let it cool completely before sealing. Store in a cool, dark place or in the refrigerator.
Notes
Don’t rush the roasting; under-roasted garlic will be sharp. Watch honey temperature to preserve beneficial enzymes. Let garlic cool completely before handling. Use a glass jar for storage. Label with date. Flavor improves after a week.
Nutrition
- Serving Size: 1 tablespoon
- Calories: 6065
- Sugar: 16
- Carbohydrates: 17
Keywords: roasted garlic honey, cold remedy, immune support, homemade honey, garlic honey, natural cold relief


