Love this? Save it for later!
Share the inspiration with your friends
Introduction
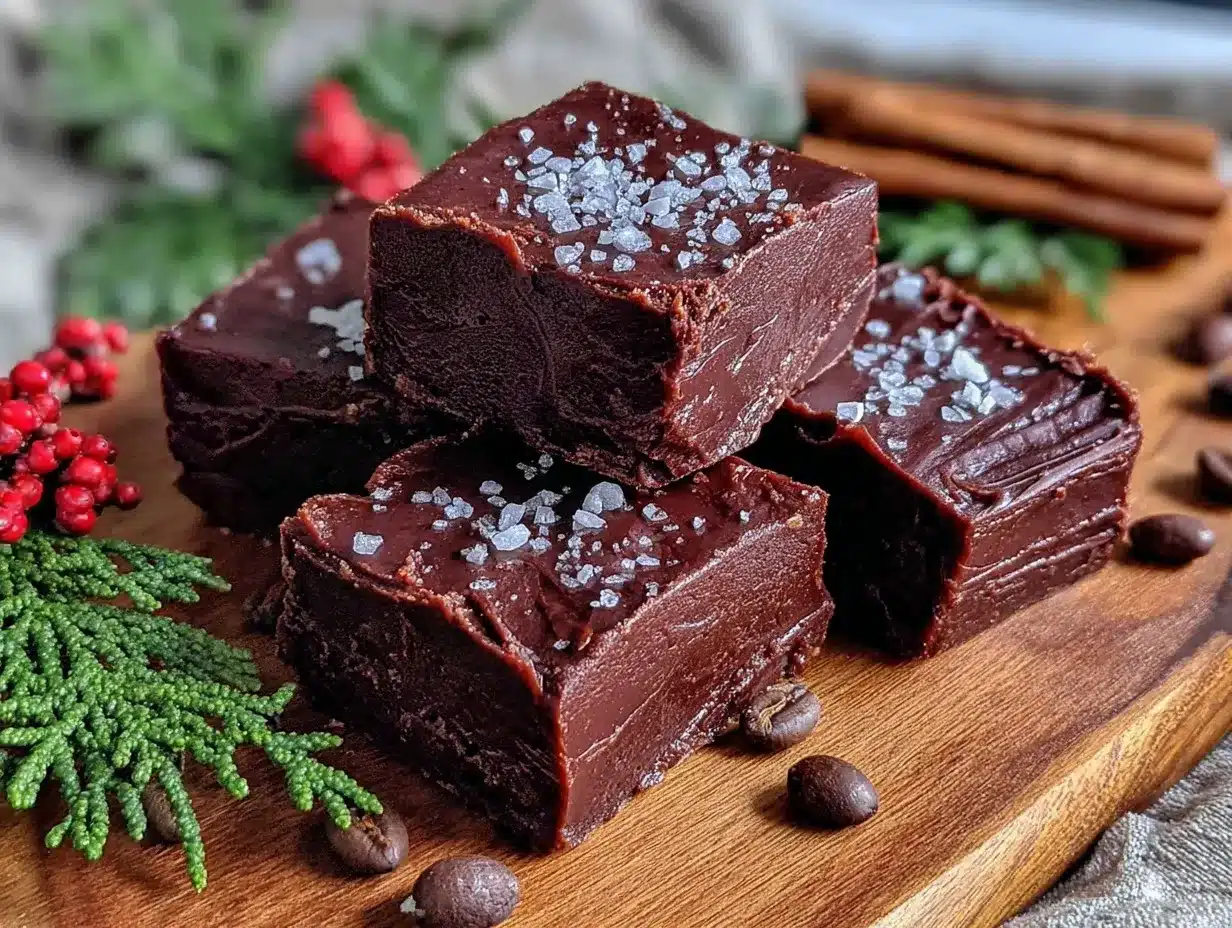
“I never thought a simple batch of fudge could turn a chaotic December evening into something magical,” I said aloud, standing in my tiny kitchen surrounded by half-unwrapped gifts and a sink full of dishes. It was Christmas Eve, and honestly, I was scrambling to find a last-minute treat that felt special without demanding hours of prep. My neighbor, Mrs. Langston—who, by the way, is the kind of person who seems to have a secret recipe for everything—had just popped by with a dusty tin of homemade chocolate fudge. She mentioned it was her late grandmother’s classic old-fashioned recipe, the kind that made her holidays feel cozy no matter the weather outside.
I scribbled down the ingredients she rattled off between sips of her peppermint tea, not expecting much. But as I stirred that thick, glossy mixture on the stove, the scent of melting chocolate and sweet vanilla filled the air, and I realized this was more than just candy. It was nostalgia in a pan, a little comforting hug when the world felt rushed and loud.
Maybe you’ve been there too—needing something easy, warm, and just a little indulgent to brighten the season? This classic old-fashioned chocolate fudge recipe is exactly that. It’s the kind of homemade treat that makes you pause, smile, and remember why holidays really matter. Let me tell you, this fudge has stuck with me every winter since that night, and I’m betting it will for you, too.
Why You’ll Love This Recipe
After perfecting this classic old-fashioned chocolate fudge recipe through many holiday seasons, I’m confident it’ll become a staple in your cozy celebrations. Here’s why I keep coming back to it:
- Quick & Easy: Ready in under 30 minutes—ideal for last-minute holiday preparations or satisfying sudden sweet cravings.
- Simple Ingredients: You probably have everything in your pantry—no need for fancy or hard-to-find items.
- Perfect for Gifting: Wrapped up in festive tins, this fudge is a thoughtful homemade gift that feels personal and delicious.
- Crowd-Pleaser: Rich, creamy, and sweet without being overpowering, it wins over kids and adults alike.
- Unbelievably Delicious: The smooth texture paired with classic chocolate flavor is pure old-fashioned comfort food.
What sets this fudge apart? It’s all about the careful balance of ingredients and a crucial cooling step that gives it that perfect melt-in-your-mouth consistency. Plus, a touch of vanilla and a sprinkle of salt pull the flavors together in a way that feels both timeless and special. Honestly, this fudge isn’t just candy—it’s a little edible memory, perfect for those nostalgic holiday moments when you want something sweet, simple, and soul-soothing.
What Ingredients You Will Need
This recipe uses straightforward, wholesome ingredients that come together to create that unmistakable rich fudge flavor and creamy texture. Most are pantry staples, and substitutions are easy if you’re accommodating dietary needs or ingredient availability.
- Granulated Sugar – 3 cups (600g). Choose a fine granulated sugar for smooth melting.
- Evaporated Milk – 1 cup (240ml). Key for that classic fudgy texture; whole milk evaporated milk works best.
- Unsalted Butter – 1/2 cup (113g), softened. I prefer Land O’Lakes for its creaminess, but any quality butter will do.
- Semi-Sweet Chocolate Chips – 2 cups (340g). You can swap in dark chocolate chips (60-70%) for a slightly less sweet fudge.
- Vanilla Extract – 2 teaspoons. Pure vanilla extract adds depth and warmth.
- Salt – 1/4 teaspoon. Just a pinch to balance the sweetness and highlight the chocolate.
If you want to try a dairy-free version, swap evaporated milk with full-fat coconut milk and use a vegan butter alternative. For a gluten-free treat, rest assured all these ingredients are naturally gluten-free, making this fudge safe for most diets.
Equipment Needed
To make this classic old-fashioned chocolate fudge, you won’t need anything fancy, but a few kitchen tools will make the process smoother:
- Heavy-Bottomed Saucepan: Essential for even heat distribution and preventing scorching during sugar boiling. A 3-quart pan works well.
- Wooden Spoon or Heat-Resistant Silicone Spatula: For stirring the thick fudge mixture without scratching your pan.
- Candy Thermometer: Optional but helpful. If you have one, it ensures the sugar reaches the perfect temperature (234-240°F / 112-115°C) for the right fudge consistency.
- 8×8-inch Baking Pan: For setting the fudge; line it with parchment paper or foil for easy removal.
- Mixing Bowl: For cooling and combining ingredients once heated.
If you don’t own a candy thermometer, no worries! I’ve made this fudge countless times without one, relying on timing and texture cues instead. A budget-friendly tip: a silicone spatula is easier to clean and gentler on pans than a wooden spoon, especially as the fudge thickens. Whatever tools you choose, a little patience and love are the real secret ingredients here.
Preparation Method
- Prepare Your Pan: Line an 8×8-inch (20×20 cm) baking pan with parchment paper or foil, leaving some overhang to lift the fudge out later. Set aside.
- Combine Sugar & Milk: In your heavy-bottomed saucepan, add 3 cups (600g) granulated sugar and 1 cup (240ml) evaporated milk. Stir gently to combine before heating.
- Cook the Mixture: Place the pan over medium heat and bring to a gentle boil, stirring constantly to prevent burning. Once boiling, reduce heat slightly and let it simmer.
- Monitor Temperature or Timing: If using a candy thermometer, cook until the mixture reaches 234-240°F (112-115°C). Without a thermometer, simmer for about 6-8 minutes, stirring continuously. The mixture will thicken and become glossy.
- Add Butter & Chocolate: Remove the pan from heat. Quickly stir in 1/2 cup (113g) softened unsalted butter and 2 cups (340g) semi-sweet chocolate chips until melted and smooth.
- Mix in Vanilla & Salt: Stir in 2 teaspoons vanilla extract and 1/4 teaspoon salt. This wakes up the flavors beautifully.
- Beat the Fudge: Transfer the mixture to a mixing bowl (or keep in the pan if comfortable). Using a wooden spoon or hand mixer on low, beat the fudge until it thickens slightly and begins to lose some of its shine, about 3-5 minutes.
- Pour & Set: Quickly pour the fudge into your prepared pan, smoothing the top with a spatula. Let it cool to room temperature, then refrigerate for at least 2 hours or until firm.
- Cut & Enjoy: Use the parchment overhang to lift the fudge from the pan. Cut into small squares with a sharp knife (warm the knife for cleaner cuts). Store in an airtight container.
One time, I got distracted and let the sugar boil a bit longer than intended—resulting in a slightly grainy fudge. Honestly, it taught me the importance of stirring and watching closely. You’ll know the fudge is ready when it thickens and pulls away from the sides just a bit, and the smell turns rich but not burnt. Patience here pays off big time!
Cooking Tips & Techniques
Making classic old-fashioned chocolate fudge is almost meditative once you get the hang of it, but a few pointers go a long way:
- Consistent Stirring: This prevents the sugar from crystallizing and keeps the fudge smooth and creamy. Don’t rush this part—it’s worth the elbow grease.
- Temperature Control: Medium heat is your friend. Too high and the sugar burns; too low and the fudge won’t set properly. If you don’t have a candy thermometer, watch for the mixture to thicken and become glossy before removing from heat.
- Beat After Cooking: This step cools the fudge slightly and aerates it for that classic melt-in-your-mouth texture. Skipping it can result in a denser, less creamy fudge.
- Use Fresh Ingredients: Old chocolate chips or rancid butter can throw off the flavor. I always double-check my pantry before starting.
- Clean Knife Tip: When cutting, dip your knife in hot water and wipe dry between cuts to prevent sticking and messy edges.
One rookie mistake I made was forgetting the vanilla until after the fudge cooled—big flavor miss! Add it right away while the mixture is hot, so it infuses throughout. Timing and attention to detail really make the difference between good fudge and unforgettable fudge.
Variations & Adaptations
This classic old-fashioned chocolate fudge is a wonderful base for customization. Here are a few ways I’ve adapted it for different tastes and occasions:
- Nutty Delight: Stir in 1 cup chopped walnuts or pecans after adding the vanilla for a crunchy contrast. Toast nuts lightly for extra flavor.
- Mint Chocolate: Replace vanilla with 1 teaspoon peppermint extract and add a handful of crushed candy canes on top for a festive twist.
- Spiced Fudge: Add a pinch of cinnamon and a dash of cayenne pepper for subtle warmth and complexity—my personal favorite when serving alongside hot cocoa.
- Vegan Adaptation: Use coconut milk instead of evaporated milk, vegan butter, and dairy-free chocolate chips for a plant-based treat.
- Layered Fudge: Pour half the fudge mixture into the pan, sprinkle mini marshmallows, then top with remaining fudge before setting for a gooey surprise inside.
One winter, I swapped out chocolate chips for white chocolate and added dried cranberries and pistachios—unexpected but utterly delightful. Feel free to experiment and make this recipe your own!
Serving & Storage Suggestions
Serve your classic old-fashioned chocolate fudge at room temperature to enjoy its creamy texture. It pairs beautifully with a steaming mug of coffee, a cozy glass of milk, or festive spiced tea. For holiday gatherings, arrange pieces on a decorative platter lined with festive napkins for that extra touch of charm.
Store fudge in an airtight container layered between sheets of parchment paper to prevent sticking. It keeps well in the refrigerator for up to two weeks, or frozen for up to three months. When reheating frozen fudge, let it thaw in the fridge overnight, then bring it to room temperature before serving. This allows the flavors to come alive again, and the texture to soften perfectly.
Over time, fudge flavors mellow and deepen, so if you’re making it ahead of a party, a day or two in the fridge actually improves the taste. Just don’t forget where you put it! (I once hid a batch so well I found it months later—still good, but a little rock-hard.)
Nutritional Information & Benefits
This classic old-fashioned chocolate fudge is a rich treat, so it’s best enjoyed in moderation. Here’s an approximate breakdown per 1-inch (2.5 cm) square piece:
- Calories: 110-130 kcal
- Fat: 6-8 grams (mostly from butter and chocolate)
- Sugar: 15-18 grams
- Protein: 1-2 grams
The key ingredients like butter and chocolate provide a source of antioxidants and healthy fats, especially if you choose dark chocolate chips. Evaporated milk adds calcium and a creamy texture without excess liquid. While fudge isn’t a health food, it’s a comforting indulgence that can brighten your mood and bring people together. For those with dietary restrictions, easy substitutions make this recipe accessible and enjoyable for many.
Conclusion
This classic old-fashioned chocolate fudge recipe is a little slice of holiday magic—simple, satisfying, and loaded with nostalgia. Whether you’re making it for a festive gift, a cozy night in, or to share with friends, it’s the kind of treat that brings warmth and smiles. I love how easy it is to personalize, and how it reminds me every year that sometimes the simplest things are the most memorable.
Give it a try, tweak it your way, and let me know how your fudge turns out! I’d love to hear if you add nuts, spices, or an unexpected twist. Happy holidays and happy cooking!
FAQs About Classic Old-Fashioned Chocolate Fudge
How long does fudge take to set properly?
Fudge usually sets firm in the refrigerator within 2 to 3 hours. For best results, let it chill overnight if possible.
Can I make this fudge without a candy thermometer?
Yes! Just simmer the sugar and milk mixture for about 6-8 minutes until it thickens and becomes glossy, then proceed as directed.
What is the best way to store homemade fudge?
Keep fudge in an airtight container, layered with parchment paper to prevent sticking. Refrigerate for up to two weeks or freeze for longer storage.
Can I add nuts or other mix-ins to this fudge?
Absolutely! Chopped nuts, dried fruit, or even crushed candy canes make great additions. Stir them in after removing the fudge from heat.
Is it possible to make dairy-free or vegan fudge with this recipe?
Yes, substitute evaporated milk with full-fat coconut milk, use vegan butter, and dairy-free chocolate chips for a delicious plant-based version.
Pin This Recipe!
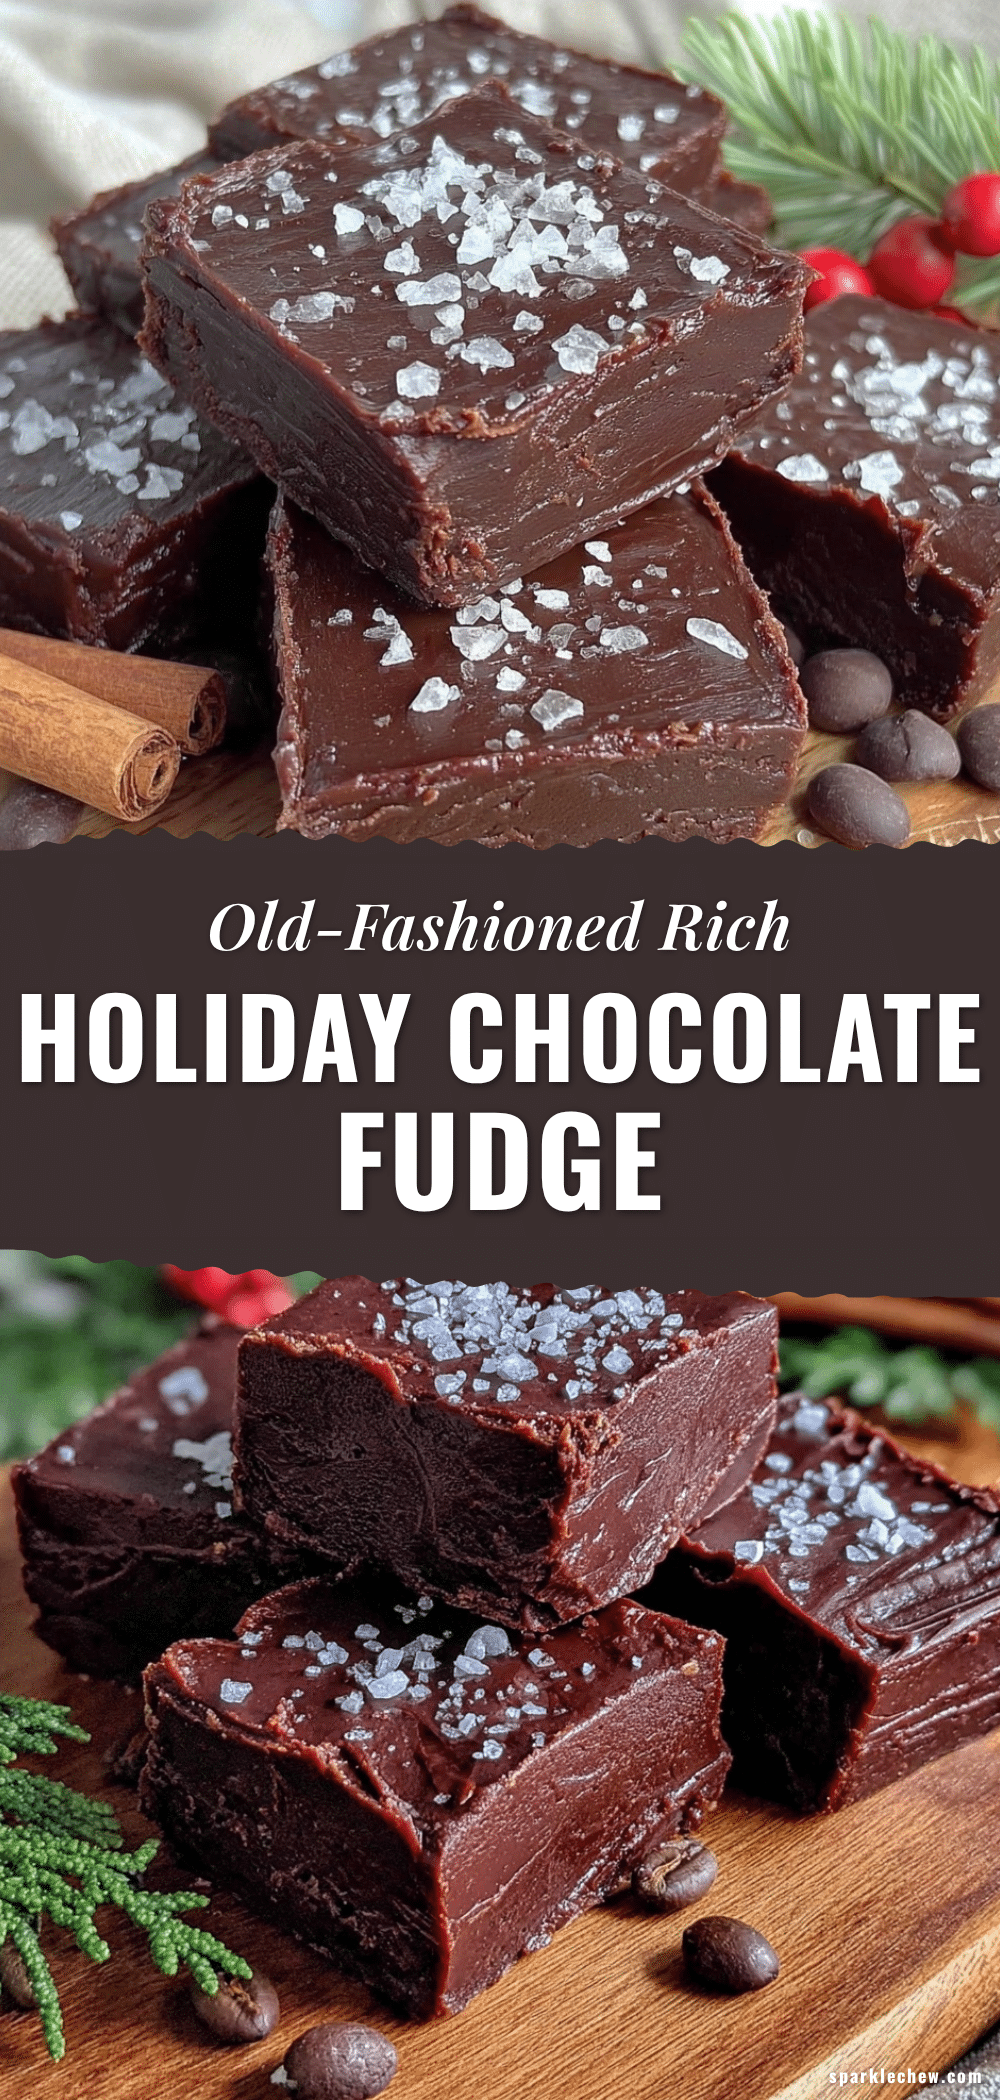
Classic Old-Fashioned Chocolate Fudge Recipe Easy Homemade Holiday Treat
This classic old-fashioned chocolate fudge recipe is a quick and easy homemade treat perfect for the holidays, delivering rich, creamy, and nostalgic flavor with simple pantry ingredients.
- Prep Time: 10 minutes
- Cook Time: 15 minutes
- Total Time: 2 hours 25 minutes
- Yield: 64 servings 1x
- Category: Dessert
- Cuisine: American
Ingredients
- 3 cups (600g) granulated sugar
- 1 cup (240ml) evaporated milk
- 1/2 cup (113g) unsalted butter, softened
- 2 cups (340g) semi-sweet chocolate chips
- 2 teaspoons vanilla extract
- 1/4 teaspoon salt
Instructions
- Line an 8×8-inch (20×20 cm) baking pan with parchment paper or foil, leaving some overhang to lift the fudge out later. Set aside.
- In a heavy-bottomed saucepan, add 3 cups granulated sugar and 1 cup evaporated milk. Stir gently to combine before heating.
- Place the pan over medium heat and bring to a gentle boil, stirring constantly to prevent burning. Once boiling, reduce heat slightly and let it simmer.
- If using a candy thermometer, cook until the mixture reaches 234-240°F (112-115°C). Without a thermometer, simmer for about 6-8 minutes, stirring continuously until thick and glossy.
- Remove the pan from heat. Quickly stir in 1/2 cup softened unsalted butter and 2 cups semi-sweet chocolate chips until melted and smooth.
- Stir in 2 teaspoons vanilla extract and 1/4 teaspoon salt.
- Transfer the mixture to a mixing bowl or keep in the pan. Using a wooden spoon or hand mixer on low, beat the fudge until it thickens slightly and loses some shine, about 3-5 minutes.
- Pour the fudge into the prepared pan, smoothing the top with a spatula. Let cool to room temperature, then refrigerate for at least 2 hours or until firm.
- Use the parchment overhang to lift the fudge from the pan. Cut into small squares with a sharp knife (warm the knife for cleaner cuts). Store in an airtight container.
Notes
Consistent stirring prevents sugar crystallization and keeps fudge smooth. Medium heat is key to avoid burning. Beat fudge after cooking to aerate and improve texture. Use fresh ingredients for best flavor. Warm knife between cuts for clean slices. Vanilla should be added while mixture is hot for best flavor infusion.
Nutrition
- Serving Size: 1-inch square piece
- Calories: 120
- Sugar: 16
- Sodium: 40
- Fat: 7
- Saturated Fat: 4
- Carbohydrates: 17
- Fiber: 1
- Protein: 1.5
Keywords: chocolate fudge, old-fashioned fudge, holiday treat, easy fudge recipe, homemade fudge, classic fudge, chocolate dessert