Love this? Save it for later!
Share the inspiration with your friends
Introduction
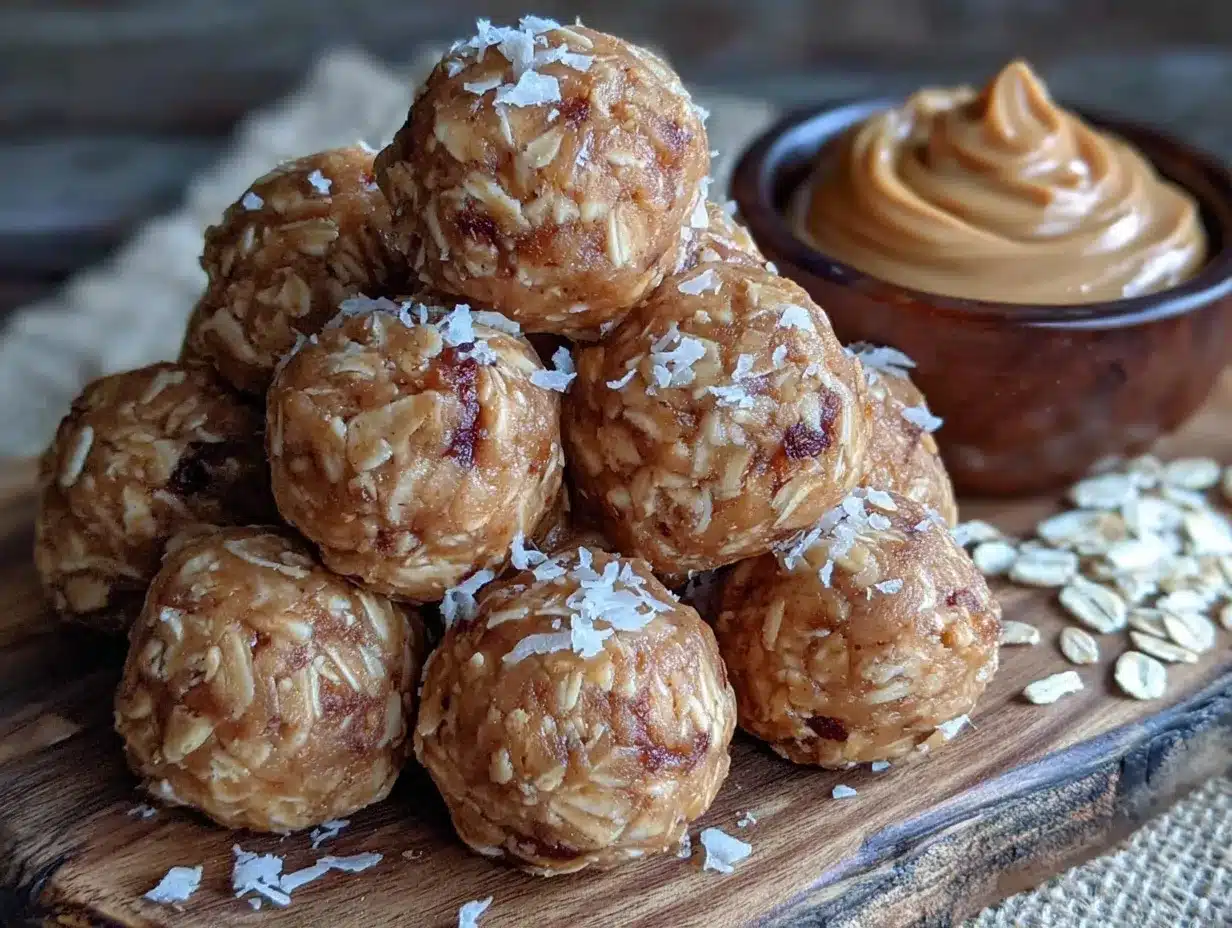
“I wasn’t expecting to make snacks at midnight,” I admit, laughing to myself. It was one of those nights when I got caught up binge-watching a documentary, and suddenly, hunger hit like a bolt out of nowhere. The problem? My kitchen was nearly empty, and I was too lazy to turn on the oven. Then, I remembered a little trick a friend once shared during a chaotic afternoon at a local farmers’ market. She whipped up these super simple peanut butter energy bites using just four ingredients—no baking required.
Honestly, I had doubts. No-bake snacks always sounded like a kitchen cop-out to me, but giving these bites a shot was a game changer. What’s wild is how these little balls of energy packed a punch of flavor and kept me fueled for the next day’s errands. Maybe you’ve been there—when you want something tasty, wholesome, and ready in a flash without a mountain of dishes.
These energy bites are not just quick; they’re a bit like comfort food that’s good for you, with peanut butter’s creamy richness playing the lead role. I remember juggling a cracked bowl while half-measuring oats and thinking, “This might just be the easiest snack hack I’ve ever tried.” Ever since that night, these bites have been a staple in my snack arsenal, perfect for hectic mornings, afternoon slumps, or even a little post-workout treat.
Why You’ll Love This Recipe
After making these Easy No-Bake Peanut Butter Energy Bites countless times, I can say they’re one of those recipes that just feel right every time. Here’s why you’ll want to keep this recipe close:
- Quick & Easy: Ready in under 15 minutes, these bites are perfect when you need a fast, healthy snack.
- Simple Ingredients: No fancy or hard-to-find items—just four staples you probably already have at home.
- Perfect for On-the-Go: Great for hiking, busy workdays, or tossing in your kid’s lunchbox.
- Crowd-Pleaser: Both kids and adults tend to reach for seconds thanks to the peanut butter’s irresistible flavor.
- Unbelievably Delicious: The balance of nutty, sweet, and chewy textures makes these bites feel like a treat, not just a snack.
This recipe isn’t like those overly dry or crumbly energy bites you might have tried before. The secret is a perfect ratio of creamy peanut butter to rolled oats, with a touch of honey to bring everything together smoothly. It’s a bit like having your peanut butter comfort food in bite-sized form—wholesome, satisfying, and no oven mess. Trust me, you’ll close your eyes with that first bite, wondering why you didn’t make these sooner.
What Ingredients You Will Need
This recipe keeps things straightforward with just four ingredients, each playing its own role in flavor and texture. These are pantry staples in my kitchen, and I love how easy it is to swap them out if needed.
- Creamy Peanut Butter – 1 cup (240g), preferably unsweetened and natural for the best flavor. I lean toward Smucker’s Natural because it’s smooth but not too oily.
- Rolled Oats – 1 1/2 cups (135g), the base that adds chewiness and fiber. Quick oats work too, but old-fashioned rolled oats give better texture.
- Honey – 1/3 cup (113g), acts as a natural sweetener and binder. If you want a vegan option, swap with maple syrup.
- Mini Chocolate Chips – 1/2 cup (90g), optional but highly recommended for a sweet little pop. Use dairy-free chips if you prefer.
Feel free to customize by adding a pinch of cinnamon or a sprinkle of chia seeds for extra nutrition. When I’m feeling adventurous, sometimes I toss in a few chopped nuts or shredded coconut for texture, but the original four ingredients are all you really need for that perfect bite.
Equipment Needed
One of the best things about this recipe is how minimal the equipment needs to be. Here’s what I usually use:
- Mixing Bowl – A medium to large bowl works well. I like glass or stainless steel for easy cleanup.
- Spoon or Spatula – For mixing everything together. A sturdy spatula helps scrape down the sides.
- Measuring Cups and Spoons – Precision helps keep the texture just right.
- Baking Sheet or Plate – To place your formed bites before chilling.
- Refrigerator – Essential for firming up the energy bites.
If you don’t have a baking sheet, a plate or any flat surface will do. I sometimes use parchment paper to avoid sticking, but honestly, a little grease from the peanut butter usually does the trick. No fancy gadgets needed here—just simple tools that won’t clutter your counter.
Preparation Method
- Combine the Peanut Butter and Honey: In your mixing bowl, scoop 1 cup (240g) of creamy peanut butter and 1/3 cup (113g) of honey. Stir them together until smooth and well blended. This usually takes about 2 minutes. You’ll notice the mixture getting glossy and sticky—that’s exactly what you want.
- Add the Rolled Oats: Pour in 1 1/2 cups (135g) of rolled oats. Mix thoroughly so the oats are evenly coated. The mixture should start to thicken and become less sticky. If it feels too wet, add a tablespoon more oats, but be careful not to dry it out.
- Fold in Mini Chocolate Chips: Gently stir in 1/2 cup (90g) of mini chocolate chips. This step adds a sweet surprise in each bite. If you’re skipping the chips, you can add a pinch of salt or cinnamon here for extra flavor.
- Form the Bites: Using your hands or a small cookie scoop, roll the mixture into bite-sized balls about 1 inch (2.5 cm) in diameter. You should get roughly 20-24 bites. If your hands are sticky, wet them slightly or dust with a little oat flour.
- Chill: Place the formed bites on a baking sheet or plate lined with parchment and refrigerate for at least 30 minutes. This step helps them firm up so they don’t fall apart.
- Store: Once chilled, transfer the bites to an airtight container. They keep well in the fridge for up to a week, or you can freeze them for longer storage.
Quick tip: If your peanut butter is super thick or cold, warm it in the microwave for 15 seconds to make mixing easier. I learned this the hard way when I tried mixing straight from the fridge—what a mess!
Cooking Tips & Techniques
Making these no-bake peanut butter energy bites is straightforward, but a few tips can save you from common pitfalls:
- Consistency Matters: The mixture should be sticky but not too wet. If it’s crumbly, add a touch more honey or peanut butter. Too wet? Add a bit more oats.
- Rolling Technique: Use lightly damp hands to prevent sticking. I keep a small bowl of water nearby for this reason—it’s a game changer.
- Mixing Thoroughly: Be sure oats are fully coated with peanut butter and honey. Uneven mixing can cause bites to fall apart.
- Chilling Time: Don’t skip the fridge! The bites need at least 30 minutes to set up properly, or they’ll be too soft when you try to eat them.
- Multitasking: While chilling, you can clean up or prep a drink to enjoy with your snack.
One time, I tried adding flaxseed meal without adjusting wet ingredients and ended up with a dry mix. Lesson learned: small tweaks need small adjustments. Keeping it simple is often best here.
Variations & Adaptations
These peanut butter energy bites are a great canvas for creativity. Here are a few ways I’ve switched things up over the years:
- Nut-Free Version: Swap peanut butter for sunflower seed butter to accommodate allergies.
- Chocolate Lovers’ Twist: Mix in cocoa powder with the oats before combining for a chocolatey base.
- Superfood Boost: Add chia seeds, hemp seeds, or a sprinkle of matcha powder for extra nutrition.
- Seasonal Flavors: In fall, I add a pinch of pumpkin pie spice or cinnamon, which pairs beautifully with the peanut butter.
- Sweetness Swap: Use maple syrup instead of honey for a vegan-friendly version.
Personally, I once added shredded coconut and a splash of vanilla extract for a tropical vibe—it was a hit at a summer picnic. Feel free to experiment until you find your favorite combo!
Serving & Storage Suggestions
These energy bites are best served chilled or at room temperature. I usually grab a couple straight from the fridge as a quick snack. They pair nicely with a cup of black coffee or herbal tea for a small energy boost without a sugar crash.
Store leftovers in an airtight container in the refrigerator for up to one week. If you want to keep them longer, freeze the bites in a single layer on a baking sheet, then transfer to a freezer-safe bag for up to three months. When ready to eat, just thaw at room temperature for 10-15 minutes.
Over time, the flavors meld together, and the bites develop a richer taste. I sometimes make a batch ahead for busy weeks—having these ready-to-go snacks is a lifesaver when I’m running low on time.
Nutritional Information & Benefits
Each peanut butter energy bite (assuming 24 bites) roughly contains:
| Calories | 90-100 |
|---|---|
| Protein | 3g |
| Fat | 6g (mostly healthy fats from peanut butter) |
| Carbohydrates | 9g |
| Fiber | 1-2g |
The key ingredients provide a good balance of protein, healthy fats, and fiber to keep you feeling full and energized. Peanut butter offers heart-healthy monounsaturated fats and essential vitamins like vitamin E. Oats bring complex carbs and soluble fiber, supporting digestion and sustained energy release.
They’re naturally gluten-free if you use certified gluten-free oats and free from refined sugars. Just watch out for nut allergies if serving to a crowd!
Conclusion
If you’re looking for an easy, wholesome snack that doesn’t require baking or a complicated ingredient list, these Easy No-Bake Peanut Butter Energy Bites with 4 Simple Ingredients are a no-brainer. I love how fast they come together and how versatile they are—you can tweak them to fit your mood or dietary needs.
Honestly, this recipe feels like a little secret weapon for busy days or when you just want a comforting bite without fuss. Give it a try, and I’d love to hear how you make it your own. Drop a comment below sharing your favorite variations or that moment when these bites saved your snack time!
Here’s to simple snacks that keep life moving—and tasting great.
FAQs
Can I use crunchy peanut butter instead of creamy?
Yes, you can! Crunchy peanut butter adds a bit more texture, but the bites may be slightly less smooth. Just make sure to mix well.
Are these energy bites suitable for kids?
Absolutely! They’re a kid-friendly snack packed with protein and natural sweetness. Just watch portions if your child is sensitive to nuts or sugar.
Can I store these energy bites at room temperature?
They’re best kept in the fridge to stay firm. At room temperature, they may soften and become a bit sticky.
What can I use instead of honey for a vegan version?
Maple syrup or agave nectar works well as a vegan-friendly sweetener and binder.
How long do these bites last in the freezer?
Up to three months. Make sure to thaw them at room temperature before eating for the best texture.
Pin This Recipe!
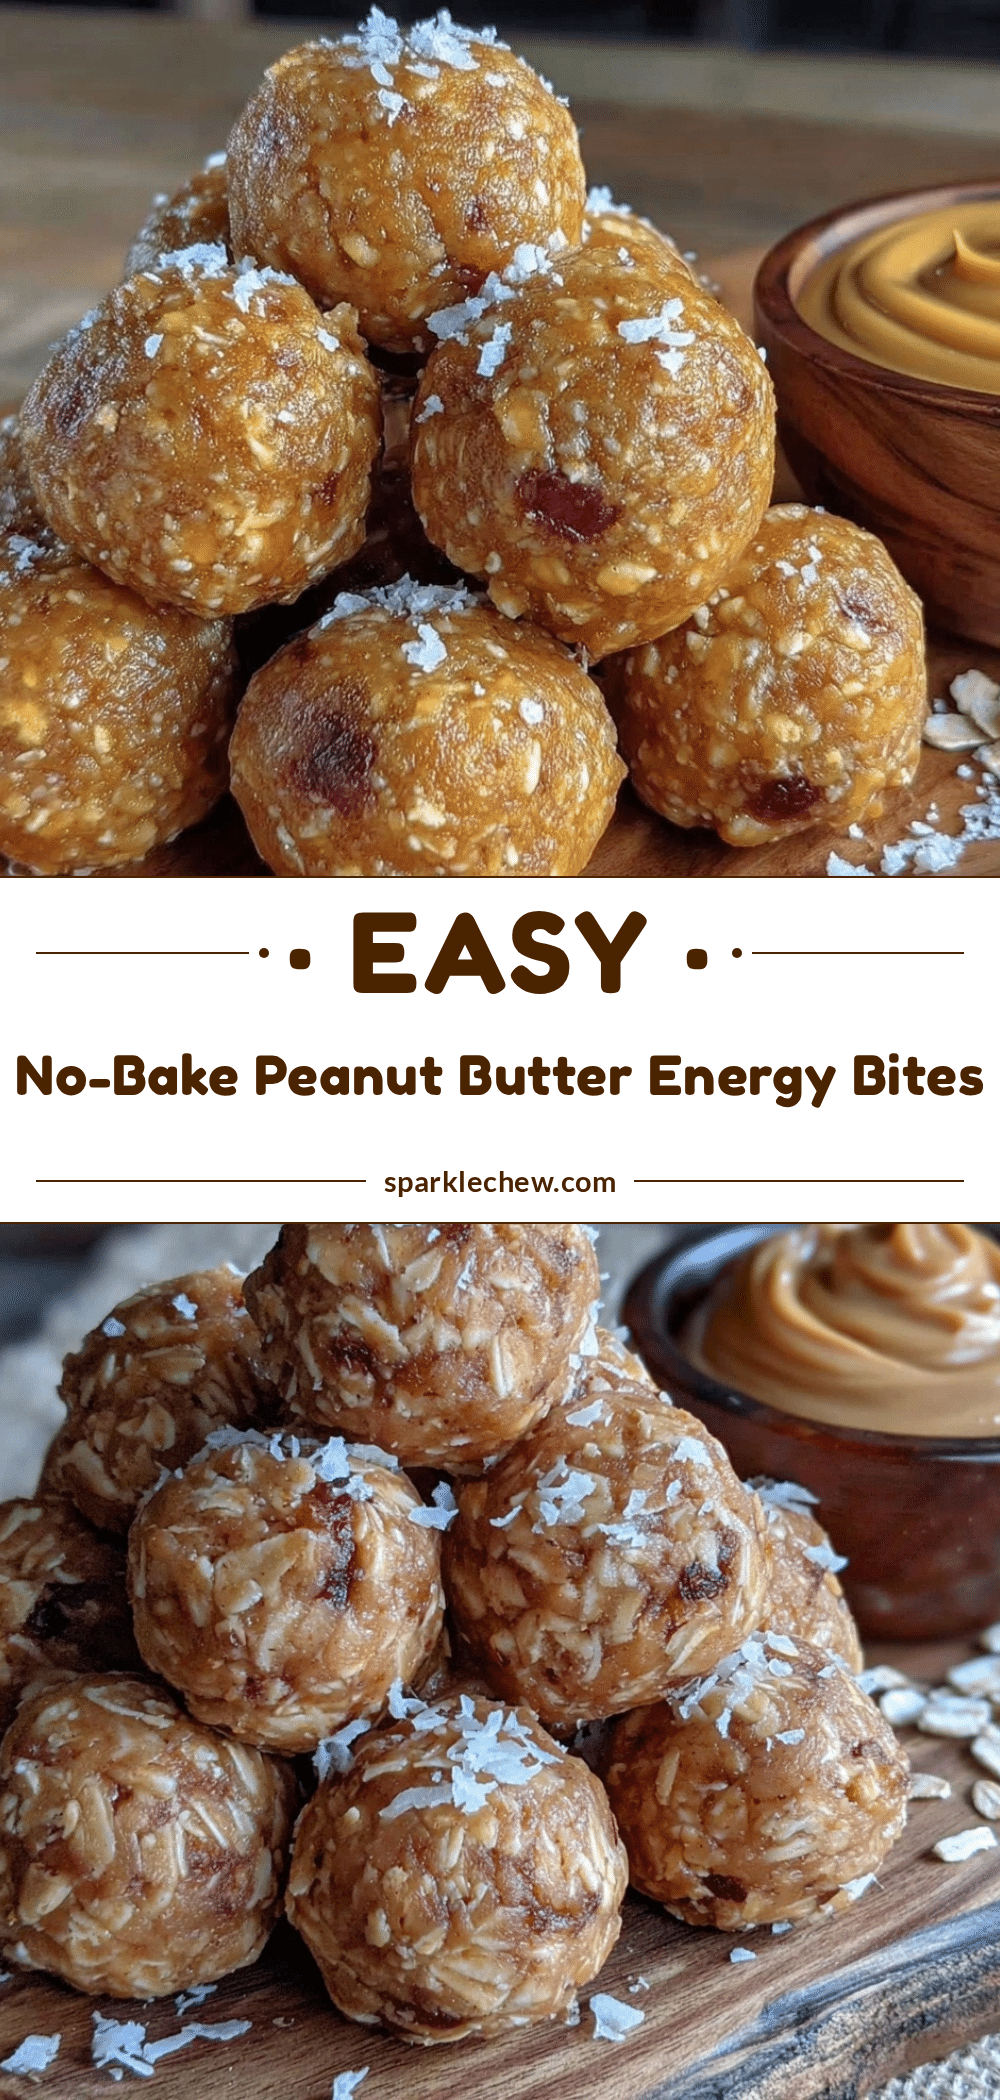
Easy No-Bake Peanut Butter Energy Bites

Quick and healthy no-bake peanut butter energy bites made with just four simple ingredients. Perfect for a fast snack that’s wholesome, delicious, and requires minimal equipment.
- Prep Time: 10 minutes
- Cook Time: 0 minutes
- Total Time: 40 minutes
- Yield: 20-24 bites 1x
- Category: Snack
- Cuisine: American
Ingredients
- 1 cup (240g) creamy peanut butter, preferably unsweetened and natural
- 1 1/2 cups (135g) rolled oats (old-fashioned preferred)
- 1/3 cup (113g) honey (or maple syrup for vegan option)
- 1/2 cup (90g) mini chocolate chips (optional)
Instructions
- Combine 1 cup creamy peanut butter and 1/3 cup honey in a mixing bowl. Stir until smooth and well blended, about 2 minutes.
- Add 1 1/2 cups rolled oats and mix thoroughly until oats are evenly coated and mixture thickens.
- Fold in 1/2 cup mini chocolate chips gently.
- Form the mixture into 1-inch diameter bite-sized balls using hands or a small cookie scoop, yielding about 20-24 bites.
- Place the bites on a baking sheet or plate lined with parchment and refrigerate for at least 30 minutes to firm up.
- Store the chilled bites in an airtight container in the refrigerator for up to one week or freeze for up to three months.
Notes
If peanut butter is thick or cold, warm it in the microwave for 15 seconds to ease mixing. Use lightly damp hands to roll bites to prevent sticking. Adjust oats or honey to achieve sticky but not wet consistency. Chilling is essential for firm bites. Variations include swapping peanut butter for sunflower seed butter for nut allergies, adding cinnamon, chia seeds, or cocoa powder for flavor boosts.
Nutrition
- Serving Size: 1 energy bite (about
- Calories: 95
- Sugar: 5
- Sodium: 50
- Fat: 6
- Saturated Fat: 1
- Carbohydrates: 9
- Fiber: 1.5
- Protein: 3
Keywords: no-bake, peanut butter, energy bites, healthy snacks, quick snack, easy recipe, vegan option, gluten-free