Love this? Save it for later!
Share the inspiration with your friends
It was 11:47 PM on a random Wednesday in October, and I had a desperate need for something that looked like it belonged at a Halloween party but tasted like my favorite fall coffee order. I didn’t have any fancy cookie cutters or pre-made frosting kits, but I had a batch of my go-to pumpkin sugar cookie dough chilling in the fridge and a bag of chocolate wafer cookies I’d bought on a whim. The idea just clicked—what if I could make cookies that actually looked like little witches’ hats using things I already owned? My kitchen was a mess of flour and cocoa powder by midnight, but when I pulled those first trays out of the oven, I honestly let out a little squeal. The chocolate cones, the orange pumpkin base, the little buckles made from candy corn—it was ridiculous and perfect and exactly what my late-night Halloween craving needed. That’s how these Easy Pumpkin Spice Witches’ Hat Cookies were born, and I’ve been making them every October since. Maybe you’ve been there too—wanting something festive without a trip to the store for specialty supplies. Trust me, this one’s for you.
Why You’ll Love This Recipe
Let me tell you why these cookies have become my non-negotiable Halloween tradition. First off, they’re ridiculously easy to put together. We’re talking about 30 minutes of active time, and the rest is just chilling and baking. No complicated piping bags or fondant work here—just simple assembly that actually looks impressive.
- Quick & Easy: Comes together in under 30 minutes of hands-on time, perfect for last-minute Halloween parties or a fun afternoon project with kids.
- Simple Ingredients: You likely already have pumpkin puree, butter, and basic baking staples in your pantry. No weird specialty items required.
- Perfect for Halloween: These cookies scream “spooky season” without being too scary for little ones. They’re adorable, not terrifying.
- Crowd-Pleaser: I’ve brought these to three different Halloween gatherings, and they always disappear first. Kids love the chocolate, adults love the pumpkin spice.
- Unbelievably Delicious: The combination of soft, spiced pumpkin cookies with rich chocolate and creamy frosting is next-level comfort food. You’ll eat three before you realize it.
What makes this recipe different from the hundreds of other Halloween cookies out there? It’s the texture, honestly. The pumpkin keeps these cookies incredibly soft and tender—almost cake-like—while the chocolate wafer adds that satisfying snap. Plus, the spice blend is perfectly balanced so it tastes like autumn in every bite. This isn’t just another decorated sugar cookie; it’s a flavor experience that actually delivers on the pumpkin spice promise.
I mean, these cookies are the kind that make you close your eyes after the first bite. They’re comfort food reimagined for Halloween—festive, fun, but with the same soul-soothing satisfaction as a warm slice of pumpkin bread. Perfect for impressing guests without stress, or turning a simple Tuesday night into something memorable.
What Ingredients You Will Need
This recipe uses simple, wholesome ingredients to deliver bold pumpkin spice flavor and that irresistible witches’ hat look. Most of these are pantry staples, which makes this recipe perfect for spontaneous baking sessions.
For the Pumpkin Spice Cookie Base
- 1 cup unsalted butter, softened (I prefer Land O’Lakes for consistent results)
- 1 cup granulated sugar
- 1/2 cup packed light brown sugar (adds moisture and depth)
- 1 large egg, room temperature
- 1 teaspoon vanilla extract
- 3/4 cup pumpkin puree (not pumpkin pie filling—look for 100% pure pumpkin. Libby’s is my go-to)
- 2 1/2 cups all-purpose flour
- 1 teaspoon baking soda
- 1/2 teaspoon salt
- 2 teaspoons pumpkin pie spice (or make your own: 1 tsp cinnamon, 1/2 tsp ginger, 1/4 tsp nutmeg, 1/4 tsp cloves)
- 1/2 teaspoon ground cinnamon (extra because we love it)
For the Witches’ Hat Assembly
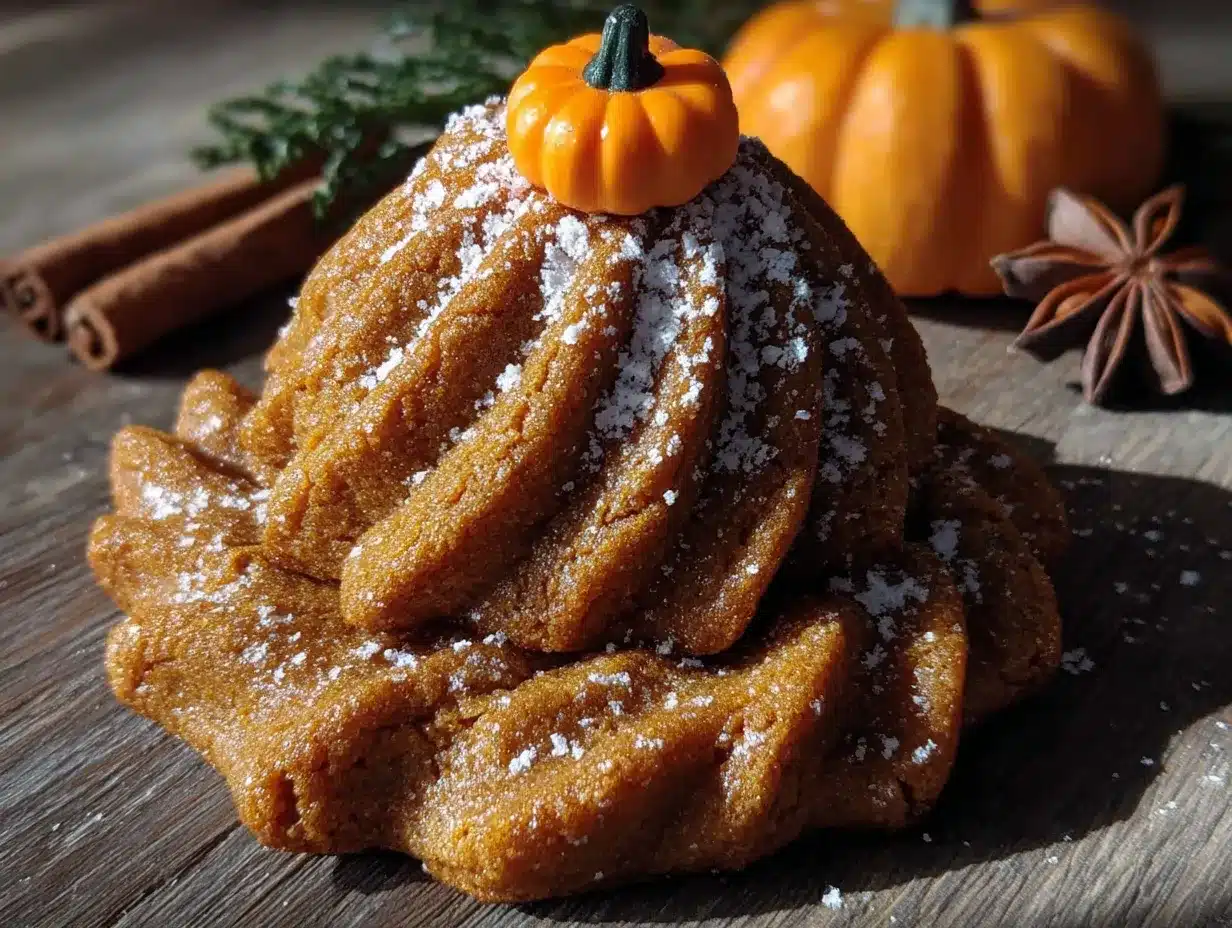
- 24 chocolate wafer cookies (like Nabisco Famous Chocolate Wafers—they’re the perfect size and shape for hat brims)
- 24 chocolate kisses or mini chocolate cones (Hershey’s Kisses work great, or look for Wilton candy melts shaped like cones)
- 1 cup semisweet chocolate chips (for melting and attaching the hats)
- 1 tablespoon coconut oil or vegetable shortening (helps the chocolate melt smoothly)
- Green or orange frosting (store-bought is fine, or make a quick buttercream)
- Candy corn or orange sprinkles (for the hat buckle detail)
Ingredient Tips & Substitutions
For the pumpkin puree, make sure you’re not grabbing pumpkin pie filling by accident—it has added sugar and spices that will throw off the texture. If you’re dairy-free, you can swap the butter for a good vegan butter stick (I like Earth Balance). For a gluten-free version, use a 1:1 gluten-free baking flour blend; just know the cookies may spread a tiny bit more. And if you can’t find chocolate wafer cookies, chocolate graham crackers broken into rounds work in a pinch—though the texture won’t be quite as crisp.
Equipment Needed
- Electric mixer (handheld or stand mixer—I’ve used both, and either works beautifully)
- Large mixing bowls
- Baking sheets (I recommend lining with parchment paper for easy cleanup)
- Cooling rack (crucial for getting that chocolate to set properly)
- Small microwave-safe bowl (for melting chocolate)
- Piping bag or small zip-top bag (for the frosting—a sandwich bag with the corner snipped off works great)
- Spatula (rubber or silicone for folding the dough)
- Cookie scoop (optional but helps keep cookies uniform—I use a 1.5-tablespoon scoop)
If you don’t have a piping bag, honestly, a plastic bag with a tiny hole cut in the corner does the exact same job. I’ve done it that way more times than I can count. And if you don’t have a cookie scoop, just use two spoons—it’s a little messier but totally fine.
Preparation Method
- Make the pumpkin cookie dough. In a large bowl, cream together the softened butter, granulated sugar, and brown sugar until light and fluffy—about 3 minutes with an electric mixer. Add the egg, vanilla, and pumpkin puree, then mix until combined. The mixture might look a little separated at this point, but that’s normal. In a separate bowl, whisk together the flour, baking soda, salt, pumpkin pie spice, and cinnamon. Gradually add the dry ingredients to the wet mixture, mixing on low speed until just combined. Don’t overmix, or the cookies will be tough.
- Chill the dough. Cover the bowl with plastic wrap and refrigerate for at least 1 hour (or up to 3 days). This step is non-negotiable—the pumpkin makes the dough sticky, and chilling firms it up so the cookies don’t spread into flat puddles. I learned this the hard way after my first batch became pumpkin pancakes.
- Preheat and prepare. When you’re ready to bake, preheat your oven to 350°F (175°C). Line two baking sheets with parchment paper.
- Scoop and bake. Use a cookie scoop to portion out rounded tablespoons of dough (about 1.5 inches in diameter). Place them on the prepared baking sheets about 2 inches apart. Bake for 10-12 minutes, until the edges are set and the centers look slightly underdone. The cookies will continue to set as they cool. Let them rest on the baking sheet for 5 minutes, then transfer to a cooling rack to cool completely. You should get about 24 cookies.
- Melt the chocolate. While the cookies cool, place the chocolate chips and coconut oil in a small microwave-safe bowl. Microwave in 30-second intervals, stirring between each, until smooth and fully melted. Be careful not to overheat—chocolate burns easily and gets grainy.
- Assemble the hats. Once the cookies are completely cool (this is important—warm cookies will melt the chocolate), take a chocolate wafer cookie and spread a small amount of melted chocolate on the bottom of a chocolate kiss or cone. Press it gently onto the center of the pumpkin cookie to form the hat’s peak. Hold it for about 10 seconds until it feels secure.
- Add the brim detail. Using a small spoon or a piping bag, drizzle a thin ring of melted chocolate around the base of the kiss where it meets the cookie. This creates the “hat band” and helps secure everything. Let the chocolate set for about 10 minutes at room temperature, or pop them in the fridge for 5 minutes.
- Decorate with frosting and buckle. Pipe a small dollop of green or orange frosting onto the front of the hat band. Press a candy corn piece (pointing sideways) or an orange sprinkle into the frosting to create the buckle. Let everything set completely—about 20 minutes at room temperature.
One thing I always do: after assembling, I let the cookies sit out for about 30 minutes before moving them. The chocolate needs that time to fully harden, or the hats will slide right off. Trust me, I’ve had a few hatless cookies in my day.
Cooking Tips & Techniques
Let me share some hard-won wisdom from my many batches of these cookies. The biggest mistake I made early on was not chilling the dough long enough. Pumpkin has a lot of moisture, and if you skip the chill time, your cookies will spread into thin, crispy discs instead of soft, puffy rounds. Give it at least an hour—overnight is even better.
Another tip: make sure your cookies are completely cool before you start assembling. I once got impatient and tried to attach the hats while the cookies were still warm, and the chocolate just slid right off into a puddle. It was a mess, honestly. Let them cool for at least 30 minutes on a wire rack.
For the chocolate melting, add that teaspoon of coconut oil or shortening—it makes the chocolate smoother and easier to work with. And don’t skip the stirring between microwave bursts. Burnt chocolate has a bitter, grainy texture that ruins the whole thing.
If you’re making these with kids, here’s a pro tip: pre-melt the chocolate and have everything set up assembly-line style. Let them do the fun part—pressing the kisses on and adding the buckles—while you handle the drizzling. It keeps the chaos manageable and the cookies looking good.
One more thing: if your kitchen is warm, the chocolate might take longer to set. Pop the assembled cookies in the fridge for 10 minutes to speed things up. Just don’t leave them in there too long, or condensation can make the chocolate look streaky.
Variations & Adaptations
These cookies are super flexible, so don’t be afraid to make them your own. Here are some variations I’ve tried and loved:
- Gluten-Free Version: Swap the all-purpose flour for a 1:1 gluten-free baking blend. I’ve used Bob’s Red Mill with great results. The texture is slightly more tender, but the flavor is spot on.
- Vegan Option: Use vegan butter, a flax egg (1 tablespoon flaxseed meal + 3 tablespoons water), and dairy-free chocolate. The cookies will be a bit softer, but they still hold together beautifully.
- Different Hat Shapes: Instead of chocolate kisses, try using mini peanut butter cups (pointy side up) or even small pretzel twists for a salty-sweet twist. I made a batch with caramel-filled chocolates once, and they were incredible.
- Spice It Up: Add a pinch of cayenne pepper or chipotle powder to the cookie dough for a spicy-sweet kick that pairs perfectly with the chocolate. It’s unexpected but so good.
- Color Variations: Use purple or black frosting for the hat band instead of green or orange. It gives the cookies a more witchy, gothic vibe that’s perfect for older kids or adult parties.
My personal favorite variation? I made a batch last year where I swapped the candy corn buckle for a tiny star-shaped sprinkle and used silver luster dust on the chocolate kisses. They looked like magical wizard hats, and my niece thought they were the coolest thing ever.
Serving & Storage Suggestions
These cookies are best served at room temperature, which lets the pumpkin flavor really shine and keeps the chocolate snappy. Arrange them on a platter with some fake spiderwebs or mini pumpkins for a festive Halloween display. They’re perfect for parties, classroom treats, or just munching while watching Hocus Pocus.
For storage, place the cookies in an airtight container at room temperature. They’ll stay fresh for up to 5 days, though the chocolate might soften slightly after day 3. If you stack them, put a layer of parchment paper between each cookie to prevent the hats from getting squished.
You can also freeze these cookies—just make sure the chocolate is fully set first. Place them in a single layer in a freezer-safe container with parchment between layers. They’ll keep for up to 2 months. To thaw, let them sit at room temperature for about 30 minutes. The texture stays remarkably good, though the chocolate might get a tiny bit of condensation. Pat it dry gently with a paper towel.
One thing I’ve noticed: the flavors actually deepen after a day or two. The pumpkin spice melds with the chocolate in a way that’s even more delicious on day two. So don’t feel like you have to serve them immediately—they’re actually better with a little patience.
Nutritional Information & Benefits
Here’s the approximate nutritional breakdown for one cookie (based on 24 cookies):
- Calories: 185
- Fat: 9g
- Carbohydrates: 25g
- Protein: 2g
- Fiber: 1g
- Sugar: 15g
While these are definitely a treat, the pumpkin puree does add some nutritional value—it’s packed with vitamin A and fiber, which helps with digestion. The cinnamon and pumpkin pie spice also have anti-inflammatory properties. So you’re getting a little bit of goodness with your sugar rush!
If you’re watching your sugar intake, you can reduce the sugar in the cookie dough by about 1/4 cup without affecting the texture too much. Or use a sugar-free chocolate for the hats. These cookies contain dairy and gluten, but as I mentioned, they adapt well to dietary restrictions.
Honestly, I don’t make these for the health benefits—I make them because they make me happy. But it’s nice to know there’s a little pumpkin goodness in every bite.
Conclusion
These Easy Pumpkin Spice Witches’ Hat Cookies are everything I want in a Halloween recipe: festive, delicious, and surprisingly simple to put together. They look like you spent hours on them, but the whole process takes less than an hour from start to finish (plus chilling time). The combination of soft pumpkin spice cookies, rich chocolate, and creamy frosting is just perfect—it’s like autumn and Halloween had a delicious baby.
I love that this recipe lets you be creative. Maybe you want to use different colored frosting, or swap the candy corn for sprinkles, or add a little edible glitter for extra magic. Go for it! That’s the beauty of baking—you can make it your own.
I’d love to hear how yours turn out! Drop a comment below and let me know what variations you tried, or tag me in your photos on Pinterest. Happy Halloween, and happy baking! 🎃
Frequently Asked Questions
Can I make these cookies ahead of time?
Absolutely! You can bake the pumpkin cookies up to 3 days in advance and store them in an airtight container. Assemble the hats on the day you plan to serve them for the best presentation. You can also freeze the assembled cookies for up to 2 months.
Why did my cookies spread too much?
This usually happens if the dough wasn’t chilled long enough. Pumpkin puree has a lot of moisture, so the dough needs at least 1 hour in the fridge to firm up. If your kitchen is warm, try chilling for 2 hours or even overnight.
Can I use homemade pumpkin puree?
Yes, but be aware that homemade puree often has more water content than canned. To compensate, let the puree sit in a fine-mesh strainer over a bowl for about 30 minutes to drain excess liquid. Pat it dry with paper towels before using.
What can I use instead of chocolate wafer cookies for the brim?
Chocolate graham crackers work in a pinch—just break them into rounds about the same size as your cookies. You can also use store-bought chocolate cookies like Oreo thins, though the flavor will be a bit different.
How do I keep the hats from falling off?
Make sure the chocolate is fully melted and apply it generously to the bottom of the kiss. Press firmly and hold for 10 seconds. Let the assembled cookies sit at room temperature for at least 20 minutes to set. If you’re in a hurry, pop them in the fridge for 10 minutes.
Pin This Recipe!
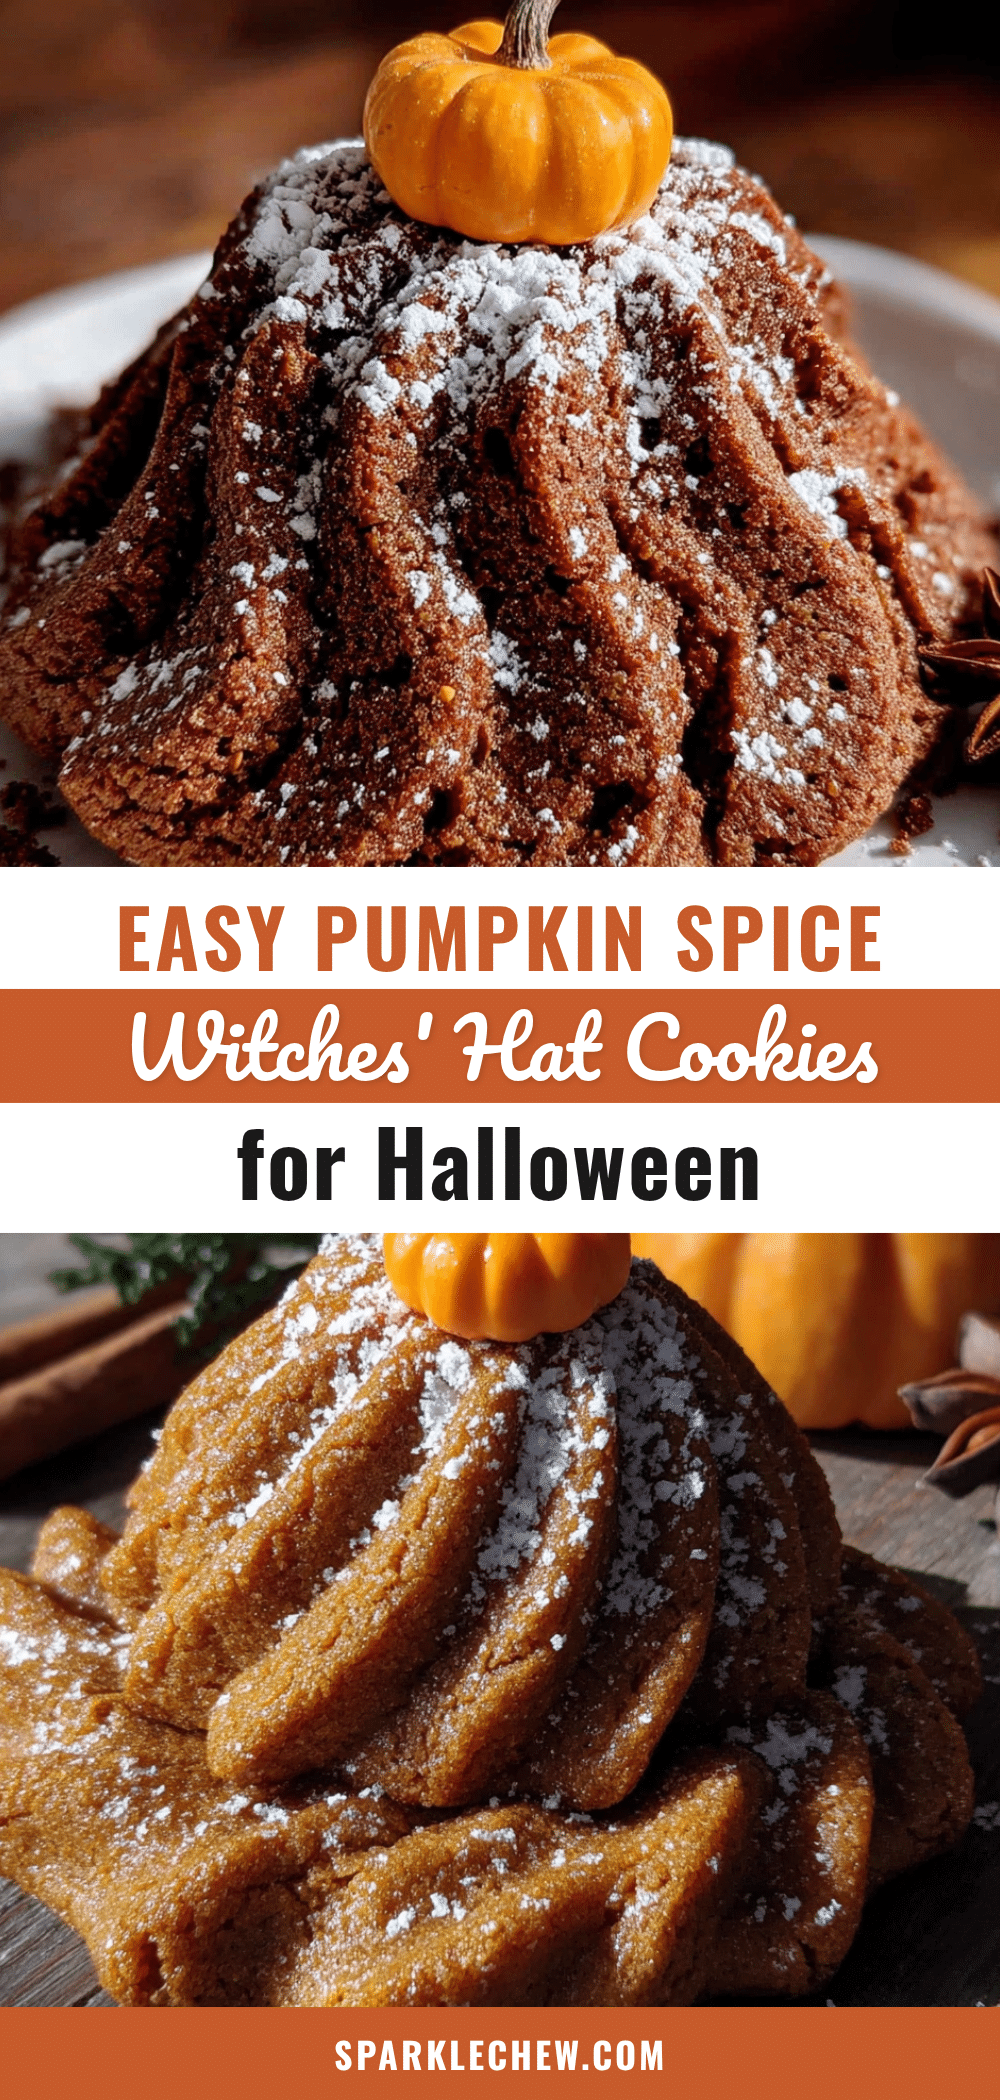
Easy Pumpkin Spice Witches Hat Cookies for Halloween
These Easy Pumpkin Spice Witches’ Hat Cookies are festive, delicious, and surprisingly simple to put together. They look like you spent hours on them, but the whole process takes less than an hour from start to finish (plus chilling time).
- Prep Time: 30 minutes
- Cook Time: 12 minutes
- Total Time: 1 hour 42 minutes (includes chilling and setting)
- Yield: 24 cookies 1x
- Category: Dessert
- Cuisine: American
Ingredients
- 1 cup unsalted butter, softened
- 1 cup granulated sugar
- 1/2 cup packed light brown sugar
- 1 large egg, room temperature
- 1 teaspoon vanilla extract
- 3/4 cup pumpkin puree (not pumpkin pie filling)
- 2 1/2 cups all-purpose flour
- 1 teaspoon baking soda
- 1/2 teaspoon salt
- 2 teaspoons pumpkin pie spice
- 1/2 teaspoon ground cinnamon
- 24 chocolate wafer cookies
- 24 chocolate kisses or mini chocolate cones
- 1 cup semisweet chocolate chips
- 1 tablespoon coconut oil or vegetable shortening
- Green or orange frosting (store-bought or homemade)
- Candy corn or orange sprinkles
Instructions
- Make the pumpkin cookie dough. In a large bowl, cream together the softened butter, granulated sugar, and brown sugar until light and fluffy—about 3 minutes with an electric mixer. Add the egg, vanilla, and pumpkin puree, then mix until combined. In a separate bowl, whisk together the flour, baking soda, salt, pumpkin pie spice, and cinnamon. Gradually add the dry ingredients to the wet mixture, mixing on low speed until just combined. Do not overmix.
- Chill the dough. Cover the bowl with plastic wrap and refrigerate for at least 1 hour (or up to 3 days).
- Preheat and prepare. When ready to bake, preheat oven to 350°F (175°C). Line two baking sheets with parchment paper.
- Scoop and bake. Use a cookie scoop to portion out rounded tablespoons of dough (about 1.5 inches in diameter). Place on prepared baking sheets about 2 inches apart. Bake for 10-12 minutes, until edges are set and centers look slightly underdone. Let rest on baking sheet for 5 minutes, then transfer to a cooling rack to cool completely. You should get about 24 cookies.
- Melt the chocolate. While cookies cool, place chocolate chips and coconut oil in a small microwave-safe bowl. Microwave in 30-second intervals, stirring between each, until smooth and fully melted.
- Assemble the hats. Once cookies are completely cool, take a chocolate wafer cookie and spread a small amount of melted chocolate on the bottom of a chocolate kiss or cone. Press gently onto the center of the pumpkin cookie to form the hat’s peak. Hold for about 10 seconds until secure.
- Add the brim detail. Using a small spoon or piping bag, drizzle a thin ring of melted chocolate around the base of the kiss where it meets the cookie. Let set for about 10 minutes at room temperature, or refrigerate for 5 minutes.
- Decorate with frosting and buckle. Pipe a small dollop of green or orange frosting onto the front of the hat band. Press a candy corn piece (pointing sideways) or an orange sprinkle into the frosting to create the buckle. Let everything set completely—about 20 minutes at room temperature.
Notes
Chill the dough for at least 1 hour to prevent spreading. Make sure cookies are completely cool before assembling to prevent chocolate from sliding off. For quicker setting, refrigerate assembled cookies for 10 minutes. The flavors deepen after a day or two.
Nutrition
- Serving Size: 1 cookie
- Calories: 185
- Sugar: 15
- Fat: 9
- Carbohydrates: 25
- Fiber: 1
- Protein: 2
Keywords: Halloween cookies, pumpkin spice, witches hat cookies, easy Halloween recipe, pumpkin cookies, chocolate, festive


