Love this? Save it for later!
Share the inspiration with your friends
I was supposed to be making a lemon-herb situation. You know the kind—bright, fresh, something you’d serve with a crisp white wine and pretend you have your life together. But the lemons I bought were hard as rocks and completely flavorless, and the fresh thyme I’d carefully picked up was already wilting in the fridge. Honestly, I stood there staring into the open refrigerator door for a solid minute, feeling that familiar kitchen panic creeping in. Dinner needed to happen, and I had nothing that resembled a plan anymore.
Then I spotted the bottle of honey in the door, a half-used jar of minced garlic, and a sad-looking bottle of soy sauce that was probably past its prime. I grabbed the chicken thighs—bone-in, skin-on because that’s what was on sale—and just started mixing things in a bowl. I didn’t measure anything. I just poured, stirred, tasted, added more garlic, tasted again, and poured in a little more honey. The whole thing felt like a desperate experiment, and I was already mentally preparing to order takeout when it inevitably failed.
But something weird happened. The smell that filled my kitchen about twenty minutes into baking was absolutely insane. Sweet, savory, sticky in the best possible way. My roommate wandered in and asked what I was making, and I honestly couldn’t give her a straight answer. “I don’t know yet,” I said, “but it smells like it might work.” And let me tell you, when I pulled those chicken thighs out of the oven, the skin was caramelized and glossy, the sauce had reduced into this thick, clingy glaze, and I nearly burned my tongue because I couldn’t wait to taste it. That first bite was one of those moments where you just stop and stare at the food. This was never supposed to work. And it turned out better than anything I’d planned. That’s how these Sticky Honey Garlic Chicken Thighs became my secret weapon—the recipe I make when I need dinner to be easy, impressive, and absolutely unforgettable.
Why You’ll Love This Recipe
Let’s be real for a second. I’ve tested this recipe at least a dozen times to make sure it’s not just “good for a happy accident” but genuinely foolproof. And honestly? It’s become my most-requested dish for weeknight dinners and casual get-togethers alike.
Here’s what makes these Sticky Honey Garlic Chicken Thighs stand out:
- Quick & Easy: From fridge to table in about 45 minutes, with only 10 minutes of active prep. Perfect for those evenings when you’re running late but still want something that feels special.
- Simple Ingredients: You probably have most of these in your pantry right now. Honey, soy sauce, garlic, chicken thighs—that’s basically it. No trips to specialty stores required.
- Perfect for Busy Weeknights: This is the kind of dinner that looks and tastes like you spent hours on it, but really, you just mixed a sauce and let the oven do the work.
- Crowd-Pleaser: I’ve served these to picky kids, skeptical in-laws, and foodie friends, and every single person has asked for the recipe. The sticky-savory-sweet combo is basically irresistible.
- Unbelievably Delicious: The sauce caramelizes into this thick, glossy coating that clings to every bite of tender, juicy chicken. It’s comfort food that feels a little fancy without any of the stress.
What makes this version different from all the other honey garlic chicken recipes out there? It’s the balance. So many versions are either too sweet or too salty, but this one hits that perfect middle ground where the honey brings warmth, the garlic brings punch, and the soy sauce brings just enough savory depth to keep everything grounded. Plus, baking the chicken thighs skin-on means you get that irresistible crispy edge while the meat stays incredibly moist. It’s not just another recipe—it’s the one I keep coming back to.
What Ingredients You Will Need
This recipe uses simple, everyday ingredients to create something that tastes way more complex than it should. The magic is in how these few components work together during baking.
- Bone-in, skin-on chicken thighs (6-8 thighs, about 2.5-3 lbs total) — This is my preferred cut because the skin crisps up beautifully and the meat stays juicy through the longer bake time. You can use boneless thighs, but you’ll need to reduce the cooking time by about 10-15 minutes.
- Honey (1/3 cup) — Use a good-quality honey here; the flavor really comes through. I prefer a mild clover honey or orange blossom honey. Avoid anything too strongly flavored like buckwheat honey, which can overpower the dish.
- Soy sauce (1/4 cup) — Regular soy sauce works perfectly. For a gluten-free version, use tamari or coconut aminos. I’ve tested this with both, and they work great.
- Minced garlic (6 cloves, finely minced) — Fresh garlic is non-negotiable here. The pre-minced stuff in a jar just doesn’t have the same punch. Trust me on this one—I learned the hard way.
- Rice vinegar (2 tablespoons) — This adds a subtle tang that balances the sweetness. You can substitute apple cider vinegar or even white wine vinegar in a pinch.
- Sesame oil (1 tablespoon) — Adds that nutty, toasty depth that makes the sauce feel complete. Don’t skip it—it’s a small amount but makes a big difference.
- Cornstarch (1 tablespoon) — This helps thicken the sauce as it bakes, creating that signature sticky glaze. If you’re grain-free, arrowroot powder works too.
- Salt and black pepper (to taste) — Simple seasoning for the chicken before baking.
- Optional garnish: Sliced green onions, sesame seeds, and a drizzle of extra honey for serving.
For the best results, I recommend using chicken thighs from a trusted brand like Bell & Evans or Mary’s Free Range Chicken. The quality of the meat really matters here since the sauce does most of the heavy lifting. And please, please use fresh garlic—it’s the difference between “this is good” and “I need this recipe immediately.”
Equipment Needed
You don’t need much for this recipe, which is part of why I love it so much. Here’s what you’ll want to have on hand:
- 9×13-inch baking dish — A glass or ceramic dish works perfectly. I’ve used my trusty Pyrex dish for years, and it’s never let me down. If you don’t have one, a cast iron skillet also works beautifully.
- Small mixing bowl — For whisking together the sauce. Nothing fancy needed.
- Whisk or fork — To combine the sauce ingredients smoothly.
- Chef’s knife and cutting board — For mincing garlic and prepping garnishes.
- Tongs — For flipping the chicken halfway through baking. Makes life so much easier.
- Measuring cups and spoons — Standard set for accurate measurements.
Honestly, if you have a baking dish and a bowl, you’re pretty much set. I’ve made this recipe in a pinch using a rimmed baking sheet lined with foil, and it worked fine—just watch the sauce a little more closely since it spreads out more and can burn faster.
Preparation Method
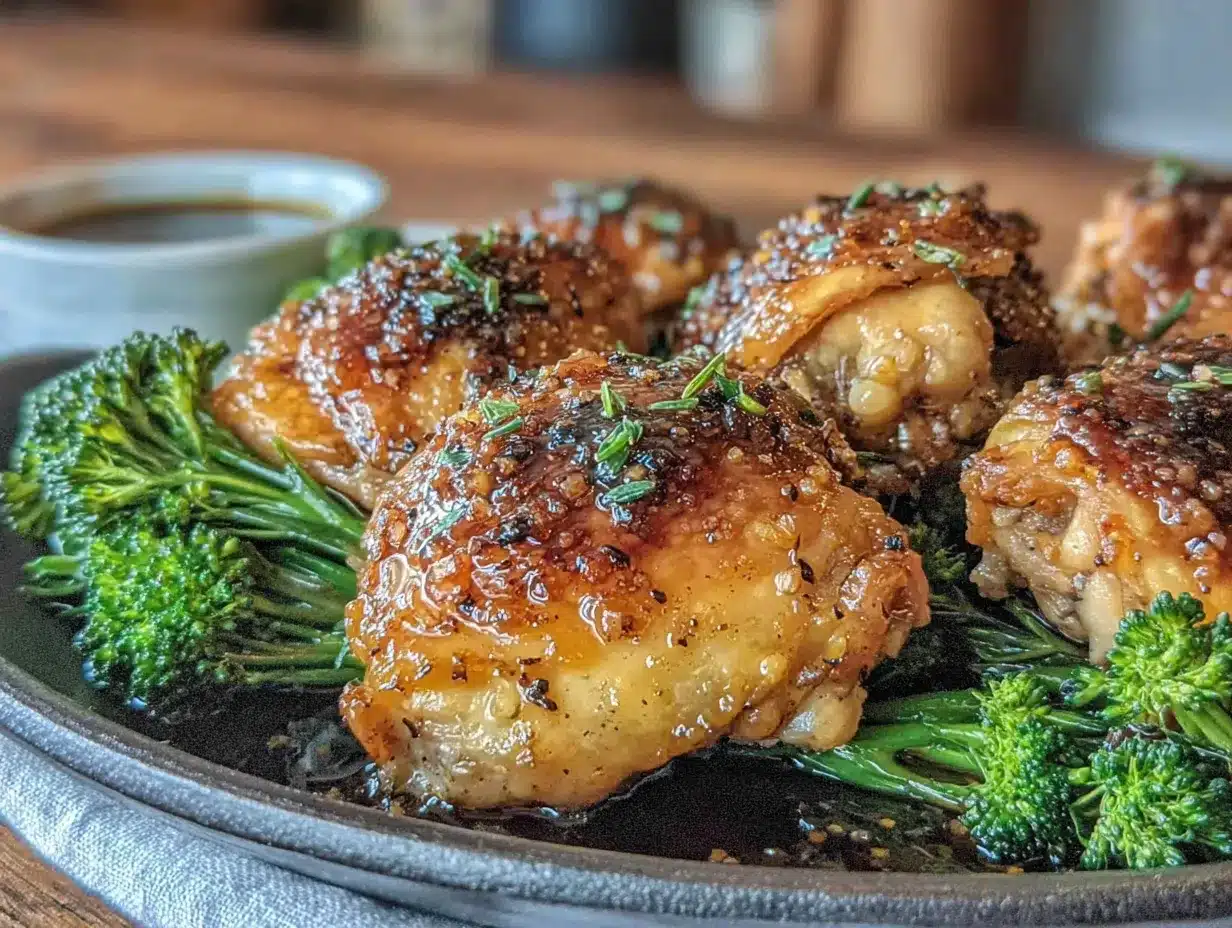
Let me walk you through exactly how to make these Sticky Honey Garlic Chicken Thighs. I’ve tested every step multiple times to make sure nothing goes wrong.
- Preheat your oven to 400°F (200°C). Position the rack in the middle of the oven. While it’s heating, pat the chicken thighs dry with paper towels. This is crucial for getting crispy skin—don’t skip it!
- Season the chicken. Sprinkle both sides of the thighs generously with salt and black pepper. Don’t be shy here—the seasoning helps build flavor from the ground up.
- Make the sauce. In your small bowl, whisk together the honey, soy sauce, minced garlic, rice vinegar, sesame oil, and cornstarch. Whisk until the cornstarch is completely dissolved—no lumps allowed. The sauce should look smooth and slightly glossy.
- Arrange the chicken. Place the seasoned chicken thighs skin-side up in your baking dish. Make sure they’re in a single layer with a little space between each piece. Overcrowding will steam the skin instead of crisping it.
- Pour the sauce. Drizzle the honey garlic sauce evenly over the chicken thighs. Try to get some on each piece, but don’t worry if it pools a bit in the dish—it will reduce and thicken as it bakes.
- Bake for 25 minutes. Place the dish in the preheated oven and let it do its thing. Your kitchen is about to smell incredible.
- Flip and baste. After 25 minutes, carefully remove the dish from the oven. Using your tongs, flip each chicken thigh over so the skin-side is now down. Spoon some of the pan sauce over the top of each piece. This is where the magic starts happening.
- Bake for another 15-20 minutes. Return the dish to the oven and continue baking until the chicken is cooked through (internal temperature should reach 165°F/74°C) and the sauce has reduced to a thick, sticky glaze. The skin should be golden brown and slightly caramelized.
- Rest before serving. Let the chicken rest in the dish for 5 minutes after removing from the oven. This allows the sauce to set up a bit more and makes the chicken even juicier.
- Garnish and serve. Sprinkle with sliced green onions and sesame seeds if desired. Spoon any remaining glaze from the dish over the top.
A few things to watch for: If the sauce starts looking too dark or the edges of the dish look like they’re burning during the last 10 minutes, you can loosely tent the dish with foil. Every oven runs a little differently, so trust your eyes more than the timer. The chicken is done when the skin is deeply golden and the sauce is bubbling and thick.
Cooking Tips & Techniques
After making this recipe more times than I can count, I’ve picked up a few tricks that make a real difference.
Don’t skip drying the chicken. I know it seems like a small step, but moisture is the enemy of crispy skin. Pat those thighs dry like you mean it. I learned this lesson after making a soggy batch that still tasted good but lacked that satisfying texture.
Watch the sugar content. Honey has a lot of natural sugar, which means it can burn if you’re not careful. That’s why we bake at 400°F instead of higher—it gives the sauce time to caramelize slowly without turning into a burnt mess. I once cranked the oven to 425°F thinking I’d speed things up, and let’s just say the smoke alarm got a workout.
Use a meat thermometer. This is the single best investment you can make for consistent results. Chicken thighs are forgiving, but they’re best at 165°F-170°F. Overcooking them past 175°F starts drying them out, even with all that sauce.
Let it rest. I know you’re hungry, but those 5 minutes of rest make a huge difference. The sauce continues to thicken, the juices redistribute, and everything comes together. I’ve ruined more than a few meals by being impatient.
Double the sauce if you love extra. Some people (me) want extra glaze for rice or vegetables. If that’s you, make 1.5 times the sauce recipe and reserve half to simmer on the stove while the chicken bakes. Just don’t add raw sauce to the finished dish—it needs to cook down.
Variations & Adaptations
One of the best things about this recipe is how flexible it is. Here are some ways to make it your own:
- Spicy Honey Garlic: Add 1-2 teaspoons of sriracha or red pepper flakes to the sauce for a kick. The heat balances beautifully with the sweet honey. I make this version when I’m cooking just for myself.
- Garlic-Lover’s Version: Double the garlic to 12 cloves. Roasted garlic mellows out during baking, so don’t worry about it being too pungent. My garlic-obsessed friend requests this version every time she comes over.
- Gluten-Free Adaptation: Simply swap the soy sauce for tamari or coconut aminos. Everything else is naturally gluten-free. I’ve tested this multiple times, and it works perfectly.
- Boneless Thighs: If you’re short on time, use boneless, skinless thighs. Reduce the first bake to 15 minutes and the second to 10-12 minutes. The sauce won’t be quite as sticky, but it’s still delicious.
- Oven-to-Stovetop Method: For extra caramelization, after baking, transfer the chicken and sauce to a skillet over medium-high heat for 2-3 minutes per side. This gives you that restaurant-quality glazed finish.
I’ve also tried this with chicken drumsticks and wings, and both work beautifully. Just adjust cooking times based on the size of the pieces. The sauce is honestly versatile enough to use on pork chops or even tofu—I’ve done both, and they were hits.
Serving & Storage Suggestions
These Sticky Honey Garlic Chicken Thighs are incredibly versatile when it comes to serving. Here’s how I like to enjoy them:
Serving Temperature: Serve hot, straight from the oven. The glaze is at its best when it’s warm and sticky. Room temperature is also fine for picnics or meal prep, but the texture really shines when hot.
What to Serve With: Steamed jasmine rice or coconut rice is my go-to—it soaks up all that extra glaze. For vegetables, I love roasted broccoli, green beans, or a simple cucumber salad. The freshness balances the richness of the chicken. If you’re feeling indulgent, serve with garlic naan or crusty bread to mop up every last drop.
Storage: Store leftovers in an airtight container in the refrigerator for up to 4 days. The flavors actually deepen overnight, so don’t be surprised if they taste even better the next day. I’ve been known to make a double batch just for leftovers.
Reheating: The best way to reheat is in a 350°F oven for 10-15 minutes, which crisps the skin back up. The microwave works in a pinch, but the skin will be soft. If you’re using the microwave, reheat in 30-second bursts and let it rest between each to avoid rubbery texture.
Freezing: These freeze beautifully. Let the chicken cool completely, then place in a freezer-safe container with the sauce. Freeze for up to 3 months. Thaw overnight in the refrigerator and reheat in the oven. I always keep a batch in the freezer for emergency dinners.
Nutritional Information & Benefits
Here’s the approximate nutritional breakdown per serving (2 chicken thighs):
- Calories: 420
- Protein: 32g
- Fat: 22g
- Carbohydrates: 22g
- Sugar: 18g
- Sodium: 780mg
Chicken thighs are actually a great source of iron and zinc, which support immune function and energy levels. The skin provides healthy fats that help your body absorb fat-soluble vitamins. Honey, while it adds sugar, also contains antioxidants and has natural antibacterial properties. Garlic is well-known for its immune-boosting compounds, especially allicin, which is released when you mince it fresh.
This recipe is naturally dairy-free and can easily be made gluten-free with a simple substitution. If you’re watching your sugar intake, you can reduce the honey to 1/4 cup—the sauce will be slightly less sticky but still delicious. For a lower-carb option, serve with cauliflower rice or a big green salad instead of traditional rice.
Conclusion
Look, I know I’m biased, but these Sticky Honey Garlic Chicken Thighs really are something special. They started as a complete accident—a moment of kitchen panic that turned into one of my most reliable recipes. And honestly? That’s what makes them so great. They’re proof that you don’t need a perfect plan or fancy ingredients to make something amazing. You just need a little trust in the process and a willingness to try something unexpected.
I hope you give these a try, whether it’s for a busy Tuesday dinner or a weekend meal when you want to impress without stress. Feel free to tweak the sauce to your liking—more garlic, less honey, a pinch of heat. That’s the beauty of cooking at home. You get to make it yours.
If you make these, I’d love to hear how they turned out. Drop a comment below and let me know if you added your own twist, or share a photo if you’re feeling proud. And if you’re looking for another easy weeknight dinner, you might also enjoy my Crispy Garlic Chicken—it uses a similar technique but with a completely different flavor profile. Happy cooking, friends!
Frequently Asked Questions
Can I use chicken breasts instead of thighs?
You can, but I don’t recommend it. Chicken breasts cook faster and can dry out before the sauce has time to caramelize properly. If you must use breasts, pound them to even thickness and reduce the baking time by about 10 minutes. Check for doneness at 160°F internal temperature.
Why is my sauce not getting sticky?
This usually happens if there’s too much liquid in the dish or if the oven temperature is too low. Make sure you’re using a 9×13-inch dish (not much larger) and that your oven is actually at 400°F. An oven thermometer is a cheap investment that solves this problem permanently.
Can I make this recipe ahead of time?
Absolutely! You can assemble everything in the baking dish up to 24 hours in advance. Just cover and refrigerate. When you’re ready to bake, add about 5-10 minutes to the cooking time since you’re starting from cold. The flavors meld together beautifully overnight.
How do I prevent the garlic from burning?
Fresh garlic can burn if it’s exposed to high heat for too long. The key is mincing it finely and mixing it thoroughly into the sauce so it’s distributed evenly. If you notice the garlic on top of the chicken looking dark before the sauce is done, tent the dish with foil for the last 10 minutes.
Can I double this recipe for a crowd?
Yes, but you’ll need a larger baking dish or two separate dishes to avoid overcrowding. If you’re using a single large dish, increase the first bake time by 5-10 minutes. The sauce may need a little extra cornstarch to thicken properly with larger quantities—add an extra teaspoon per additional batch.
Pin This Recipe!
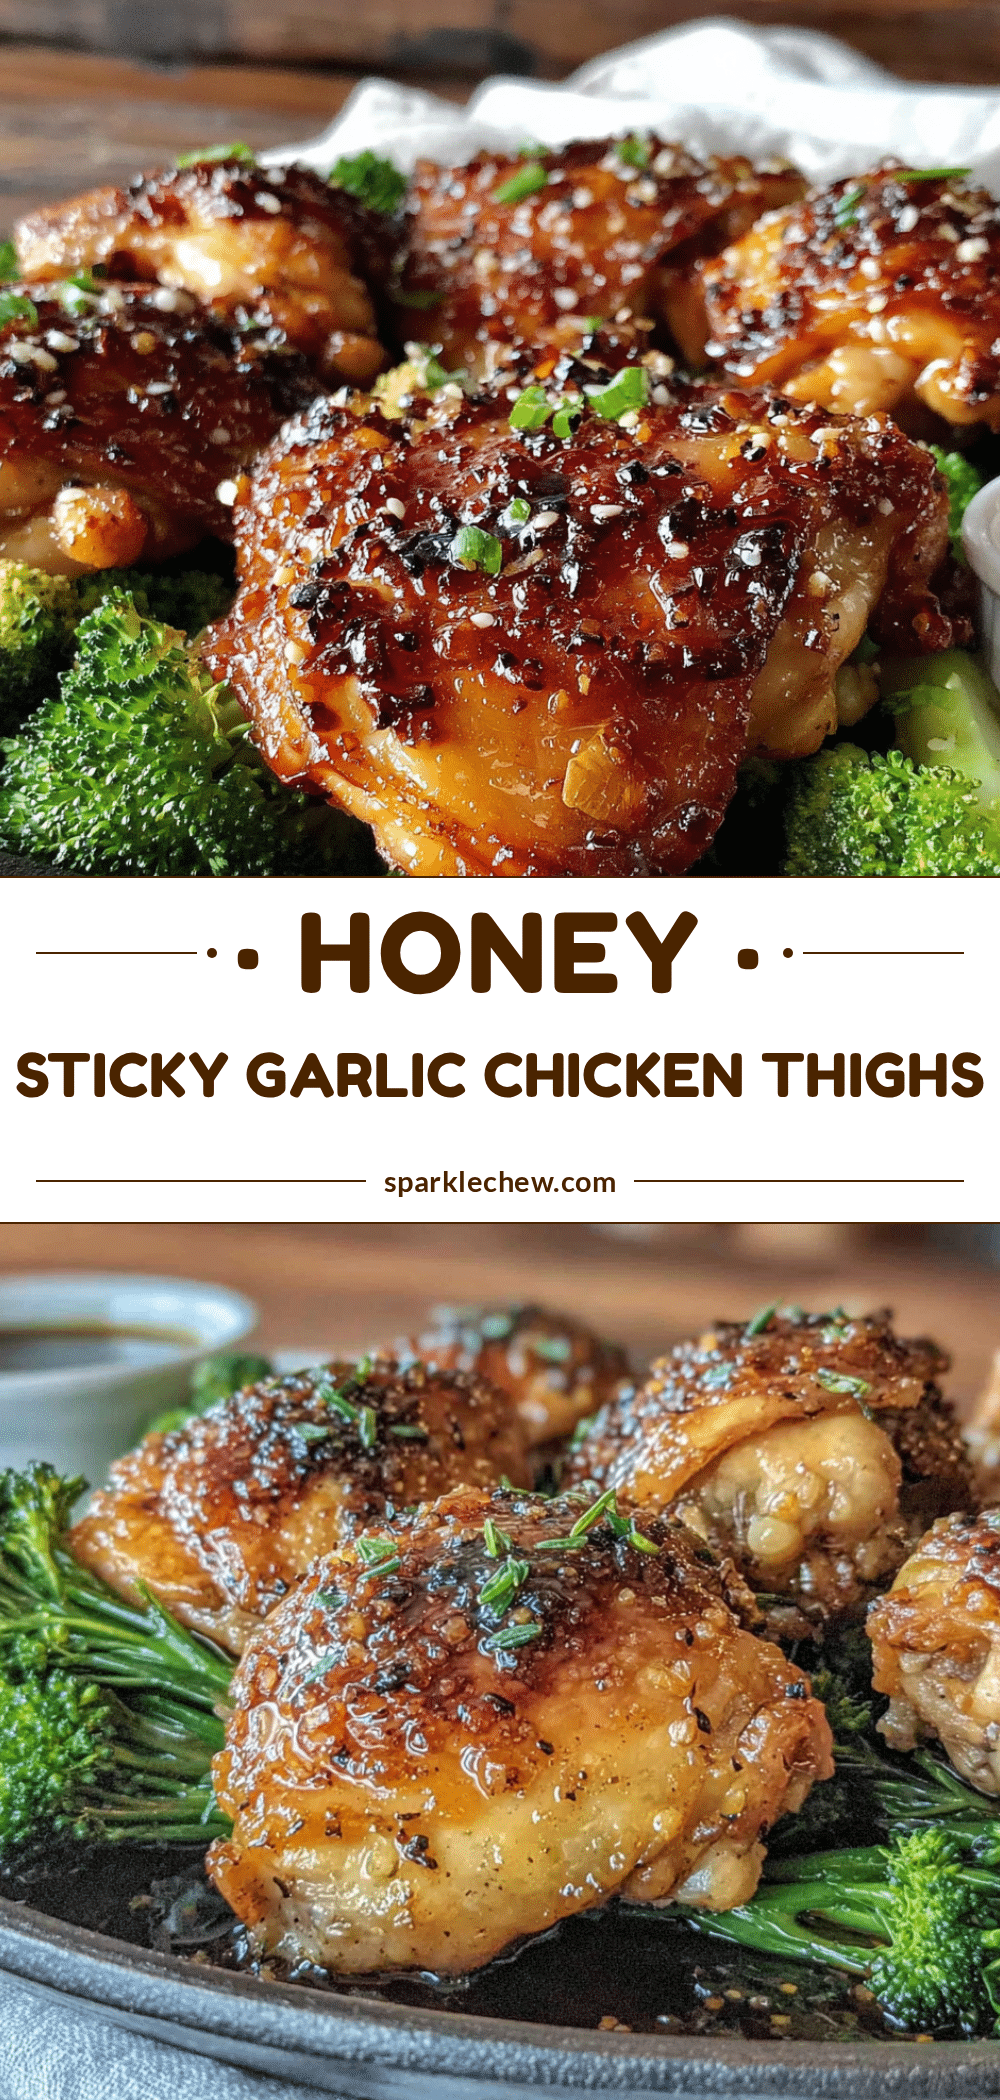
Easy Sticky Honey Garlic Chicken Thighs Baked Dinner

These Sticky Honey Garlic Chicken Thighs are a quick and easy weeknight dinner with a perfect balance of sweet and savory. The sauce caramelizes into a thick, glossy glaze that clings to tender, juicy chicken thighs, making it a crowd-pleaser that looks and tastes like you spent hours on it.
- Prep Time: 10 minutes
- Cook Time: 40-45 minutes
- Total Time: 50-55 minutes
- Yield: 4 servings 1x
- Category: Main Course
- Cuisine: Asian-inspired
Ingredients
- 6–8 bone-in, skin-on chicken thighs (about 2.5–3 lbs total)
- 1/3 cup honey
- 1/4 cup soy sauce
- 6 cloves garlic, finely minced
- 2 tablespoons rice vinegar
- 1 tablespoon sesame oil
- 1 tablespoon cornstarch
- Salt and black pepper to taste
- Optional garnish: sliced green onions, sesame seeds, extra honey
Instructions
- Preheat your oven to 400°F (200°C). Position the rack in the middle of the oven.
- Pat the chicken thighs dry with paper towels. Season both sides generously with salt and black pepper.
- In a small bowl, whisk together the honey, soy sauce, minced garlic, rice vinegar, sesame oil, and cornstarch until the cornstarch is completely dissolved.
- Place the seasoned chicken thighs skin-side up in a 9×13-inch baking dish in a single layer with a little space between each piece.
- Drizzle the honey garlic sauce evenly over the chicken thighs.
- Bake for 25 minutes.
- Carefully remove the dish from the oven. Using tongs, flip each chicken thigh over so the skin-side is down. Spoon some of the pan sauce over the top of each piece.
- Return the dish to the oven and bake for another 15-20 minutes, until the chicken is cooked through (internal temperature reaches 165°F/74°C) and the sauce has reduced to a thick, sticky glaze.
- Let the chicken rest in the dish for 5 minutes after removing from the oven.
- Garnish with sliced green onions and sesame seeds if desired. Spoon any remaining glaze from the dish over the top.
Notes
For extra caramelization, after baking, transfer the chicken and sauce to a skillet over medium-high heat for 2-3 minutes per side. If the sauce starts looking too dark during the last 10 minutes, loosely tent the dish with foil. Double the sauce if you love extra glaze for rice or vegetables.
Nutrition
- Serving Size: 2 chicken thighs
- Calories: 420
- Sugar: 18
- Sodium: 780
- Fat: 22
- Saturated Fat: 6
- Carbohydrates: 22
- Protein: 32
Keywords: honey garlic chicken, sticky chicken thighs, baked chicken, easy weeknight dinner, Asian chicken recipe