Love this? Save it for later!
Share the inspiration with your friends
My neighbor across the hall, a retired restaurant chef named Leo, watched me wrestling with a bag of groceries one chilly October afternoon. I was trying to unlock my door while balancing a butternut squash, a bottle of cheap cider, and a pork tenderloin that was threatening to slip out of its paper wrapping. He didn’t say anything at first. Then he just shook his head with this knowing smile and said, “You’re overcomplicating it. Come down to my place tomorrow, and I’ll show you how to make that pork sing.”
I honestly thought he was just being polite. But the next day, there he was, knocking on my door with a cast iron pot in one hand and a jug of fresh apple cider in the other. Let me tell you, I had never braised anything in my life. I was terrified of drying out pork, and the idea of simmering it in cider felt like a gamble. But Leo didn’t lecture me. He just started chopping an onion and told me about the first time he made this dish for his wife, forty years ago. He burned the garlic and forgot the thyme, but she ate every bite anyway. That’s the kind of recipe this is—forgiving, humble, and built on trust, not perfection.
Over the next hour, my tiny kitchen filled with this incredible smell. Not just sweet apple, but something deeper and savory, like a warm blanket for your senses. I kept peeking into the pot, watching the cider bubble down into this rich, glossy sauce. The pork came out so tender it practically fell apart when I touched it with a fork. I mean, I had to stop myself from eating the entire thing right there over the stove. Maybe you’ve been there, staring at a piece of meat and wondering if you’ll ever get it right. This is the recipe that taught me to stop worrying and just let the oven do the work. It stayed with me because it wasn’t just a meal—it was a lesson in slowing down. And honestly, that’s why I keep making it every single fall.
Why You’ll Love This Recipe
This Perfect Fall Apple Cider Braised Pork Tenderloin isn’t just another weeknight dinner. It’s the kind of meal that makes you feel like you’ve got your life together, even if you’re wearing sweatpants and the laundry is piling up. I’ve tested this recipe about seven times now, tweaking the cider ratio and the braising time until it was just right. Trust me, I’ve had my share of dry, sad pork chops. This is not that.
- Quick & Easy: Despite sounding fancy, this dish comes together in under an hour. Most of that time is hands-off, letting the oven do the heavy lifting. Perfect for a busy Tuesday when you still want something special.
- Simple Ingredients: You don’t need to hunt down obscure spices or make a special trip to a gourmet store. Apples, cider, onion, garlic, and a few pantry staples are all it takes.
- Perfect for Fall Gatherings: Whether it’s a cozy Sunday supper, a Thanksgiving trial run, or a dinner party where you want to impress without stress, this dish fits right in.
- Crowd-Pleaser: I’ve served this to picky eaters and foodie friends alike. Everyone goes quiet for a minute after the first bite, then reaches for seconds.
- Unbelievably Delicious: The pork stays impossibly juicy, and the sauce is this magical blend of sweet, tangy, and savory. It’s comfort food that feels a little bit elevated, without being fussy.
What makes this version different from all the other braised pork recipes out there? It’s the balance. A lot of recipes go too sweet with the cider, or they don’t reduce the sauce enough, leaving you with a watery mess. I spent a whole afternoon figuring out the perfect simmer time to get that syrupy, cling-to-your-spoon consistency. Plus, I add a touch of Dijon mustard at the end—don’t skip it. It cuts through the sweetness and adds this subtle tang that wakes up the whole dish. This isn’t just another version. It’s the one you’ll come back to year after year.
Honestly, this recipe makes you close your eyes after the first bite. It’s that good. It’s comfort food reimagined—a little healthier than a creamy casserole, faster than a slow-cooker stew, but with the same soul-soothing satisfaction. Perfect for impressing guests without breaking a sweat, or turning a simple Wednesday into something memorable.
What Ingredients You Will Need
This recipe uses simple, wholesome ingredients that come together to create deep, layered flavor. Most of these are pantry staples or easy to find at any grocery store, especially during apple season.
For the Pork and Braise
- 1 (2-pound) pork tenderloin, silver skin removed (ask your butcher to do this if you’re not sure how—it saves a headache)
- 2 tablespoons olive oil (or avocado oil; something with a neutral flavor and high smoke point)
- 1 medium yellow onion, thinly sliced (about 1 cup)
- 3 cloves garlic, minced (don’t use the jarred stuff here; fresh really matters)
- 1 ½ cups fresh apple cider (unfiltered is best—I like the brand from the local orchard, but any good quality cider works)
- ½ cup low-sodium chicken broth (or vegetable broth; just make sure it’s not too salty)
- 2 sprigs fresh thyme (or 1 teaspoon dried, but fresh is noticeably better)
- 1 sprig fresh rosemary (or ½ teaspoon dried)
- 1 bay leaf
- 1 tablespoon apple cider vinegar (adds brightness and balances the sweetness)
- 1 tablespoon Dijon mustard (trust me on this one—it’s the secret weapon)
- Salt and freshly ground black pepper, to taste
For the Garnish (Optional but Recommended)
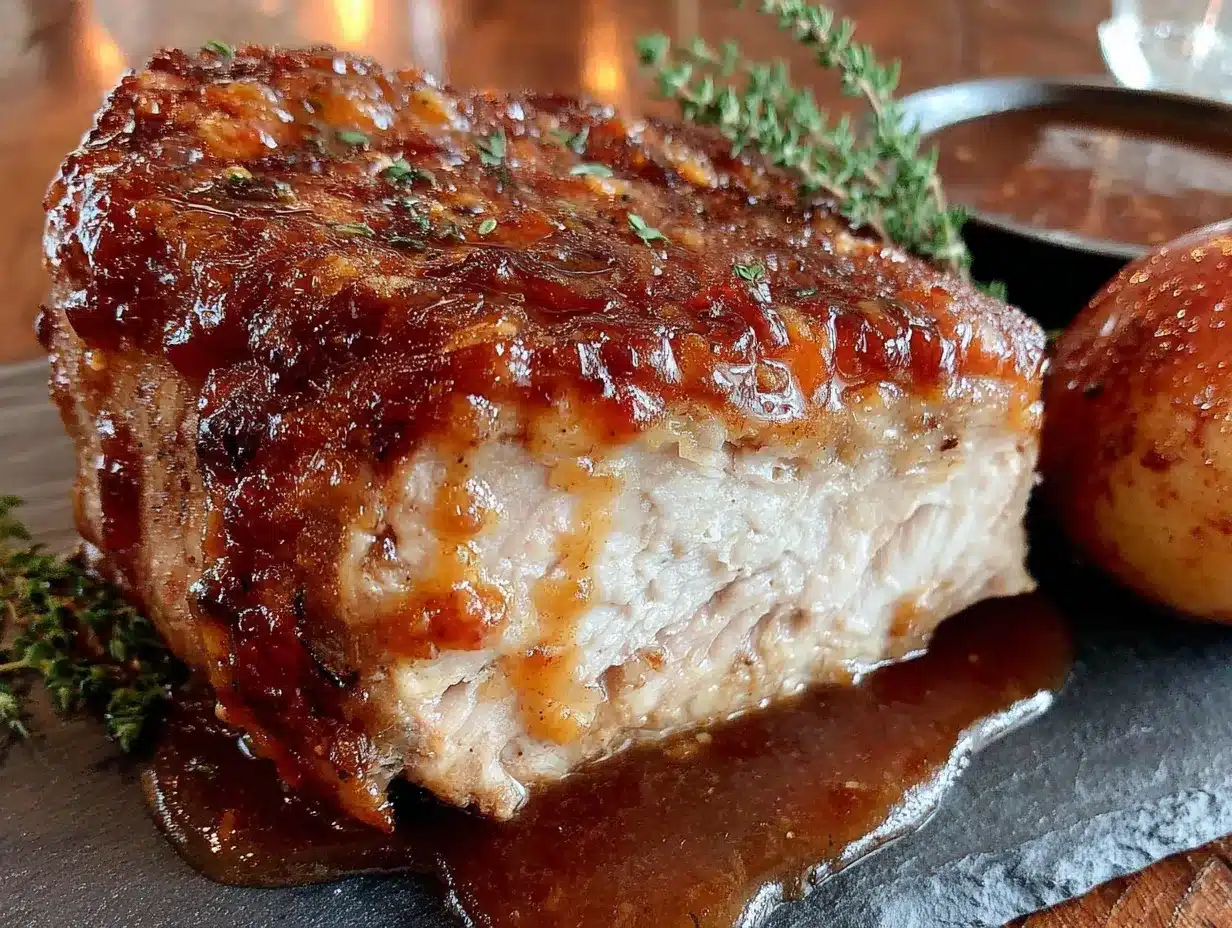
- 1 apple, thinly sliced (Honeycrisp or Fuji work great; something crisp and slightly tart)
- Fresh thyme leaves for sprinkling
- Flaky sea salt (like Maldon) for finishing
Ingredient Tips: When picking a pork tenderloin, look for one that’s pinkish-red with a nice fat cap. Avoid any that look gray or have a lot of liquid in the package. For the apple cider, I really recommend getting the unfiltered kind if you can find it. It has more apple flavor and a slightly cloudy appearance that thickens beautifully during cooking. If you only have filtered cider, it will still work, but the sauce might be a touch thinner.
Substitution Guidance: You can swap the chicken broth for vegetable broth to make this dish vegetarian-friendly (though you’d need to replace the pork with something like cauliflower steaks or seitan). For a gluten-free version, just make sure your Dijon mustard is certified gluten-free. If you don’t have fresh thyme and rosemary, dried herbs will do—just use about half the amount. And if you’re out of apple cider, you can use apple juice, but the flavor will be less complex. Add a tablespoon of lemon juice to mimic the tanginess of cider.
Equipment Needed
You don’t need a fancy kitchen to pull this off. Here’s what I use every time I make this recipe.
- Large Dutch oven or heavy-bottomed pot with a lid: This is the star of the show. I use a 5.5-quart Le Creuset that I found at a garage sale for twenty bucks, and it works perfectly. If you don’t have a Dutch oven, any oven-safe pot with a tight-fitting lid will do. A deep skillet with a lid also works, but you’ll want to watch the liquid level more closely.
- Sharp chef’s knife: For slicing the onion and mincing garlic. A dull knife makes everything harder and more dangerous, honestly.
- Cutting board: I prefer wood, but plastic is fine.
- Tongs: For searing the pork and flipping it without piercing the meat.
- Measuring cups and spoons: You don’t need to be super precise here, but it helps.
- Instant-read thermometer: This is non-negotiable for me. Pork tenderloin is lean and can go from perfect to dry in about 90 seconds. A thermometer takes the guesswork out. I use a Thermapen, but any reliable brand works.
- Small bowl: For mixing the Dijon mustard and vinegar at the end.
If you don’t have an oven-safe pot, you can sear the pork in a skillet, then transfer everything to a baking dish and cover tightly with foil. It’s not quite the same, but it gets the job done. Also, if you’re on a budget, a Lodge cast iron Dutch oven is about forty bucks and will last forever. I’ve had mine for years and it only gets better with use.
Preparation Method
Alright, let’s get cooking. This might look like a lot of steps, but I promise it’s straightforward. Take a deep breath and read through everything once before you start.
- Preheat your oven to 375°F (190°C). Position the rack in the middle. While it’s heating, pat the pork tenderloin dry with paper towels. This is crucial—wet meat won’t sear properly. Season it generously on all sides with salt and pepper. Don’t be shy. I use about a teaspoon of salt total.
- Heat the olive oil in your Dutch oven over medium-high heat. Wait until the oil is shimmering, almost smoking. Carefully place the pork in the pot. Let it sear without moving it for 3-4 minutes. You want a deep brown crust. Flip it with tongs and sear the other side for another 3 minutes. Then sear the ends, holding the pork upright with your tongs. This whole process should take about 8-10 minutes. Don’t rush it. That browning is flavor.
- Transfer the seared pork to a plate. Don’t worry if it’s not cooked through—it will finish in the oven. Now, reduce the heat to medium. Add the sliced onion to the pot. Scrape up any browned bits from the bottom with a wooden spoon. Cook the onion, stirring occasionally, for about 5 minutes, until it’s soft and starting to turn golden.
- Add the minced garlic and cook for 30 seconds, until fragrant. Be careful not to burn it. Garlic goes from perfect to bitter fast.
- Pour in the apple cider and chicken broth. Add the thyme sprigs, rosemary sprig, and bay leaf. Stir everything together, scraping up any remaining browned bits. Bring the liquid to a simmer. Let it bubble for about 2 minutes, just to meld the flavors.
- Return the pork to the pot. Nestle it into the liquid. The liquid should come about halfway up the sides of the pork. If it doesn’t, add a splash more broth. Put the lid on the pot and transfer it to the preheated oven.
- Braise for 25-30 minutes. Start checking the temperature at 25 minutes using your instant-read thermometer. Insert it into the thickest part of the tenderloin. You’re looking for 145°F (63°C) for medium. If you like it more done, go to 150°F, but any higher and it will start to dry out. Every oven is different, so trust the thermometer, not the clock.
- Remove the pot from the oven. Carefully transfer the pork back to the plate and tent it loosely with foil. Let it rest for 10 minutes. This is not optional. Resting lets the juices redistribute so you don’t end up with a dry mess when you slice it.
- While the pork rests, make the sauce. Place the pot back on the stovetop over medium-high heat. Remove the herb sprigs and bay leaf. Stir in the apple cider vinegar and Dijon mustard. Let the sauce simmer vigorously for 5-7 minutes, stirring occasionally, until it reduces by about half and becomes slightly syrupy. Taste and adjust seasoning with salt and pepper. If it’s too sweet, add another splash of vinegar. If it’s too tangy, a tiny pinch of sugar can balance it.
- Slice the pork. Cut it into 1-inch thick medallions. Spoon the sauce generously over the top. Garnish with fresh apple slices, a sprinkle of thyme leaves, and a pinch of flaky sea salt. Serve immediately.
A note on timing: If you’re serving this with sides, start them about 15 minutes before the pork goes in the oven. Mashed potatoes or roasted root vegetables are perfect because they can hang out while the pork rests.
Cooking Tips & Techniques
I’ve made every mistake in the book with this recipe, so you don’t have to. Here are the things I wish someone had told me.
Don’t skip the sear. I know it’s tempting to just dump everything in the pot and call it a day, but that browning is where the deep, savory flavor comes from. It’s called the Maillard reaction, and it’s basically magic. If you skip it, your sauce will taste flat and one-dimensional. Trust me, I learned this the hard way when I was rushing one Tuesday night.
Watch the temperature. Pork tenderloin is lean and cooks fast. I once left it in the oven for 40 minutes because I got distracted by a phone call. It came out tough and dry, and I wanted to cry. Use that thermometer. It’s not just for show. Pull the pork at 145°F, and it will carry over to 150°F while it rests. Perfect every time.
Don’t overcrowd the pot. When you’re searing, make sure the pork has enough room. If the pot is too small, the meat will steam instead of sear, and you’ll lose that crust. If your tenderloin is really long, cut it in half crosswise before searing.
Multitask wisely. While the pork is braising in the oven, you have a solid 25 minutes to prep your sides. I like to make a quick mash or roast some Brussels sprouts. This way, everything finishes around the same time. Also, while the sauce is reducing after the pork comes out, that’s a great moment to set the table or pour yourself a glass of wine.
One more thing: If your sauce isn’t thickening, don’t panic. You can make a quick slurry by whisking 1 teaspoon of cornstarch with 2 teaspoons of cold water, then stirring it into the simmering sauce. It will thicken almost instantly. But honestly, if you let it reduce for the full 7 minutes, you shouldn’t need it.
Variations & Adaptations
This recipe is flexible, and I love playing around with it depending on the season or what’s in my fridge.
- Dietary Adaptations: To make this dairy-free, you’re already there—there’s no dairy in the base recipe. For a gluten-free version, double-check your Dijon mustard and chicken broth labels. For a lower-sugar option, use a dry hard cider instead of sweet apple cider. The flavor will be more savory and less sweet, but still delicious.
- Seasonal Twists: In the fall, I add a diced pear along with the onion for extra sweetness. In the winter, I throw in a cinnamon stick and a star anise while braising for a warm, spiced flavor. In the spring, I swap the rosemary for fresh tarragon and add a splash of white wine instead of cider. It’s a completely different dish, but equally good.
- Different Cooking Methods: You can make this in a slow cooker. Sear the pork and sauté the onion on the stovetop first, then transfer everything to the slow cooker. Cook on low for 4-5 hours or high for 2-3 hours. The sauce won’t reduce as much, so you’ll need to thicken it on the stovetop afterward. For an Instant Pot, use the sauté function for the searing and onions, then pressure cook on high for 8 minutes with a natural release. The texture is slightly different but still great.
- Flavor Customizations: If you like a bit of heat, add a pinch of red pepper flakes with the garlic. For a smokier flavor, use smoked paprika instead of some of the salt. I once added a tablespoon of bourbon to the sauce at the end, and it was incredible—just make sure to cook off the alcohol for a minute before serving.
- Allergen Substitutions: If you’re allergic to mustard, you can leave it out or use a tablespoon of tahini for a similar creamy texture. For a low-FODMAP version, skip the onion and garlic and use garlic-infused oil and the green parts of leeks instead.
Serving & Storage Suggestions
This dish is best served warm, straight from the pot. I like to arrange the sliced pork on a platter and spoon the sauce and onions over the top. The apple slices and fresh thyme make it look like you spent hours on presentation, even though you didn’t.
What to serve with it: Creamy mashed potatoes are my go-to because they soak up the sauce beautifully. Buttered egg noodles, roasted sweet potatoes, or a simple green salad with a tangy vinaigrette also work well. For a low-carb option, serve it over cauliflower mash or alongside roasted Brussels sprouts. A glass of dry hard cider or a light red wine like Pinot Noir pairs perfectly.
Storage: Leftovers keep well in an airtight container in the refrigerator for up to 4 days. The flavors actually get better after a day or two as they meld together. To reheat, place the pork and sauce in a skillet over medium-low heat, adding a splash of broth or water if the sauce has thickened too much. Cover and heat gently for about 5-7 minutes, until warmed through. Avoid the microwave—it can make the pork tough.
Freezing: This recipe freezes beautifully. Let it cool completely, then transfer to a freezer-safe container. It will keep for up to 3 months. Thaw overnight in the refrigerator before reheating. I like to freeze individual portions for quick lunches. Just a heads-up: the texture of the apples in the garnish won’t be the same after freezing, so I’d add fresh ones when you serve it.
How flavors develop: The first day, the sauce is bright and fresh. By the second day, the savory notes deepen, and the sweetness mellows out. It’s honestly one of those dishes that tastes even better as leftovers. I sometimes make it a day ahead on purpose, just for that reason.
Nutritional Information & Benefits
Here’s an approximate nutritional breakdown per serving (based on 4 servings, without garnish):
- Calories: 320
- Protein: 35g
- Fat: 12g
- Carbohydrates: 18g
- Fiber: 2g
- Sugar: 12g
- Sodium: 450mg
Pork tenderloin is one of the leanest cuts of pork, making it a great source of high-quality protein without too much saturated fat. It’s also rich in B vitamins, particularly B6 and B12, which support energy metabolism and brain function. The apples and cider provide antioxidants, including quercetin, which may help reduce inflammation. Garlic and onions are known for their immune-boosting properties, making this a great meal for cold and flu season.
This recipe is naturally gluten-free and dairy-free. It’s also relatively low in carbohydrates compared to many comfort food dishes. If you’re watching your sugar intake, just be mindful of the natural sugars in the cider. You can reduce the cider to 1 cup and add extra broth to lower the sugar content. As always, consult with a healthcare professional for specific dietary needs.
Conclusion
This Perfect Fall Apple Cider Braised Pork Tenderloin is more than just a recipe—it’s a little piece of autumn you can put on a plate. It’s the kind of meal that makes you want to light a candle, put on some music, and actually sit down to eat. I love it because it’s forgiving, it’s flexible, and it always makes me feel like I know what I’m doing in the kitchen.
I really hope you give this a try. Don’t be afraid to make it your own—swap in different herbs, add a splash of bourbon, or serve it over whatever grain you have in the pantry. Cooking is supposed to be fun, not stressful. If you make this, I’d love to hear how it turned out. Leave a comment below and tell me about your own kitchen adventures. Did you add something unexpected? Did the sauce turn out perfectly? Share your wins and your happy accidents. That’s how we all get better.
Until next time, happy cooking. And remember—the best meals are the ones shared with people you love, even if that person is just you on a quiet Tuesday night.
Frequently Asked Questions
Can I use pork loin instead of pork tenderloin?
You can, but it will change the cooking time. Pork loin is thicker and leaner than tenderloin, so it takes longer to cook and can dry out more easily. If you use pork loin, increase the braising time to 40-50 minutes and check the temperature frequently. Also, slice it against the grain for maximum tenderness.
Do I have to use fresh herbs?
No, dried herbs work in a pinch. Use about 1 teaspoon of dried thyme and ½ teaspoon of dried rosemary instead of the fresh sprigs. Just add them to the pot with the cider. The flavor won’t be quite as bright, but it will still be delicious.
Can I make this recipe without alcohol?
Absolutely. Apple cider is non-alcoholic, so this recipe is already alcohol-free. If you want to use hard cider for a different flavor, just know that the alcohol will cook off during the braising and reducing process. But the recipe as written is perfectly fine for all ages.
How do I prevent the pork from being dry?
The two biggest secrets are searing and resting. Searing locks in moisture, and resting allows the juices to redistribute. Also, don’t overcook it. Use an instant-read thermometer and pull the pork at 145°F. If you follow these steps, you’ll have juicy, tender pork every time.
Can I double this recipe for a crowd?
Yes, but you’ll need a larger pot. If you’re doubling, use two pork tenderloins and increase the liquid to 3 cups of cider and 1 cup of broth. The braising time might increase by 5-10 minutes, so keep an eye on the temperature. Also, make sure the pot isn’t too crowded when searing—sear the tenderloins one at a time if needed.
Pin This Recipe!
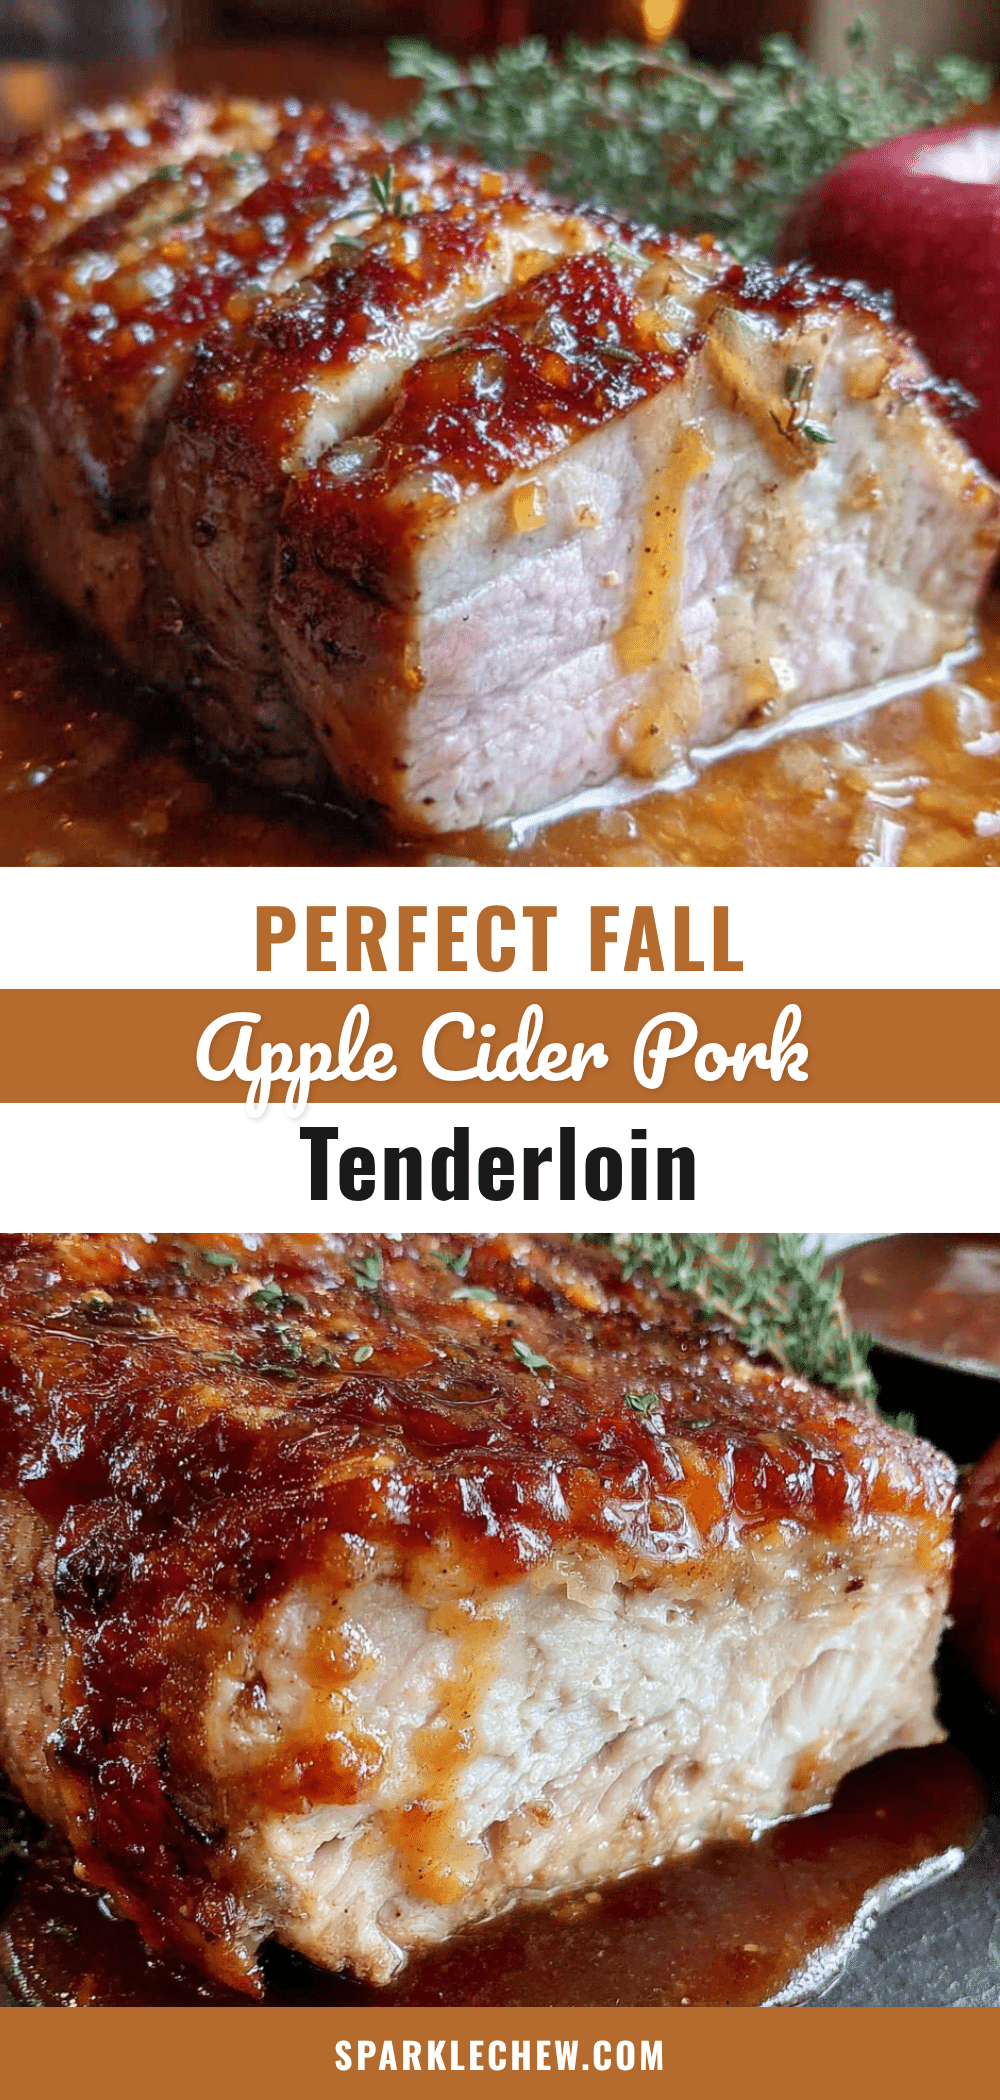
Perfect Fall Apple Cider Braised Pork Tenderloin

This Perfect Fall Apple Cider Braised Pork Tenderloin is a forgiving, humble, and trust-based recipe that yields impossibly juicy pork with a rich, sweet-tangy sauce. It’s comfort food reimagined—a little healthier than a creamy casserole, faster than a slow-cooker stew, but with the same soul-soothing satisfaction.
- Prep Time: 15 minutes
- Cook Time: 30 minutes
- Total Time: 45 minutes
- Yield: 4 servings 1x
- Category: Main Course
- Cuisine: American
Ingredients
- 1 (2-pound) pork tenderloin, silver skin removed
- 2 tablespoons olive oil
- 1 medium yellow onion, thinly sliced (about 1 cup)
- 3 cloves garlic, minced
- 1 ½ cups fresh apple cider (unfiltered is best)
- ½ cup low-sodium chicken broth
- 2 sprigs fresh thyme (or 1 teaspoon dried)
- 1 sprig fresh rosemary (or ½ teaspoon dried)
- 1 bay leaf
- 1 tablespoon apple cider vinegar
- 1 tablespoon Dijon mustard
- Salt and freshly ground black pepper, to taste
- 1 apple, thinly sliced (for garnish, optional)
- Fresh thyme leaves (for garnish, optional)
- Flaky sea salt (for garnish, optional)
Instructions
- Preheat your oven to 375°F (190°C). Pat the pork tenderloin dry with paper towels and season generously on all sides with salt and pepper.
- Heat the olive oil in a large Dutch oven over medium-high heat until shimmering. Sear the pork for 3-4 minutes per side, including the ends, until a deep brown crust forms (about 8-10 minutes total). Transfer to a plate.
- Reduce heat to medium. Add the sliced onion to the pot and cook, scraping up browned bits, for about 5 minutes until soft and golden.
- Add the minced garlic and cook for 30 seconds until fragrant.
- Pour in the apple cider and chicken broth. Add the thyme, rosemary, and bay leaf. Stir and bring to a simmer. Let bubble for 2 minutes.
- Return the pork to the pot, nestling it into the liquid. The liquid should come about halfway up the sides of the pork. Cover with the lid and transfer to the preheated oven.
- Braise for 25-30 minutes, until the internal temperature reaches 145°F (63°C) for medium. Remove from oven and transfer pork to a plate, tent with foil, and rest for 10 minutes.
- While the pork rests, place the pot on the stovetop over medium-high heat. Remove herb sprigs and bay leaf. Stir in apple cider vinegar and Dijon mustard. Simmer vigorously for 5-7 minutes until the sauce reduces by half and becomes syrupy. Season with salt and pepper to taste.
- Slice the pork into 1-inch thick medallions. Spoon the sauce over the top. Garnish with fresh apple slices, thyme leaves, and flaky sea salt if desired. Serve immediately.
Notes
Don’t skip the sear—it builds deep flavor. Use an instant-read thermometer to avoid overcooking. Let the pork rest for 10 minutes before slicing. If the sauce isn’t thickening, make a cornstarch slurry (1 teaspoon cornstarch mixed with 2 teaspoons cold water) and stir in. Leftovers keep for up to 4 days in the refrigerator and freeze well for up to 3 months.
Nutrition
- Serving Size: 4 servings
- Calories: 320
- Sugar: 12
- Sodium: 450
- Fat: 12
- Saturated Fat: 3
- Carbohydrates: 18
- Fiber: 2
- Protein: 35
Keywords: apple cider braised pork, pork tenderloin, fall recipe, braised pork, apple cider, comfort food, easy dinner


