Love this? Save it for later!
Share the inspiration with your friends
I was standing in the party supply aisle last October, staring at a bag of googly eyes, when the smell of peanut butter hit me. Not from the store, but from somewhere deep in my memory — and suddenly I was seven years old at my aunt Rita’s kitchen table, pressing two cookies together while she winked at me from across the room. The peanut butter was always her secret weapon, the thing that made any cookie disappear from the plate before the frosting had even set. She passed away a few years ago, and I haven’t made her peanut butter cookies since. But standing there in that fluorescent-lit aisle, surrounded by plastic spiders and fake cobwebs, I knew I had to try. These Black Cat Peanut Butter Cookie Sandwiches are my attempt to catch that feeling again — the sticky fingers, the powdered sugar on my nose, the way she’d let me eat the broken cookies without telling anyone. I tweaked her recipe to make it kid-friendly and Halloween-ready, and honestly? My kids went absolutely wild for them. Maybe you’ve been there — trying to recreate a taste you can almost, but not quite, hold onto. These cookies are my best shot, and I think she’d approve.
Why You’ll Love This Recipe
Let me tell you why these little black cat cookies have become the most requested treat in our house. I’ve tested this recipe at least six times — yes, six — to get the texture just right. The peanut butter filling needs to be creamy enough to hold the cookies together but sturdy enough to survive a lunchbox. After a few failed attempts (and one very sad cookie that crumbled into a hundred pieces), I nailed it.
- Quick & Easy: From start to finish, these come together in under 45 minutes. Perfect for a last-minute classroom party or a rainy afternoon baking session.
- Simple Ingredients: You probably have everything in your pantry right now. No fancy extracts, no obscure flours — just good old-fashioned baking staples.
- Perfect for Halloween: They’re spooky without being scary, which means even the littlest goblins can help decorate without getting creeped out.
- Crowd-Pleaser: I brought a batch to my son’s soccer practice and they were gone in ten minutes. The parents asked for the recipe before the kids did.
- Unbelievably Delicious: The combination of soft peanut butter cookies with that creamy filling is next-level comfort food. You’ll want to eat the filling with a spoon — and honestly, I won’t judge.
What makes this recipe different from all the other Halloween cookies out there? It’s the texture. Most black cat cookies are dry and crunchy, but these stay soft for days. The trick is using a bit more butter than you’d expect and chilling the dough before baking. Plus, the peanut butter filling isn’t just buttercream — it’s got a secret ingredient that makes it taste like the inside of a Reese’s cup. I mean, come on. This isn’t just another Halloween cookie. It’s the kind that makes you close your eyes after the first bite.
What Ingredients You Will Need
This recipe uses simple, wholesome ingredients to deliver bold peanut butter flavor and a satisfyingly soft texture. Most of these are pantry staples, which means you can whip up a batch without a special trip to the store.
For the Cookies
- 1 cup unsalted butter, softened — I use Land O’Lakes for consistent results. Make sure it’s truly soft, not melted. (Adds richness and that melt-in-your-mouth texture)
- 1 cup creamy peanut butter — Jif or Skippy work best. Natural peanut butter that separates can make the cookies greasy. (Provides that signature nutty flavor)
- 1 cup granulated sugar — Regular white sugar is fine. (Adds sweetness and helps with spreading)
- 1 cup packed light brown sugar — Dark brown sugar works too, but light keeps the color more neutral for the black food coloring. (Adds moisture and a hint of molasses)
- 2 large eggs, room temperature — Cold eggs can seize the butter. Let them sit out for 30 minutes. (Binds everything together)
- 2 teaspoons vanilla extract — Pure vanilla is worth it here. Imitation works, but the flavor won’t be as rich. (Enhances the overall sweetness)
- 2 ½ cups all-purpose flour — Spoon and level your flour; don’t scoop straight from the bag. (Gives structure without making them tough)
- 1 teaspoon baking soda — Check the expiration date! Old baking soda won’t help them spread. (Helps with rise and texture)
- ½ teaspoon salt — Just a pinch to balance the sweetness. (Enhances all the flavors)
- Black gel food coloring — Liquid coloring won’t give you that deep, dark color. I recommend Americolor Super Black. (Makes them look like actual black cats)
For the Peanut Butter Filling
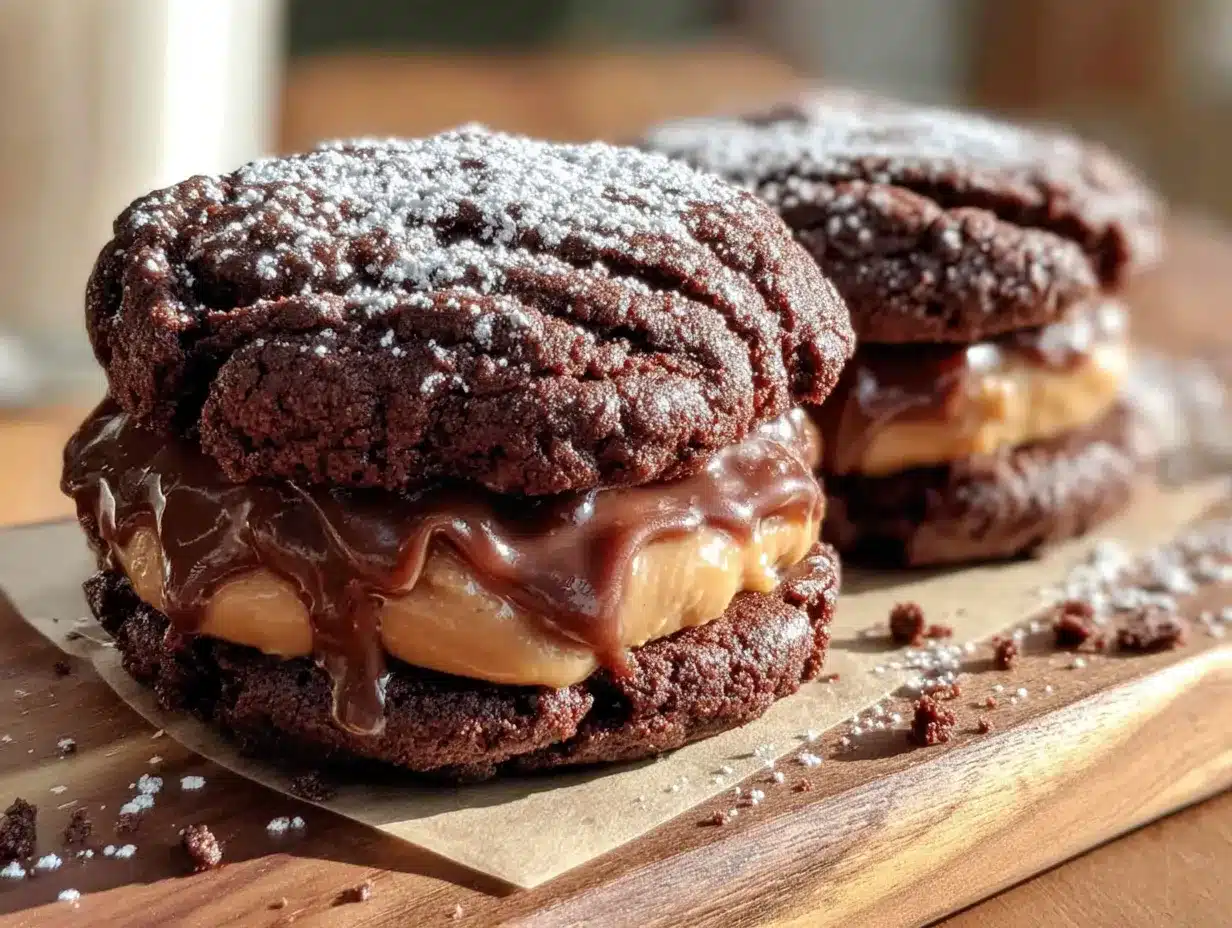
- ½ cup unsalted butter, softened — Same brand as the cookies for consistency. (Creates a creamy base)
- 1 cup creamy peanut butter — Don’t use crunchy here; the texture will be off. (Reinforces the peanut butter flavor)
- 2 cups powdered sugar — Sift it if it’s clumpy. (Adds sweetness and thickness)
- 2-3 tablespoons milk — Whole milk works best, but any kind will do. (Adjusts consistency)
- 1 teaspoon vanilla extract — Pure or imitation, your call. (Adds depth)
- Pinch of salt — A tiny amount to cut the sweetness. (Balances the filling)
For Decoration
- Candy eyes — You can find these at any craft store or online. Wilton makes good ones. (Adds the “cat” face)
- Black licorice strings or black frosting — For whiskers. If you use frosting, a piping bag with a small round tip works best. (Completes the look)
Equipment Needed
You don’t need a fancy kitchen to make these. Here’s what I use:
- Electric mixer — A stand mixer is ideal, but a hand mixer works perfectly. I’ve used both and honestly, the hand mixer is easier for cleanup.
- Baking sheets — Two standard half-sheet pans. If you only have one, let it cool completely between batches.
- Parchment paper — Silicone baking mats work too, but parchment is cheaper and easier to replace.
- Cooling rack — Wire racks help the cookies cool evenly. If you don’t have one, a clean kitchen towel works in a pinch.
- Mixing bowls — At least two: one for dry ingredients, one for wet.
- Measuring cups and spoons — Accurate measurements matter here. I use stainless steel ones that won’t warp.
- Piping bag with round tip — For the filling. A zip-top bag with the corner snipped off works just as well.
Preparation Method
Alright, let’s get baking. I’ve broken this down into steps that even my seven-year-old can follow. Well, mostly.
Step 1: Make the Cookie Dough
In a large mixing bowl, cream together the softened butter and both sugars until light and fluffy. This takes about 3-4 minutes with an electric mixer on medium speed. Scrape down the sides of the bowl halfway through. Add the peanut butter and beat until combined. It should look like a thick, creamy paste.
Add the eggs one at a time, beating well after each addition. Stir in the vanilla extract. In a separate bowl, whisk together the flour, baking soda, and salt. Gradually add the dry ingredients to the wet mixture, mixing on low speed until just combined. Don’t overmix, or the cookies will be tough.
Step 2: Add the Black Color
Now for the fun part. Add the black gel food coloring, starting with about 1 teaspoon. Mix it in thoroughly, then check the color. You want a deep, charcoal black — not gray. Add more coloring, a few drops at a time, until you reach the desired shade. I usually end up using about 2 teaspoons. The dough will look almost black, but it will lighten slightly during baking.
Step 3: Chill the Dough
Cover the bowl with plastic wrap and refrigerate for at least 30 minutes. This step is crucial. Chilled dough spreads less and holds its shape better. If you skip this, your black cats will turn into black blobs. Trust me, I learned that the hard way.
Step 4: Shape and Bake
Preheat your oven to 350°F (175°C). Line your baking sheets with parchment paper. Scoop tablespoon-sized balls of dough and roll them into smooth spheres. Place them about 2 inches apart on the prepared sheets. Flatten each ball slightly with the bottom of a glass or your palm to create a disc about ½ inch thick.
Bake for 10-12 minutes, or until the edges are set and the centers look slightly underdone. They will continue to bake on the hot sheet after you pull them out. Let them cool on the baking sheet for 5 minutes, then transfer to a wire rack to cool completely.
Step 5: Make the Filling
While the cookies cool, make the filling. In a medium bowl, beat the softened butter and peanut butter together until smooth. Gradually add the powdered sugar, alternating with the milk, until the mixture is thick and spreadable. Beat in the vanilla and salt. If the filling is too thick, add another tablespoon of milk. If it’s too thin, add more powdered sugar.
Step 6: Assemble the Sandwiches
Once the cookies are completely cool, pair them up by size. Using a piping bag or a zip-top bag with the corner snipped, pipe a generous amount of filling onto the flat side of one cookie. Top with the second cookie, flat side down, and press gently until the filling spreads to the edges. Repeat with the remaining cookies.
Step 7: Decorate the Black Cats
This is where the kids come in. Using a tiny amount of filling as “glue,” attach two candy eyes to each sandwich cookie. For the whiskers, either pipe three thin lines on each side using black frosting, or cut short pieces of black licorice and press them into the filling. Let the decorations set for about 15 minutes before serving.
Cooking Tips & Techniques
I’ve made these cookies more times than I care to count, and I’ve picked up a few tricks along the way. Here’s what I wish someone had told me the first time.
Don’t skip the chill time. I know, I know — you’re impatient. But warm dough spreads like crazy. One time I was in a rush and only chilled the dough for 10 minutes. My “cats” looked more like black pancakes. Not cute.
Use gel food coloring, not liquid. Liquid coloring will mess with the moisture balance of the dough. You’ll end up adding too much to get a deep color, and the cookies will turn out dry. Gel coloring is concentrated and won’t affect the texture.
Check your baking soda. If your cookies don’t spread at all, your baking soda might be expired. Drop a teaspoon into a cup of hot water — if it fizzes vigorously, it’s good. If not, toss it.
Let the cookies cool completely. I know it’s tempting to start assembling while they’re still warm, but the filling will melt and slide right off. Patience, my friend. Patience.
Double the batch. Seriously. These disappear fast, and you’ll regret not making extra. I always make a double batch and freeze half the unfilled cookies for later.
Variations & Adaptations
One of the best things about this recipe is how easy it is to tweak. Here are a few variations I’ve tried — some successful, some… memorable.
Gluten-Free Version: Substitute the all-purpose flour with a 1:1 gluten-free baking flour blend. I’ve used King Arthur’s Measure for Measure with great results. The cookies will be slightly more crumbly, so handle them gently.
Nut-Free Option: Use sunflower seed butter instead of peanut butter. The flavor will be different, but the texture works. Just note that sunflower seed butter can turn green when baked due to a reaction with baking soda. It’s safe to eat, just not as pretty.
Chocolate Twist: Add ½ cup of mini chocolate chips to the dough before chilling. The chocolate adds a nice contrast to the peanut butter filling. My kids call these “spotted cats.”
Spooky Shapes: Instead of round cookies, use a cat-shaped cookie cutter. Roll the dough to ¼-inch thickness, cut out shapes, and bake for 8-10 minutes. You’ll get more cookies this way, and they look even cuter.
No-Bake Version: If you’re short on time, skip the baking entirely. Make the dough, chill it, and roll it into balls. Flatten them with a fork, then freeze. Use the frozen dough “cookies” as the base for the sandwiches. They’ll soften as they sit.
Serving & Storage Suggestions
These cookies are best served at room temperature. The filling is perfectly creamy, and the cookies have a soft, chewy texture that just hits different when they’re not straight from the fridge.
For a Halloween party, arrange them on a black platter or a cake stand. Add some fake spider webs and plastic spiders around the edges for a spooky vibe. I like to serve them with a glass of cold milk or a warm mug of apple cider.
Storage: Store the assembled cookies in an airtight container at room temperature for up to 5 days. If you stack them, place a sheet of parchment paper between each layer to prevent sticking. For longer storage, keep the cookies and filling separate. The unfilled cookies can be frozen for up to 3 months. Thaw them at room temperature, then assemble fresh.
Reheating: Pop a cookie in the microwave for 10 seconds for a warm, gooey treat. It’s like a fresh-baked peanut butter cookie with a melted center. Dangerous, I know.
The flavors actually develop over time. Day-old cookies taste even better than fresh ones because the filling has had time to soften the cookies slightly. It’s like they meld together into one perfect bite.
Nutritional Information & Benefits
Let’s be real — these are a treat, not a health food. But here’s the breakdown per cookie sandwich (based on 24 servings):
- Calories: ~310
- Fat: 18g
- Carbohydrates: 34g
- Protein: 7g
- Sugar: 22g
- Sodium: 210mg
That said, peanut butter does offer some protein and healthy fats. It’s also a good source of vitamin E and magnesium. The butter provides vitamin A, and the eggs add a bit of protein and choline. So while I wouldn’t call these “healthy,” they’re not completely empty calories either.
For those with dietary restrictions: this recipe contains gluten, dairy, eggs, and peanuts. It can be adapted for gluten-free and nut-free diets as mentioned in the variations section.
My personal philosophy? Life is short. Eat the cookie. Just maybe don’t eat six in one sitting. (I speak from experience.)
Conclusion
So there you have it — my aunt Rita’s peanut butter cookies, reimagined as spooky black cat sandwiches. They’re fun to make, even more fun to eat, and they bring a little bit of that childhood magic back every time I bake them. I love how customizable they are, how forgiving the dough is, and how they make everyone smile — from the littlest goblin to the grumpiest dad.
I really hope you give these a try. Don’t stress about making them perfect. If the eyes are crooked or the whiskers are uneven, that just adds character. My aunt’s cookies were never perfect either, and that’s what made them so special. They were made with love, not perfection.
If you make these Black Cat Peanut Butter Cookie Sandwiches, I’d love to hear about it. Drop a comment below and tell me how yours turned out, or share a photo on social media and tag me. Did your kids help decorate? Did you try a fun variation? Let’s keep the cookie conversation going. After all, the best recipes are the ones we share.
Happy Halloween, and happy baking!
Frequently Asked Questions
Can I use natural peanut butter?
I wouldn’t recommend it. Natural peanut butter has more oil, which can make the cookies spread too much and turn out greasy. Stick with processed peanut butter like Jif or Skippy for the best texture.
How do I get the cookies perfectly round?
Use a cookie scoop for uniform balls, then roll them between your palms. If they spread unevenly, use a round cookie cutter to “scoot” them back into shape while they’re still warm from the oven.
Can I make these ahead of time?
Absolutely. Bake the cookies and make the filling separately, then assemble the day you plan to serve them. The unfilled cookies can be stored at room temperature for up to a week, or frozen for up to three months.
My cookies came out too dark. What went wrong?
You might have used too much black food coloring, or your oven might run hot. Try reducing the coloring to 1 teaspoon and check your oven temperature with an oven thermometer. Also, dark cookie sheets can cause over-browning — use light-colored sheets if possible.
Can I use a different filling?
Sure! A cream cheese frosting, chocolate ganache, or even Nutella would work beautifully. Just make sure the filling is thick enough to hold the cookies together without squishing out the sides.
Pin This Recipe!
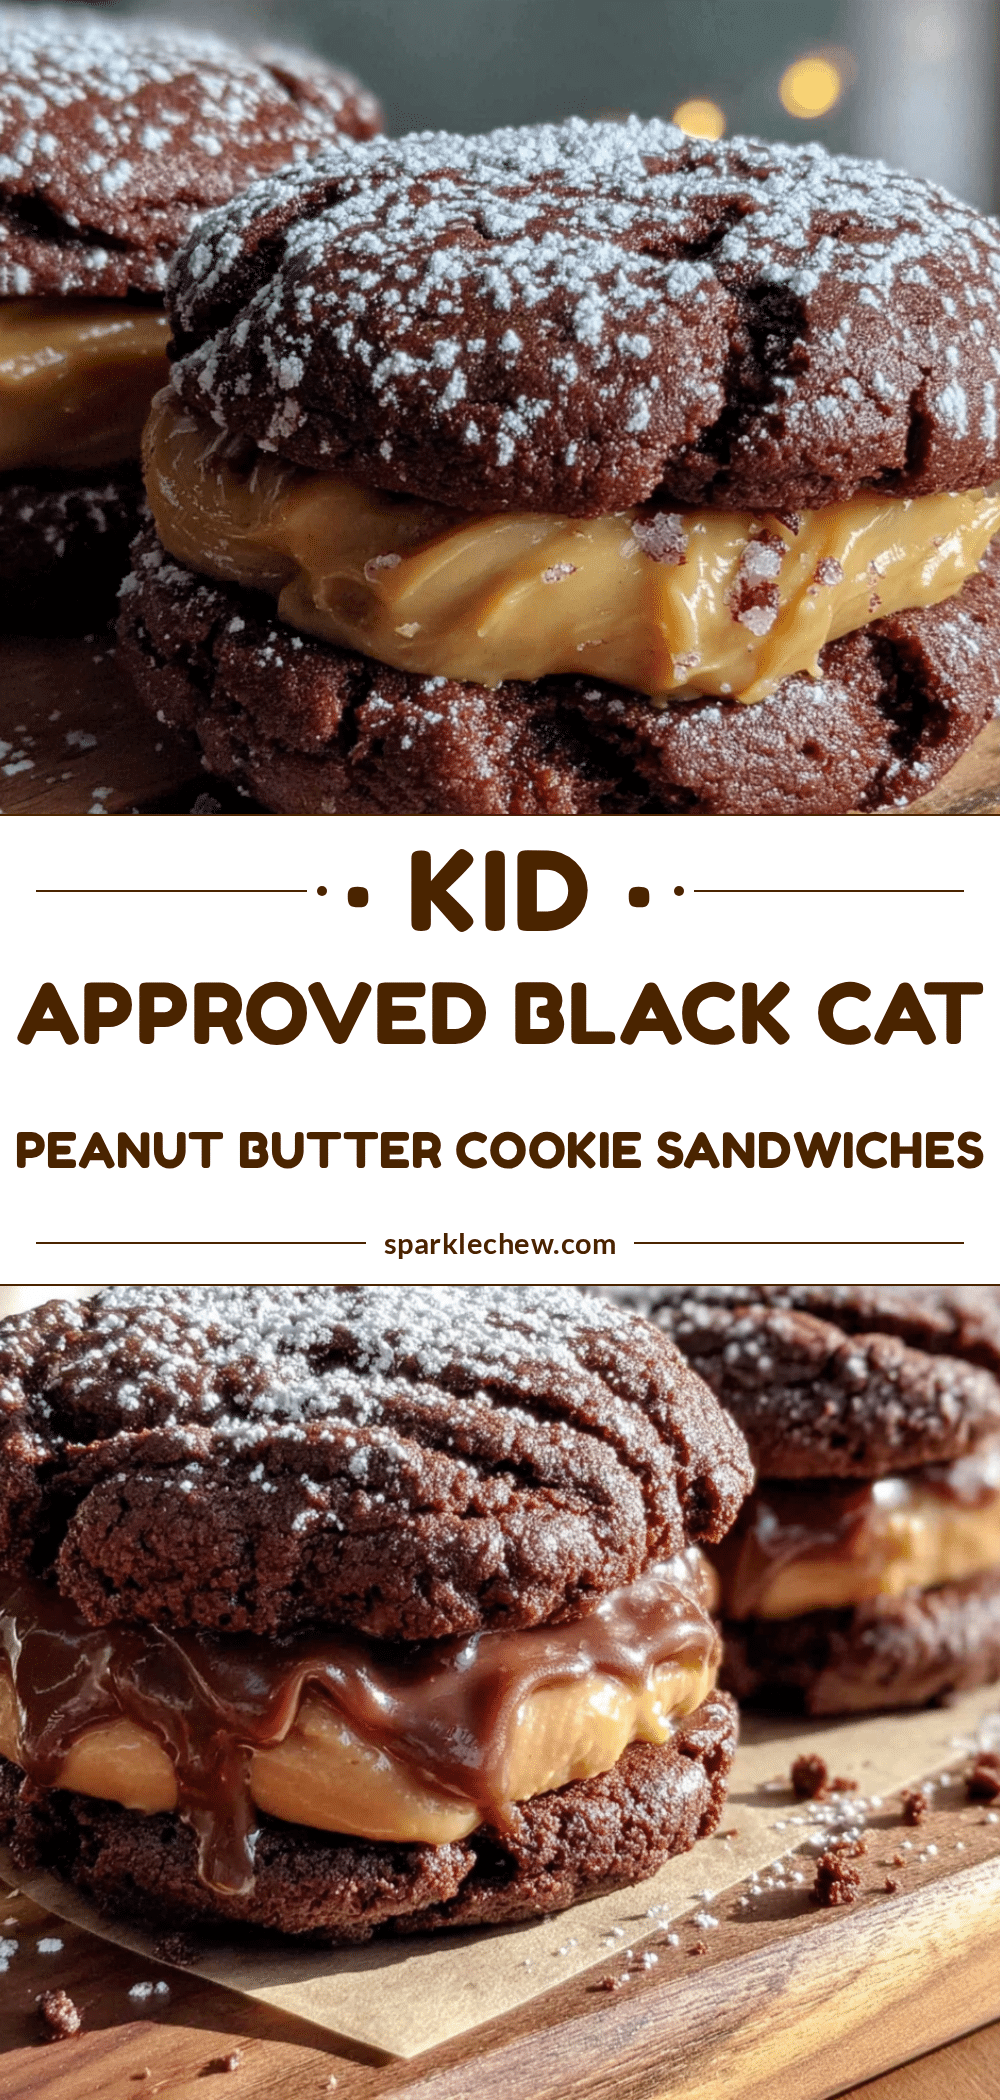
42 Easy Black Cat Peanut Butter Cookie Sandwiches for Halloween

These Black Cat Peanut Butter Cookie Sandwiches are soft, spooky, and perfect for Halloween. A creamy peanut butter filling is sandwiched between two black cookies, decorated with candy eyes and whiskers for a fun, kid-friendly treat.
- Prep Time: 30 minutes
- Cook Time: 12 minutes
- Total Time: 42 minutes
- Yield: 24 servings 1x
- Category: Dessert
- Cuisine: American
Ingredients
- 1 cup unsalted butter, softened
- 1 cup creamy peanut butter (Jif or Skippy recommended)
- 1 cup granulated sugar
- 1 cup packed light brown sugar
- 2 large eggs, room temperature
- 2 teaspoons vanilla extract
- 2 ½ cups all-purpose flour
- 1 teaspoon baking soda
- ½ teaspoon salt
- Black gel food coloring (Americolor Super Black recommended)
- ½ cup unsalted butter, softened (for filling)
- 1 cup creamy peanut butter (for filling)
- 2 cups powdered sugar (for filling)
- 2–3 tablespoons milk (for filling)
- 1 teaspoon vanilla extract (for filling)
- Pinch of salt (for filling)
- Candy eyes (for decoration)
- Black licorice strings or black frosting (for whiskers)
Instructions
- In a large mixing bowl, cream together the softened butter and both sugars until light and fluffy, about 3-4 minutes with an electric mixer on medium speed. Scrape down the sides halfway through.
- Add the peanut butter and beat until combined, forming a thick, creamy paste.
- Add the eggs one at a time, beating well after each addition. Stir in the vanilla extract.
- In a separate bowl, whisk together the flour, baking soda, and salt. Gradually add the dry ingredients to the wet mixture, mixing on low speed until just combined. Do not overmix.
- Add black gel food coloring, starting with 1 teaspoon. Mix thoroughly, then add more a few drops at a time until the dough is a deep charcoal black (about 2 teaspoons total).
- Cover the bowl with plastic wrap and refrigerate for at least 30 minutes.
- Preheat oven to 350°F (175°C). Line baking sheets with parchment paper.
- Scoop tablespoon-sized balls of dough and roll into smooth spheres. Place 2 inches apart on prepared sheets. Flatten each ball slightly with the bottom of a glass or palm to create a disc about ½ inch thick.
- Bake for 10-12 minutes, until edges are set and centers look slightly underdone. Cool on baking sheet for 5 minutes, then transfer to a wire rack to cool completely.
- For the filling: In a medium bowl, beat softened butter and peanut butter together until smooth. Gradually add powdered sugar, alternating with milk, until thick and spreadable. Beat in vanilla and salt. Adjust consistency with more milk or powdered sugar as needed.
- Once cookies are completely cool, pair them by size. Pipe a generous amount of filling onto the flat side of one cookie, top with another cookie flat side down, and press gently until filling spreads to edges.
- Decorate: Use a tiny amount of filling as ‘glue’ to attach two candy eyes to each sandwich. For whiskers, pipe three thin lines on each side with black frosting or press short pieces of black licorice into the filling. Let set for 15 minutes before serving.
Notes
Chill the dough for at least 30 minutes to prevent spreading. Use gel food coloring, not liquid, to avoid altering dough moisture. Check baking soda freshness for proper spread. Let cookies cool completely before assembling to prevent filling from melting. Double the batch as they disappear quickly. Unfilled cookies can be frozen for up to 3 months.
Nutrition
- Serving Size: 1 cookie sandwich
- Calories: 310
- Sugar: 22
- Sodium: 210
- Fat: 18
- Saturated Fat: 8
- Carbohydrates: 34
- Fiber: 1
- Protein: 7
Keywords: Halloween cookies, black cat cookies, peanut butter cookies, cookie sandwiches, Halloween dessert, easy Halloween recipe, peanut butter sandwich cookies