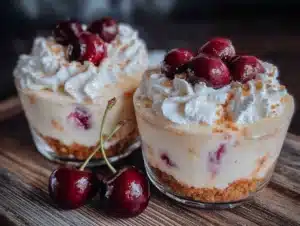
Love this? Save it for later!
Share the inspiration with your friends
Mrs. Gable from the community garden watched me fumbling with a block of cream cheese on her back porch last July. I was trying to make a last-minute dessert for a potluck, and I had absolutely no plan. She didn’t say anything at first. Then she just reached into her cooler, pulled out a container of homemade cherry compote, and said, “You’re overthinking it. Just fold, fill, and chill.” That moment changed how I approach dessert entirely. She showed me this ridiculously simple idea—creamy, cloud-like cups topped with bright cherries—and I scribbled it on a napkin before she could change her mind.
I made my first batch that same afternoon, and honestly, I burned my tongue because I couldn’t wait for them to fully chill. The texture was so light and airy, almost like eating a sweet cloud with a burst of fruit on top. I’ve tweaked her original version over the years, making it lighter with Greek yogurt and cutting the sugar way down without losing that dreamy flavor. Maybe you’ve been there—standing in front of your fridge, needing a dessert that feels fancy but takes almost no effort. These Light No-Bake Cherries in Snow Cups are exactly that. They’re the kind of recipe you memorize after making it once, and they always save the day.
Why You’ll Love This Recipe
Let me tell you why these little cups have become my most-requested dessert. I’ve tested this recipe at least a dozen times, tweaking ratios and trying different mix-ins, and this version is the one that gets the biggest reaction every single time.
- Quick & Easy: You can have these assembled in under 5 minutes. No joke. No oven, no stovetop, no complicated steps.
- Simple Ingredients: You probably have most of these in your kitchen right now. Cream cheese, yogurt, vanilla, and cherries—that’s it.
- Perfect for Hot Days: When it’s too warm to turn on the oven, these are your best friend. They come together in minutes and chill while you relax.
- Crowd-Pleaser: I’ve served these at birthday parties, summer barbecues, and casual dinners. Kids love them, adults ask for seconds, and no one believes they’re this light.
- Unbelievably Delicious: The texture is what gets people. It’s creamy but not heavy, sweet but not cloying, with that bright pop of cherry on top.
What makes this recipe different from the countless other no-bake desserts out there? It’s the balance. I use a combination of cream cheese and Greek yogurt that creates this impossibly fluffy texture without being dense or overly rich. The cherry topping isn’t a heavy syrup—it’s a light, fresh compote that lets the fruit shine. This isn’t just another version of a creamy dessert. It’s the one that makes you close your eyes after the first bite and forget you’re eating something that’s actually pretty good for you.
What Ingredients You Will Need
This recipe uses simple, wholesome ingredients to deliver that creamy, dreamy texture and bright cherry flavor without any fuss. Most of these are pantry staples or easy to find at any grocery store.
For the Creamy Base:
- 8 ounces cream cheese, softened (I prefer Philadelphia for its consistent texture)
- 1/2 cup plain Greek yogurt (full-fat or 2% works best; avoid nonfat for the creamiest result)
- 1/4 cup powdered sugar (adds sweetness without grittiness)
- 1 teaspoon vanilla extract (pure vanilla makes a difference here)
- 1/2 cup heavy cream (for whipping into that light, airy texture)
For the Cherry Topping:
- 2 cups fresh or frozen cherries, pitted (if using frozen, thaw and drain well)
- 2 tablespoons honey or maple syrup (adjust based on your sweetness preference)
- 1 tablespoon lemon juice (freshly squeezed is best)
- 1 teaspoon cornstarch mixed with 1 tablespoon water (for thickening)
For Serving:
- Small dessert cups or ramekins (4-6 ounce size works perfectly)
- Optional: fresh mint leaves for garnish, shaved dark chocolate on top
A quick note on ingredients: I’ve tested this with dairy-free cream cheese and coconut yogurt, and it works well if you need a dairy-free option. Just make sure your dairy-free cream cheese is fully softened before mixing. For the cherries, I love using dark sweet cherries when they’re in season, but frozen cherries work beautifully year-round. If you’re using frozen, just let them thaw completely and drain off any excess liquid before making the compote. You don’t want a watery topping.
Equipment Needed
You don’t need anything fancy for this recipe, which is part of its charm. Here’s what you’ll need:
- Medium mixing bowl (glass or stainless steel works best)
- Hand mixer or stand mixer (you can whisk by hand, but your arm will thank you for using a mixer)
- Small saucepan for the cherry compote
- Measuring cups and spoons
- Rubber spatula for folding
- 4-6 small dessert cups or ramekins
- Sharp knife and cutting board (if using fresh cherries)
If you don’t have a hand mixer, you can absolutely whisk the cream by hand—it just takes a few extra minutes and a little elbow grease. I’ve done it plenty of times when I didn’t feel like dragging out my mixer. For the cups, any small glass or bowl works. I’ve used little mason jars, espresso cups, and even small wine glasses. The presentation is part of the fun.
Preparation Method
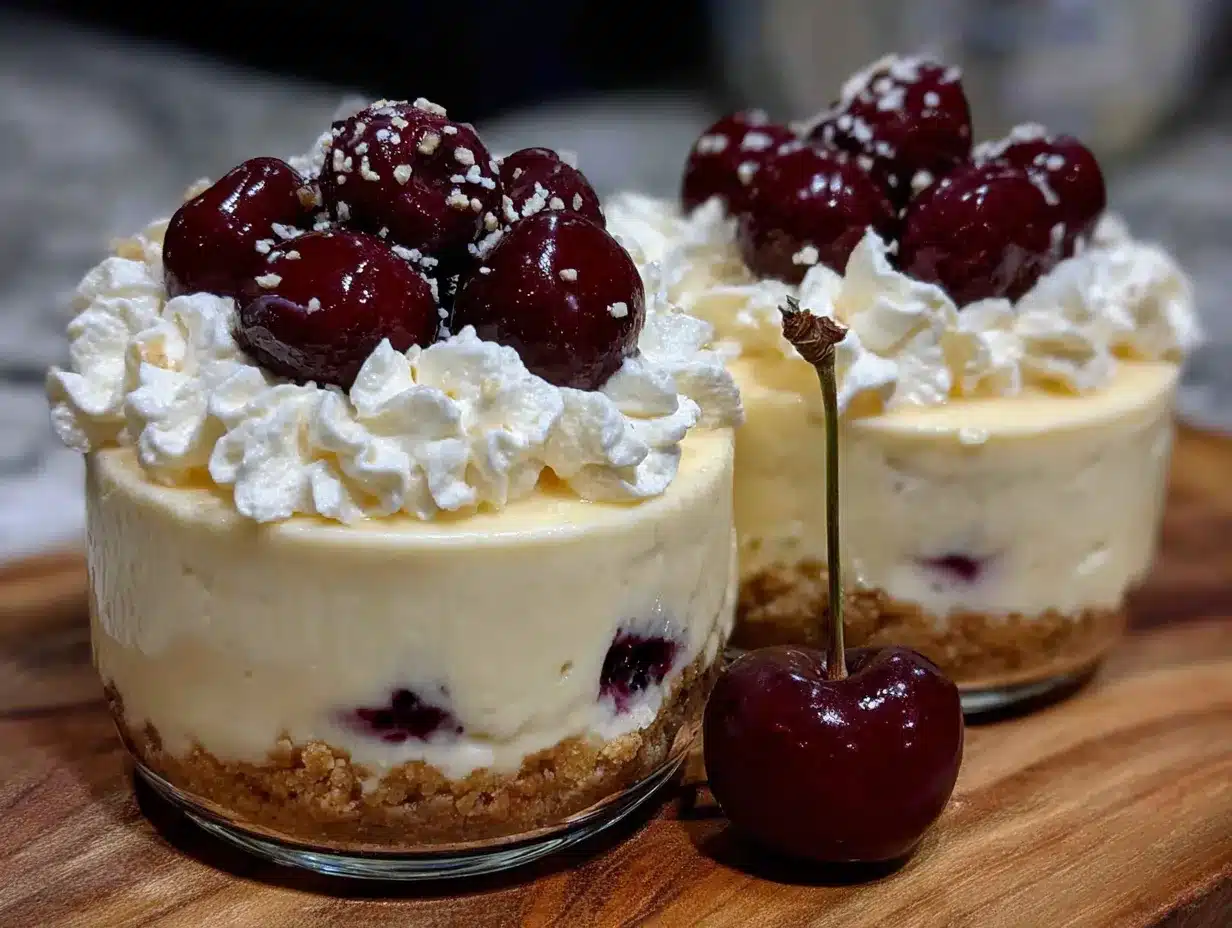
Let me walk you through this step by step. It’s simpler than you think, and I’ll share the little tricks I’ve learned along the way.
- Start with the cherry compote. In a small saucepan, combine the pitted cherries, honey or maple syrup, and lemon juice. Cook over medium heat for about 5-7 minutes, stirring occasionally, until the cherries start to break down and release their juices. You’ll see the mixture become syrupy and the cherries will soften.
- Thicken the compote. Stir in the cornstarch slurry (cornstarch mixed with water) and continue cooking for another minute until the mixture thickens slightly. It should coat the back of a spoon but still be pourable. Remove from heat and let it cool while you make the cream base. Pro tip: don’t skip the cornstarch—it keeps the compote from being too runny and pooling at the bottom of your cups.
- Whip the cream. In your mixing bowl, pour the heavy cream and whip it with your hand mixer on medium-high speed until soft peaks form. This takes about 2-3 minutes. You’re looking for peaks that gently hold their shape but aren’t stiff. Set this aside for a moment.
- Cream the base. In another bowl (or the same one if you’re washing between steps), beat the softened cream cheese until it’s completely smooth and fluffy. This is important—if your cream cheese isn’t fully softened, you’ll end up with little lumps. Let it sit out for about 30 minutes before you start. Add the Greek yogurt, powdered sugar, and vanilla extract, and beat until everything is well combined and silky.
- Fold it all together. This is the magic step. Gently fold the whipped cream into the cream cheese mixture using a rubber spatula. Be patient here—you want to incorporate everything without deflating all that air you whipped into the cream. Fold in a gentle, sweeping motion, turning the bowl as you go. Stop when you don’t see any white streaks remaining.
- Assemble the cups. Spoon or pipe the creamy mixture into your dessert cups, filling them about three-quarters full. Leave some room for the cherry topping. I like to use a piping bag for a cleaner look, but a spoon works perfectly fine.
- Add the topping. Spoon the cooled cherry compote over the top of each cup. Let it cascade a little over the edges for a pretty presentation. If you want to get fancy, you can swirl the cherry into the cream with a toothpick for a marbled effect.
- Chill and set. Place the cups in the refrigerator for at least 30 minutes before serving. This allows the cream to firm up slightly and the flavors to meld together. If you’re making these ahead, they actually taste better after a few hours in the fridge.
A sensory note for you: when you fold the whipped cream into the cream cheese mixture, stop and take a sniff. The vanilla and cream cheese aroma is so comforting. And when you take that first spoonful, the contrast between the cold, creamy base and the bright, slightly tart cherries is absolutely perfect.
Cooking Tips & Techniques
I’ve made this recipe more times than I can count, and I’ve definitely learned a few things along the way. Here are my best tips to make sure your cups turn out perfect every time.
Softening cream cheese is non-negotiable. I learned this the hard way when I was in a hurry and tried to beat cold cream cheese. It ended up lumpy, and no amount of mixing could fix it. Leave your cream cheese on the counter for at least 30 minutes before you start. If you’re really pressed for time, you can microwave it for about 10-15 seconds, but watch it carefully—you don’t want it to melt.
Don’t overwhip the cream. This is another mistake I’ve made. You want soft peaks that fold easily into the cream cheese mixture. If you whip the cream too stiff, it becomes grainy and won’t fold in as smoothly. Stop as soon as the cream holds its shape but still looks silky and luscious.
Let the compote cool completely. I know it’s tempting to spoon warm cherry compote over the cream, but warm liquid will melt your beautiful creamy base. Make the compote first and let it cool while you prepare the rest. You can even make it a day ahead and keep it in the fridge.
Multitasking strategy: While the compote is cooling, whip your cream and beat the cream cheese. Then fold everything together while the compote finishes cooling. This way, you’re not waiting around, and everything comes together in about 10 minutes total.
For consistent texture: Make sure your Greek yogurt isn’t watery. If there’s any liquid on top of the yogurt, pour it off before measuring. This keeps your cream base thick and luscious instead of runny.
Variations & Adaptations
One of the best things about this recipe is how easy it is to change up. Here are some of my favorite variations:
Berry Bliss: Swap the cherries for mixed berries—strawberries, blueberries, and raspberries work beautifully. Make the compote the same way, just adjust the cooking time slightly since berries break down faster than cherries.
Chocolate Dream: Add 2 tablespoons of cocoa powder to the cream cheese mixture before folding in the whipped cream. Top with the cherry compote and a sprinkle of dark chocolate shavings. This combination is absolutely divine and feels extra indulgent.
Vegan Version: Use dairy-free cream cheese and coconut cream (the solid part from a can of full-fat coconut milk) instead of heavy cream. The texture is slightly different but still delicious. Use maple syrup instead of honey for the compote.
Citrus Twist: Add a teaspoon of lemon or orange zest to the cream cheese mixture. The bright citrus flavor pairs beautifully with the cherries and adds a fresh, sunny note.
Spiced Cherry: Add a pinch of cinnamon and a tiny pinch of cardamom to the cherry compote while it cooks. The warm spices make this version perfect for fall and winter gatherings.
I personally love the chocolate variation for when I’m craving something richer. The cocoa powder doesn’t make it heavy—it just adds that deep, satisfying chocolate flavor that pairs so well with the cherries.
Serving & Storage Suggestions
These cups are best served cold, straight from the fridge. The contrast between the chilled, creamy base and the bright cherry topping is what makes them so special. I like to let them sit out for about 5 minutes before serving—just enough to take the chill off without losing the texture.
For presentation, I garnish each cup with a fresh mint leaf and sometimes a few extra cherries on top. If I’m feeling fancy, I’ll add a tiny sprinkle of flaky sea salt over the cherry compote. It sounds weird, but that little bit of salt makes the sweetness pop even more.
These pair beautifully with a cup of coffee or tea, and they’re lovely after a light dinner. I’ve also served them as part of a dessert bar with other no-bake treats, and they always disappear first.
Storage: Keep these cups covered in the refrigerator for up to 3 days. The texture stays creamy and delicious. I don’t recommend freezing them—the cream cheese base can become grainy when thawed. If you’re making them ahead, assemble everything but add the cherry topping just before serving. This keeps the cream base looking pristine and prevents any color bleeding.
The flavors actually develop and meld together after a few hours in the fridge. I honestly think these taste even better the next day, if you can wait that long.
Nutritional Information & Benefits
Here’s an approximate breakdown per serving (based on 6 servings):
- Calories: 245
- Protein: 6g
- Fat: 16g
- Carbohydrates: 20g
- Fiber: 2g
- Sugar: 15g
These cups are lighter than traditional no-bake desserts because they use Greek yogurt instead of all cream cheese and heavy cream. The Greek yogurt adds protein and probiotics, which are great for gut health. Cherries are packed with antioxidants and anti-inflammatory compounds, and they’re a natural source of melatonin, which can help with sleep.
This recipe is naturally gluten-free and can be made dairy-free with simple substitutions. If you’re watching your sugar intake, you can reduce the honey in the compote or use a sugar substitute in the cream base. I’ve made these with just a tablespoon of maple syrup in the compote, and they’re still wonderfully satisfying.
I love that this dessert feels indulgent but doesn’t leave me feeling heavy or guilty. It’s the kind of treat that satisfies a sweet craving without derailing your healthy eating habits.
Conclusion
These Light No-Bake Cherries in Snow Cups have become my go-to dessert for so many reasons. They’re quick enough for a random Tuesday night, but pretty enough to serve at a dinner party. The combination of that silky, cloud-like cream with the bright, fruity cherry topping is just perfection. And honestly, knowing I can whip them up in 5 minutes with ingredients I usually have on hand gives me so much peace of mind.
I hope you give these a try and make them your own. Maybe you’ll add a different fruit, or a sprinkle of something crunchy on top, or a drizzle of caramel. That’s the beauty of simple recipes—they leave room for your creativity. I’d love to hear how yours turn out. Drop a comment below and let me know what variations you tried, or tag me in your photos if you share them online. Happy cooking, friend!
Frequently Asked Questions
Can I use light cream cheese instead of full-fat?
Yes, you can use light cream cheese, but the texture will be slightly less creamy. I recommend using full-fat Greek yogurt to help compensate for the reduced fat. The cups will still be delicious, just a bit lighter in texture.
How long do these cups need to chill before serving?
At least 30 minutes is ideal, but 1-2 hours is even better. The chilling time allows the cream to firm up and the flavors to meld together. If you’re making them ahead, they can chill in the fridge for up to 24 hours before serving.
Can I use canned cherry pie filling instead of making the compote?
You can, but the texture and flavor won’t be quite the same. Canned pie filling is much sweeter and thicker, and it has a different consistency. If you’re in a pinch, look for a brand with less added sugar and drain off some of the syrup before using.
What if I don’t have a hand mixer?
No problem at all. You can whip the cream by hand using a whisk—it just takes about 5-7 minutes of steady whisking. For the cream cheese, make sure it’s very soft and beat it vigorously with a wooden spoon or silicone whisk until smooth.
Can I make these cups ahead of time for a party?
Absolutely. These are perfect for making ahead. Assemble the cups without the cherry topping, cover them, and refrigerate for up to 2 days. Add the cherry compote just before serving to keep everything looking fresh and beautiful.
Pin This Recipe!
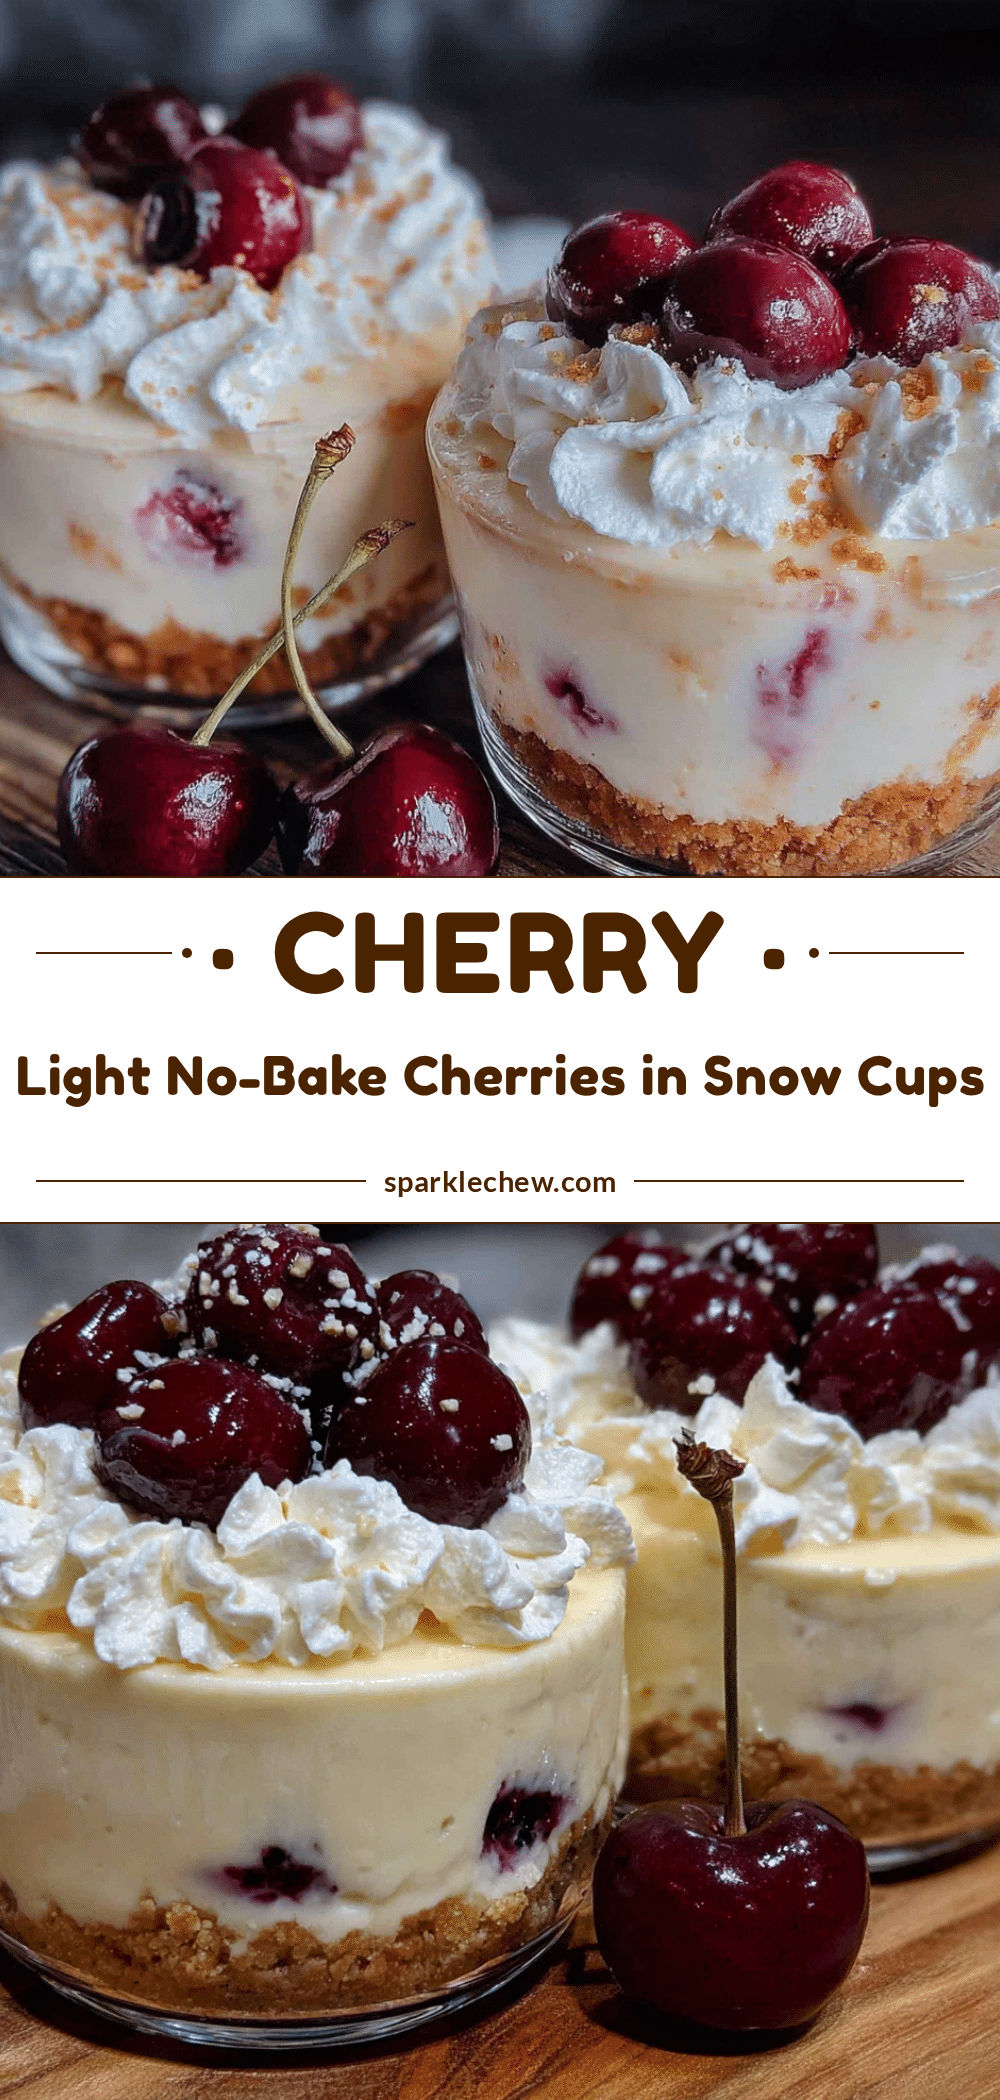
Light No-Bake Cherries in Snow Cups: Best 5-Minute Dessert

Creamy, cloud-like cups topped with bright cherries that come together in under 5 minutes. A perfect no-bake dessert for hot days or last-minute gatherings.
- Prep Time: 5 minutes
- Cook Time: 10 minutes
- Total Time: 45 minutes (includes chilling)
- Yield: 6 servings 1x
- Category: Dessert
- Cuisine: American
Ingredients
- 8 ounces cream cheese, softened
- 1/2 cup plain Greek yogurt (full-fat or 2%)
- 1/4 cup powdered sugar
- 1 teaspoon vanilla extract
- 1/2 cup heavy cream
- 2 cups fresh or frozen cherries, pitted
- 2 tablespoons honey or maple syrup
- 1 tablespoon lemon juice
- 1 teaspoon cornstarch mixed with 1 tablespoon water
- Fresh mint leaves for garnish (optional)
- Shaved dark chocolate for garnish (optional)
Instructions
- In a small saucepan, combine pitted cherries, honey or maple syrup, and lemon juice. Cook over medium heat for 5-7 minutes, stirring occasionally, until cherries break down and release juices.
- Stir in the cornstarch slurry and cook for another minute until the mixture thickens slightly. Remove from heat and let cool.
- In a mixing bowl, whip heavy cream with a hand mixer on medium-high speed until soft peaks form, about 2-3 minutes. Set aside.
- In another bowl, beat softened cream cheese until smooth and fluffy. Add Greek yogurt, powdered sugar, and vanilla extract; beat until well combined and silky.
- Gently fold the whipped cream into the cream cheese mixture using a rubber spatula until no white streaks remain.
- Spoon or pipe the creamy mixture into small dessert cups, filling them about three-quarters full.
- Spoon the cooled cherry compote over the top of each cup.
- Refrigerate for at least 30 minutes before serving. Garnish with fresh mint leaves or shaved dark chocolate if desired.
Notes
Softening cream cheese is essential to avoid lumps. Let it sit at room temperature for 30 minutes. Do not overwhip the cream; stop at soft peaks. Let the cherry compote cool completely before adding to the cream base to prevent melting. For best results, chill for at least 30 minutes, but 1-2 hours is even better. The cups can be stored covered in the refrigerator for up to 3 days.
Nutrition
- Serving Size: 1 cup
- Calories: 245
- Sugar: 15
- Sodium: 180
- Fat: 16
- Saturated Fat: 9
- Carbohydrates: 20
- Fiber: 2
- Protein: 6
Keywords: no-bake dessert, cherry dessert, cream cheese dessert, easy dessert, 5-minute dessert, summer dessert, gluten-free dessert